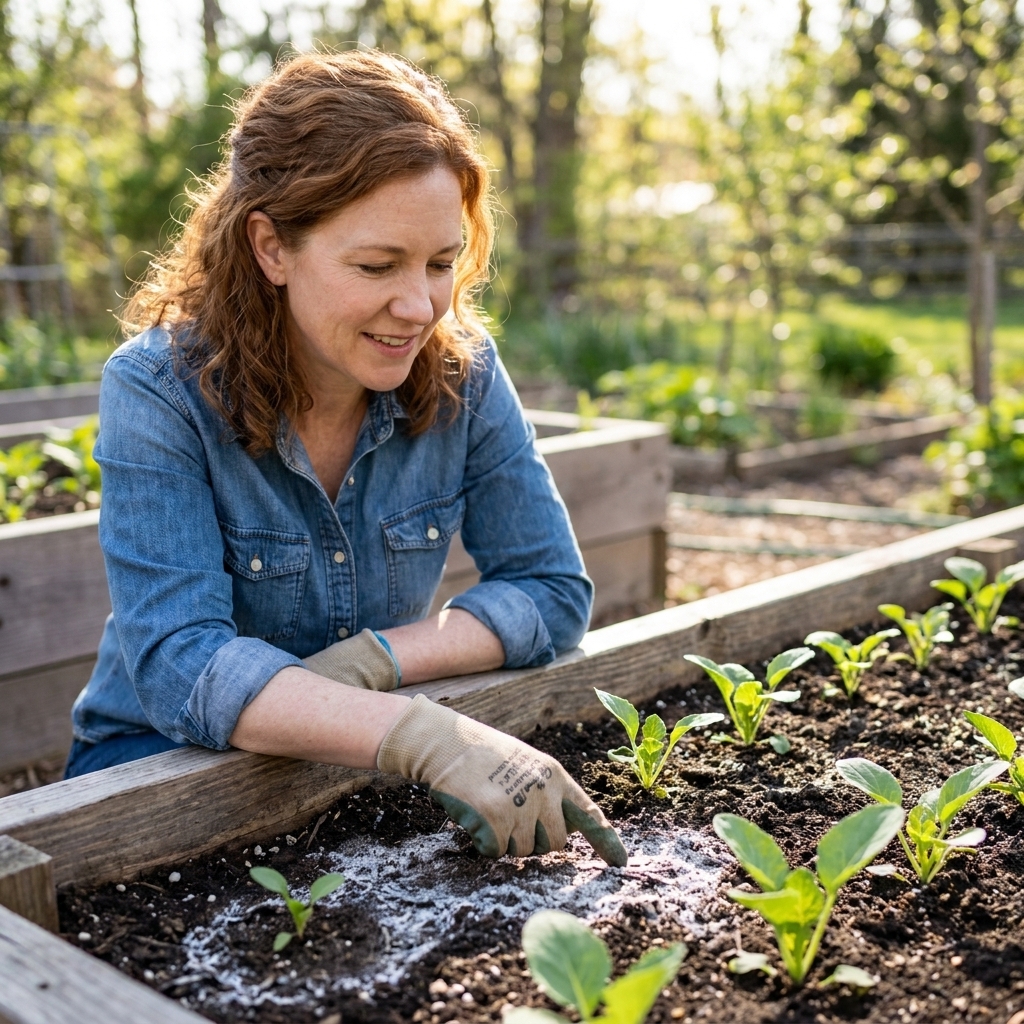
The first time I truly over-fertilized a bed, I did not realize what I had done. I just kept noticing my plants looked thirstier and grumpier by the day, even though the soil was damp. Then the giveaway showed up: a pale, crusty ring on the surface, like someone dusted the bed with flour.
That crust is often salt. Not table salt exactly, but dissolved mineral salts from fertilizers, composted manures, some bagged soils, and even hard irrigation water. In the right dose, they feed plants. In the wrong dose, they pull water away from roots and burn tender growth. The good news is that in garden beds, you can usually fix it with a careful flush and a few habit changes.
What salt buildup is
Many common fertilizers are salts in the chemistry sense. When you water, those salts dissolve into the soil solution so roots can take up nutrients. When water evaporates, or when you fertilize heavily without enough deep watering, salts concentrate near the surface and around the root zone.
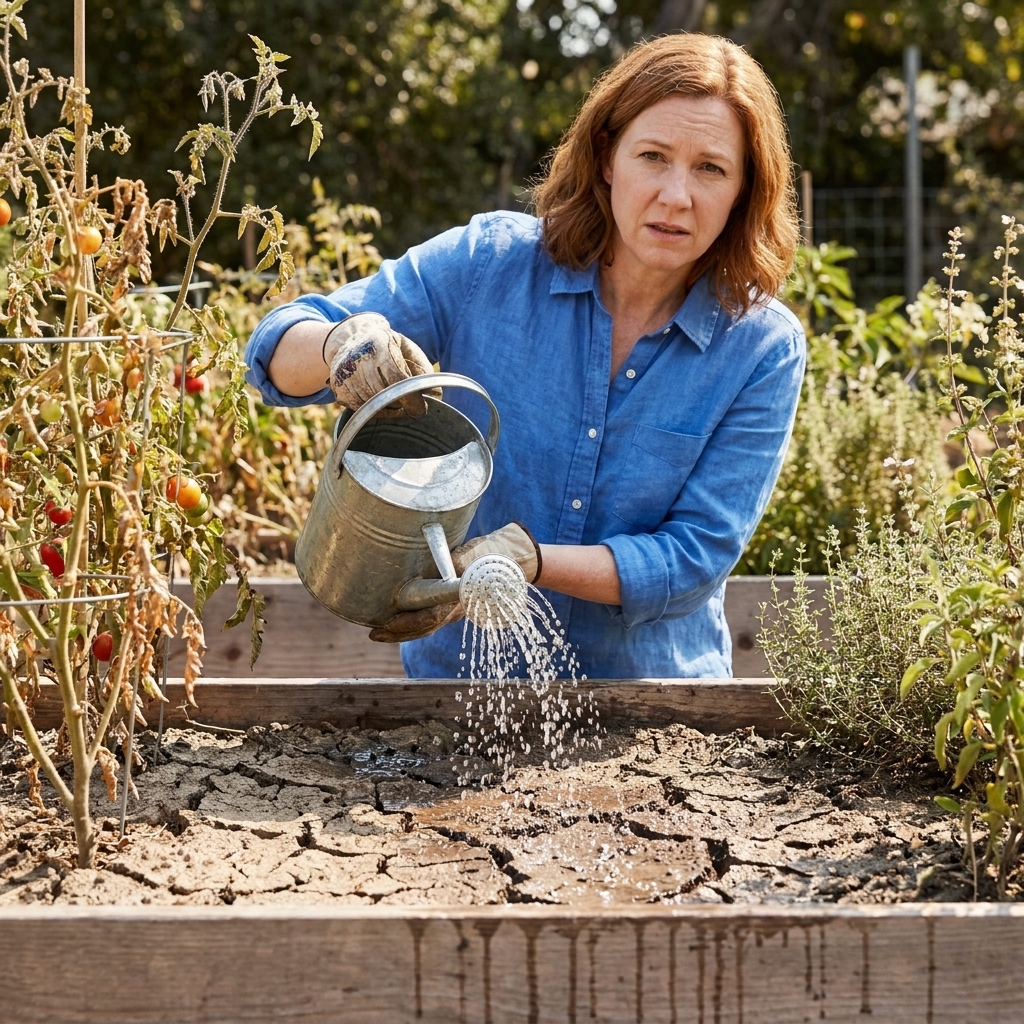
This is why salt buildup can look like a watering problem even when you are watering regularly. Salts make it harder for roots to pull in water, so plants wilt, leaf tips crisp, and growth stalls.
Common sources in home gardens
- Water-soluble synthetic fertilizers applied too strong or too often
- High-nitrogen amendments like poultry manure or very strong manures used heavily (they can burn fast, especially around seedlings)
- Hard water or softened water (softened water can add sodium)
- Bagged potting mixes or raised bed blends with lots of added fertilizer, especially if they dry out between waterings
- Dry conditions and frequent light watering that never pushes salts down
How to spot salt stress
Salt stress often follows a pattern. It can show up quickly after a feeding, and it tends to hit leaf edges and tender new growth first.
Classic signs on plants
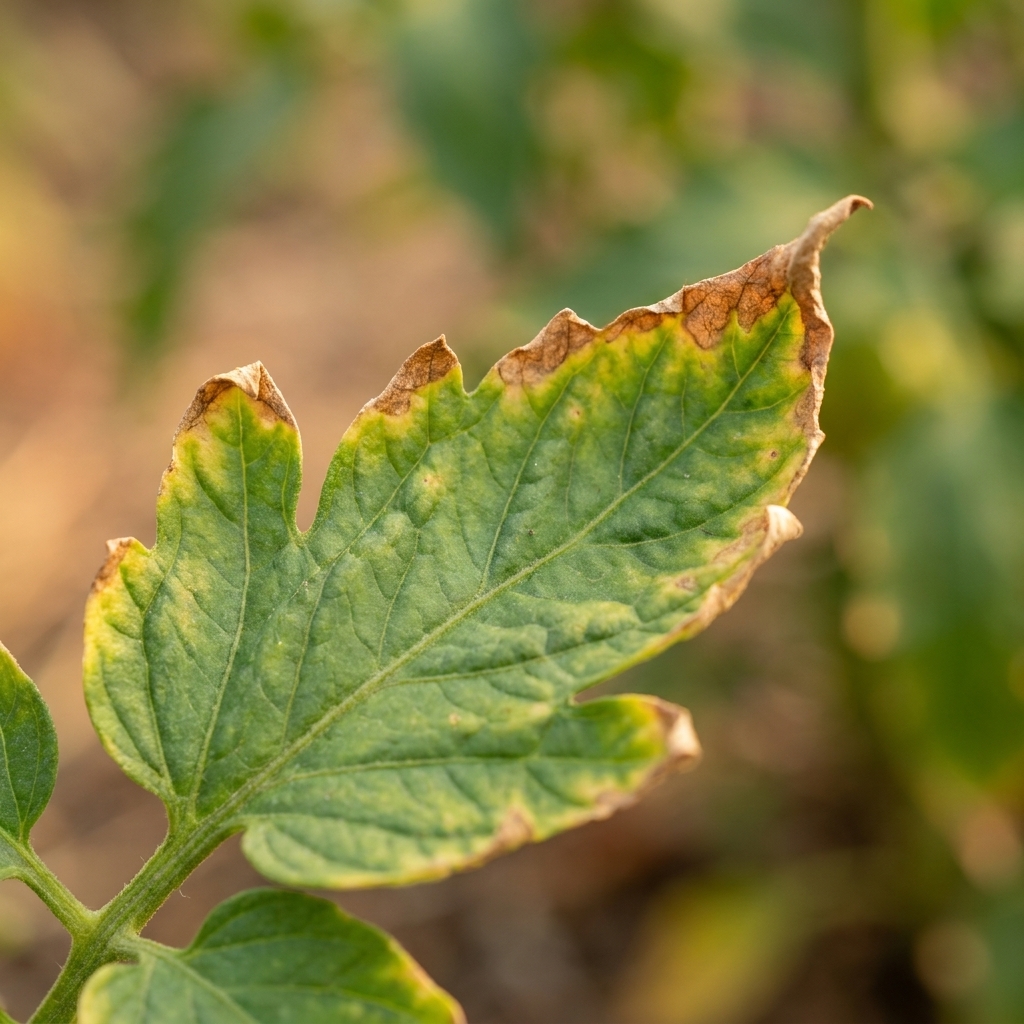
- Leaf tip burn that starts as yellowing, then turns brown and crispy
- Scorched leaf edges, especially on older leaves
- Sudden wilting even though soil still feels moist
- Stalled growth after a fertilizer application
- Seedlings collapsing or getting “fried” shortly after planting into a rich mix
Signs on the soil
- White or pale crust on the soil surface or around drip emitters
- Crusty ring at the edge of pots or raised bed corners where water evaporates
- Soil that dries hard on top and sheds water at first (water beads and runs)
Quick home checks (no lab needed)
- Timing check: Did symptoms start 1 to 7 days after fertilizing or adding a strong amendment?
- Pattern check: Is damage worse on leaf tips and margins rather than random spots?
- Overnight check: Does the plant stay stressed even after a cooler night? Heat wilt often improves by morning, while salt stress tends to linger.
If you want a more confident answer, an inexpensive soil EC (electrical conductivity) meter can be useful as a relative indicator, especially in raised beds and containers. The numbers are not lab-grade, and results depend on how you test, so the key is to be consistent with your method and look for trends rather than chasing a perfect reading.
Before you flush
Leaching salts works by moving dissolved minerals down past the root zone. That is helpful in a bed with decent drainage. It is risky in a waterlogged spot.
Do not flush yet if any of these are true
- The bed stays soggy for more than a day after watering
- You have standing water or a heavy clay layer with nowhere for water to go
- Plants are already struggling with root rot symptoms (mushy stems, sour smell)
If drainage is poor, tackle that first by loosening compacted soil, adding organic matter, and redirecting runoff. In the meantime, stop fertilizing and water gently, not heavily.
How to flush salts from a bed
The goal is slow, deep watering that carries salts downward. A quick blast that runs off the surface does not help much. Think soak, pause, soak again. Also, be mindful of where the runoff goes. If you suspect the bed is fertilizer-heavy, try to keep drainage from flowing into storm drains or directly into creeks and ponds.
Step 1: Stop adding anything salty
Pause all fertilizers, manure teas, fish emulsions, and “bloom boosters” for at least 2 to 3 weeks. If the bed was top-dressed with a strong amendment you can still see sitting on the surface, gently scrape off any obvious excess.
Step 2: Break surface crust gently
Use a hand rake or cultivator to lightly scratch the top inch of soil, avoiding roots. This helps water penetrate instead of running off.
Step 3: Do a slow leaching soak
For most garden beds, a good starting flush is the equivalent of 2 to 4 inches of water applied slowly. Treat this as a starting point, not a magic number. The exact amount depends on soil texture, drainage, and how severe the buildup is:
- Sandy soil: flush in 2 passes because water moves quickly
- Loam: flush in 2 to 3 passes
- Clay or clay-loam: flush in several shorter cycles to avoid pooling
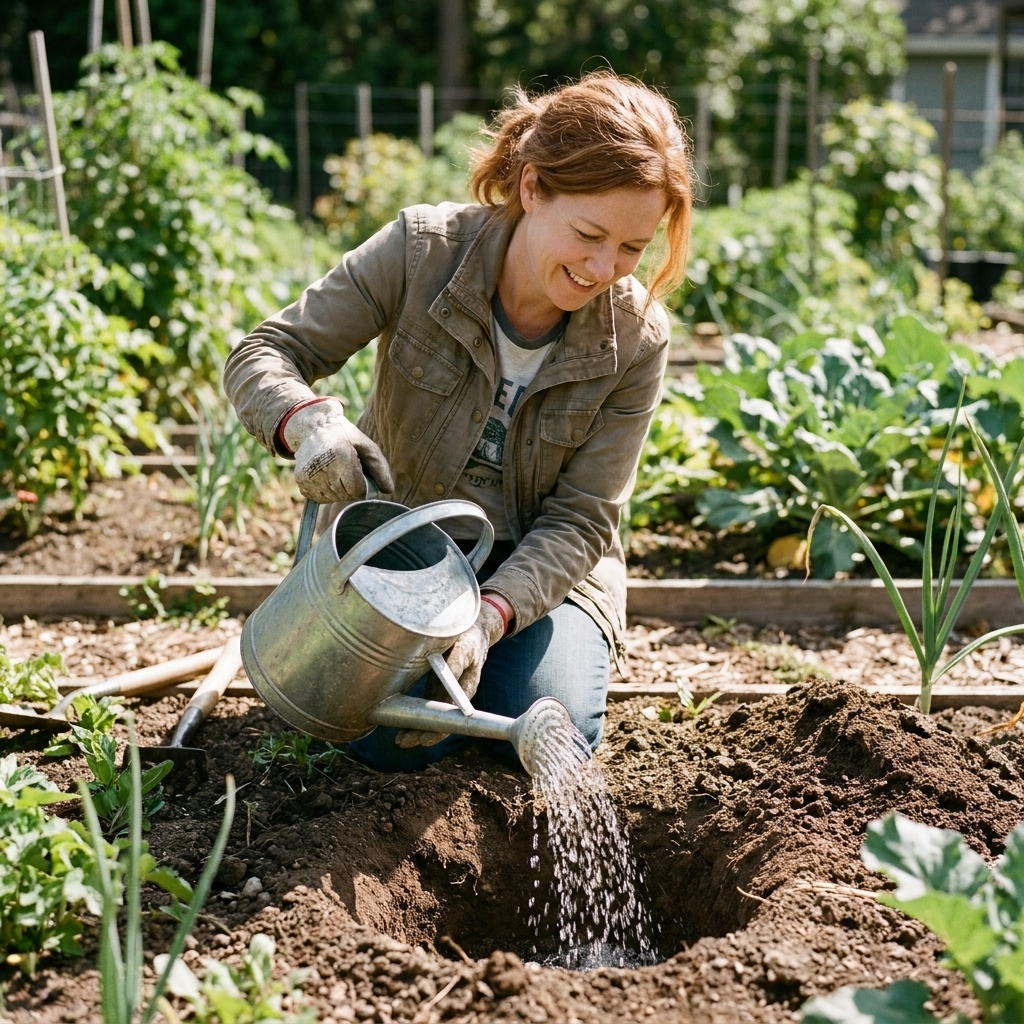
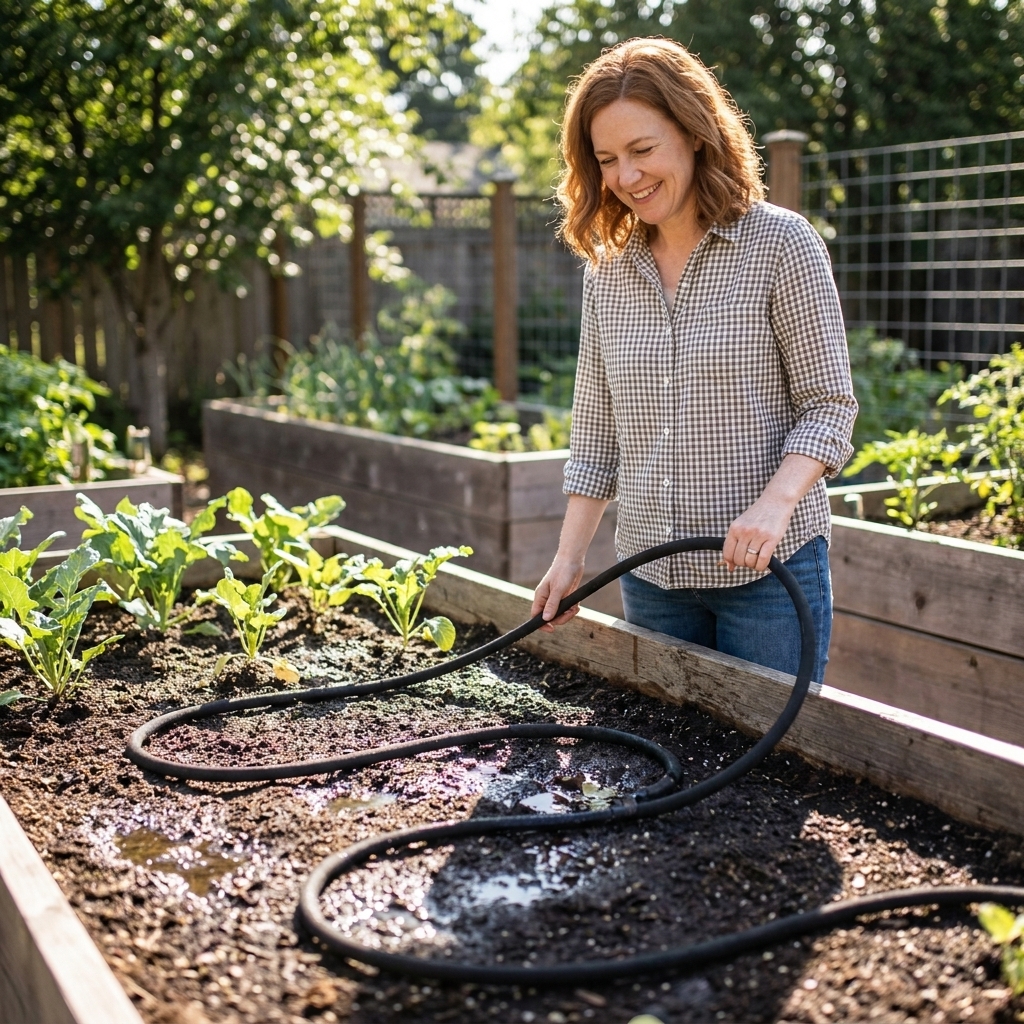
My favorite method is a sprinkler on a low setting or a soaker hose, running in 30 to 60 minute intervals with breaks in between. If water starts to run off, stop and let it soak in, then continue.
Step 4: Check moisture depth
After the final soak, wait an hour, then dig a small test hole 6 to 8 inches deep. You want moisture to have moved down, not just turned the surface to soup.
Step 5: Repeat if symptoms were severe
If plants were badly burned or the crust keeps returning, repeat the flush once more a few days later. In very salty situations, recovery is often a 1 to 2 week process, not an overnight miracle. Keep in mind that repeated flushing can also wash nutrients down past roots, so once plants show healthy new growth, plan to resume feeding gently instead of trying to “make up for lost time.”
Flushing salts in containers
Salt buildup is even more common in pots because there is less soil volume and water evaporates faster. The fix is straightforward if your container has drainage holes and the pot is not sitting in a saucer of runoff.
Container flush steps
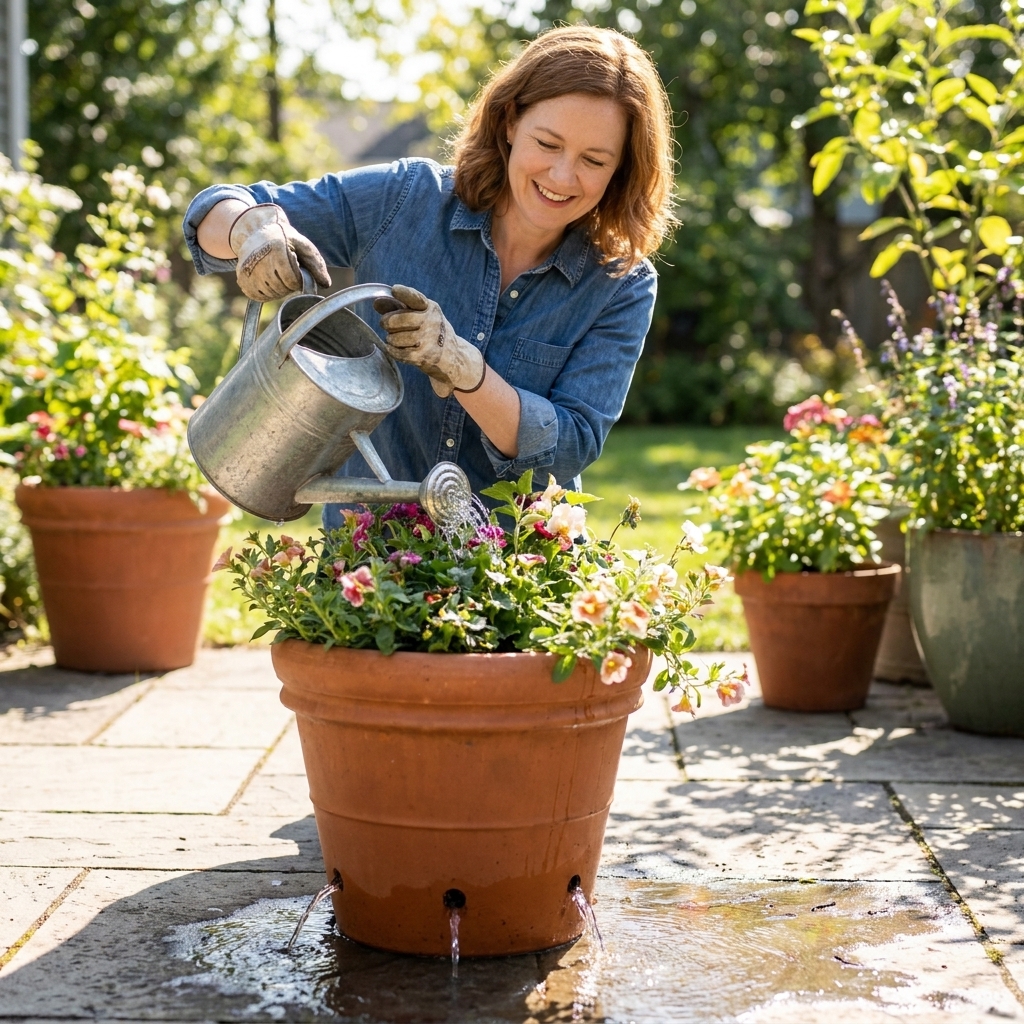
- Move the pot somewhere it can drain freely, like a driveway, gravel, or grass.
- Confirm drainage. If your container does not have drainage holes, do not try to “flush” it. Repot into a container that drains.
- Water thoroughly until water streams out the bottom.
- Keep going until you have run roughly 2 to 3 times the pot volume through it. For a 5-gallon container, that is 10 to 15 gallons total, applied steadily. This is a solid starting point, and very salty mixes may need a second round a day or two later.
- Let it drain completely, then empty any saucer. Never leave a pot sitting in salty runoff.
If you see a hard white crust on the pot rim or soil surface, you can scrape off the top half inch of soil and replace it with finished compost after flushing.
When repotting is the better fix
If the crust returns quickly, the mix has turned hydrophobic, or roots seem cramped and stressed, it is often faster to repot. Gently remove the plant, shake or rinse off some of the old salty mix, and replant in fresh potting soil. Then water deeply to settle everything in.
Help plants recover
Once salts are diluted and moved away from roots, plants still need time to grow fresh, undamaged tissue. My approach is gentle support, not another feeding spree.
Recovery care that helps
- Mulch lightly with shredded leaves, straw, or fine bark to reduce surface evaporation and slow future crusting.
- Water deeply but less often so roots chase moisture downward and salts do not keep concentrating at the surface.
- Hold fertilizer until you see healthy new growth. When you restart, use half strength the first time.
- Trim only what is truly dead. Brown tips will not turn green again, but leaves still photosynthesize around the damage.
A note on compost tea and “quick fixes”
Compost tea can be helpful for microbial diversity, but it does not neutralize salts. If the tea is made with strong ingredients or applied heavily, it can add to the problem. When in doubt, stick with clean water first.
Prevent salt buildup
Once you have seen nutrient burn up close, you get cautious fast. Prevention is mostly about pacing and dilution.
Fertilizer habits that keep salts in check
- Measure on purpose. “A little extra” is usually where trouble starts.
- Apply to moist soil. Fertilizing dry soil concentrates salts right at the roots.
- Water in deeply. After feeding, give enough water to move nutrients into the root zone, not just wet the surface.
- Use slow-release options when you can, like compost, leaf mold, worm castings, and balanced organic blends.
- Avoid softened water for gardens and containers if possible.
Soil-building that buffers mistakes
Soils rich in organic matter are more forgiving. Finished compost improves structure, increases water infiltration, and helps keep nutrients cycling instead of spiking. I aim for a 1 to 2 inch compost top-dress once or twice a year, rather than heavy doses of concentrated amendments all at once.
FAQ
Is the white crust always fertilizer salt?
Not always. It can also be minerals from hard water, residue from some soil mixes, or occasionally harmless fungal growth. If the crust appears alongside leaf tip burn and wilting after fertilizing, salts jump to the top of the list.
Can I fix salt buildup by adding gypsum?
Gypsum can help when sodium is the main issue, which is more common with sodium-rich irrigation water or softened water. It improves soil structure in sodic conditions, but it does not remove salts by itself. You still need leaching water to carry dissolved salts down and out of the root zone. If the problem is general salinity (like chloride-heavy or sulfate-heavy water), gypsum is not a cure.
Will rain flush salts for me?
A slow, soaking rain can help, especially over multiple days. Light rain that only wets the top inch often does not move salts deep enough to matter.
How long until plants bounce back?
If the burn was mild, you may see improvement within a week. If roots were damaged, recovery can take 2 to 4 weeks and some leaves may never look perfect again. Watch for healthy new growth, that is your best sign you are back on track.
My rule of thumb
If you are standing in the garden with a fertilizer scoop thinking, “Maybe I should add just a bit more,” take that as your sign to stop, water well, and let the soil do its steady work. The best gardens are not the most heavily fed. They are the ones with living, crumbly soil that stays kind to roots even when we humans get a little enthusiastic.