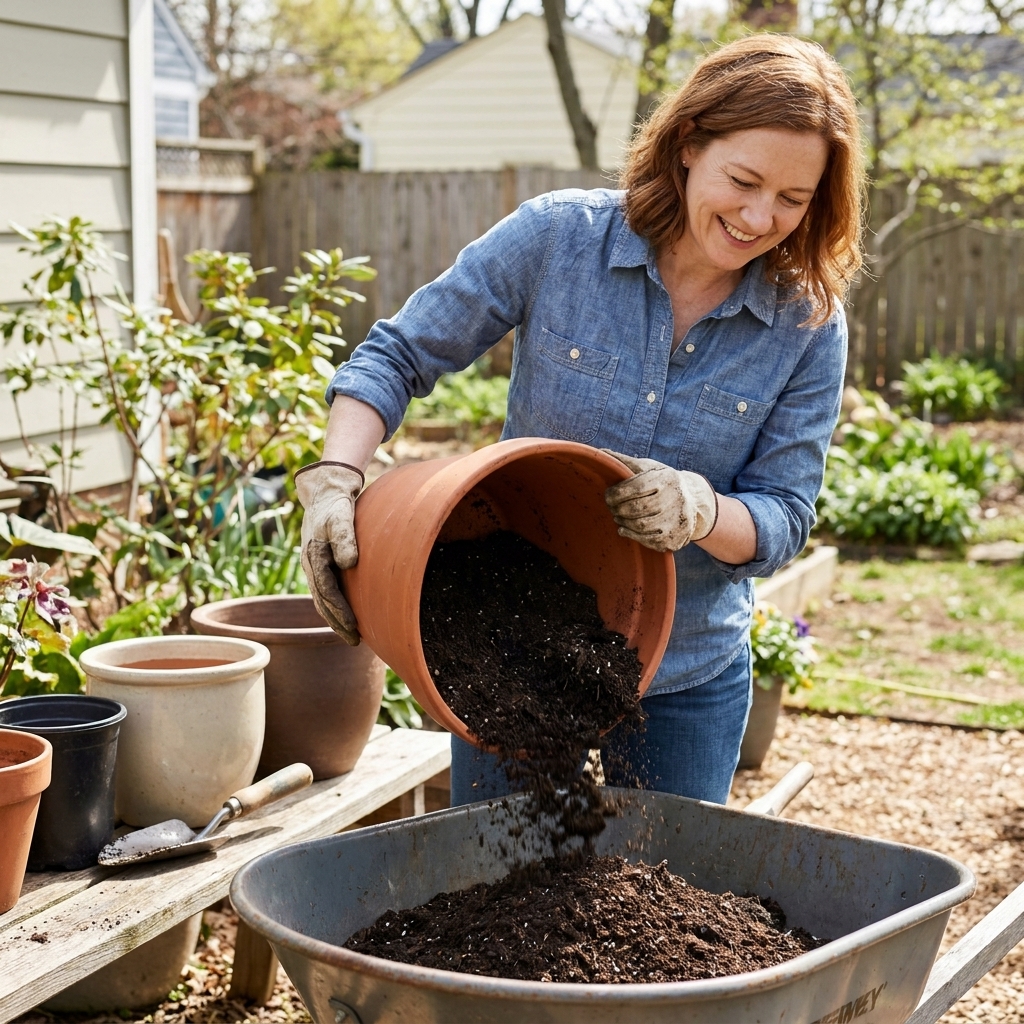
The first time I saw it, I honestly thought my hose was broken. I watered a bed, watched the water bead up like it hit a rain jacket, then slide right off the surface and down the path. Meanwhile the plants still looked thirsty.
That is hydrophobic soil, meaning water-repellent soil. It is common after long dry spells, in neglected potting mixes, and in beds that have gotten crusty and depleted. The good news is you can fix it without fancy gear. You just have to re-wet slowly and then rebuild the soil sponge so it stops happening again.
What hydrophobic soil looks like
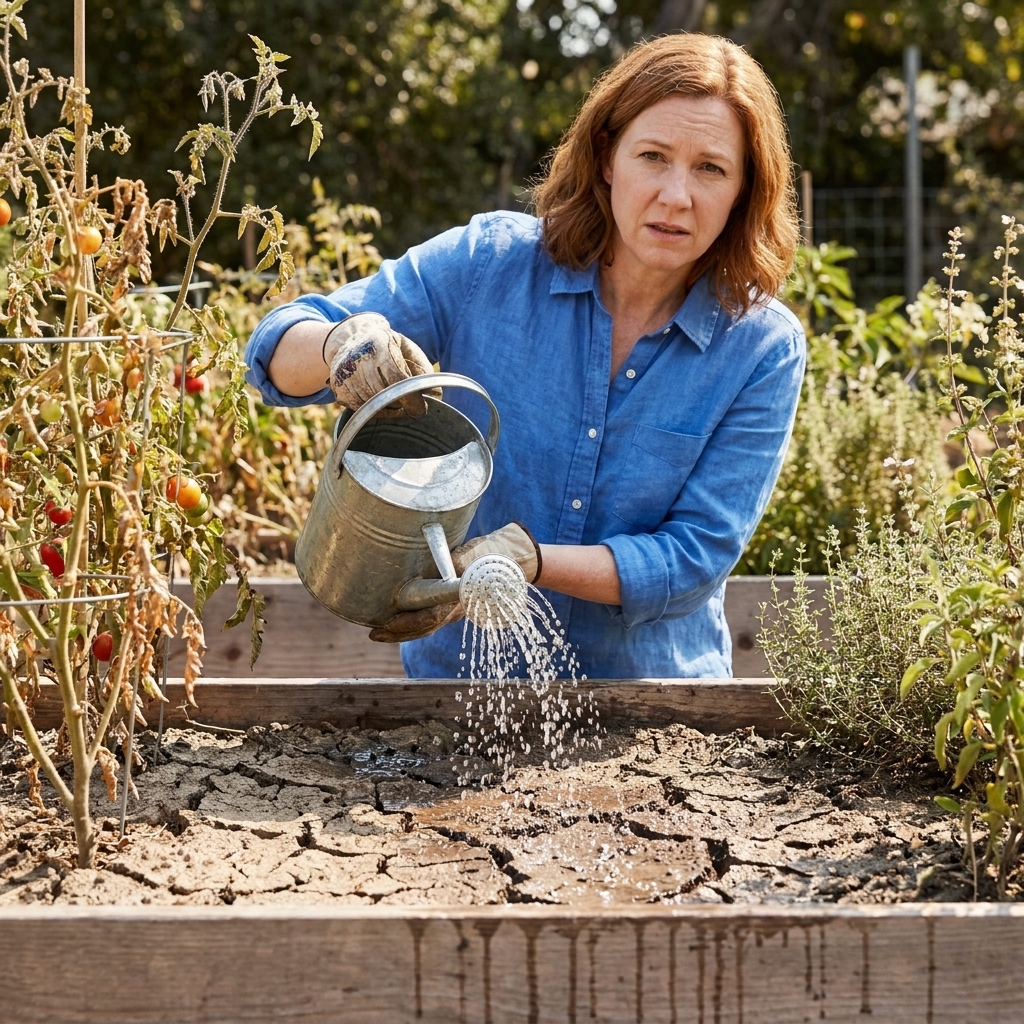
Hydrophobic soil is not just dry. It is dry in a way that makes water repel. Instead of soaking in evenly, water runs off, pools in low spots, or disappears down cracks while the root zone stays dusty.
Common signs
- Water beads on the surface like droplets on wax.
- Runoff happens quickly even with a gentle spray.
- Dry pockets remain under the surface even after watering.
- Plants wilt soon after watering, especially in afternoon heat.
- Raised beds and containers are worse than in-ground soil.
A quick confirmation test
Grab a handful of soil from 2 to 3 inches down.
- If it feels like dust and will not clump at all, it is very dry.
- If you add a few drops of water to that handful and, after 30 to 60 seconds, it still refuses to wet (the grains stay coated and separate), you are dealing with hydrophobic soil.
Why soil starts repelling water
Hydrophobic soil usually comes from a mix of extreme drying and low organic matter. When soil dries hard, organic coatings and certain waxy compounds can cause particles to resist wetting, especially in sandy soils and peat-based potting mixes.
The usual culprits in home gardens
- Long dry spells followed by a sudden attempt to soak everything at once.
- Peat-heavy potting mix in containers or raised beds that dried out completely.
- Low organic matter, meaning the soil has lost its crumb structure and sponge-like feel.
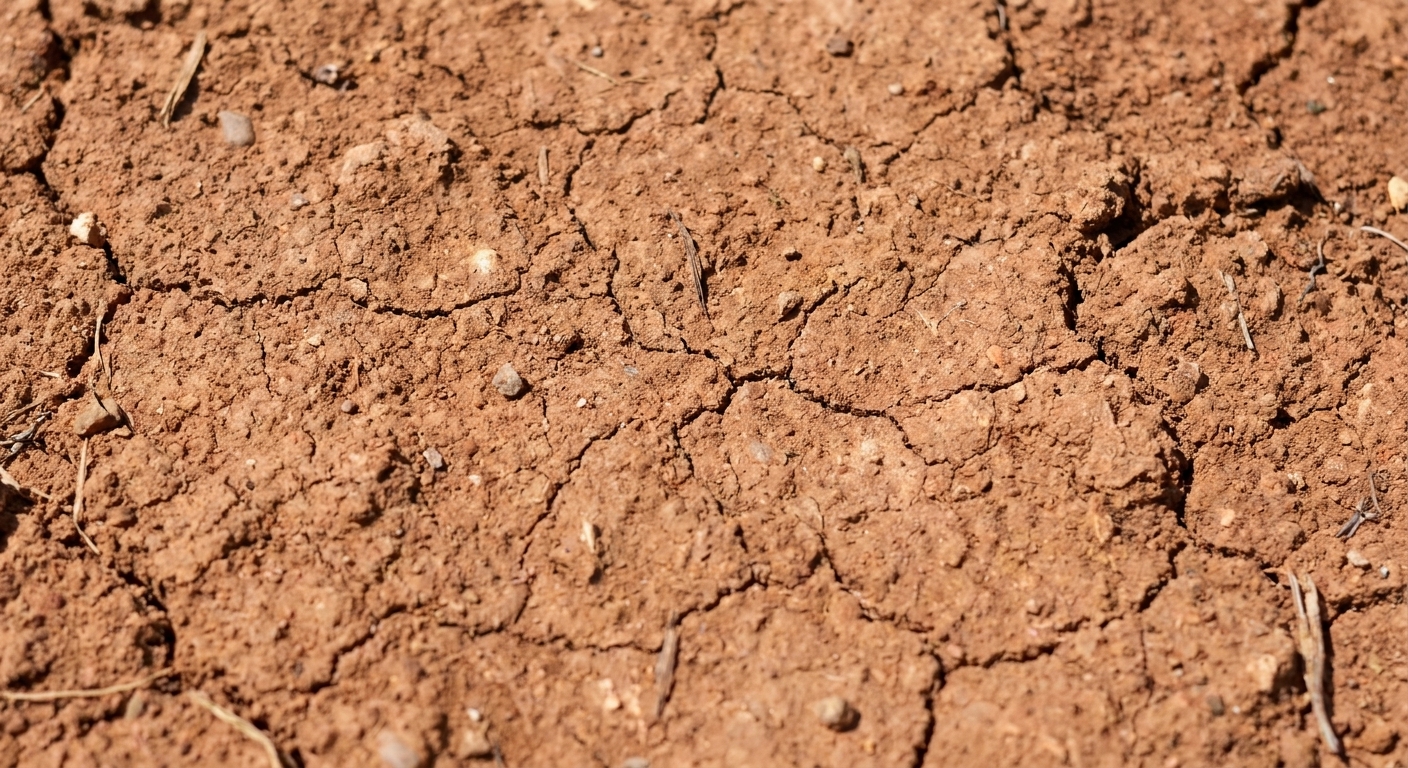
- Crusted surface from bare soil, heavy sun, and overhead watering that beats the top into a seal.
- Too much fast-release fertilizer in containers can cause salt stress, which makes plants look droughty even when you water. That is a separate issue from true water repellency, but the two can stack up and make troubleshooting confusing.
What not to do
- Do not blast it with a hard stream. You will create channels where water shoots down in one spot while nearby roots stay dry.
- Do not till deeply while it is powder dry. In many soils, especially silt or clay-heavy beds with weak structure, this can break aggregates and set you up for more sealing and crusting later.
- Do not add sand to “fix drainage.” For hydrophobic soil, the problem is absorption and structure, not just drainage.
- Do not rely on one big soak. Hydrophobic soil often needs several gentle wettings to start accepting water again.
Fast fix: re-wet gently
Think of this like rehydrating a dried sponge. If you dump a bucket on a bone-dry sponge, a lot runs off. If you dampen it, wait, then dampen again, it starts drinking.
Step 1: Break the crust
Use a hand rake or cultivator to scratch the top 1 inch. You are not digging. You are just breaking the sealed surface so water has a way in.
Step 2: Water slowly in pulses
- Use a watering wand on a soft shower setting, drip line, or a sprinkler set to a gentle rate.
- Water for 5 to 10 minutes.
- Wait 10 to 20 minutes.
- Repeat 2 to 4 times.
This soak, pause, soak rhythm gives the soil time to stop resisting and start pulling moisture inward.
One caution: runoff can make you think nothing soaked in when the layer below is already wet. After a cycle or two, dig a small test hole and check moisture 3 to 6 inches down before you keep going.
Step 3: Use a wetting agent if it still beads
If the water continues to sit there like it is on plastic, a wetting agent can help. This is especially useful for dried potting mixes, raised beds, and lawns with persistent water repellency.

Wetting agents that help
A wetting agent reduces surface tension so water can coat and enter soil particles instead of forming beads. For the most predictable results, especially in pots and lawns, a commercial soil wetting agent (liquid or granular) is often the safest, most consistent option. Follow the label, then water it in slowly.
If you want a simple home-garden approach, here are a few gentler options. I treat these as occasional rescue tools, not weekly habits.
1) Soap solution (one-off rescue)
This is my emergency trick for containers that went bone dry in summer, but formulation matters.
- Use pure liquid castile soap or another true soap, not a detergent or degreaser.
- Mix 1 to 2 teaspoons in 1 gallon of water.
- Apply gently to the surface until it is evenly damp, then follow with plain water.
Important: Avoid antibacterial soaps, heavy degreasers, and strongly fragranced products. Do not keep increasing the dose. Repeated soap use can irritate roots and can be hard on soil life, so I save it for “nothing else is working” moments.
2) Aloe vera water (optional)
Pure aloe contains natural saponins that can help water spread. Results vary, so think of this as a mild helper, not a guaranteed fix.
- Blend a small chunk of inner aloe gel with water, strain, then add to a watering can.
- Water in, then follow with plain water.
3) Compost-rich drench (structure support)
You do not need a bubbler or anything fancy. A compost-rich drench can help because it carries very fine organic particles into the surface layer where sealing and crusting often start. It is not a true surfactant, but it can support better wetting over time.
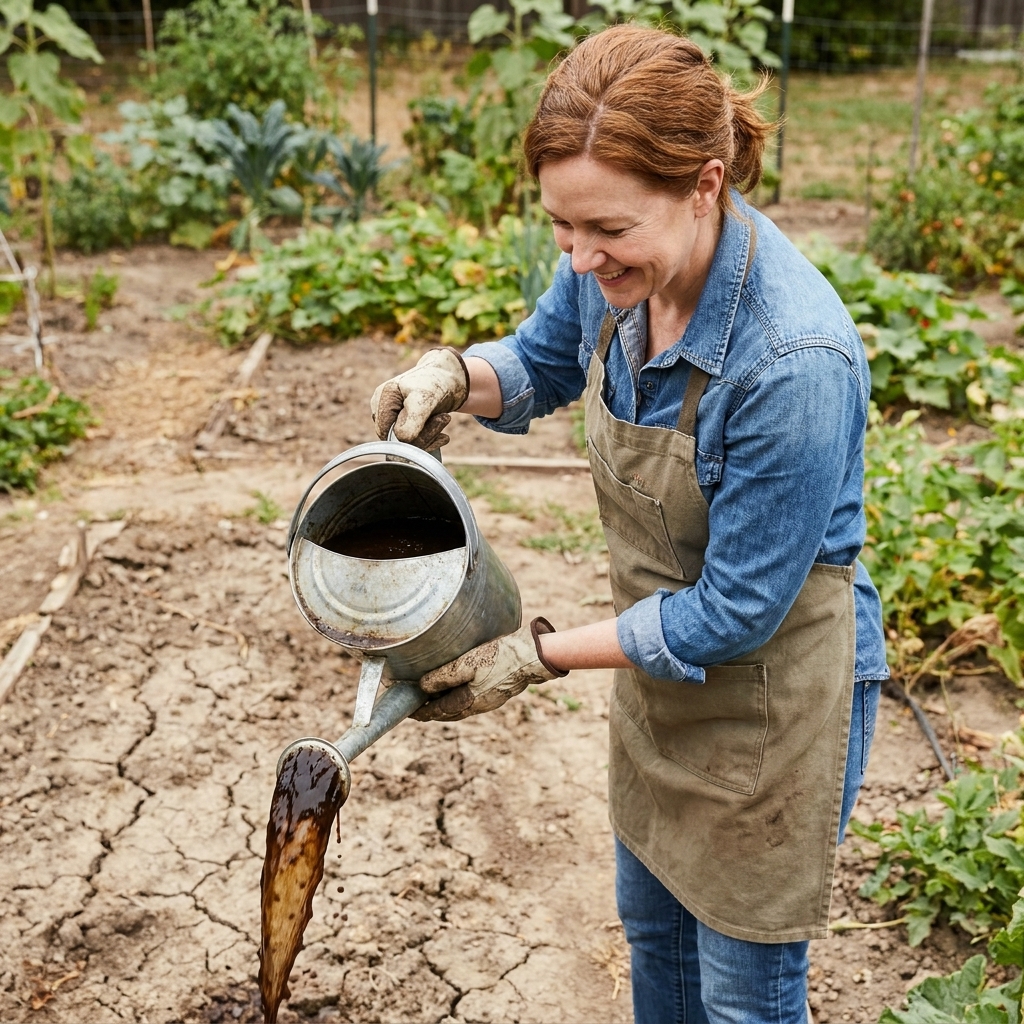
- Soak a shovel of finished compost in a bucket of water for a few hours.
- Stir, then water the brown liquid over the area.
- Follow with a gentle watering cycle.
Best long-term fix: rebuild the soil sponge
Once you get water soaking in again, the goal is to keep the soil from drying into a water-repelling crust in the first place. That comes down to organic matter, cover, and consistent moisture.
Add compost
- Spread 1 to 2 inches of finished compost over the bed.
- Gently rake it into the top couple inches, or leave it as a topdress and let worms do the mixing.
- Water it in slowly.
Compost improves aggregation, which is the crumbly structure that holds water and lets it infiltrate evenly.
Mulch well
Bare soil is an invitation to crusting and water repellency. Add a mulch layer to buffer heat and slow evaporation.
- Vegetable beds: shredded leaves, straw, or untreated grass clippings in thin layers.
- Perennials and shrubs: leaf mold, wood chips, or bark.
Aim for 2 to 4 inches, keeping mulch a couple inches away from plant stems.
Keep moisture consistent
- Once the soil is accepting water again, water less often but more deeply.
- To make sure you are actually watering deeply, check moisture 4 to 6 inches down with your finger, a trowel, or a soil probe.
- Use drip irrigation or soaker hoses where possible.
- In containers, check moisture daily during heat waves. Pots dry fast and are the easiest place for hydrophobic soil to show up.

Containers and raised beds
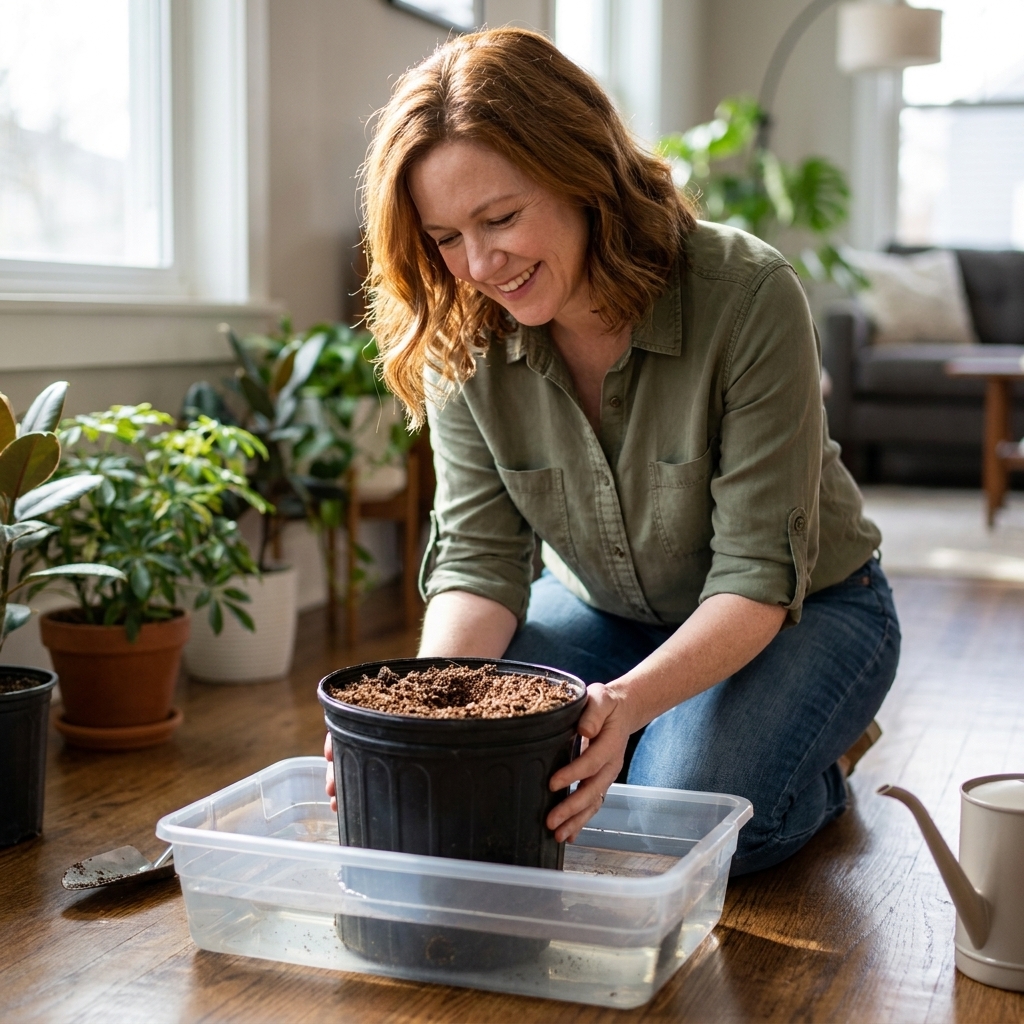
If your potting mix has gone hydrophobic, it can feel like it shrank away from the sides of the pot. Water runs down the gap and out the bottom, leaving the root ball dry.
Container rescue method
- Bottom water: Set the pot in a tub of water for 20 to 60 minutes so moisture can wick up.
- Top water slowly after bottom watering to finish rehydrating the root zone.
- Repot if needed: If the mix is old, compacted, or peat-heavy and keeps re-drying, refresh with compost and a more balanced mix.
If it is a big raised bed that is acting hydrophobic, treat it like in-ground soil: scratch the surface, water in pulses, then topdress with compost and mulch.
When it is not hydrophobic soil
Sometimes water runs off for other reasons. Here is how to tell.
Compacted clay vs hydrophobic crust
- Hydrophobic soil: water beads, surface looks dusty or crusty, soil resists wetting even when you try.
- Compaction: water may pool because pores are squished shut, soil feels hard and dense, and a trowel is tough to push in.
You can have both at once, especially in high-traffic areas. In that case, compost, mulch, and gentle aeration with a garden fork help more than deep rototilling.
Thatch and dry turf
Lawns can get water-repellent too, especially in sandy soils. In some regions it can be seasonal, showing up during hot, dry stretches. If water runs off the grass and into the driveway, consider core aeration and topdressing with compost, then water in pulses until it starts soaking again. Severe cases may take more than one round over the season.
Prevention checklist
- Keep soil covered with mulch or living plants.
- Add compost at least once or twice a year.
- Water early and deeply once the soil is taking water, rather than frequent light sprinkles.
- Avoid letting containers fully dry out, especially peat-heavy mixes.
- Use shade cloth or temporary cover during extreme heat to reduce surface baking.
FAQ
How long does it take to fix hydrophobic soil?
You can often get water soaking in again within a day using pulse watering and, if needed, a wetting agent. Rebuilding long-term structure with compost and mulch is more of a weeks-to-months improvement, and it keeps paying off season after season.
Will compost alone fix water-repellent soil?
Compost is the best long-term solution, but if the soil is actively repelling water right now, you may need to re-wet it gently first. Once it is accepting moisture again, compost and mulch help prevent a repeat.
Is soap safe for garden soil?
In tiny amounts and used occasionally, a true soap like liquid castile soap can help break water beading in a pinch. Avoid detergents and harsh formulas, and do not make it a routine. If you find yourself reaching for soap often, that is a sign the soil needs more organic matter and better moisture consistency.
Why does my potting soil repel water even when I water every day?
If water is running down the sides or straight out the bottom, the center of the root ball may still be dry. Bottom watering to fully rehydrate the mix, then adjusting your routine and refreshing the soil, usually solves it.
My reset routine
If you want the simplest plan, here is what I do when a bed starts acting like a raincoat:
- Scratch the top inch with a hand rake.
- Water in 3 rounds with breaks in between.
- Check moisture a few inches down before repeating more cycles.
- If it still beads, apply one mild wetting drench.
- Topdress with 1 to 2 inches of compost.
- Mulch 2 to 4 inches and keep it covered.
It is not glamorous, but it works. And once the soil starts behaving like a sponge again, everything in the garden gets easier, including watering, weeding, and plant resilience.