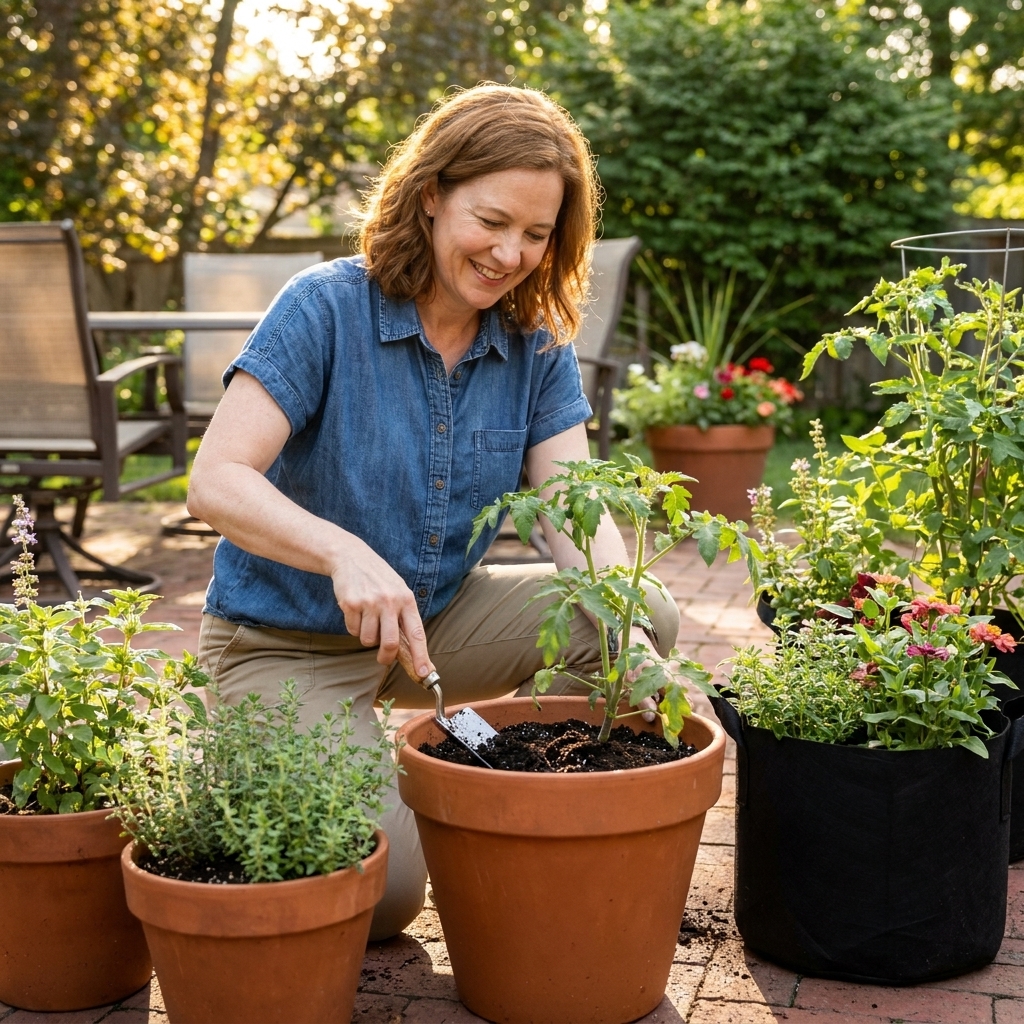
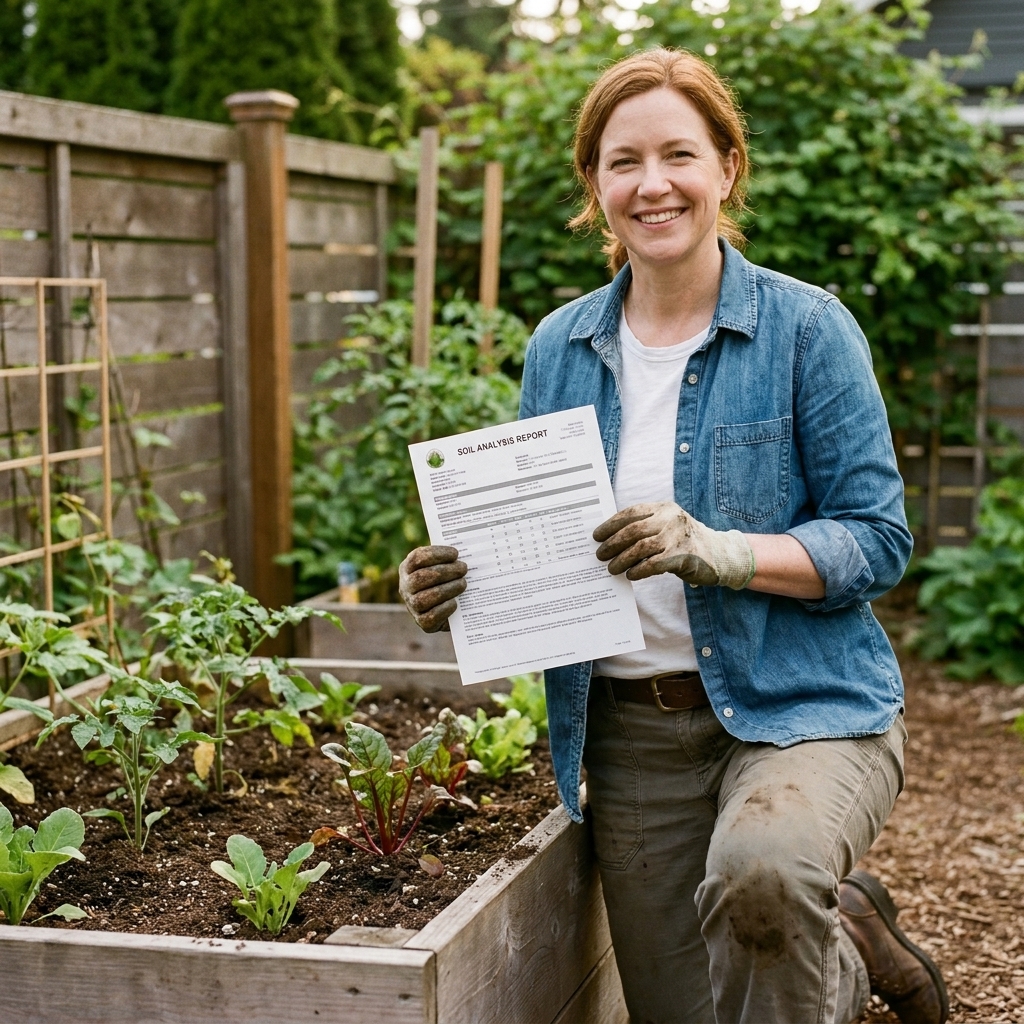
I used to treat potting soil like a single-use item: grow tomatoes all summer, yank the plants, and then stare at a stack of tired pots like, now what? After a few seasons of hauling heavy bags home (and feeling guilty about tossing perfectly salvageable mix), I started refreshing what I already had. Turns out, most “old” potting soil isn’t trash. It’s just hungry, a little compacted, and often missing the fluffy texture that makes containers thrive.
Below is exactly how I refresh and reuse potting soil (also called potting mix, and yes, I use those interchangeably here) for container gardens, including when to sanitize, how to rebuild nutrients, and how to get drainage back without buying a whole new bag every spring.
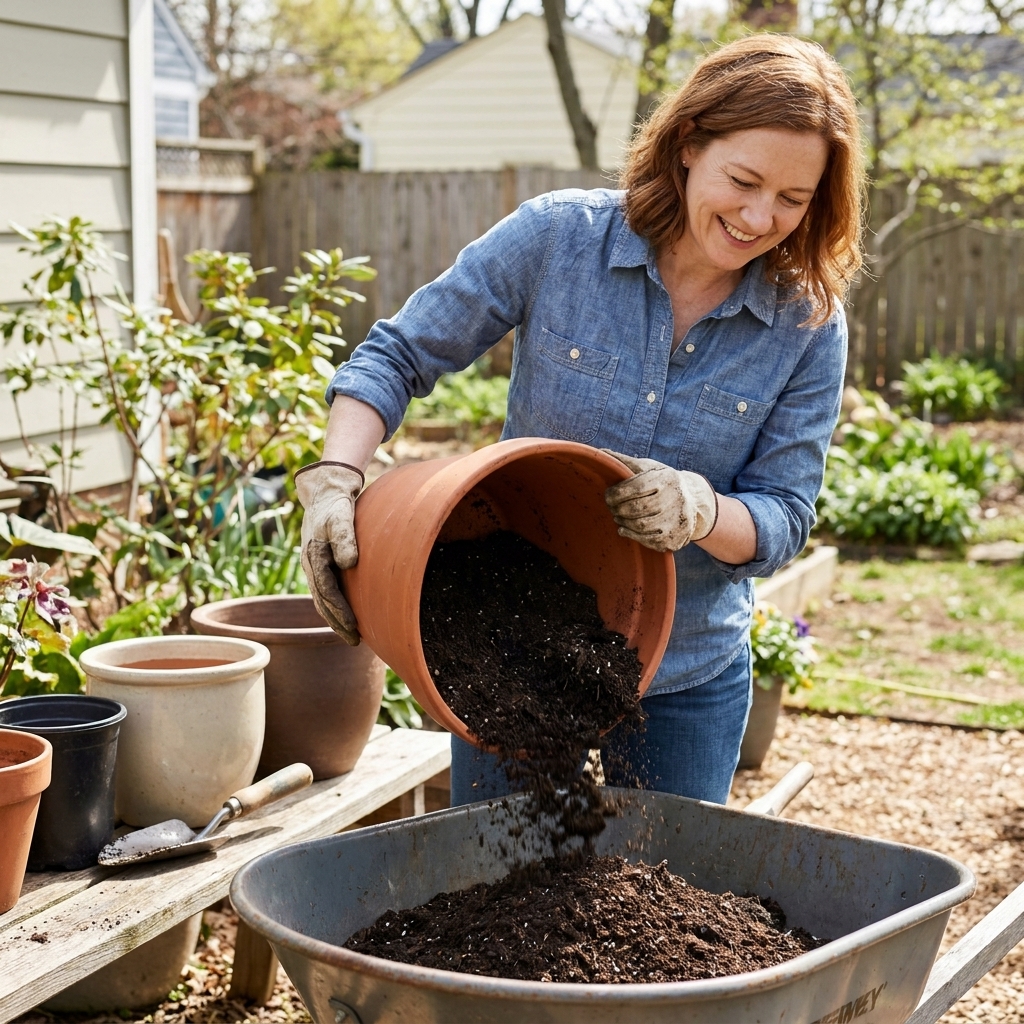
Can you reuse potting soil?
Yes, in most cases. Old potting mix is usually a blend of peat or coir, bark fines, perlite or pumice, and a little starter fertilizer. Over a season, the fertilizer runs out, the particles break down, and roots fill the space. That’s why reused soil can feel heavier, drain slower, and grow plants that look a little pale or cranky.
Refreshing soil is basically doing three things:
- Removing old roots and clumps
- Restoring structure so water and air move through
- Replacing fertility so plants have steady nutrition
The one time I do not blindly reuse potting soil is when there is a strong chance it carries disease, pests, or herbicide residue. We’ll cover that next.
Decide: reuse, sanitize, or toss
Refresh and reuse (most common)
- Containers held healthy annuals, herbs, or ornamentals
- No major pest outbreaks
- Soil smells earthy, not sour
- It is just compacted, rooty, or depleted
Sanitize first (sometimes worth it)
- You had fungal disease like damping off, leaf spot, or blight symptoms
- You dealt with fungus gnats that never quit
- You had root rot from chronically wet pots
- You are reusing soil for seedlings or sensitive plants
Toss or downcycle (don’t put back in pots)
- You suspect herbicide contamination (plants twisted, cupped leaves, stunted growth across multiple pots)
- Soil is full of grubs or soil-dwelling larvae or persistent pests you cannot control
- It smells rotten and stays soggy even after drying attempts
- It is more like muddy dust than mix, meaning the structure has broken down completely
- The pot previously held plants with confirmed or likely soil-borne disease (like fusarium or verticillium wilt, clubroot), or you had aggressive weeds go to seed in the container
If you are unsure, downcycle it into garden beds as a thin top-dressing or mix it into a compost pile where it can mellow, rather than risking your containers.
What you’ll need
- A tarp, wheelbarrow, or large tote
- Hand rake or cultivator
- Gloves and a small trowel
- A screen (hardware cloth over a bin works great) or a milk crate for rough sifting
- Compost or worm castings
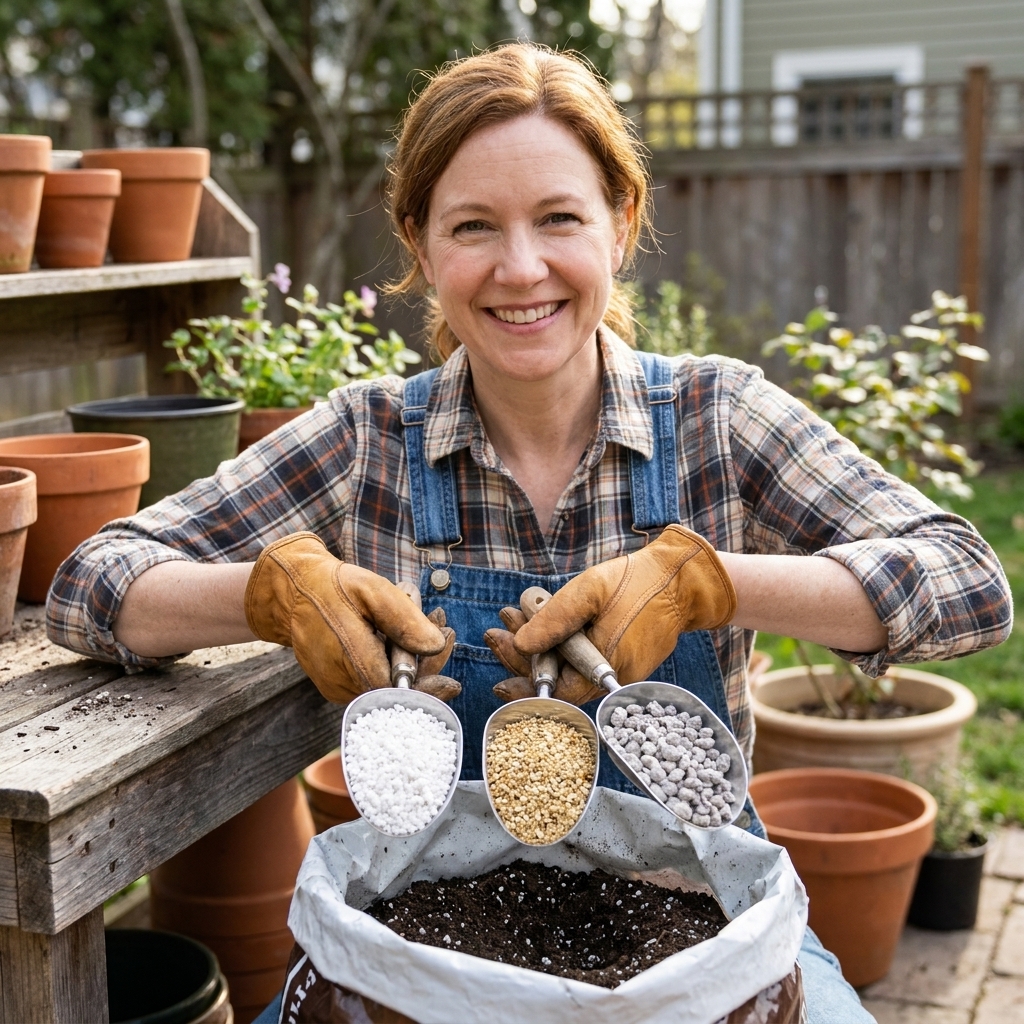
- A drainage amendment: perlite, pumice, or rice hulls
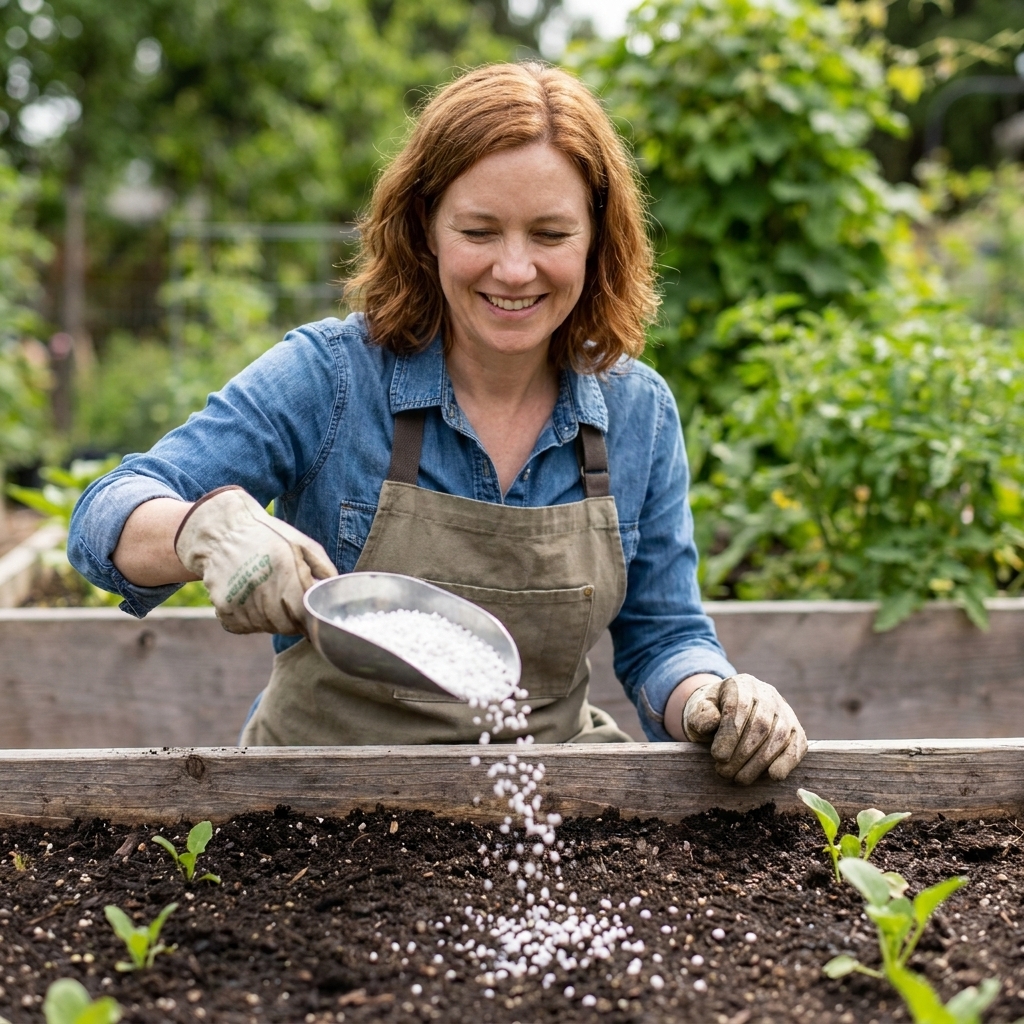
- A slow-release organic fertilizer or balanced granular fertilizer
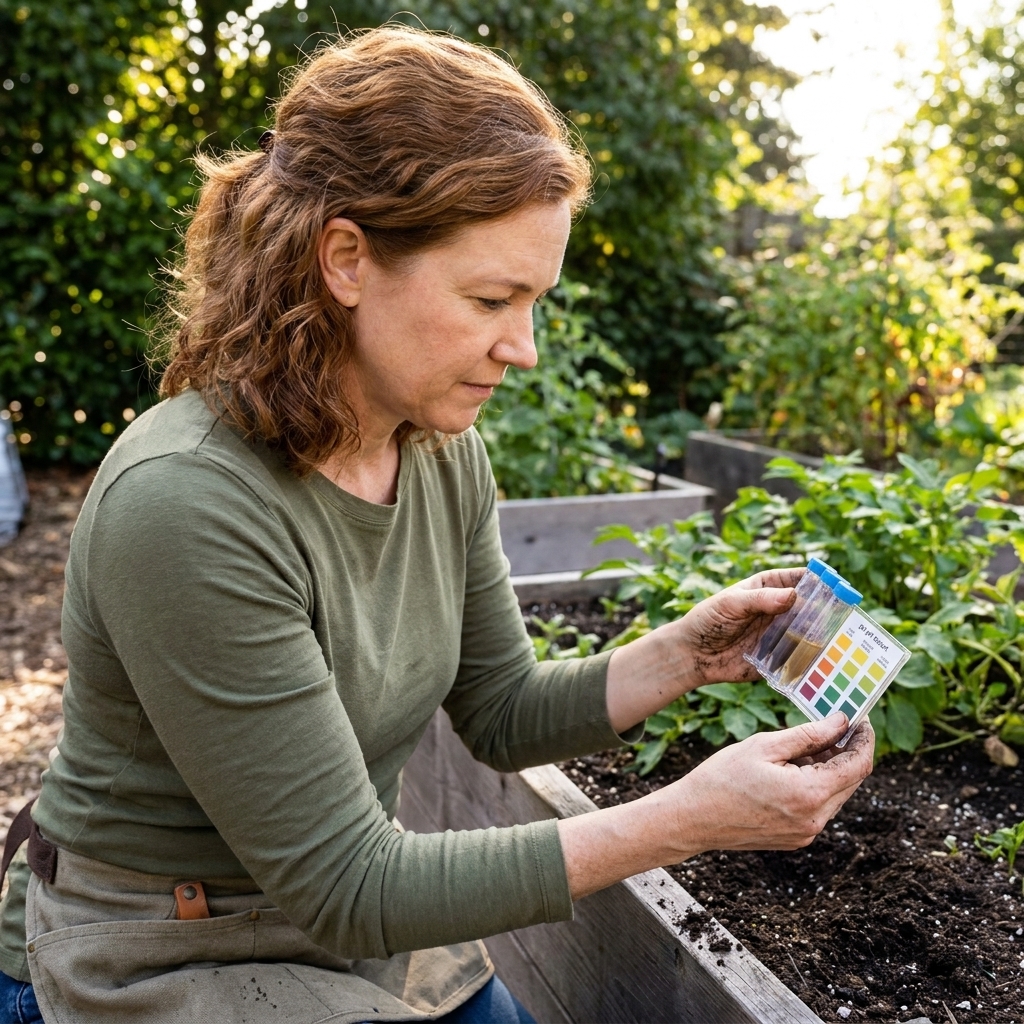
- Optional: a simple pH test kit and garden lime (dolomitic or agricultural), only if a test shows you need it
Choosing a drainage amendment: Perlite is light and can float up over time. Rice hulls are renewable but break down faster. Pumice is heavier and longer-lasting, and my favorite for big outdoor pots that stay put.
Step 1: Pull roots and break up the mix
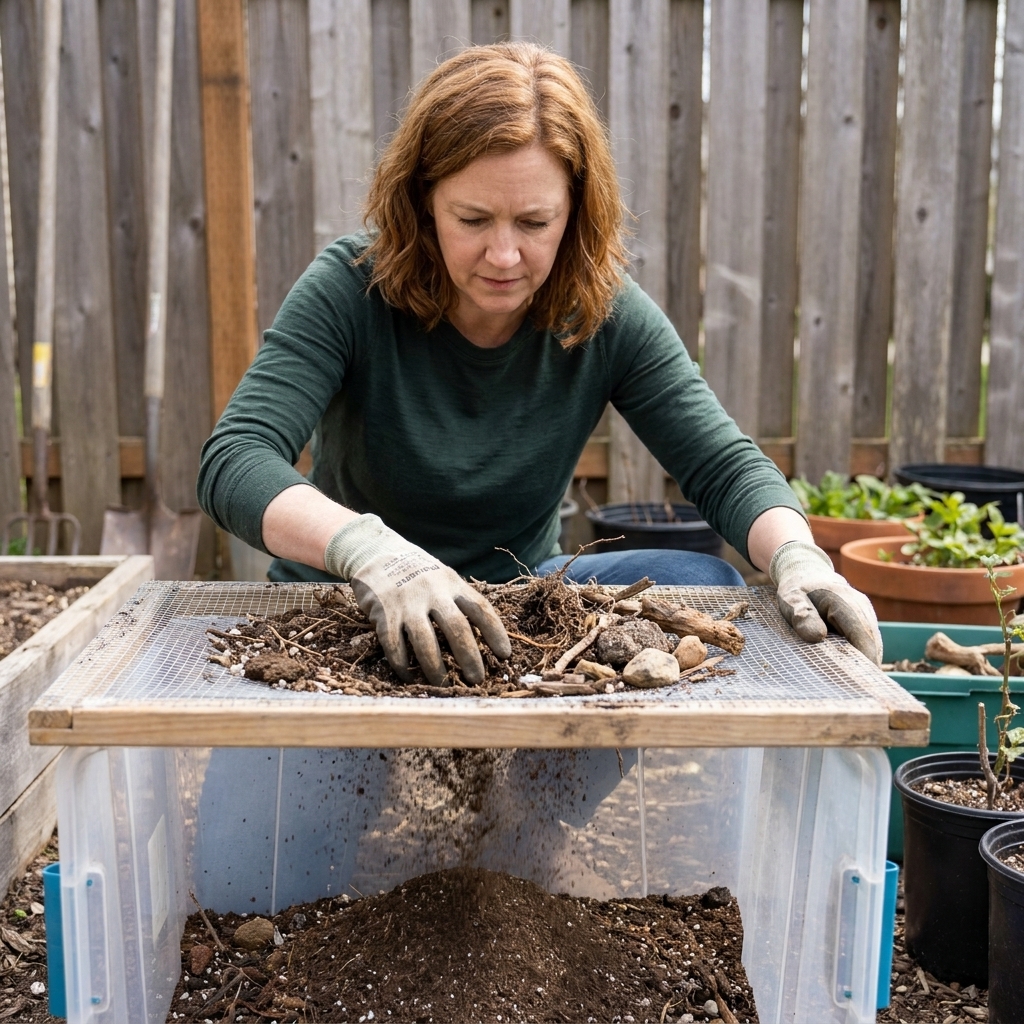
Dump the pot into your wheelbarrow or onto a tarp. Pull out the old root balls and any thick mats of roots. I am not precious about it: I shake off what soil I can, then compost the roots.
Then break up clumps with your hands or a hand rake. If the mix is bone dry and dusty, mist it lightly with water so you are not breathing it in.
Quick smell test: good soil smells like the forest floor. If it smells sour, swampy, or like rotten eggs, skip ahead to the sanitizing section or downcycle it out of containers.
Step 2: Sift (optional)
Sifting is not mandatory, but it is the fastest way to make reused mix feel “new” again. You are removing:
- Old roots and crowns
- Oversized woody pieces that do not mix in well
- Stones, sticks, and clods
- Dense fines that can clog drainage
I use a simple screen and run the mix through in batches. What stays on top goes to the compost pile. What falls through becomes your base.
Step 3: Sanitize only when needed
Sanitizing is a tool, not a default. It can knock back pathogens and pests, but it also reduces the friendly life in the mix. If last year’s plants were healthy, skip this step and go straight to re-amending.
Option A: Solarize (bigger batches)
Solarizing uses heat from the sun to reduce disease organisms and pests. Results depend on your climate and how hot the soil actually gets.
- Moisten the soil so it feels like a wrung-out sponge.
- Spread it 2 to 4 inches deep on a tarp or in a shallow bin.
- Cover tightly with clear plastic and seal the edges.
- Leave in full sun for 4 to 8 weeks during the hottest part of summer.
If you can, check with a soil thermometer. You are aiming for sustained temperatures in the neighborhood of 140°F or higher in the top few inches. In mild-summer areas, solarizing can be hit or miss, so I treat it as “helpful,” not magic.
Option B: Bake small batches (fast, but stinky)
If you need soil quickly for a few pots, you can heat it in the oven. Some gardeners prefer not to use a food oven for this because the smell can linger, so use your judgment and ventilate well.
- Preheat the oven to 180 to 200°F.
- Place moist soil in a covered, oven-safe tray.
- Heat until the center of the soil reaches 160 to 180°F and holds for 30 minutes.
A thermometer helps here because oven dials are not always precise. Avoid cranking the heat high. Overheating can create nasty odors and can alter soil chemistry.
Option C: Fungus gnat knockdown (use sparingly)
If fungus gnats are your main issue, I treat boiling water like a last-resort knockdown. It can kill larvae, but it also wipes out beneficials and does not always penetrate evenly. It can also warp some thin plastic pots, so be careful.
Safer, steadier options that actually work:
- BTI (Mosquito Bits or dunks) watered in according to the label
- Yellow sticky traps to catch adults
- Letting the top inch of the mix dry between waterings
If you still want to do a hot-water drench for pot-sized amounts, pour slowly to wet the full soil profile, let it drain, cool completely, then re-amend.
Step 4: Rebuild texture
Old potting mix usually needs “fluff” put back in. Without it, containers get waterlogged, roots struggle, and nutrients do not move the way you expect.
For most container refreshes, I aim for:
- 2 parts old potting mix
- 1 part fresh compost (or a blend of compost and worm castings)
- 1 part drainage amendment (perlite, pumice, or rice hulls)
That ratio is forgiving. The bigger the container and the longer it will hold the same plants, the more I care about structure. For tiny pots that dry fast, I use a little less perlite and a little more compost.
My quick rule: If your refreshed mix feels heavy in your hands or forms a tight ball that does not crumble, add more drainage material.
Step 5: Put nutrients back
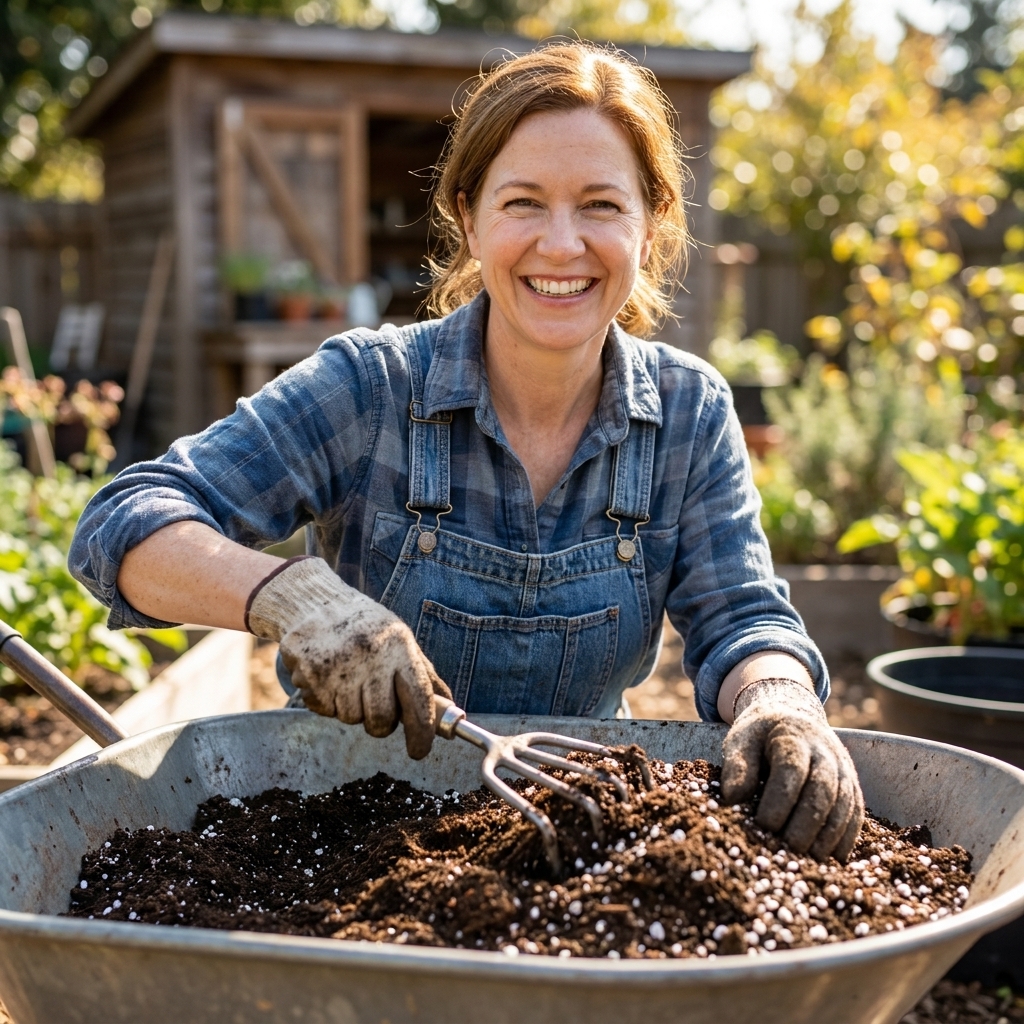
Old potting soil fails plants most often because it is depleted, not because it is “bad.” Compost adds gentle nutrition, but for heavy feeders in containers, I also add a steady fertilizer source.
Easy fertilizer options
- Organic granular blend (slow release): great for tomatoes, peppers, cucumbers, flowers
- Worm castings: mild, hard to overdo, excellent for leafy greens and herbs
- Compost: improves nutrient holding and microbial life
Follow the label rate if you use a commercial granular fertilizer. For worm castings, I commonly mix in a few handfuls per 5 gallons of refreshed soil or use it as a top-dress.
Skip piling on quick liquid fertilizer right away unless you have a hungry plant going into the pot immediately. It is easy to create a salty, stressed-out container when you stack amendments too aggressively.
A quick word on lime
I do not add hydrated lime to containers. It is caustic and easy to overdo. If you suspect pH issues, test first. If a test shows your mix is too acidic, use a small amount of dolomitic or agricultural garden lime and mix it in thoroughly, following label guidance for containers.
Step 6: Fix problems before planting
If the soil stays wet too long
- Add more perlite or pumice
- Check that containers have open drainage holes
- Use a chunkier mulch (straw, shredded leaves) instead of a thick, water-holding layer
If the soil dries out too fast
- Add more compost or a small amount of coir
- Choose a slightly larger pot for thirsty plants
- Use a light mulch to slow evaporation
If you see white crust or the mix feels “salty”
That is often fertilizer salt buildup, especially in self-watering planters or if you use liquid feed frequently.
- Put the soil in a pot with drainage.
- Run water through it slowly for a few minutes to leach salts.
- Let it drain completely, then re-amend lightly.
If you had disease last year
Even after sanitizing, I avoid putting the same crop family back into the same soil right away. For example, if you had tomato blight symptoms, I will use that refreshed soil for flowers or herbs, and give my tomatoes a fresher mix or a different batch.
If you suspect a true soil-borne disease (wilt pathogens, clubroot), I do not gamble with container reuse. I either toss that mix or downcycle it away from susceptible plants.
If you are refreshing perennials or houseplants
For long-term potted plants, I go lighter on compost and heavier on structure. Think more bark fines and pumice, less rich material. Perennials and houseplants want steady drainage for the long haul, not a mix that breaks down fast.
Step 7: Refill and store
When your mix is refreshed, fill containers loosely. Do not pack it down. Water it in once, let it settle, then top off if needed.
If you are planting right away, mix in fertilizer as you fill. If you are storing the refreshed mix for later, store it slightly moist in a lidded bin or heavy-duty bag with a little airflow so it does not go funky. Keep it out of rain so it does not get waterlogged again and turn into a fungus gnat nursery.
How much old soil can you reuse?
If last year’s mix is in decent shape, reusing 50 to 70 percent old soil and blending in 30 to 50 percent fresh ingredients is my sweet spot. If the mix is very broken down, I might reuse only 25 to 40 percent and rebuild the rest with fresh potting mix ingredients.
For pots that will host long-season plants like tomatoes, I lean toward more fresh structure. For short-season greens, herbs, and flowers, reused soil performs beautifully with a good refresh.
Where old potting soil goes instead
Nothing needs to go to waste. When soil is too fine, too funky, or just not worth fixing for containers, I downcycle it like this:
- Compost pile: use it as a bulking and absorbent material to balance wet kitchen scraps and keep things from turning into sludge
- Garden beds: spread a thin layer and mix it in, especially if it is mostly peat or coir based
- Pathways: as a light top layer under wood chips to help level low spots
I avoid dumping questionable soil into beds if I suspect herbicide residue. When in doubt, keep it separate and do a small test planting before spreading it widely.
Quick FAQ
Do I need to sterilize old potting soil every year?
No. If plants were healthy and the mix smells fine, refreshing with compost and drainage material is usually enough.
Can I add old potting soil directly to my compost bin?
Yes. Potting mix can help soak up moisture and reduce odors. Just break up clumps so it does not form bricks.
Is it okay to reuse soil from a pot that had pests?
Sometimes. For mild issues, sifting, drying the mix thoroughly, and then re-amending is often enough. For persistent fungus gnats or disease, sanitize or downcycle it out of containers.
What’s the biggest mistake people make when reusing potting soil?
Reusing it without fixing structure. Containers need air pockets. If the mix is compacted, roots struggle no matter how much fertilizer you add.
My dirt-nerd bottom line
Old potting soil is not a lost cause. With a little sifting, a little fluff, and a little food, it can grow gorgeous container plants again. I like saving money, sure, but I also love the quiet satisfaction of closing the loop: last year’s roots and leaves become this year’s soil, and this year’s soil becomes next year’s harvest.
If you try this and your mix still feels off, trust your senses. Containers are honest. When the soil drains well, smells good, and holds moisture without staying soggy, you are back in business.