If you have heavy clay, you already know the two moods it comes in: sticky peanut butter when it is wet and concrete when it is dry. I started gardening in a yard like that and learned the hard way that clay is not “bad soil” so much as it is soil with a strong personality.
Clay can actually be incredibly fertile. The trick is improving its structure so water and roots can move through it. That happens fastest when you stop trying to “defeat” clay with aggressive digging and start feeding it, protecting it, and loosening it in small, smart steps.
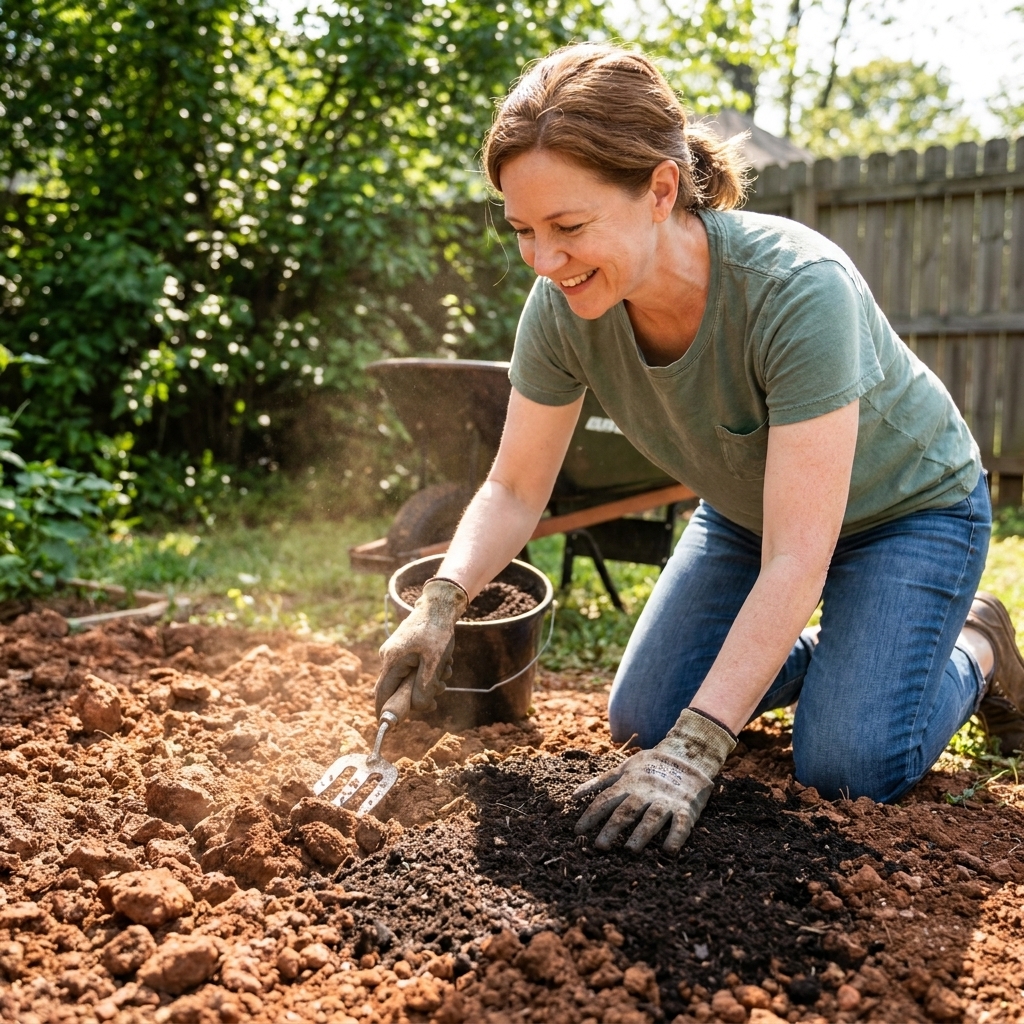
Below is exactly how I break up and amend clay without destroying the little bit of structure it already has, plus what to add, what to skip, and how long it realistically takes.
Start here
If you are overwhelmed, do these three things first. They make the biggest difference with the least drama:
- Do the squeeze test (below) so you are not working clay at the wrong time.
- Top-dress with 1 inch of finished compost (or leaf mold if you have it).
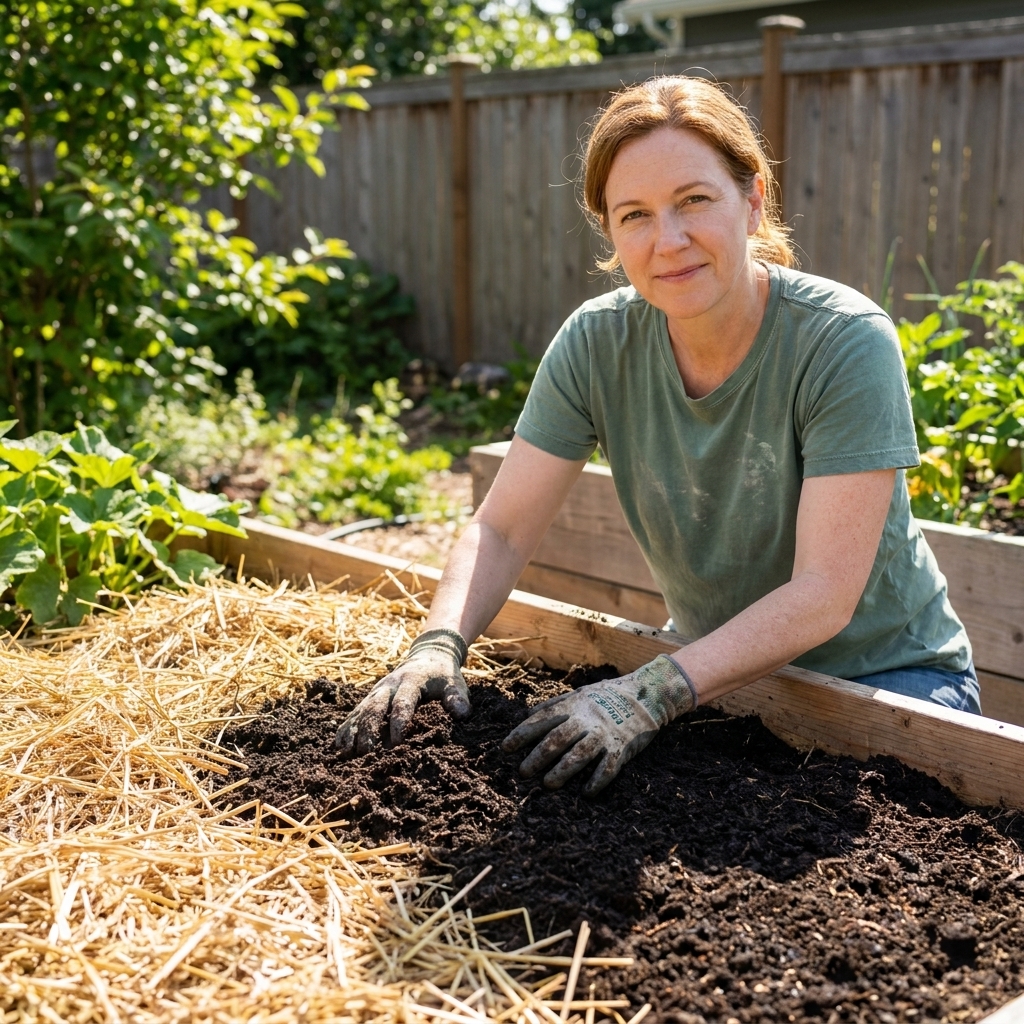
- Cover the soil with 2 to 4 inches of shredded leaves or straw.
If the bed still feels tight, add a gentle fork “lift and crack” step in the sweet-spot moisture window.
Clay structure, in plain language
Think of good garden soil like a chocolate cake. You want little crumbs and air pockets so roots can breathe and water can soak in. Heavy clay is more like a dense brownie that got squished.
Clay particles are tiny and like to pack together. When we work clay at the wrong time or grind it into dust, we break up any natural clumps (called aggregates). Then those tiny particles settle even tighter. That is how you get crusting, puddles, and that hard layer you hit with a trowel.
The goal is not to “make clay disappear.” The goal is to help it form stable crumbs by adding organic matter, keeping it covered, and doing the minimum amount of disturbance needed for planting.
Before you dig: the squeeze test
This one step prevents so much heartbreak.
Do this
- Grab a handful of soil from 3 to 6 inches down.
- Squeeze it into a ball.
- Poke it with your thumb.
What it means
- If it smears and shines or holds a tight ribbon when you press it, it is too wet. Step away. Working wet clay can create long-lasting clods and compaction.
- If it will not hold together at all and feels like hard chunks, it is too dry to work efficiently. Water the day before you plan to loosen it.
- If it forms a ball but breaks apart with a firm poke, that is your sweet spot. This is when clay is most cooperative.
In many climates, that sweet spot shows up in early spring after the ground has drained, and again in fall once the heat backs off.
One big mistake: deep rototilling clay
I know it is tempting to rent a rototiller and go to town. In clay, that often backfires.
- Tilling when soil is slightly wet can smear clay into a dense layer below the tilled zone, sometimes called a tillage pan.
- Tilling very dry clay can pulverize the surface into fine particles that crust over after rain.
- Either way, you end up needing to till again, and again, and the soil never really stabilizes.
If you already have a garden in clay and want long-term improvement, you will usually get better results with surface compost, gentle loosening, and consistent cover than with repeated tilling.
How to loosen clay gently
Here are three methods I use, depending on whether I am starting a new bed or maintaining an existing one.
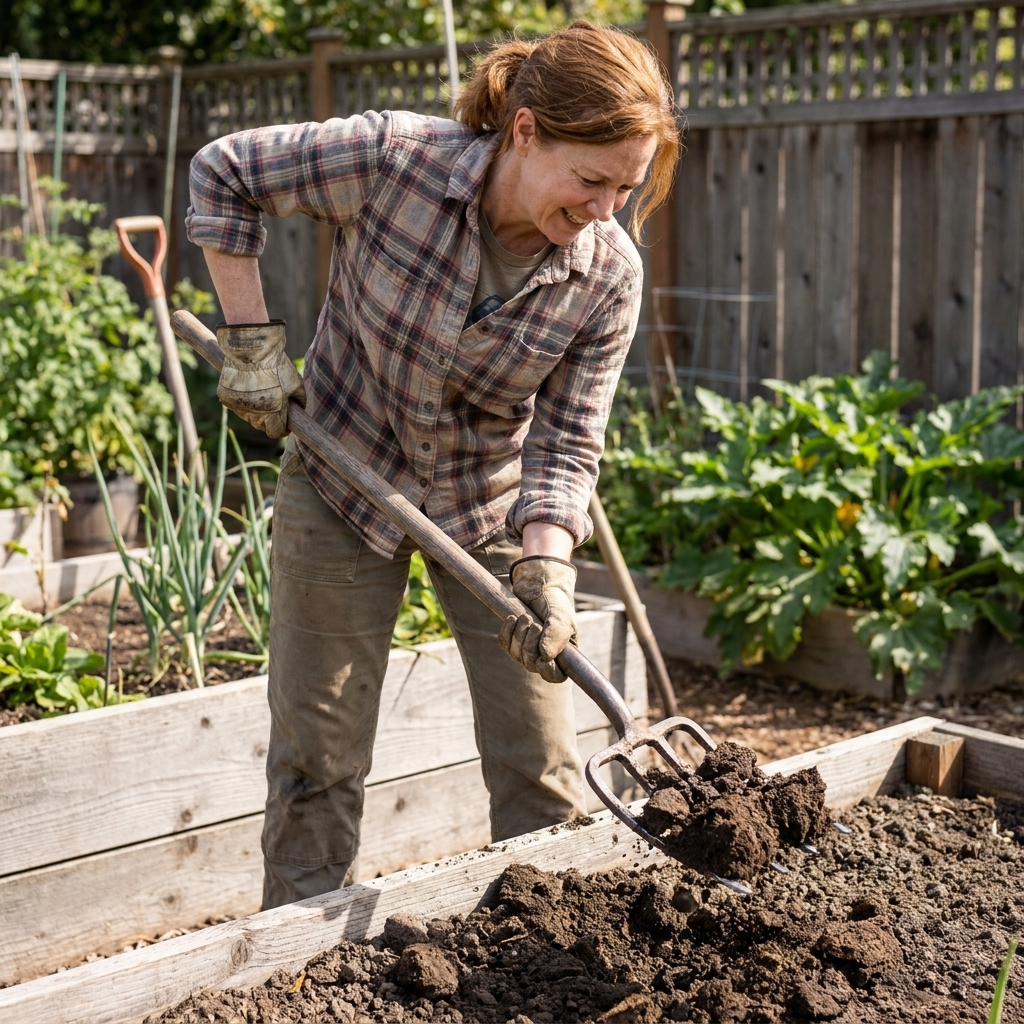
Method 1: Broadfork “lift and crack”
This is my favorite for established beds because it opens the soil without flipping it.
- After the squeeze test says “go,” spread 1 to 2 inches of finished compost over the bed.
- Push a broadfork (or sturdy garden fork) in 6 to 10 inches deep.
- Rock the handles back just enough to lift and crack the soil. Do not turn it over.
- Step back and repeat, working across the bed.
You are creating channels for air, water, and worms. Then the compost on top sifts in naturally over time.
Safety note: do not broadfork or drive stakes until you know where buried utilities and irrigation lines are.
Method 2: Double-dig once
If you are building a brand-new in-ground bed in very compacted clay, a one-time deep prep can help. The key is to do it once, do it at the right moisture, and then switch to low-disturbance maintenance.
- Mark your bed and remove the top 8 to 10 inches of soil, setting it aside.
- Loosen the next 6 to 8 inches with a fork. Try not to haul up big raw subsoil chunks.
- Add a thin layer of compost (about 1 inch) and gently fork it into that loosened lower layer.
- Put the topsoil back, then add another 1 to 2 inches of compost on the surface.
- Mulch right away.
This is labor, yes. But done carefully, it can jump-start root depth without signing you up for a lifetime of tilling.
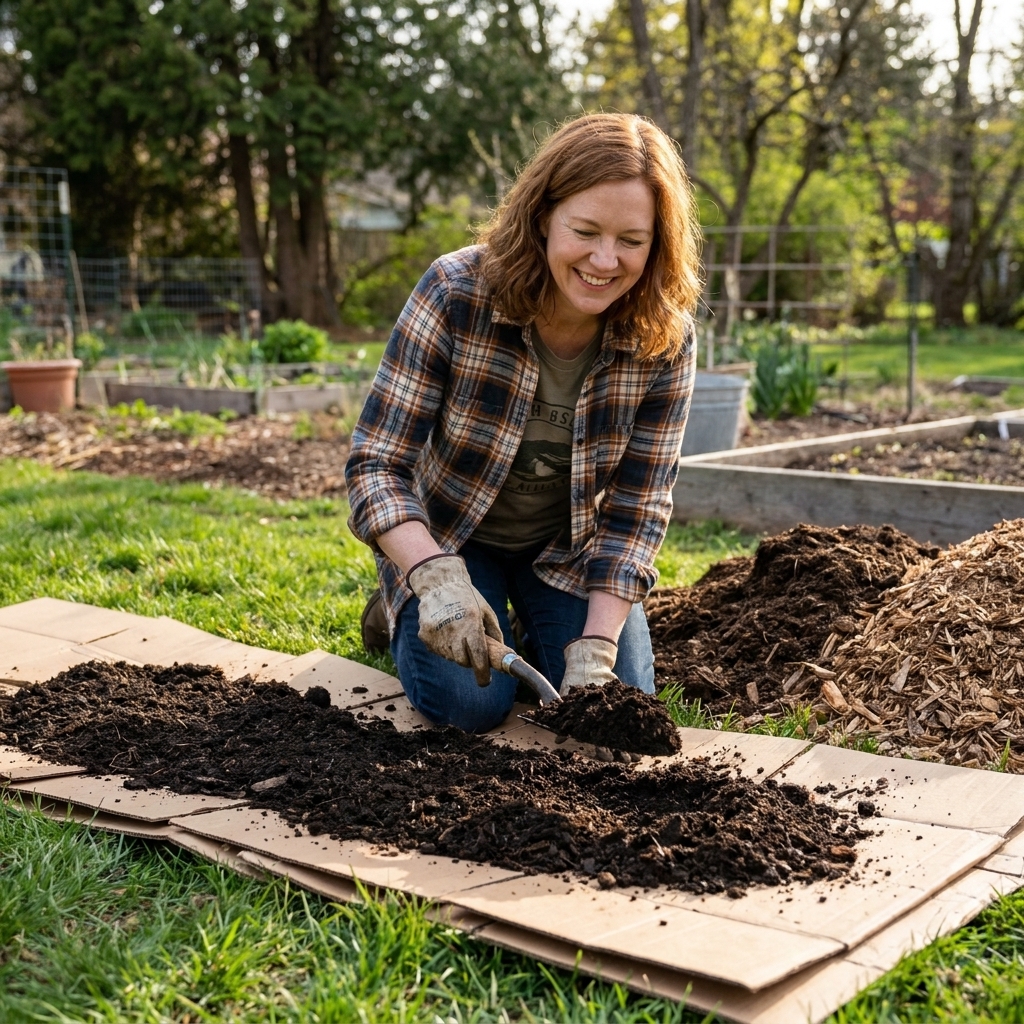
Method 3: Sheet mulching
If your clay is also packed by foot traffic or you are converting lawn, sheet mulching is slower, but wonderfully effective.
- Mow the area low and water it.
- Lay plain cardboard in overlapping sheets (no glossy coatings).
- Wet the cardboard thoroughly.
- Add 2 to 4 inches of finished compost, or use a more budget-friendly mix like 1 to 2 inches compost topped over 2 to 4 inches of topsoil.
- Top with 2 to 4 inches of straw or shredded leaves.
Plant into it right away with transplants, or let it settle for a few weeks. The worms will do the digging for you.
What to add to clay soil
In clay, the best amendments are the ones that improve aggregation and feed soil life. You are building a sponge-like structure, not trying to “change the soil type” overnight.
Finished compost
If you only do one thing, do this: add finished compost regularly.
- How much: 1 inch in spring and 1 inch in fall is a great rhythm. For very rough clay, you can do 2 inches occasionally.
- How to apply: spread it on top, then mulch. Let water, worms, and roots pull it down.
- Why it works: compost helps clay form stable crumbs, improves infiltration, and boosts microbial life.
One practical caveat: more is not always better forever. Repeated heavy compost applications can contribute to nutrient buildup (especially phosphorus). A simple soil test every couple of years helps you stay in the sweet spot.
Leaf mold
Leaf mold is partially decomposed leaves. It is like a moisture manager for clay: it helps soil hold water during dry spells while still improving drainage during wet ones.
- How to use: 1 to 2 inches on the surface, or mix lightly into the top few inches if you are prepping a bed.
Coarse mulches
Mulch protects clay from crusting and compaction. It also buffers moisture swings, which is huge for keeping structure intact.
- Vegetable beds: straw, shredded leaves, or clean grass clippings in thin layers.
- Perennials and pathways: wood chips are excellent.
Important: avoid mixing fresh wood chips into the root zone. Keep them on top as mulch so they do not compete with plants for nitrogen while they break down.
Worm castings
Castings help aggregation and biology. I like them for seed starting zones or around transplants.
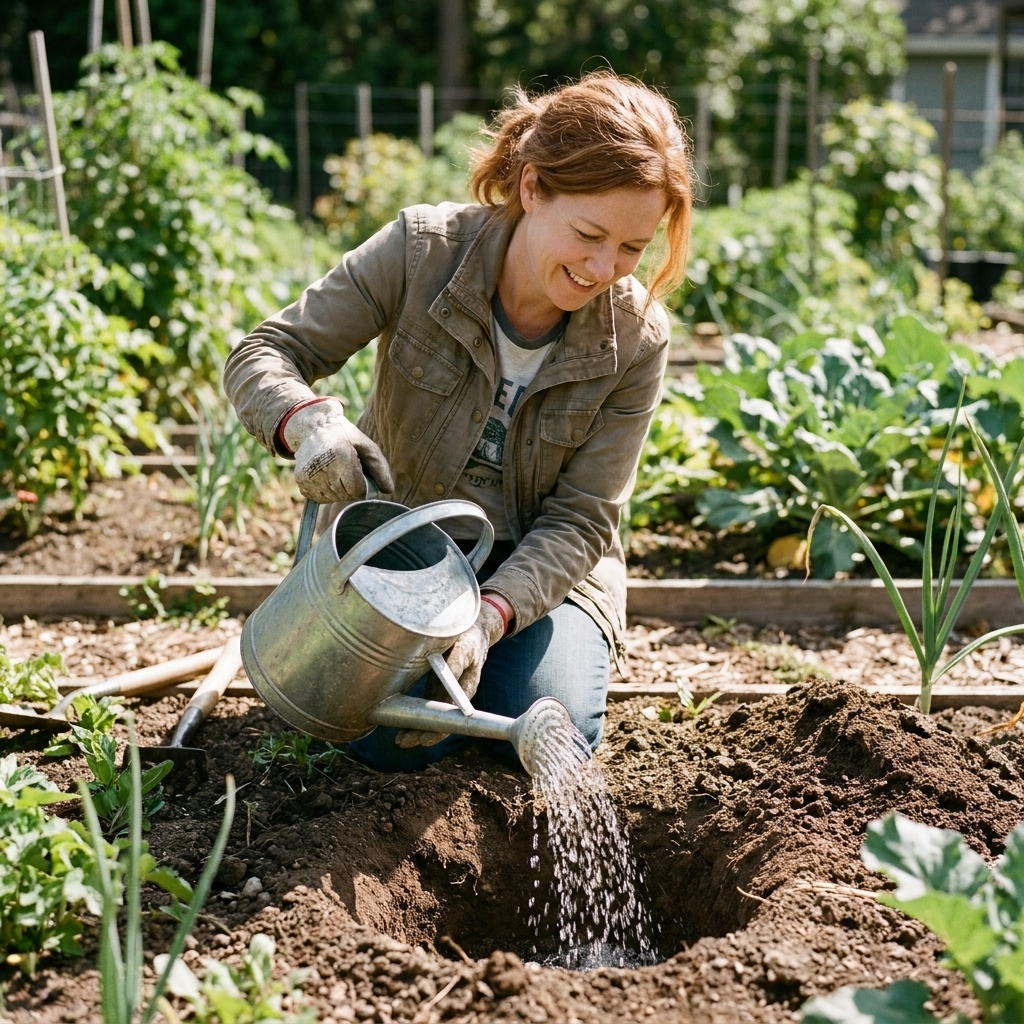
- How to use: a handful in each planting hole or a light sprinkle along rows.
Gypsum
Gypsum can help flocculate clay (encourage particles to clump) when the problem is sodium-heavy soil or specific chemistry issues. In many home gardens, the bigger limiter is low organic matter and compaction, not calcium.
If your soil has drainage issues and you suspect salinity or sodium (common in some arid regions or where irrigation water is high in salts), a soil test is worth it before you buy bags of gypsum.
Biochar
Biochar can improve long-term structure, but it should be pre-charged before adding. Fresh biochar can temporarily tie up nutrients.
- How to use: blend it into finished compost and let it sit for a couple of weeks (or longer), then apply that compost as a surface layer or shallow incorporation.
- How much: aim for roughly 5 to 10% biochar by volume in the compost blend.
What not to do to clay
These are the clay “quick fixes” that often cause more trouble than they solve.
Do not mix sand into clay
Small amounts of sand typically do not improve clay, and can make it feel tighter and harder to work. To truly change texture with sand, you would need a very large amount, plus organic matter, and deep, uniform blending. For most home gardens, it is not the best use of time or money.
Do not leave clay bare
Bare clay seals over in rain and bakes hard in sun. Keep it covered with mulch, living plants, or a surface layer of organic matter.
Do not walk on your beds
Clay compacts easily. Use stepping stones or permanent paths, and keep a strict “no feet in the bed” habit. This single change can make your soil feel different within one season.
Do not overwork it with a shovel
Repeatedly chopping and turning can break aggregates down faster than they can rebuild. Clay likes gentle loosening, then time.
A simple seasonal plan
If you want an easy routine, this is the one I use in my own beds and recommend most often.
Spring
- Do the squeeze test.
- Fork “lift and crack” if the bed feels tight.
- Add about 1 inch of finished compost.
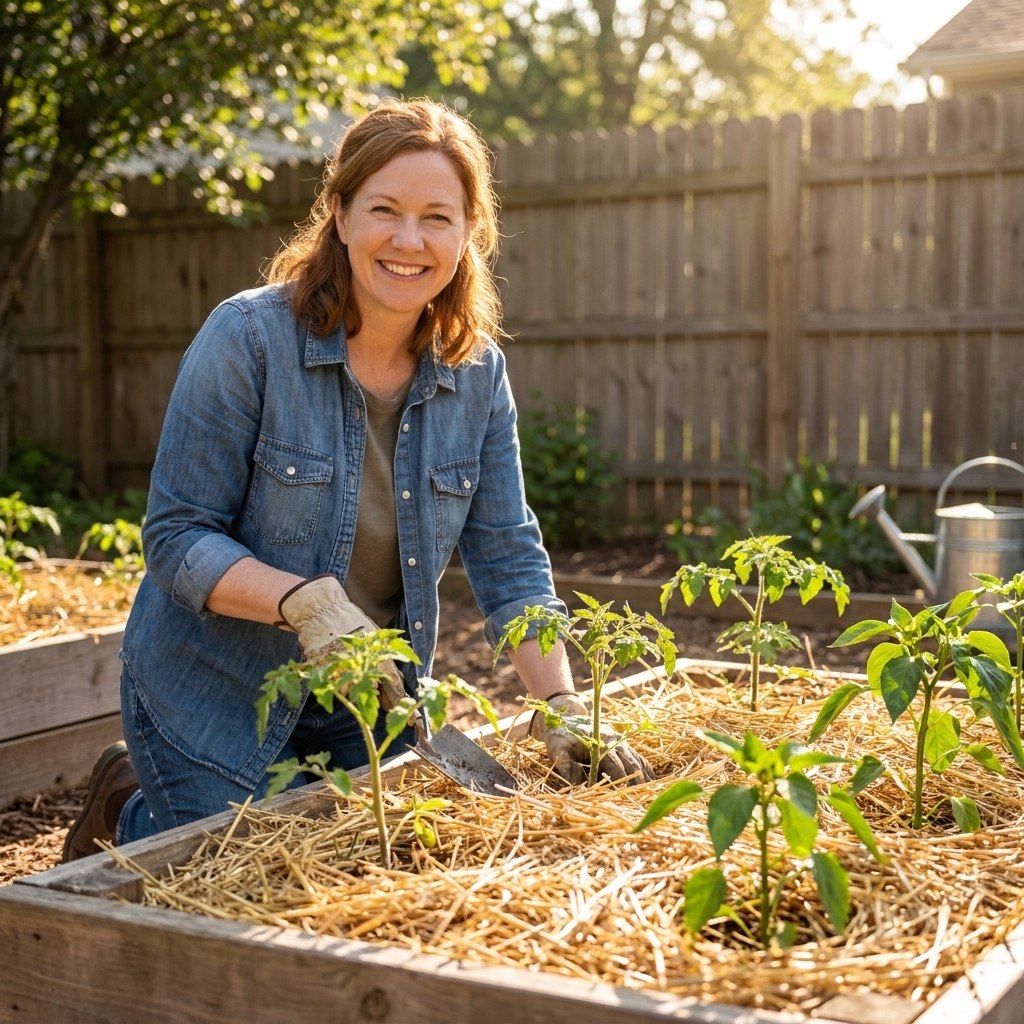
- Mulch after planting.
Summer
- Mulch maintenance: refill thin spots.
- Water deep and less often. Frequent shallow watering encourages surface crusting.
- Use gentle cultivation only in the top inch or two if you must weed.
Fall
- Remove spent plants, leaving roots in place when possible.
- Add another 1 inch of compost or leaf mold.
- Add a thick layer of shredded leaves or straw.
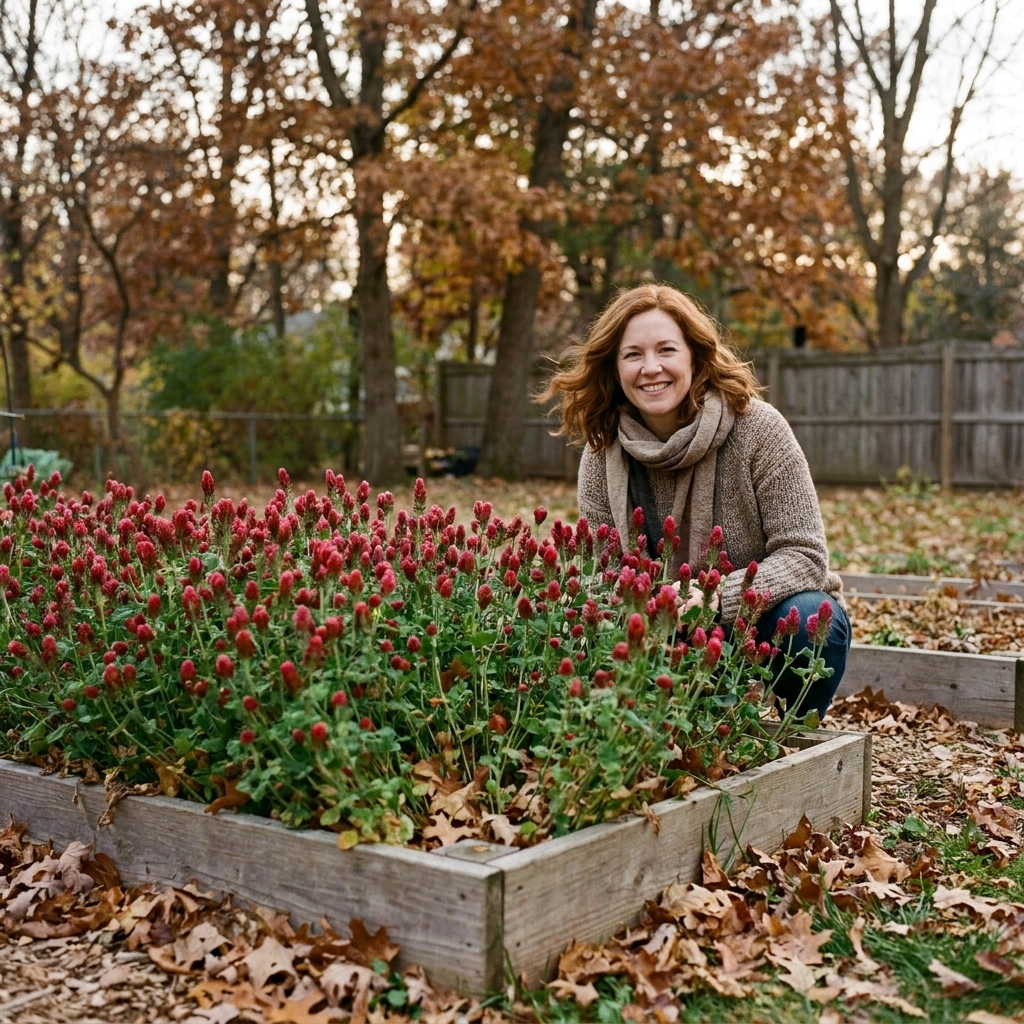
- Plant a cover crop if you have the space (winter rye, crimson clover, or field peas, depending on climate).
Winter
- Leave beds covered. Soil life does steady, quiet work all winter.
- If you live in a climate with real freeze and thaw cycles, those swings can help crack and loosen soil naturally. In mild-winter regions, you will still get progress, just more from roots, worms, and organic matter than from weather.
Cover crops for clay
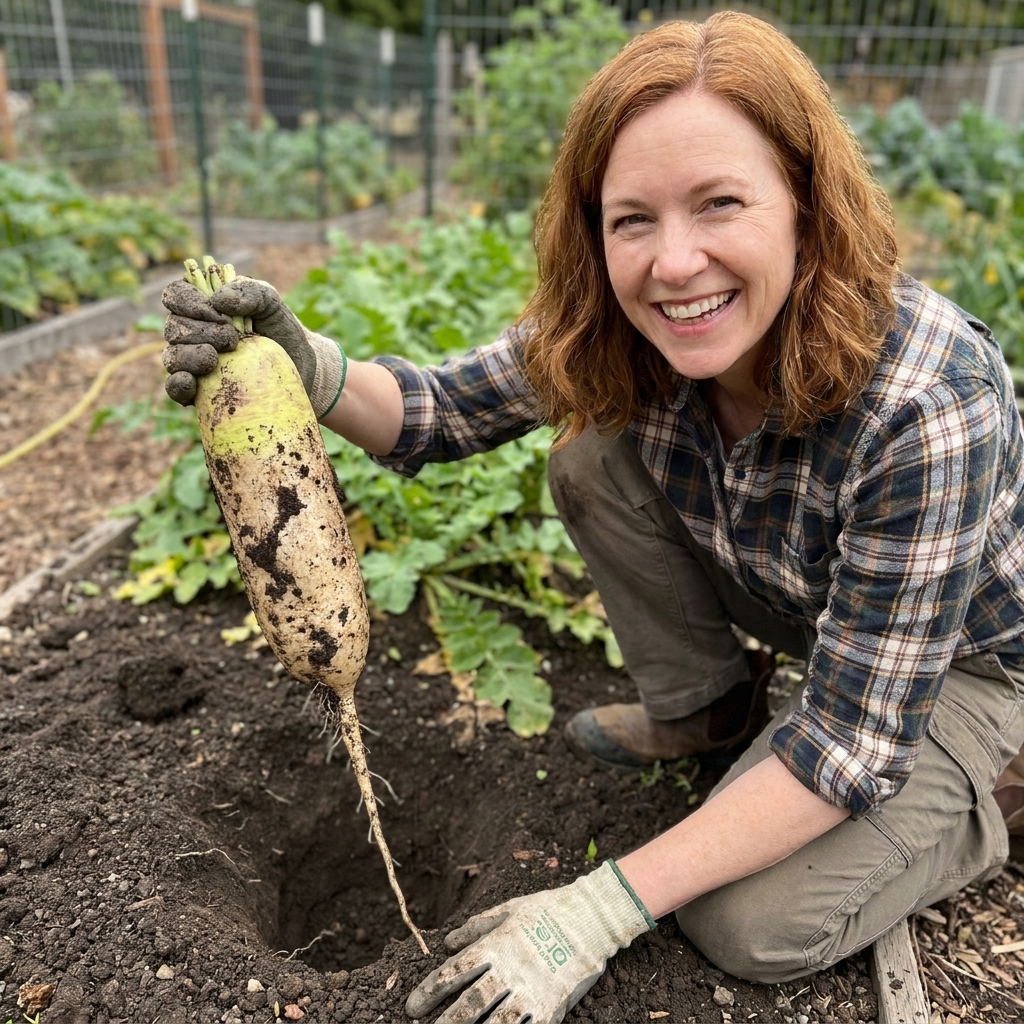
If you have ever pulled up a daikon radish and seen the hole it leaves behind, you already understand why cover crops can feel like magic in clay.
Great options
- Daikon radish (tillage radish): strong taproot, great for breaking compact layers. Best for open beds, not tight plantings.
- Cereal rye: excellent root mass and winter toughness. Chop and drop before it sets seed.
- Crimson clover: adds nitrogen and has a nice root network.
- Oats and peas: an easy fall mix that winter-kills in many areas, leaving a mulch.
Cover crops work best when you treat them like mulch you grow on purpose: cut them down at the right time and leave the roots to decay in place.
Drainage fixes that help
Sometimes clay is not the only issue. Sometimes water is simply trapped by slope, downspouts, or compaction from construction.
Small changes that matter
- Redirect roof runoff: extend downspouts away from beds.
- Build slightly raised beds: even 6 to 10 inches above grade improves drainage dramatically, especially when filled and topped with compost-rich soil.
- Create permanent paths: paths take the stomping so beds can stay loose.
- Keep adding organic matter: the soil becomes more sponge-like, which helps water move down instead of pooling.
A quick note on French drains
French drains can help in severe situations, but they are a landscaping project. If your garden holds standing water for days, it may be worth evaluating site drainage and grading along with soil improvement.
Soil testing matters
Clay often holds nutrients well, but that does not always mean plants can use them. If growth is disappointing even after you improve structure, pH can be the hidden issue. A basic soil test can tell you:
- pH (which affects nutrient availability)
- major nutrients and organic matter
- whether you are creeping into excess territory from years of compost and fertilizers
I like testing every couple of years, or anytime a bed behaves strangely. It saves you from guessing, and from adding the wrong thing with confidence.
How long does it take?
With consistent surface additions and mulch, most home gardens see noticeable changes in:
- One season: easier digging in the top few inches, less crusting, better plant vigor.
- One year: improved drainage and more earthworms, fewer brick-hard dry spells.
- Two to three years: real transformation, with crumbly structure and deeper rooting.
Clay rewards patience. You are building a living system, not doing a one-time renovation.
Quick troubleshooting
My clay turns into big hard clods after I dig
You probably worked it a little too wet, or broke it down too aggressively. Switch to fork “lift and crack,” add a surface layer of compost, and keep it mulched to soften clods over time.
Water puddles on the surface and drains slowly
First, check for compaction and traffic. Next, make sure runoff is not being directed into the bed. Then focus on regular compost additions, a thick mulch layer, and cover crop roots to open channels.
The top looks better but it is still hard underneath
That is normal. Improvements move downward slowly. Deep roots, cover crops, and occasional broadforking in good moisture conditions help a lot.
I added compost, but the soil still feels sticky
Compost improves structure, but clay will still feel like clay when it is very wet. Judge success by drainage, root growth, and how the soil behaves at planting time, not by how it feels after a heavy rain.
My go-to clay soil recipe
If you want a simple starting point, this is what I do most often:
- Add: 1 to 2 inches finished compost.
- Loosen: broadfork or fork-lift when moisture is right.
- Cover: 2 to 4 inches shredded leaves or straw (or wood chips around perennials).
- Repeat: spring and fall.
That is it. Not glamorous, not instant, but it works. Clay can become some of the best soil you will ever garden in once you stop fighting it and start building it.