If you have ever stood in your garden after a rain and wondered why one bed dries out in a day while another stays squishy for a week, you are not imagining things. Soil drains at different speeds depending on texture, compaction, organic matter, and even what happened on the site years ago. A simple soil percolation test (often shortened to “perc test”) takes the guesswork out of it. You will measure how fast water moves down through your soil, then you can choose fixes that actually match the problem.
One quick note: This is a gardener’s screening test, not a regulatory or engineering perc test for septic or construction. It is meant to guide planting and bed decisions, not replace a formal site evaluation.
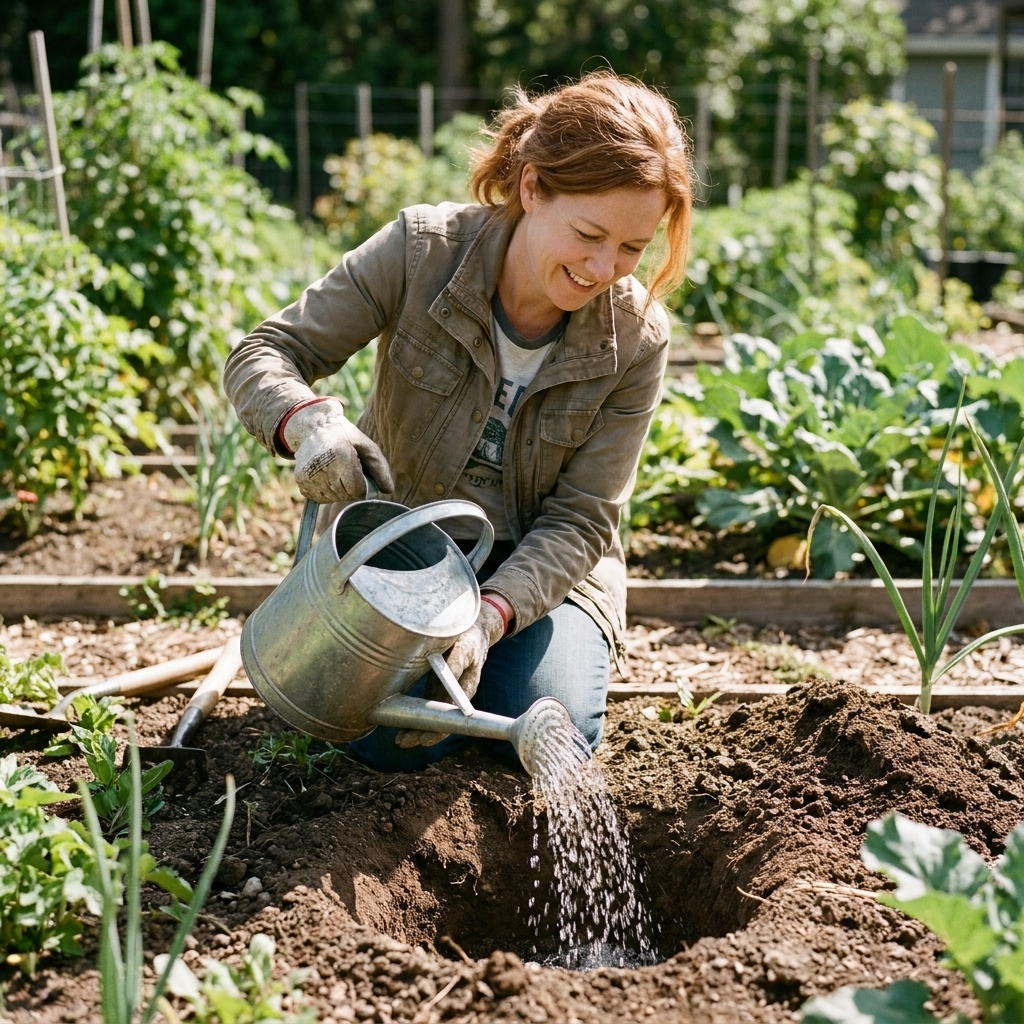
What a percolation test tells you
A soil percolation test measures the rate water drains through a specific spot in your garden. It is not a lab test and it will not diagnose every soil issue, but it answers a very practical question: How long does water hang around in the root zone?
This matters because:
- Too fast and water, nutrients, and compost benefits move past plant roots quickly.
- Too slow and roots can suffocate in waterlogged soil, inviting rot, fungus gnats, and stressed plants.
In my own first clay-yard garden, I kept “fixing” things by watering less. The real fix was learning where the soil physically could not drain, then building better structure over time.
When to run the test
- Best seasons: spring or fall when soil is workable and not baked hard or frozen.
- Best timing: when the soil is not already saturated from a storm. You want typical conditions.
- Run it before: installing raised beds, planting fruit trees, creating a rain garden, or choosing plants for a problem area.
If you are testing a spot that always puddles, wait until the puddle disappears, then test. That gives you a clearer number you can compare to the rest of the yard.
Safety first
Before you dig, make sure it is safe to dig in that spot. Avoid testing right next to septic systems, drain lines, or known utility runs. If you are not sure what is buried where you live, locate utilities first.
Tools you need
- Shovel or post hole digger
- Ruler or measuring tape
- Timer or phone stopwatch
- Water (a bucket, hose, or watering can)
- A straight stick or scrap board (optional, handy for measuring water drop)
No fancy gear needed. The only must is measuring and timing accurately.
How to do a soil percolation test
Step 1: Choose test spots
Pick at least two spots:
- One where plants struggle or water pools
- One normal area as a comparison
If you are testing a whole bed, do 2 to 3 tests across it. Drainage can vary a lot even within a few feet.
If you suspect a hardpan or perched water, it also helps to test two depths. Do your standard 12-inch test, then do a second hole at about 18 inches in the same general area to see if deeper soil drains differently.
Step 2: Dig the hole
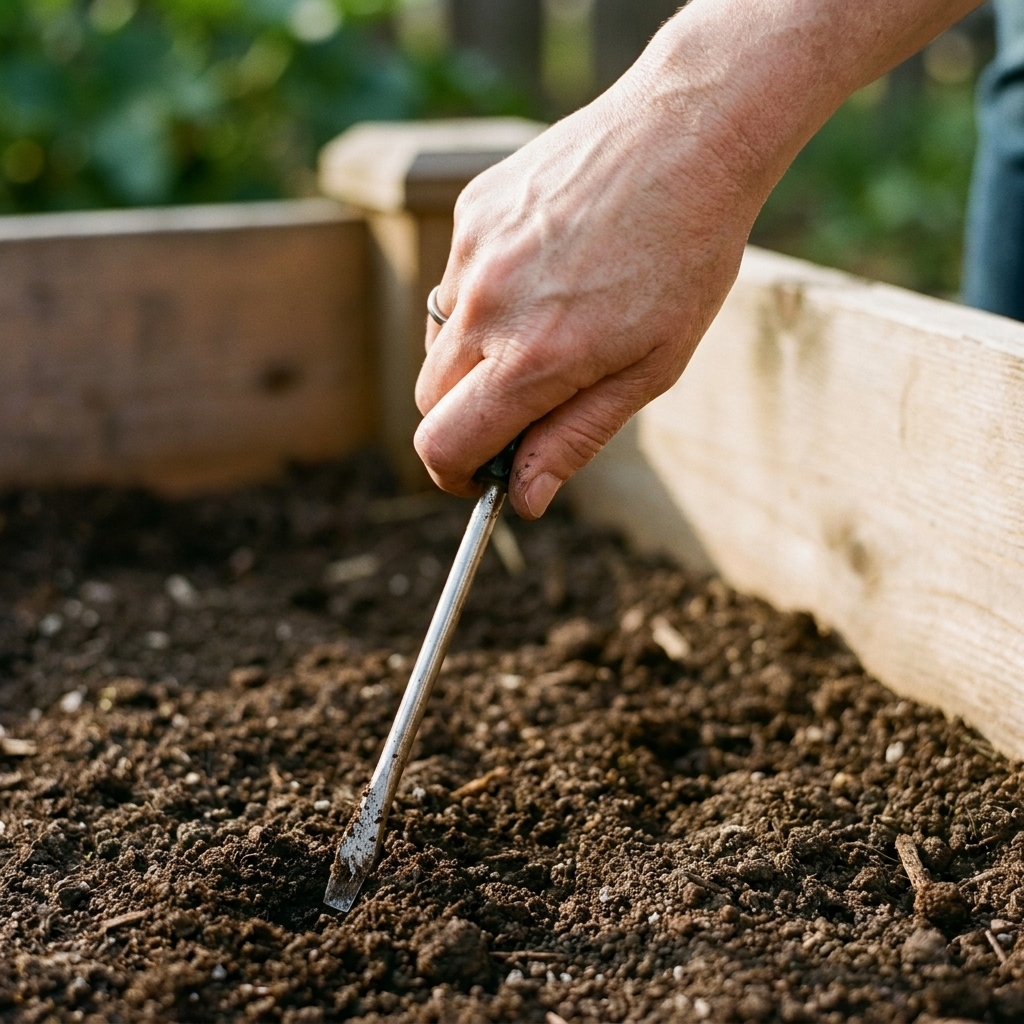
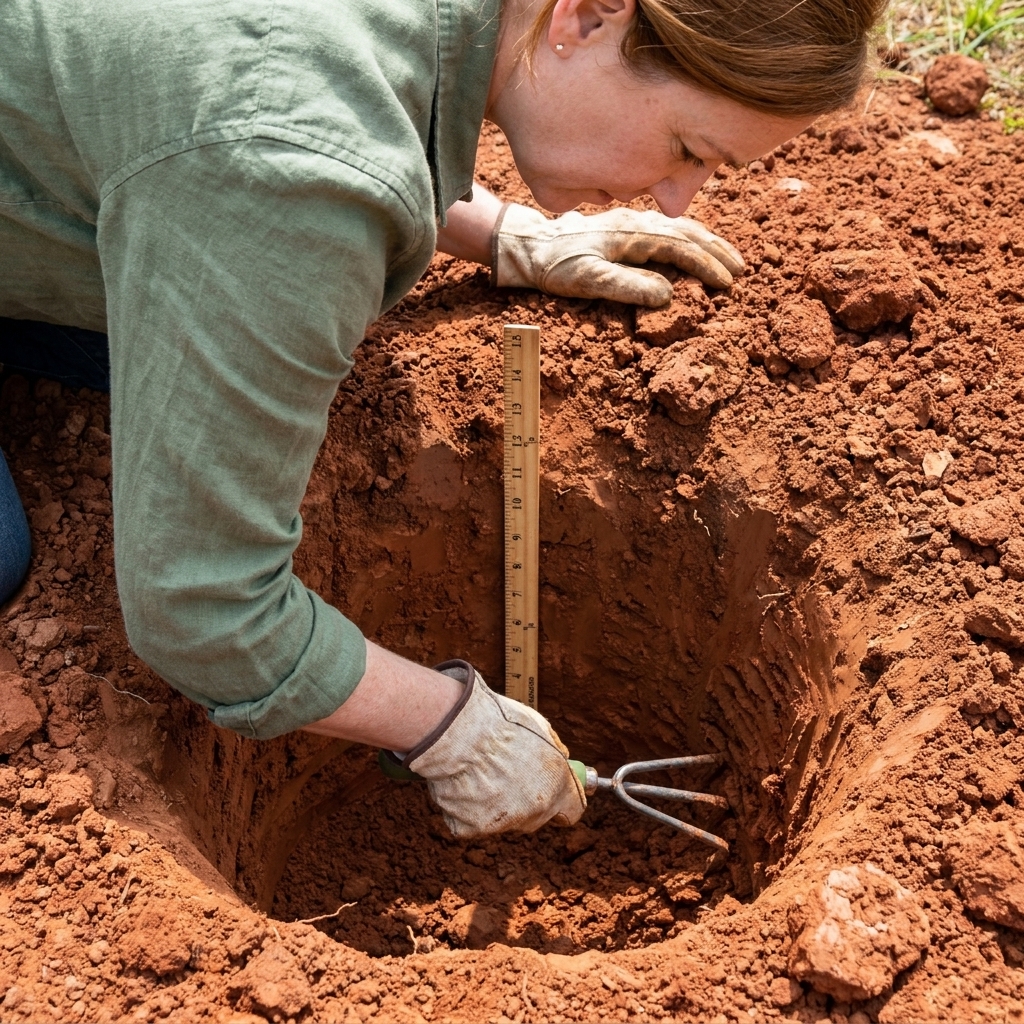
Dig a hole about 12 inches wide and 12 inches deep. Try to keep the sides fairly straight.
Important: If your shovel smears the sides into a shiny, slick surface (common in clay), rough up the sides and bottom with the shovel tip or a hand fork. A smeared wall can act like a glazed pot and slow drainage artificially.
Step 3: Pre-soak the soil
This part is easy to skip, but it matters. Dry soil can take in the first round of water differently than already-moist soil.
- Fill the hole completely with water.
- Let it drain away.
- If your soil is very dry, fill it a second time and let it drain again.
Now your test will reflect drainage through hydrated soil, closer to what roots experience after a normal watering or rainfall.
Step 4: Fill again and measure the drop
Fill the hole with water one more time, to within 1 to 2 inches of the top (do not overflow). Start your timer.
Measure how far the water level drops in 30 minutes or 60 minutes and write it down. If you measure for 30 minutes, you can double it to estimate an hourly rate. Rates are not perfectly linear, but this is close enough for garden decisions.
Example: If the water drops 1 inch in 30 minutes, that is about 2 inches per hour.
Step 5: Calculate your percolation rate
Your simple home perc rate is:
Inches drained per hour = inches of water level drop ÷ time in hours
Keep your results with the date and location, even just in your phone notes. Drainage can shift over seasons as organic matter builds and compaction changes.
How to read your results
Garden soils are not septic systems, so there is no single official perfect number. Think of these as practical rules of thumb that many garden references and extension-style guides use in one form or another.
| Drainage rate (inches per hour) | What it often suggests | What gardeners often notice |
|---|---|---|
| < 0.5 | Very slow drainage, likely compaction or heavy clay, sometimes a hardpan layer | Puddles, sour smell, mossy patches, root rot, stunted plants |
| 0.5 to 1 | Slow to moderate drainage | Bed stays wet longer, spring planting feels delayed |
| 1 to 2 | Good all-around drainage for many vegetables and flowers | Soil holds moisture but does not stay swampy |
| 2 to 4 | Fast drainage, often sandy soil or very loose raised-bed mix | Soil dries quickly, more frequent watering and feeding needed |
| > 4 | Very fast drainage | Plants wilt fast, nutrients leach, organic matter breaks down faster and needs regular replenishment |
If your problem spot is dramatically slower than the rest of your yard, you have learned something valuable: you are not dealing with a garden-wide issue. You are dealing with a local soil or grading issue, which is usually easier to fix.
Why soil drains poorly
Compaction
Foot traffic, wheelbarrows, mowing, and even repeated digging when soil is wet can press air out of the soil. Compacted soil drains slowly and roots struggle to push through it.
Clay and smeared structure
Clay itself is not bad. It holds nutrients beautifully. The problem is when clay is compacted and lacks organic matter, it can behave like a brick.
Hardpan
Sometimes you hit a dense layer 6 to 18 inches down. It could be old construction fill, repeated tillage at the same depth, or naturally dense subsoil. Water can perch above it and create a soggy root zone even when the soil below is drier.
Grading and runoff
If water flows into a bed from a roof, driveway, or slope, your soil may be fine but simply overwhelmed. Drainage tests help you see whether the issue is infiltration (water cannot enter and move through) or volume (too much water arriving).
Fix slow drainage
Here is the honest truth from a recovering clay-yard gardener: the best fixes are usually boring and steady. Quick fixes tend to create new problems.
1) Stop working soil when it is wet
If you squeeze a handful and it forms a sticky ball that keeps its shape, walk away for now. Working wet soil crushes structure, especially in clay.
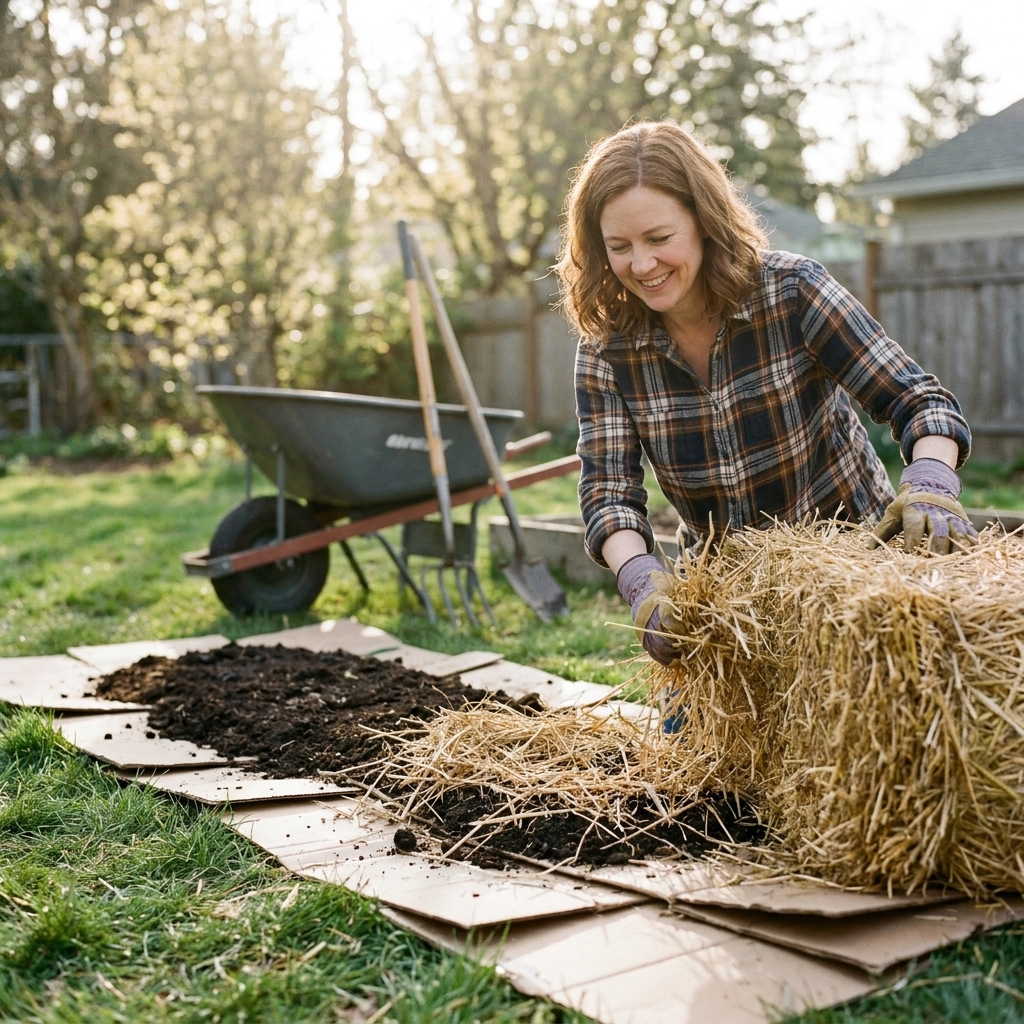
2) Add compost the steady way
Compost improves drainage in heavy soils by building crumbly structure, not by acting like sand or gravel. Aim for:
- 1 to 2 inches of finished compost spread on top of the bed
- Repeat once or twice a year
- Let worms and weather pull it down, or mix it into only the top few inches if you must
Consistency is what changes clay over time. One big compost dump helps, but three smaller seasonal applications often helps more.
3) Mulch to protect structure
Bare soil gets hammered by rain, then seals over. A 2 to 4 inch layer of shredded leaves, straw, or wood chips (keep chips off vegetable stems) cushions the surface and encourages soil life that naturally opens pores.
4) Loosen compaction gently
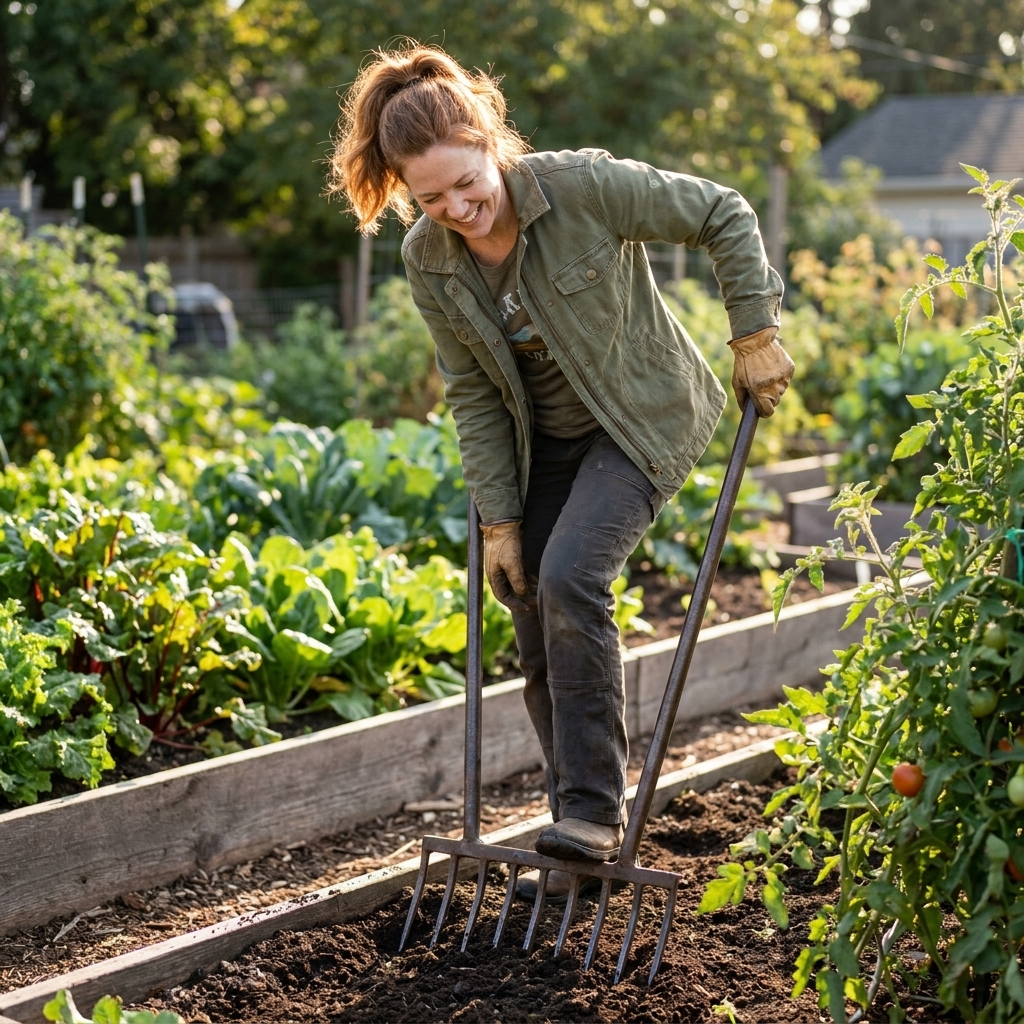
If your perc rate is very slow and the soil feels dense, try lifting the soil instead of turning it:
- Push a garden fork in 8 to 12 inches deep.
- Rock it back slightly to crack the soil.
- Move over and repeat.
This creates channels for roots and water without destroying all the layers you have been building.
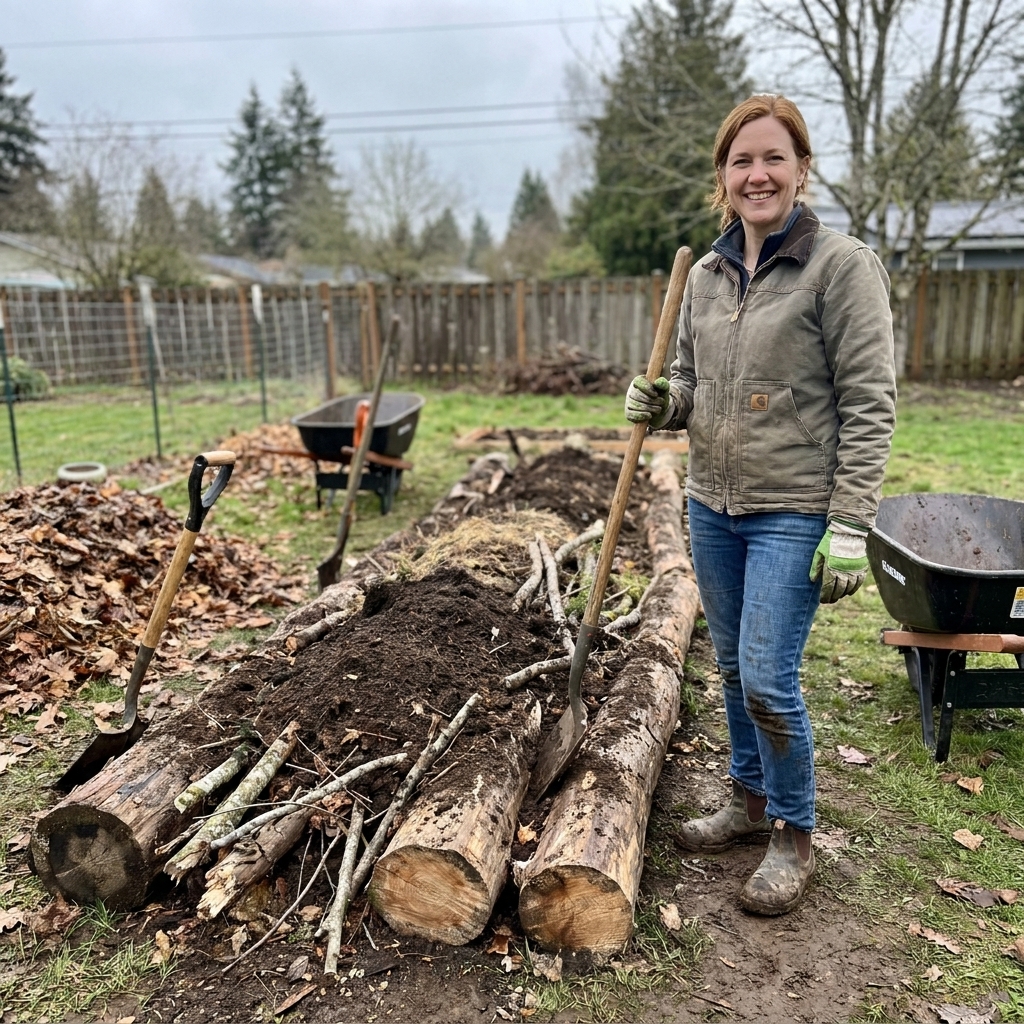
5) Go raised when you need to
If your percolation rate is under 0.5 inches per hour and you are dealing with a persistent perched water table, building up can be the most practical choice. Even an 8 to 12 inch raised bed can keep roots above saturated soil.
Tip from my own yard: fill raised beds with a mix that includes compost but is not pure compost. A simple, practical blend is topsoil plus compost, or even your native soil plus compost if you can loosen the base layer first. You want something stable and soil-like that holds moisture without collapsing.
6) Redirect excess water
If the issue is too much runoff:
- Add a simple swale (a shallow depression) uphill to slow and spread water.
- Extend downspouts away from beds.
- Consider a rain garden area planted with moisture-loving plants, placed where water already wants to go.
What not to do: add a little sand to clay
It is a classic suggestion, and it often backfires. Adding small amounts of sand to clay can make the texture tighter and harder to work. Improving clay with sand takes very large volumes and the right particle sizes, which is usually impractical for most home gardens. Compost and other organic matter are the safer, more reliable path.
If soil drains too fast
Fast drainage is not always good drainage. If your test shows 3 to 4+ inches per hour, you may be watering constantly and still seeing stressed plants.
To help sandy or very loose soil hold water longer:
- Add compost regularly (yes, compost helps both slow and fast soils, just in different ways).
- Mulch heavily to reduce evaporation.
- Plant cover crops in the off-season to add roots and organic matter.
- Water more deeply but less often to encourage deeper rooting.
Quick troubleshooting
The hole will not drain
- You may be in a perched water table or hitting a dense layer.
- Dig a second hole 2 to 3 feet away to compare.
- If both do not drain after several hours, plan on raised beds, soil lifting, and redirecting runoff.
Results feel inconsistent
- Make sure you did the pre-soak.
- Rough up smeared sides in clay.
- Test at least twice in the same general area and average the results.
The top drains but plants still struggle
Drainage can be decent, but roots can still struggle if the soil is compacted, low in organic matter, or low in oxygen because of a crusted surface.
- Keep the surface covered with mulch.
- Avoid pounding overhead watering on bare soil, especially in clay.
- Top-dress lightly with compost to encourage a crumbly surface that lets water in.
FAQ
How deep should the hole be?
For most home beds, 12 inches deep is a great standard because it hits the main root zone for vegetables and many flowers. If you are planting shrubs or fruit trees, testing a second hole at about 18 inches can help you spot a hardpan or perched water layer.
Do I need to test every bed?
Not forever. Test when you are setting up a new garden area, troubleshooting a problem, or after a big change like adding lots of organic matter or switching to raised beds. Once you know your yard’s slow zones and fast zones, you can work smarter.
Will compost fix drainage right away?
It can help some right away, especially at the surface, but the biggest improvements come over months and seasons as soil life incorporates it and structure forms. Think steady layering, not one-and-done.
Next step
If you only do one thing after reading this, do this: run two tests, one in your worst spot and one in your best spot. That comparison is powerful. Once you know whether you are dealing with slow infiltration, compaction, a hardpan, or just too much water arriving, you can choose a fix that actually sticks.