The first year I tried to grow vegetables in my compacted clay, I learned a painful truth: you can baby seedlings all you want, but if the soil is struggling, your garden will struggle right along with it. A three-bin compost system was one of the biggest upgrades I ever made because it gave me a steady pipeline of finished compost, not just a single mystery pile that was always half done.
This setup is simple: one bin for fresh inputs, one bin for active composting, and one bin for curing and finishing. You always know where new scraps go, what needs turning, and what is almost ready for the garden.
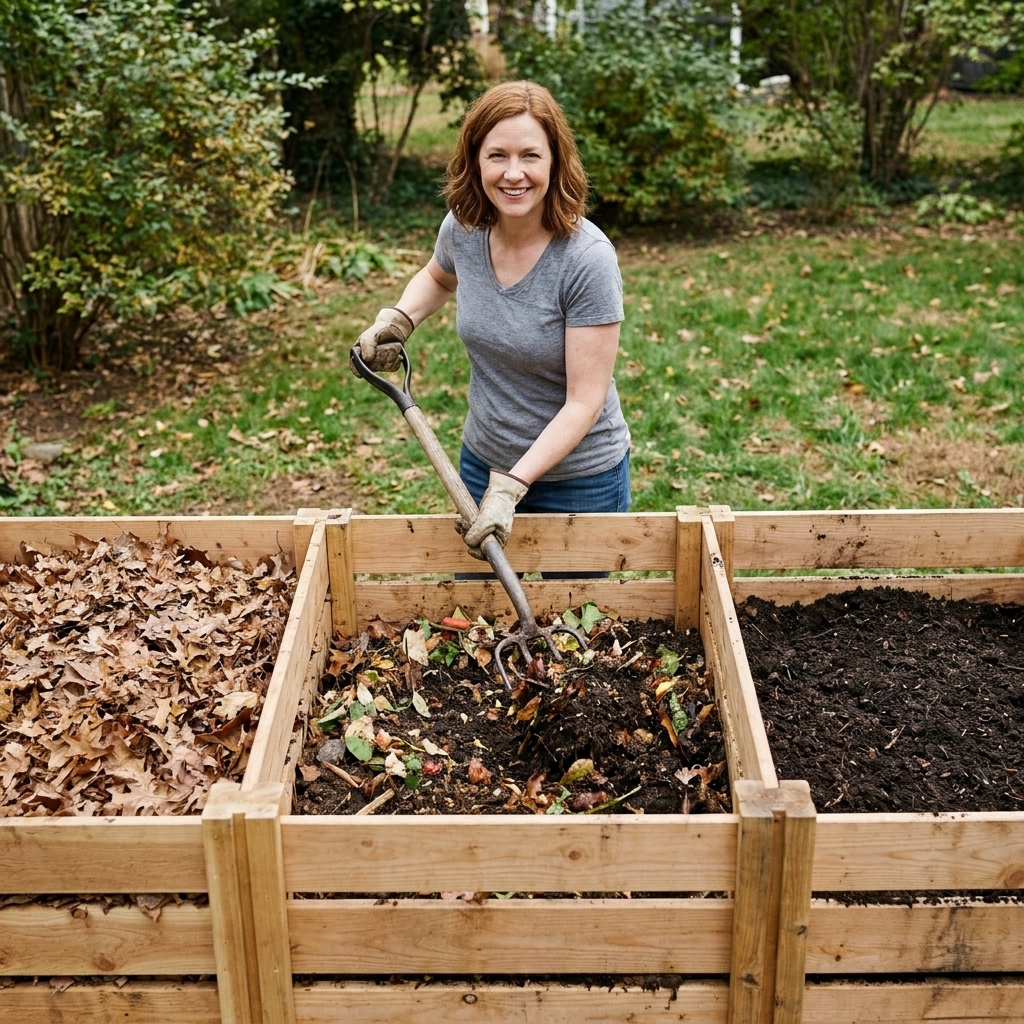
Why three bins beat one pile
A single pile can work, but it tends to become a catch-all. You toss in new scraps on top of older material, which resets the clock and makes it harder to finish a full batch.
With three bins, you get:
- More reliable finished compost because you can actually finish a batch and let it cure without adding new material to it
- Faster breakdown because the active bin stays at a more consistent moisture and carbon-to-nitrogen balance
- Less mess because there is a clear place for everything and fewer half-composted layers
- Better compost quality because curing time in the third bin creates that sweet, earthy, crumbly texture plants love
Picking the right spot
Location matters more than people think. Put your bins where you will actually use them in every season, not just in July.
- Close to the action: within easy wheelbarrow distance of your garden and not too far from the kitchen door
- On soil when you can: direct contact with the ground improves drainage and lets beneficial microbes and earthworms move in. If you need to compost on a slab, it can still work. Just watch for pooling water and manage any runoff.
- Some shade is your friend: full sun dries piles out fast; deep shade can slow decomposition. Dappled shade is a happy middle.
- Good drainage: avoid low spots where water pools
If rodents are a concern, you can still place it on soil and add a layer of hardware cloth under the bins, then cover it with a thin layer of leaves before you start composting.
Layout and dimensions
You can build bigger, but these dimensions are the sweet spot for most home gardeners. They hold enough material to heat up, but not so much that turning becomes a back-breaking event.
Recommended size per bin
- Width: 3 to 4 feet
- Depth: 3 to 4 feet
- Height: 3 to 4 feet
A classic build is three bays that are each about 4 feet wide, sharing walls, for a total run of about 12 feet plus posts. If your yard is small, three 3-by-3 bins still work well. The key is keeping each bin roughly cubic so the pile can insulate itself.
Materials and tools
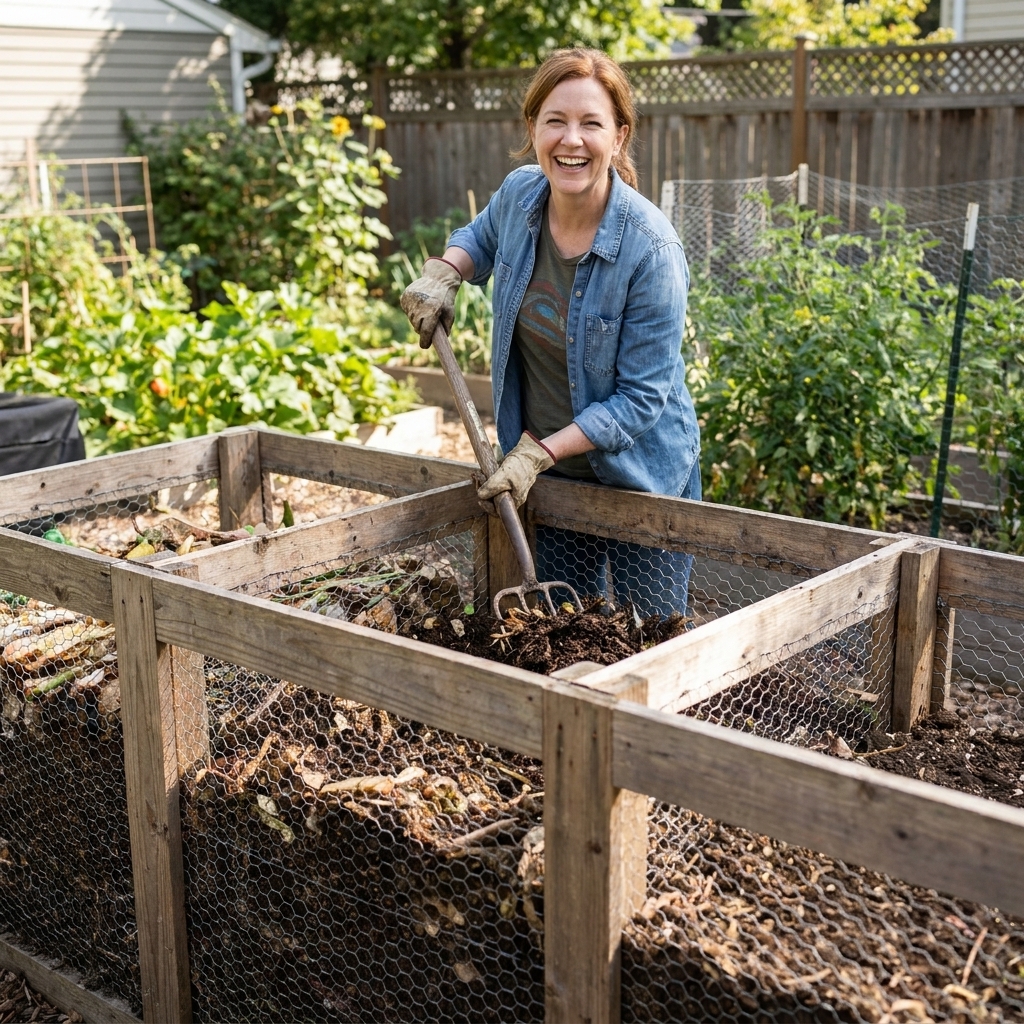
You can build a three-bin system with basic lumber, screws, and wire mesh. Here is a straightforward set of materials that holds up in real weather.
Materials
- Pressure-treated or naturally rot-resistant lumber for posts and framing (cedar and redwood are great if budget allows)
- Exterior deck screws
- Galvanized hardware cloth or welded wire mesh for sides and back
- Optional: removable front slats (boards), or a simple drop-in front made from mesh and a frame
- Optional: roofing panel or tarp system if you want a rain cover
If you use pressure-treated lumber, I like to keep it on the outside of the build (posts and frame), and avoid having finished compost sit pressed against it for months. If you would rather not think about it, go with cedar, redwood, or untreated lumber you expect to replace sooner.
Tools
- Measuring tape and pencil
- Level
- Drill and driver bits
- Staple gun with heavy-duty staples (for mesh)
- Wire cutters or tin snips (for hardware cloth)
- Shovel or post hole digger (if you are setting posts)
Quick comfort and safety note: hardware cloth is fantastic, and it is also sharp. Gloves and eye protection are a good idea when cutting and fastening it.
If you are using pallets, you can absolutely do that, but pick clean, solid pallets and fasten them tightly. Wobbly compost bins are the compost equivalent of a shopping cart with a bad wheel.
How to build it
This is the build I recommend to most folks because it is sturdy and forgiving. Adjust to fit your space, but keep the workflow: Bin 1 → Bin 2 → Bin 3.
Step 1: Mark the footprint
Measure your total length and depth. For three 4-foot bays, plan roughly 12 feet long by 4 feet deep, plus a little extra for post thickness.
Step 2: Set posts or build a ground frame
You have two good options:
- Posts in the ground: most durable. Set corner and divider posts, making sure everything is square and level.
- Ground frame: easier if digging is hard. Build a rectangular frame on the ground and attach upright corner posts to it.
Step 3: Add the back and sides
Attach mesh to the back and side panels. Mesh gives airflow, which helps compost stay aerobic and less stinky. If you have critters, hardware cloth is worth the upgrade over wider welded wire.
Step 4: Build dividers
These walls take the most pressure because compost is heavy. Use extra bracing or thicker lumber here. Your future self, mid-turn in November, will thank you.
Step 5: Make an easy front opening
The front is where convenience lives. You want something you can remove when turning and put back when filling.
- Removable slats: classic and tidy. Slide boards into side rails.
- Lift-off panel: a simple framed mesh panel that hooks in place.
- Open front: works, but spills happen and it is harder to keep neat.
Step 6: Optional cover
A cover helps in two situations: very rainy climates (to prevent soggy piles) and very hot, dry climates (to reduce moisture loss). A simple hinged lid, a corrugated panel roof, or even a tarp clipped down can do the job.
How to run it
The bins are the easy part. The compost comes from the routine. Here is the system I use to keep material moving without overthinking it.
Bin 1: Fresh inputs
This is where new kitchen scraps and yard waste go. The goal is to build up a full batch before you start turning it like crazy.
- Add greens: fruit and veggie scraps, coffee grounds, fresh grass clippings, plant trimmings
- Add browns: dry leaves, shredded cardboard, paper towels (not greasy), straw, small wood chips
- Cover food scraps with a layer of browns to reduce odor and flies
My rule: keep a dedicated “brown stash” next to the bins. A lidded trash can full of dry leaves or shredded cardboard makes composting almost effortless.
Bin 2: Active compost
When Bin 1 is full, or you have enough material for a real batch, you move it into Bin 2. This mix-and-move step is where compost starts acting like compost.
- Mix greens and browns thoroughly as you transfer
- Moisten dry pockets as needed
- Aim for the moisture of a wrung-out sponge
Turn Bin 2 regularly. Weekly is wonderful, every two weeks is still solid, and even monthly helps. The more you turn, the more oxygen you add, and the more evenly everything breaks down.
Bin 3: Curing compost
Once the active bin looks mostly broken down and no longer heats much after turning, move it to Bin 3 and let it cure.
- Let it sit 4 to 8 weeks if you can
- Keep it lightly moist, not soggy
- Pick out stubborn chunks and toss them back into Bin 1 or 2
Curing is what takes compost from “mostly decomposed” to “black, fluffy, plant-ready.” This is where the magic texture comes from.
Rotation schedule
You do not need a complicated calendar. Use these triggers instead:
- Move Bin 1 to Bin 2 when Bin 1 is full, or when you have a good mix built up and want heat
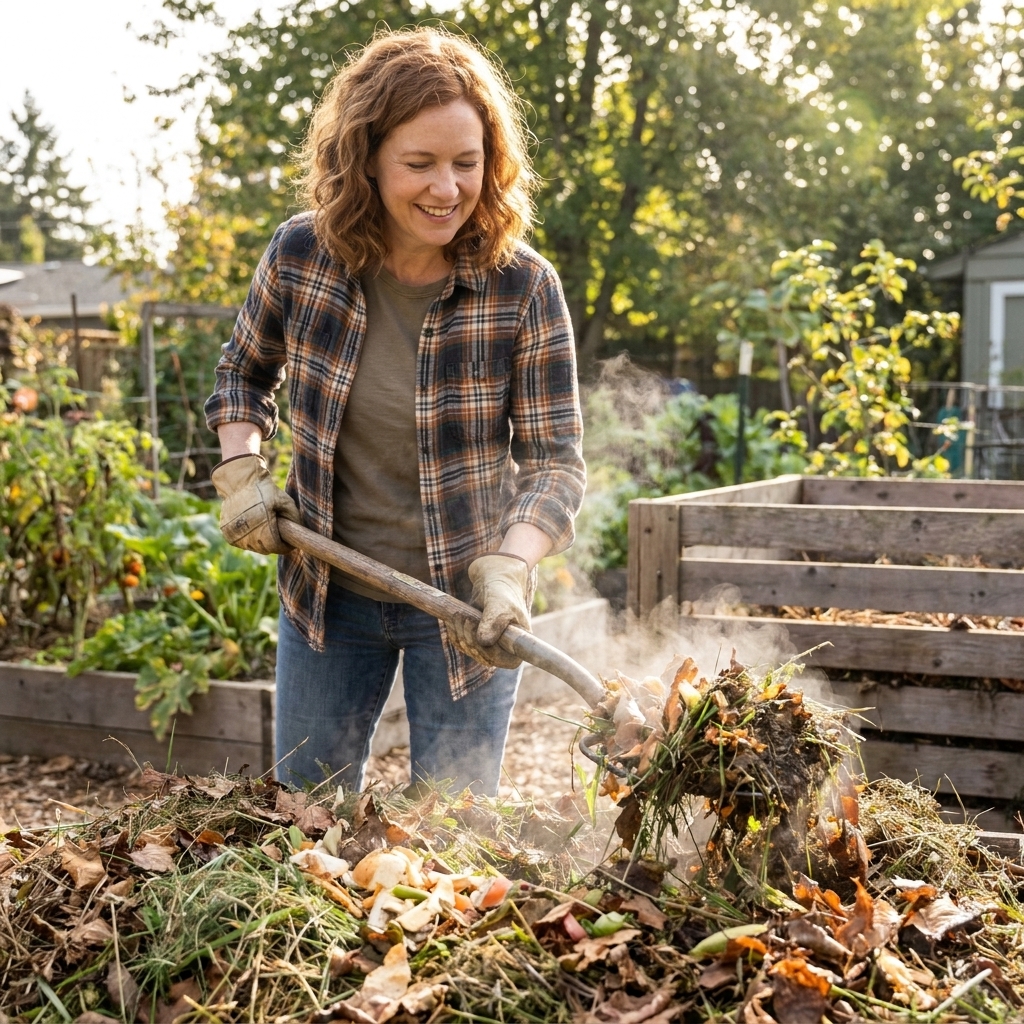
- Turn Bin 2 whenever it looks compacted, wet, or slow, or whenever you have the energy and a pitchfork in hand
- Move Bin 2 to Bin 3 when it stops heating after turning and looks mostly uniform
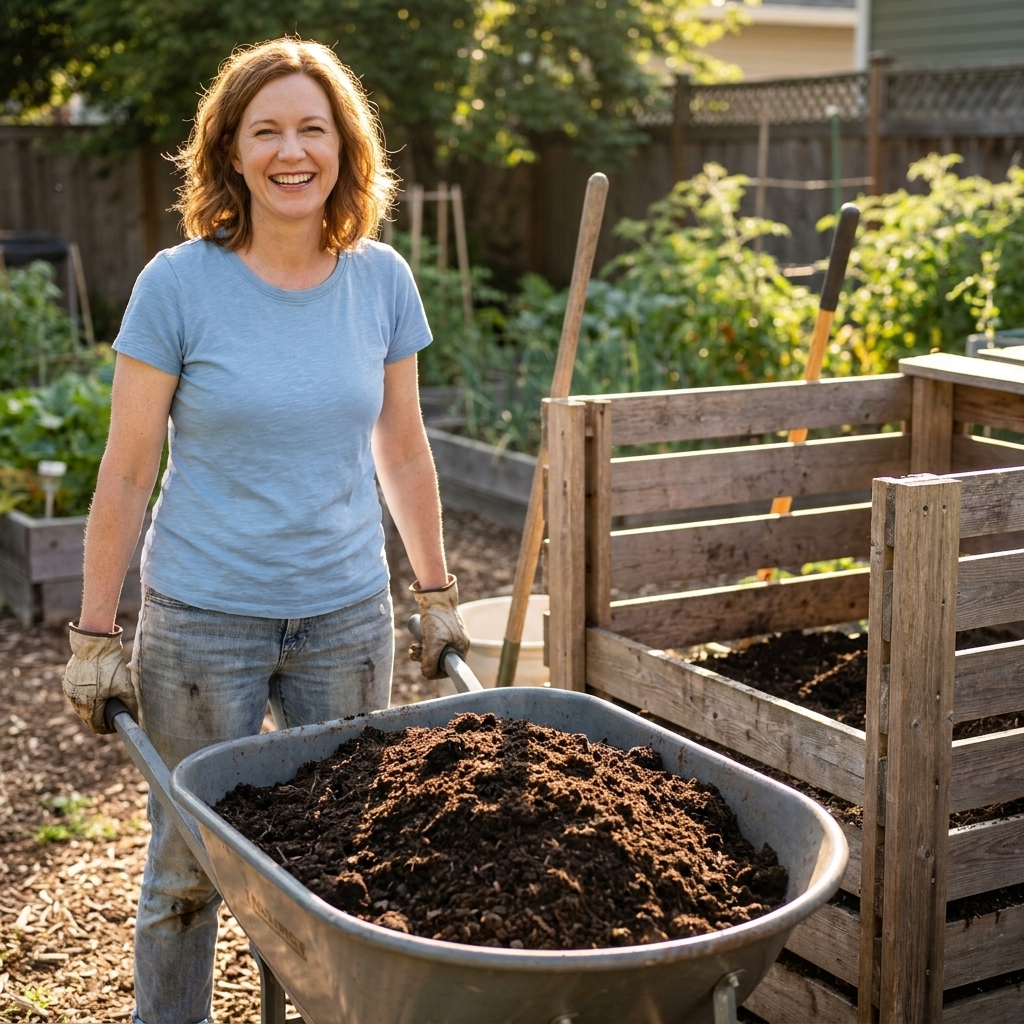
- Harvest from Bin 3 when it smells earthy, looks dark, and you cannot recognize the original materials
If you compost year-round, you will usually have all three stages going at once. That is why the system tends to produce finished, usable compost more consistently than a single pile.
Getting the mix right
People get intimidated by carbon-to-nitrogen ratios. I keep it practical:
- If it is wet, slimy, or smelly, add browns and turn
- If it is dry and just sitting there, add water and greens, then turn
- If you are adding a lot of kitchen scraps, add an equal or larger volume of browns
A simple layering rhythm
Every time you add a bucket of kitchen scraps, add a bucket (or two) of shredded leaves, dry straw, or ripped cardboard. Then lightly cover. This keeps pests down and airflow up.
What to compost
Great for Bin 1
- Vegetable and fruit scraps
- Coffee grounds and paper filters
- Crushed eggshells
- Tea leaves (remove plastic-y tea bag materials)
- Dry leaves, straw, shredded paper and cardboard
- Grass clippings (in thin layers so they do not mat)
- Dead annuals and garden trimmings (as long as they are not diseased)
Better to avoid
- Meat, fish, dairy, oily foods (higher odor and pest risk)
- Pet waste
- Weeds that have gone to seed (unless you are consistently hot composting)
- Plants with active disease (do not risk spreading it)
- Large branches unless chipped or chopped small
Troubleshooting
“My active bin smells bad”
- Add browns right away
- Turn to add oxygen
- Check drainage, especially after heavy rain
“It is not heating up”
- The pile may be too small. Bulk it up with leaves or straw.
- Add more greens like fresh grass clippings or coffee grounds.
- Moisten if dry. Compost microbes need water.
“It is full of flies”
- Bury food scraps in the center and cover with browns
- Avoid leaving scraps exposed on top
- Consider freezing kitchen scraps and adding them in batches under a thick brown layer
“I am seeing rodents”
- Stop adding tempting foods (bread, oily leftovers, meat, dairy)
- Switch to hardware cloth sides and consider a hardware cloth base
- Keep the bin tidy and cover new additions with browns
How to tell it is done
Smell and looks are great indicators, but here are a few extra checkpoints I trust:
- No reheating: after you turn it, the pile stays close to ambient temperature instead of warming back up
- Uniform texture: it is mostly crumbly and soil-like, not a mix of recognizable scraps
- Simple bag test: seal a handful in a bag or jar for a day. If it smells sour or like ammonia when you open it, it needs more time and air. If it smells earthy, you are in good shape.
Seasonal tweaks
Compost does what the weather tells it to do. A few small adjustments keep the system humming:
- Winter: decomposition slows. Keep adding to Bin 1, and save the heavy turning for milder days. A larger pile holds heat longer.
- Summer: piles dry fast. Check moisture more often and keep a cover handy if your bins bake in afternoon sun.
- Rainy stretches: soggy compost goes anaerobic. A simple lid, tarp, or roof panel can save you weeks of slow, smelly breakdown.
Harvest and use
When Bin 3 compost looks dark and smells like the forest floor, it is ready. A few small bits are fine. Compost does not have to be perfectly sifted to be useful.
Easy ways to use it
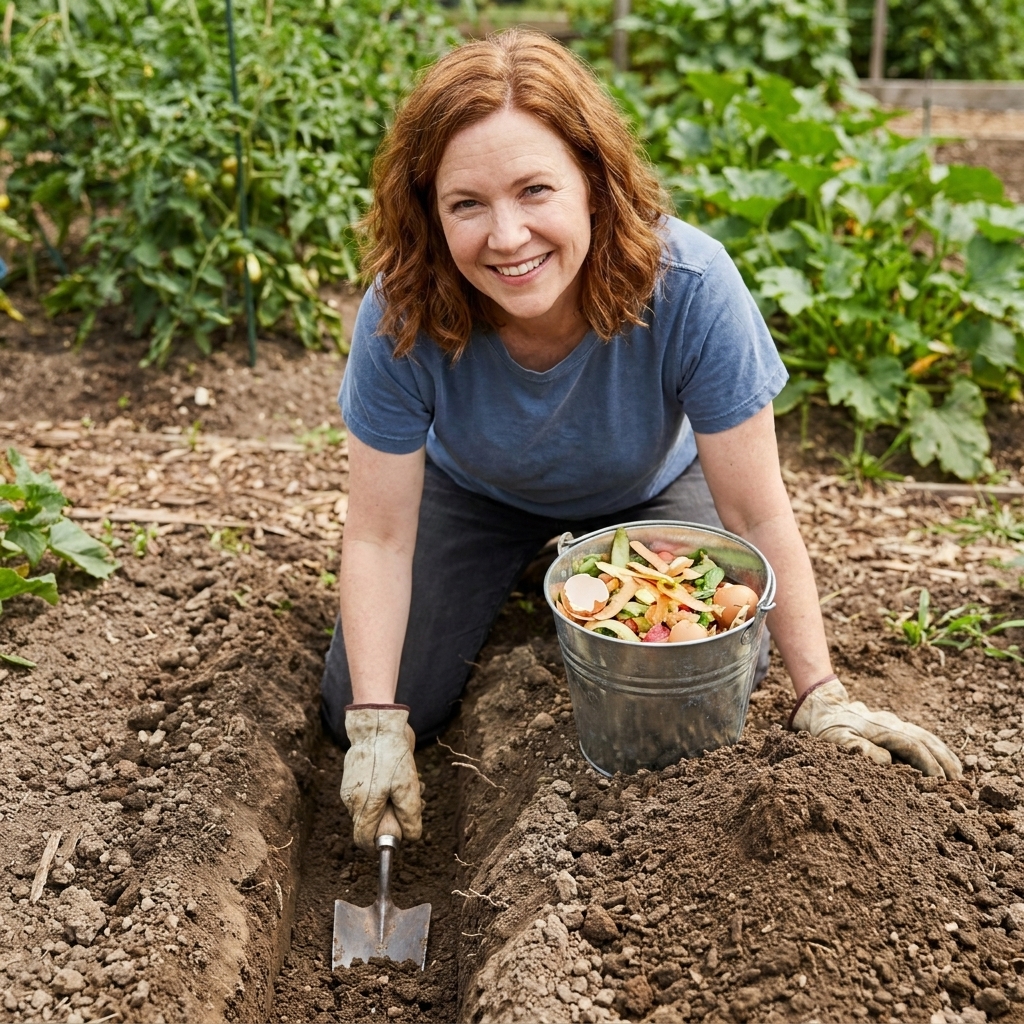
- Top-dress beds: spread 1 to 2 inches over the soil and let worms pull it down
- Planting holes: add a few handfuls and mix well with the native soil. Do not fill the hole with straight compost.
- Make potting mix richer: blend compost with coconut coir or peat and perlite for containers
- Mulch with compost: a thin layer under straw or leaves keeps moisture in and feeds soil life
If you want a finer texture for seed starting, sift a small batch through a simple screen. Everything that does not pass through can go right back into Bin 1.
My low-effort routine
This is the rhythm that keeps my system producing without taking over my life:
- Weekly: toss in kitchen scraps and cover with browns
- Every 1 to 2 weeks: quick turn of Bin 2 if it looks dense or wet
- Seasonally: big leaf drop goes into Bin 1 and a “brown stash” container
- Whenever Bin 3 is ready: harvest a wheelbarrow load, then make space for the next batch
The secret is not perfection. It is keeping material moving forward, even if it is in small steps.
FAQ
Do I need all three bins to start?
No. You can build the full frame and start using one bay immediately. The system shines once you have enough volume to keep a batch active while another batch cures.
Can I use pallets for a three-bin setup?
Yes, as long as they are in good shape and secured firmly. Reinforce corners and dividers because compost is heavier than it looks, especially when wet.
How long until I get finished compost?
With regular turning, a good mix, and decent temperatures, you can get usable compost in about 2 to 4 months, plus curing time. If you rarely turn it, it may take 6 to 12 months. Particle size, moisture, and weather make a big difference, so treat timelines as a range, not a promise.
What is the biggest mistake people make with three-bin systems?
Adding new scraps into the active or curing bins. It feels convenient in the moment, but it mixes “fresh” with “almost done” and slows everything down. Keep Bin 1 for fresh additions and your finished compost will come faster.