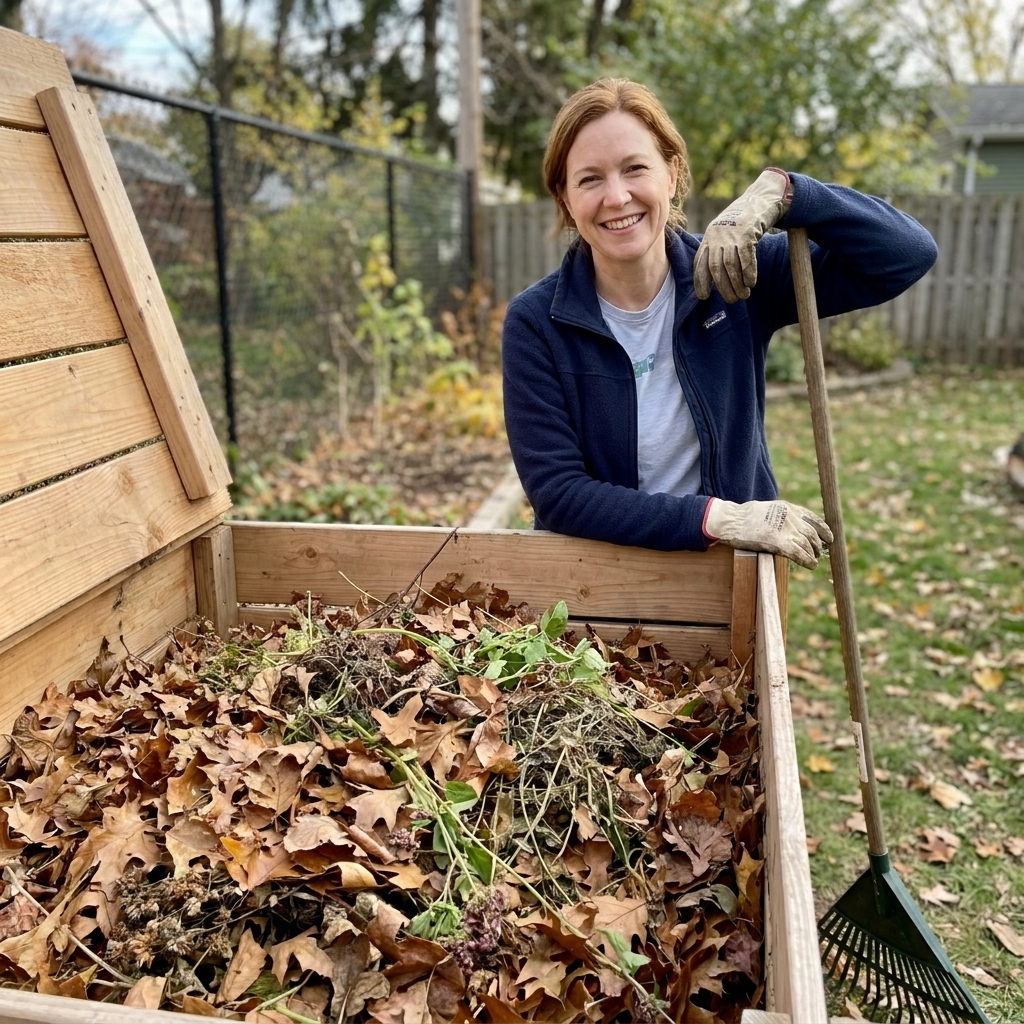
Twelve years ago, I tried to grow tomatoes in a yard that was basically a brick of clay. They sulked all summer, and I learned the hard way that plants do not care how cute your seed packets are if your soil is sad. The fastest way I have found to turn “sad dirt” into “living soil” is hot composting, and the Berkeley Method is the classic sprint version.
Done right, it produces usable compost in about 18 days, hot enough to knock back many weed seeds and some plant diseases, depending on the organism and how consistently the whole pile hits target temps. Done wrong, it produces a warm pile of indecision that smells odd and never quite turns into anything. Let’s make the first one.
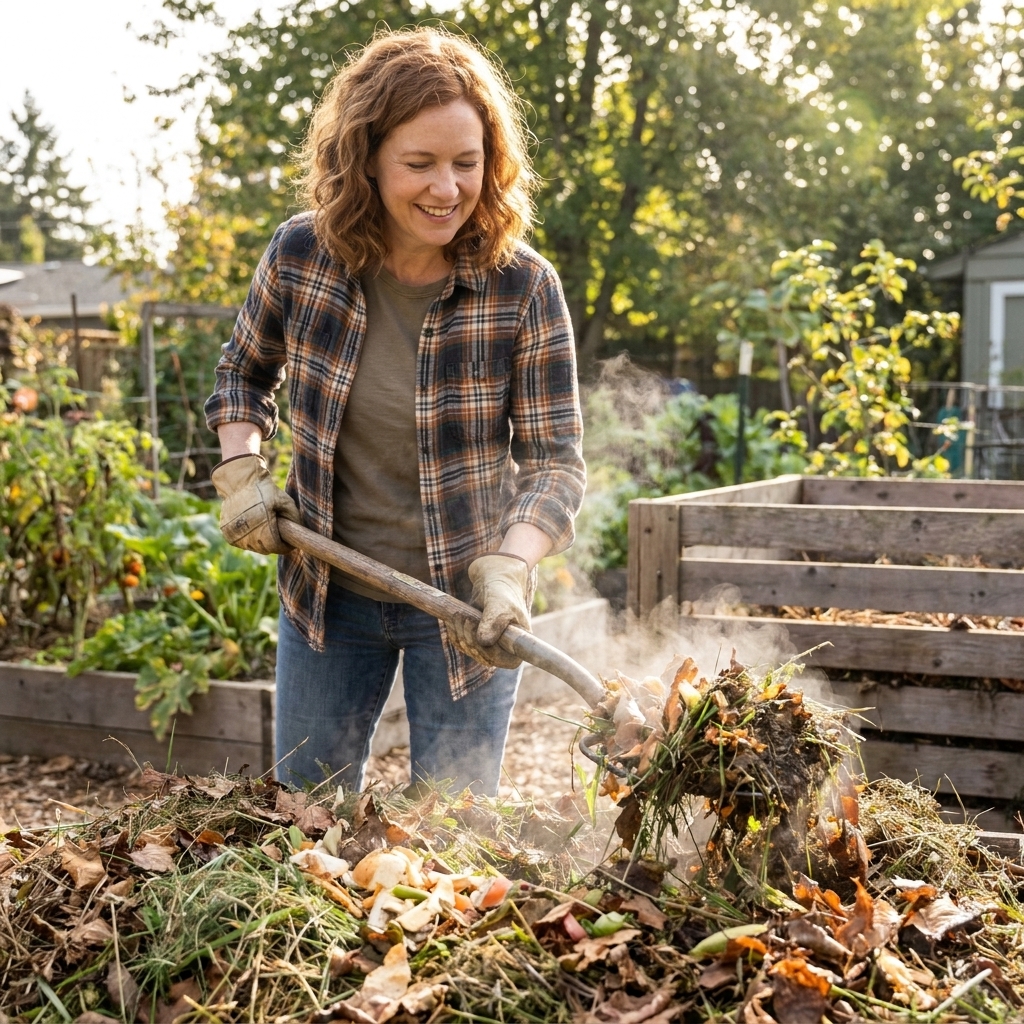
What it is (and is not)
The Berkeley Method is a fast, hot-composting system built around three non-negotiables:
- Enough volume to hold heat (a real pile, not a tiny bucket).
- The right balance of greens and browns so microbes can work at full speed.
- A strict turning schedule so the whole pile heats evenly and gets oxygen.
It is not a “set it and forget it” compost style. If you want low-effort composting, that is totally valid. Just choose a slower method. Berkeley compost is for when you want compost soon and you do not mind getting a little sweaty with a fork.
Weed seeds and diseases
Hot composting works because microbial activity raises the internal temperature of the pile. When you consistently hit the right temperature range, you can:
- Reduce viability of many weed seeds
- Speed up breakdown of tough materials
- Lower risk from some plant pathogens
Two honest caveats from the backyard trenches:
- Heat only sanitizes what actually gets hot. That is why turning is part of the method. The outer material must be moved to the center.
- Not every seed or pathogen is equally easy to kill. Results vary by organism and time-at-temperature, so aim for strong, consistent heat across multiple days and multiple turns for the best odds.
Materials and tools
Tools
- Compost thermometer with a long probe (18 to 24 inches). If you are aiming for the 18-day pace, this is strongly recommended.
- Garden fork or manure fork for turning
- Hose with a spray nozzle or watering can
- Tarp (helpful for mixing)
Ingredients
You need “greens” (nitrogen-rich) and “browns” (carbon-rich).
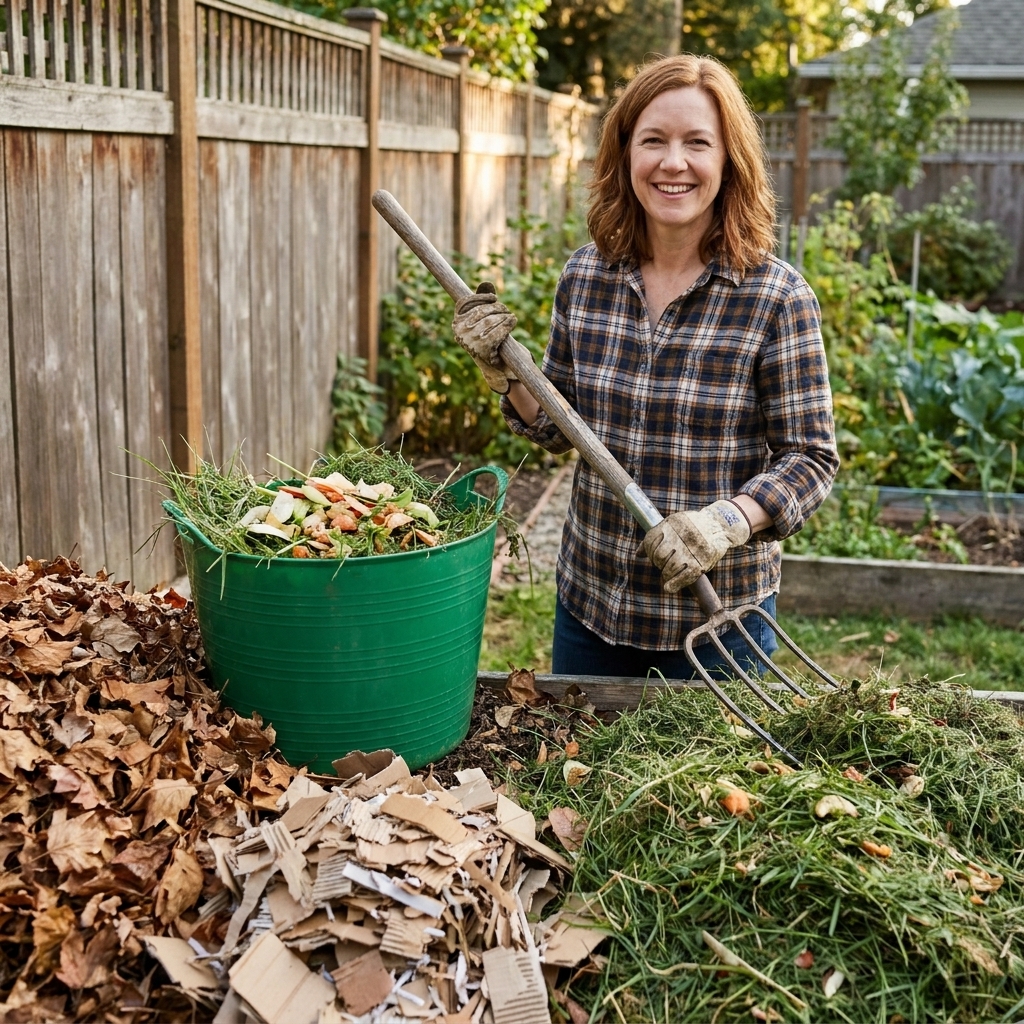
- Greens: fresh grass clippings, coffee grounds, vegetable scraps, manure from herbivores, fresh garden trimmings and spent annuals (not woody)
- Browns: dry leaves, straw, shredded cardboard, shredded paper, dry plant stalks
Avoid meat, dairy, oily foods, and pet waste. They complicate a fast backyard system and tend to attract problems.
Also skip glossy, plastic-coated papers and anything with lots of tape or mystery residue. Plain cardboard and regular paper are easier and cleaner.
Pile size matters
If your pile is too small, it bleeds heat. The Berkeley Method needs enough mass to self-insulate.
- Minimum: about 3 feet by 3 feet by 3 feet
- Even better: 4 feet by 4 feet by 4 feet if you can manage it
You can do this as a freestanding pile, a wire ring, pallets, or a bin that allows airflow. The container matters less than volume and oxygen.
C:N ratio, simplified
The Berkeley target is roughly 25 to 30 parts carbon to 1 part nitrogen (often written as 25 to 30:1). You can calculate it precisely, but you do not have to if you build with smart rules of thumb.
The practical mix I use
For most home materials, a reliable starting point is:
- By volume: about 2 parts browns to 1 part greens
If your greens are very “hot” (lots of fresh grass or manure), you may need closer to 3:1 browns to greens. If your greens are mild (mostly kitchen scraps), 2:1 is usually fine.
Common materials cheat sheet
| Material | Counts as | Notes |
|---|---|---|
| Dry leaves | Brown | Shred or mow first for speed |
| Straw | Brown | Good structure, do not pack it tight |
| Cardboard (shredded) | Brown | Remove plastic tape and glossy coatings |
| Fresh grass clippings | Green | Can mat. Mix well with browns |
| Coffee grounds | Green | Nitrogen-rich and helpful for heat, but not as “hot” as fresh grass or manure |
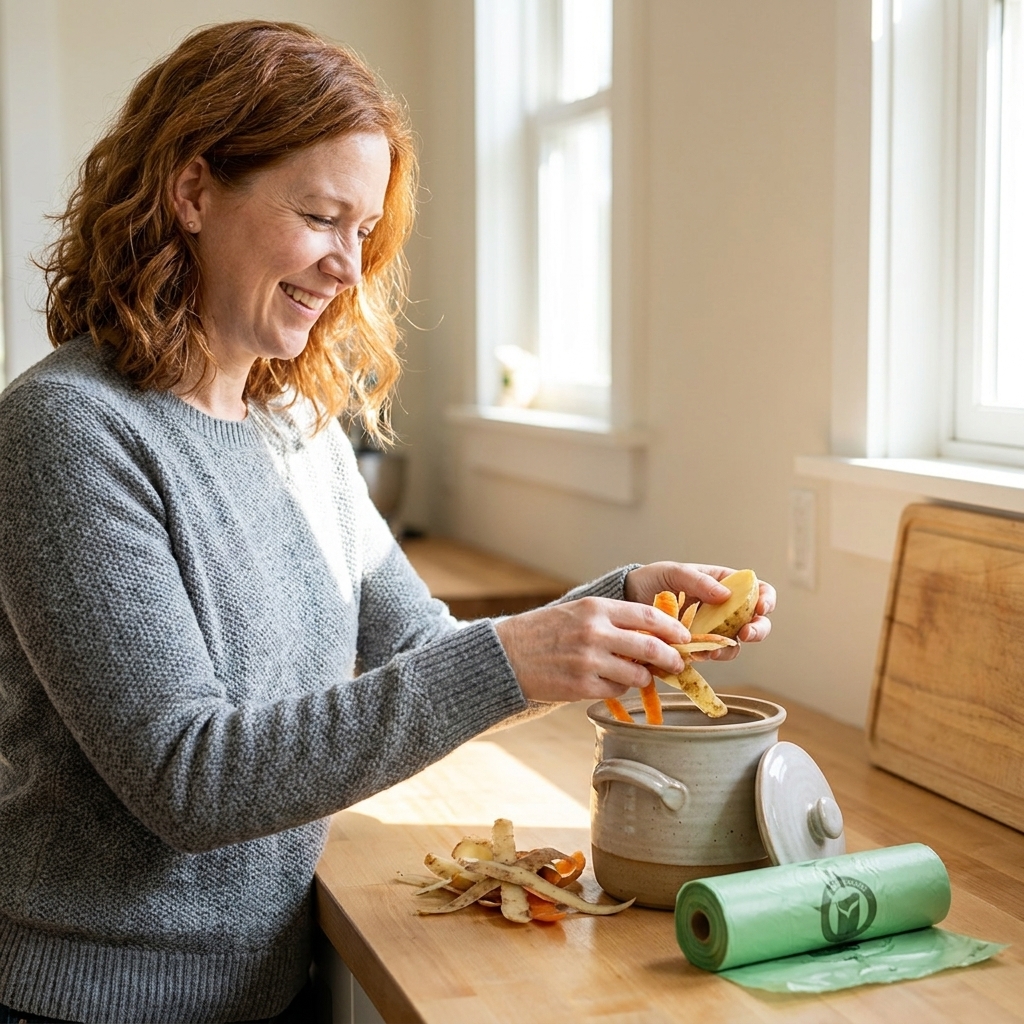
| Veggie scraps | Green | Chop smaller to compost faster |
| Herbivore manure | Green | Excellent accelerator. Mix thoroughly |
Moisture
Hot compost microbes need water, but they also need air. Your goal is moisture that feels like a wrung-out sponge.
- Too dry: the pile stalls and never heats
- Too wet: oxygen drops and you risk rotten smells
A quick test: grab a handful from the center and squeeze. You want it to feel clearly damp, with maybe a drop or two of water. If water streams out, it is too wet. If it feels dusty or crunchy, it is too dry.
Build for heat
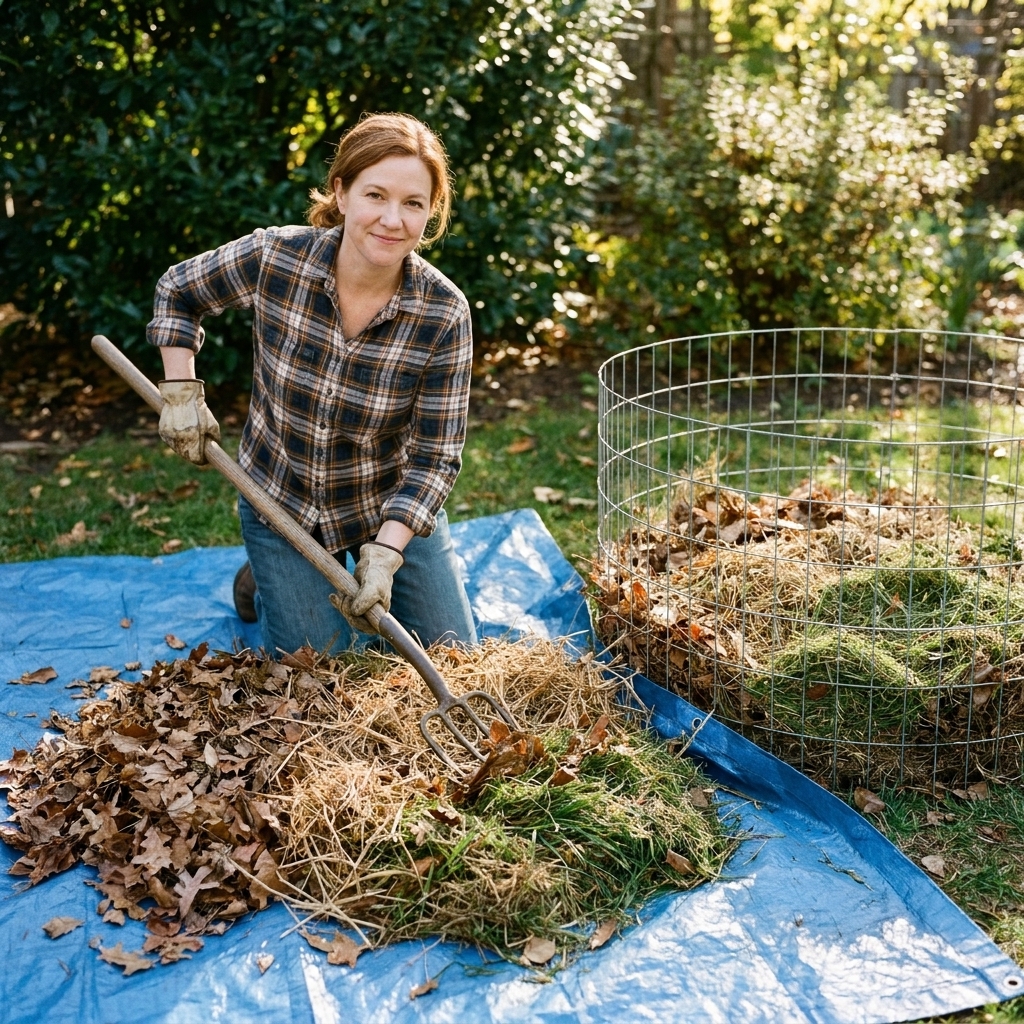
You can build in layers, but for fast results I prefer to pre-mix greens and browns on a tarp. You get better contact between materials, more even moisture, and fewer cold pockets.
Step-by-step
- Prep your materials. Shred leaves, rip up cardboard, and chop big scraps. Smaller pieces compost faster, but do not pulverize everything into mush. Too fine can reduce airflow.
- Mix browns and greens. Start with the 2:1 browns-to-greens rule.
- Moisten as you build. If browns are crispy, lightly spray them before they go in.
- Build to full size in one go. A pile built all at once heats faster than one slowly added to.
- Add structure if needed. If your mix is heavy with wet greens, toss in extra straw or coarse leaves to keep airflow.
If you have finished compost on hand, adding a few shovels can help inoculate the pile, but it is optional. The microbes will show up either way.
Temperature targets
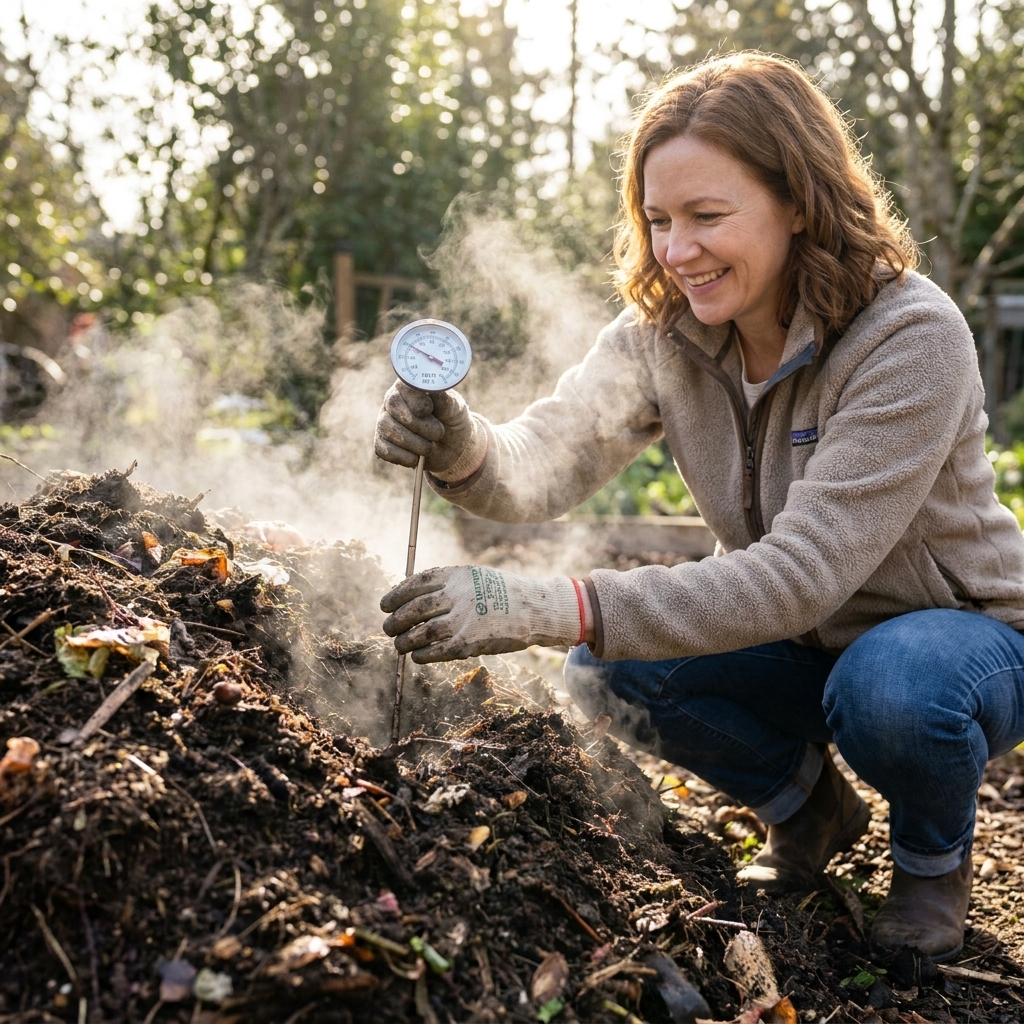
Temperature is your dashboard. Check it at least once daily during the active phase.
Ideal hot-compost range
- Target: about 131 to 160°F (55 to 71°C)
- Sweet spot for speed: many piles cruise around 140 to 155°F
If your pile shoots above 160°F, do not panic. Turn it to release heat and bring oxygen back in. Extremely high temps can slow microbes and dry the center.
How to take a useful reading
- Push the thermometer into the center of the pile, not the edge.
- Wait for the reading to stabilize.
- Write it down. A simple notebook log helps you spot patterns fast.
The 18-day schedule
This schedule is the heartbeat of the Berkeley Method. Turning moves the cooler outer material into the hot center and restarts oxygen-hungry microbial activity.
Day-by-day plan
- Day 1: Build the pile.
- Days 2 to 4: Let it heat up. Check temperature daily.
- Day 4: First turn. (If it hits target temps earlier, you can turn on Day 3.)
- Days 5 to 18: Turn the pile every other day.
If you want it crystal clear, your turns will usually land on Days 4, 6, 8, 10, 12, 14, 16, and 18. If you start on Day 3 instead of Day 4, shift that list forward. The goal is the rhythm.
How to turn so the whole pile gets hot
I like the “rebuild” turn. It is slower than stirring, but it is more consistent.
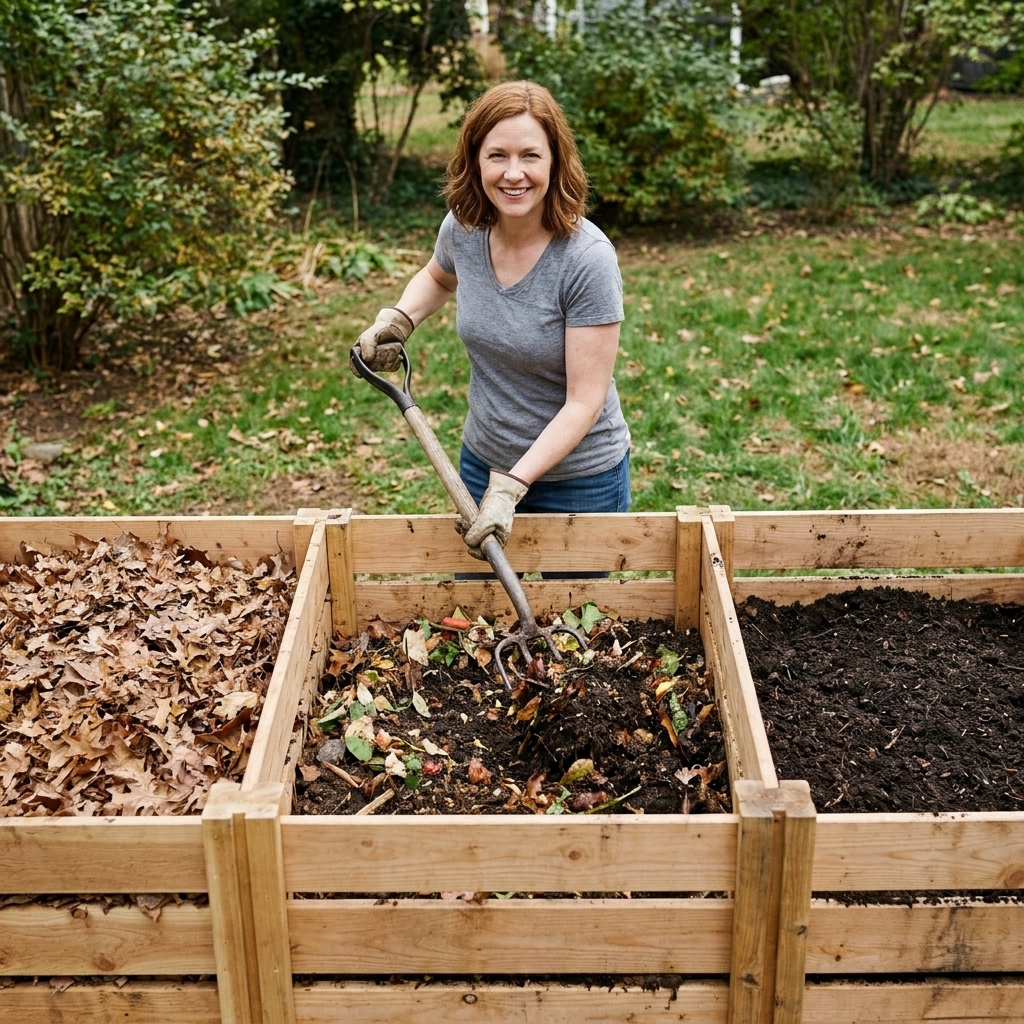
- Fork the pile onto a tarp or into a second bay.
- As you move it, put the outside material into the new pile’s center.
- Break up clumps. Wet pockets and matted grass slow everything down.
- Adjust moisture. If it is dry, mist each forkful lightly. If it is soggy, mix in dry leaves or shredded cardboard.
If you only have space for one pile, you can still turn by pulling it apart and rebuilding right next to itself, then nudging it back.
If it is not heating
If the pile is not warming within 24 to 48 hours, one of three things is usually happening: not enough nitrogen, not enough water, or not enough mass.
Quick fixes
- Too cold and dry: water the pile while turning. Focus on evenly damp, not drenched.
- Too cold and brown-heavy: add more greens like grass clippings, coffee grounds, or manure.
- Too small: combine with another pile or save up materials until you can build a 3 by 3 by 3 foot pile.
- Materials too chunky: shred leaves, tear cardboard smaller, chop big stems.
Winter composting
You can do Berkeley-style composting in cool weather, but you have to build bigger and protect the pile from wind. A wire ring lined with cardboard, or a bin in a sheltered spot, helps it hold heat.
If it smells
Hot compost should smell earthy or slightly sweet. Strong odors are feedback.
Common smells and fixes
- Rotten, sour, or like ammonia: not enough oxygen or too many greens. Turn the pile and add browns.
- Musty and stagnant: often too wet. Turn and add dry leaves or shredded cardboard.
- Nothing at all and it is cool: likely too dry or too brown. Add water and or greens.
Is it “done” at Day 18?
In ideal conditions, the Berkeley Method can produce compost that looks finished by around Day 18. In real backyards, “finished” can mean two different things:
- Actively composted and broken down: dark, crumbly, mostly unrecognizable inputs. Great for mulching or top-dressing.
- Cured and stable: fully mellowed, less likely to tie up nitrogen. Best for seed-starting mixes and planting holes.
If you have time, let your compost cure for 2 to 4 weeks after the hot phase. Pile it up, keep it lightly moist, and let it finish maturing. Your plants will thank you.
Simple doneness checks
- Temperature: it no longer reheats after turning and stays near outdoor temps.
- Look and feel: dark, crumbly, and soil-like.
- Smell: earthy, not sharp or sour.
- Bits left: twigs and leaf veins are normal. Screen them out if you want a finer product.
Using hot compost
This is the fun part.
- Top-dress beds: spread 1 to 2 inches and let worms do the mixing.
- Mulch around vegetables: a 1 inch layer feeds soil and helps with moisture.
- Mix into new beds: blend a few inches into the top 6 to 8 inches of soil.
- Potting mixes: only use well-cured compost, and consider screening it first.
If your compost is still a bit “young” (you can see recognizable food scraps), use it as mulch rather than mixing it deeply into the soil near plant roots.
FAQ
Do I need an activator?
No. If you have enough greens and the moisture is right, the microbes will show up. Coffee grounds and fresh grass clippings are my favorite “free activators” because they reliably boost heat, especially when mixed evenly with shredded browns.
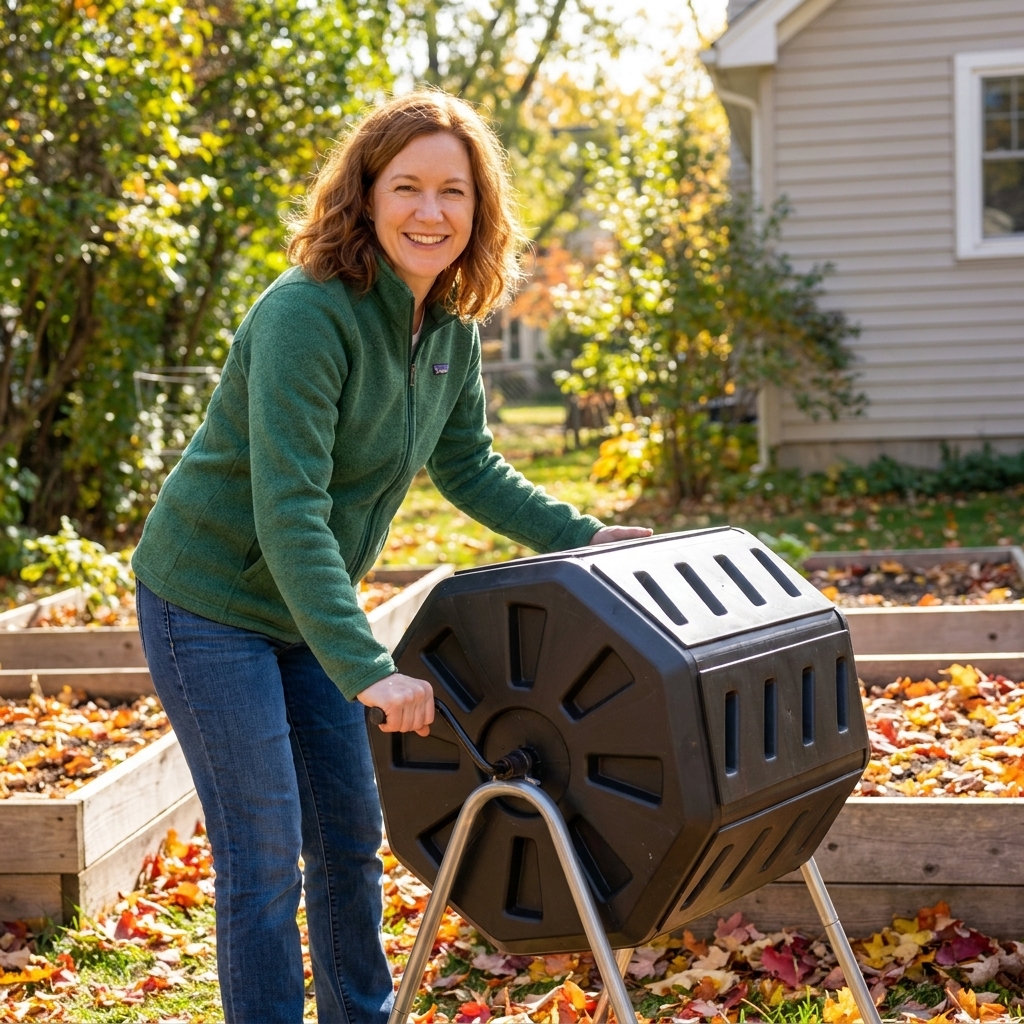
Can I do this in a tumbler?
You can hot compost in some tumblers, but most do not have enough volume to sustain Berkeley-level heat, and turning every other day is harder to do effectively when the contents clump. If a tumbler is what you have, focus on a good mix and moisture, but expect a slower timeline.
Can I add weeds?
Yes, with caution. Avoid weeds that have gone to seed, or only add them if you are confident your pile will reliably hit and maintain hot temperatures and you are turning on schedule. For aggressive perennial weeds, I keep it simple and leave them out.
What is the fastest way to get it hot?
Build it all at once, make sure it is big enough, and include a solid portion of strong greens (fresh grass or herbivore manure) mixed evenly with shredded browns at the right moisture level.
Is manure safe to use?
Herbivore manure is a great accelerator, but treat it with basic respect. Wear gloves, wash hands, and keep it out of reach of kids and pets. If you grow crops you eat raw, it is smartest to use well-composted, fully cured compost around them, and avoid side-dressing with anything that still looks actively “hot.”
Is it safe to compost kitchen scraps in hot compost?
Vegetable and fruit scraps are fine. Chop them, bury them in the center while building, and keep rodents in mind. If critters are an issue in your area, stick to yard waste and coffee grounds for the Berkeley sprint.
Quick 18-day checklist
- Build a pile at least 3 by 3 by 3 feet
- Mix about 2 parts browns to 1 part greens
- Moisture like a wrung-out sponge
- Track temperature daily
- First turn on Day 4 (or when it is hot)
- Turn every other day through Day 18
- Cure 2 to 4 weeks if you can
If you try this and your pile does something weird, welcome to the club. Compost is wonderfully forgiving, and every “oops” teaches you something that makes your next batch faster and cleaner. That is how I became a dirt nerd in the first place.