If you have ever stared at a compost pile and thought, “I am just not in a turning-every-week season of life,” cold composting is your friend. Cold composting is the slow, steady option. You pile up organic material, keep it reasonably balanced and moist, and let time and soil life do the heavy lifting.
I started cold composting on purpose after a few years of chasing hot pile perfection in a yard full of compacted clay. My vegetables did not need me to become a compost athlete. They needed steady, finished compost I could add to beds. Cold composting gave me that, with a lot less fuss.
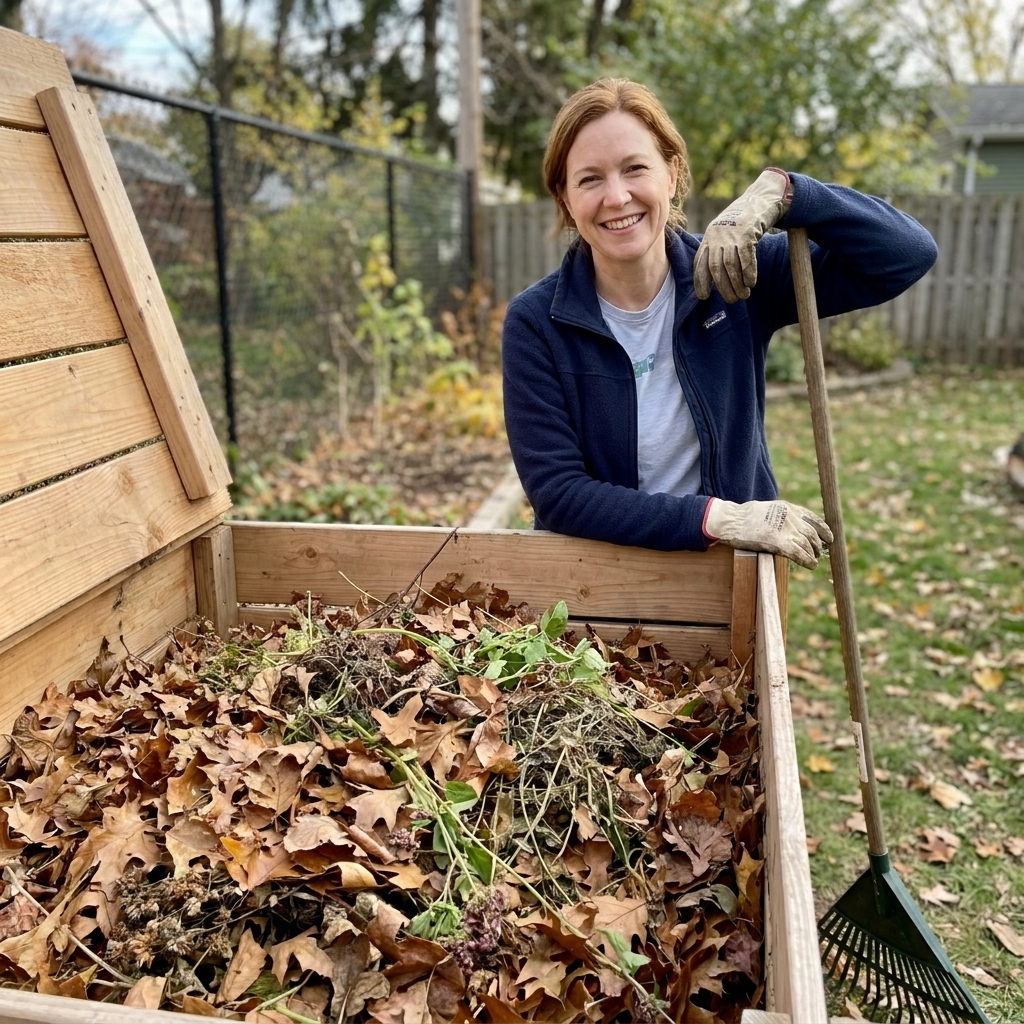
Below is everything you need to set up a passive, no-turn system that slowly becomes dark, crumbly compost you will actually use.
What cold composting is
Cold composting is a passive compost method where materials break down gradually at lower temperatures. Instead of building a large, carefully balanced pile and turning it to keep it hot, you add materials as you have them and let microbes, fungi, worms, and other decomposers work over time.
Most cold piles warm a bit in the center, especially after you add a fresh green layer. But they generally do not stay hot enough, long enough to be considered hot composting. That is normal.
Why people love it
- Low effort: no regular turning schedule.
- Flexible: add what you have, when you have it.
- Low equipment: a simple bin or even a neat heap works.
- Great for leaves: fall leaf mountains are cold composting gold.
Tradeoffs to know up front
- It is slower: think months to a year, sometimes longer.
- Weed seeds can survive: without sustained heat, some seeds may remain viable.
- Pathogens are not reliably destroyed: avoid pet waste and use extra care with diseased plant material.
- More chunky compost is common: finished cold compost often has bits you can sift or simply toss back into the pile.
Cold composting vs hot composting
Here is the plain-language difference:
- Hot composting is like baking. You build the right recipe, keep it aerated, and it finishes fast.
- Cold composting is like a slow cooker you barely check. It finishes when it finishes.
| Category | Cold composting | Hot composting |
|---|---|---|
| Turning | Optional | Regular |
| Speed | Slow (months to 1+ year) | Fast (weeks to a few months) |
| Weed seed kill | Not reliable | Often reliable when done right |
| Smell risk | Low with good covering and moisture | Moderate if the pile goes anaerobic |
| Best for | Leaves, garden waste, low-effort routines | Big batches, faster compost needs |
What you can compost
Cold composting is forgiving, but it still works best with the classic balance of browns and greens. Browns bring carbon and structure. Greens bring nitrogen and moisture.
Browns (carbon)
- Dried leaves (the cold composting MVP)
- Straw or dried grass (dry, not slimy)
- Shredded cardboard and plain paper (no glossy coatings)
- Wood chips or sawdust in small amounts (slower to break down)
- Dried plant stalks and spent annuals
Greens (nitrogen)
- Fresh grass clippings (thin layers only)
- Vegetable and fruit scraps
- Coffee grounds and paper filters
- Tea leaves (remove plastic tea bags)
- Fresh garden trimmings
Use caution or skip
- Meat, fish, bones, grease, dairy: attracts pests and smells in most backyard setups.
- Pet waste: not recommended for home compost used on edible gardens.
- Weeds with mature seeds: cold piles may not kill them. Bag, solarize, or hot compost instead.
- Diseased plants: small amounts of minor issues are often fine, but do not cold compost plants with persistent, high-risk diseases. If you are dealing with things like late blight on tomatoes or potatoes, clubroot in brassicas, or other problems your local extension warns about, follow local guidance and trash it.
- Large branches: either chip them or keep them for a separate brush pile or hugelkultur project.
Simple setup
You have three easy options. Pick the one you will actually keep using.
1) A simple heap
Make a neat pile directly on soil, ideally at least 3 feet by 3 feet. Soil contact helps because it lets worms and microbes move in and do their thing. Composting can still work on a hard surface, but it is usually slower and drier.
2) An open bin
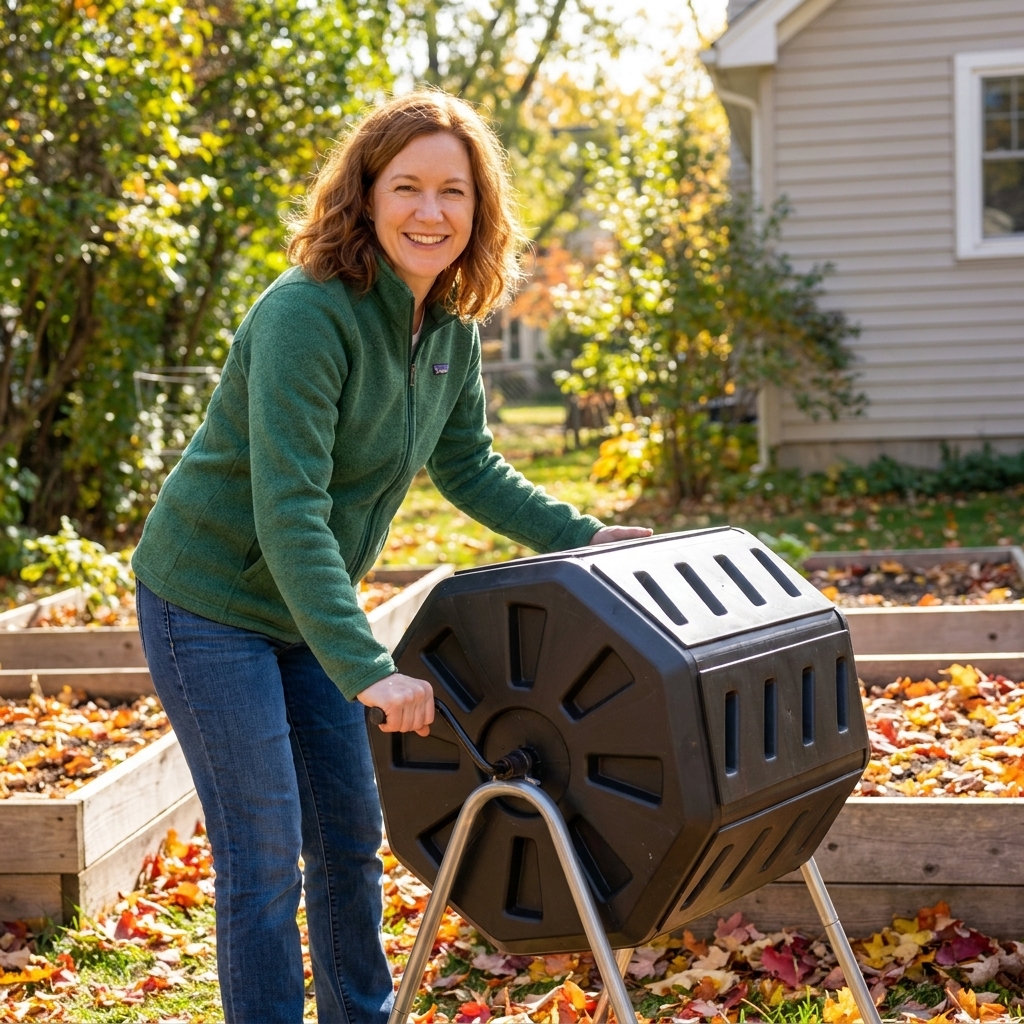
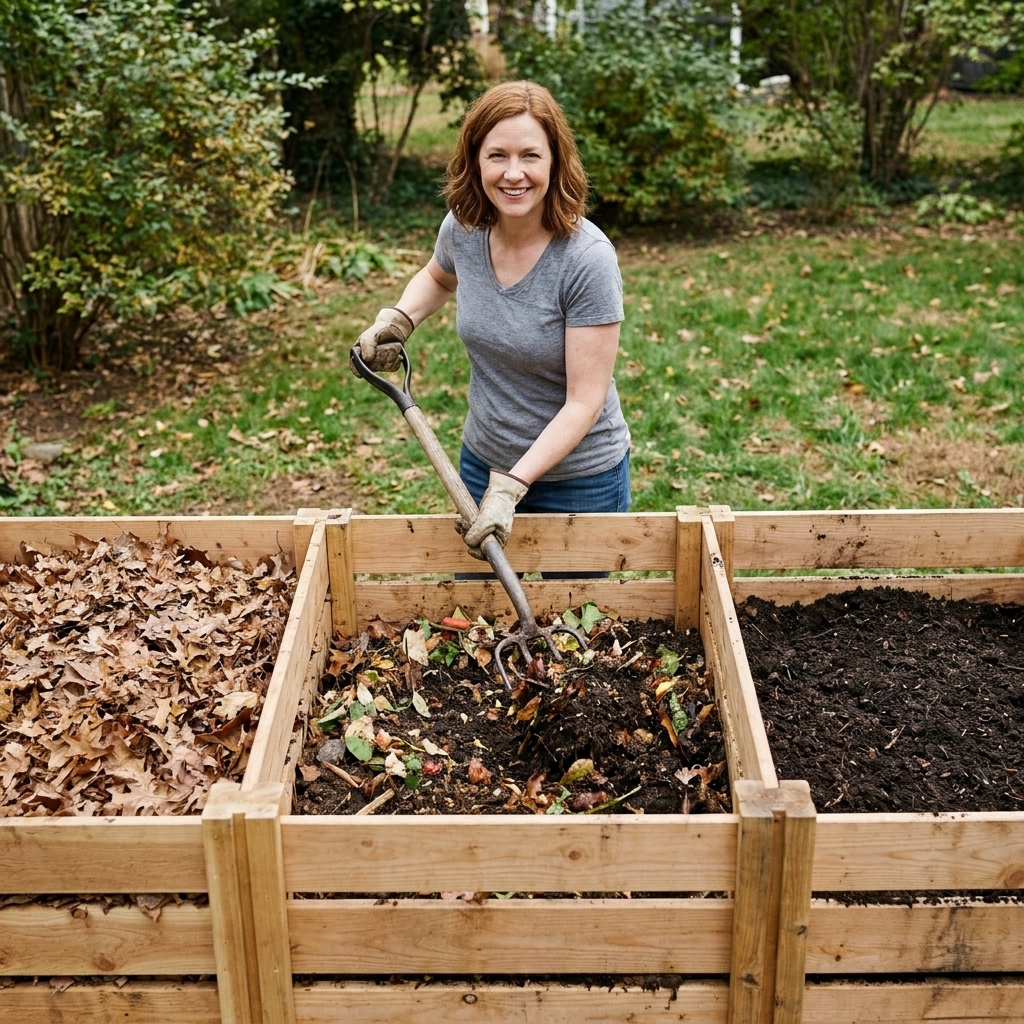
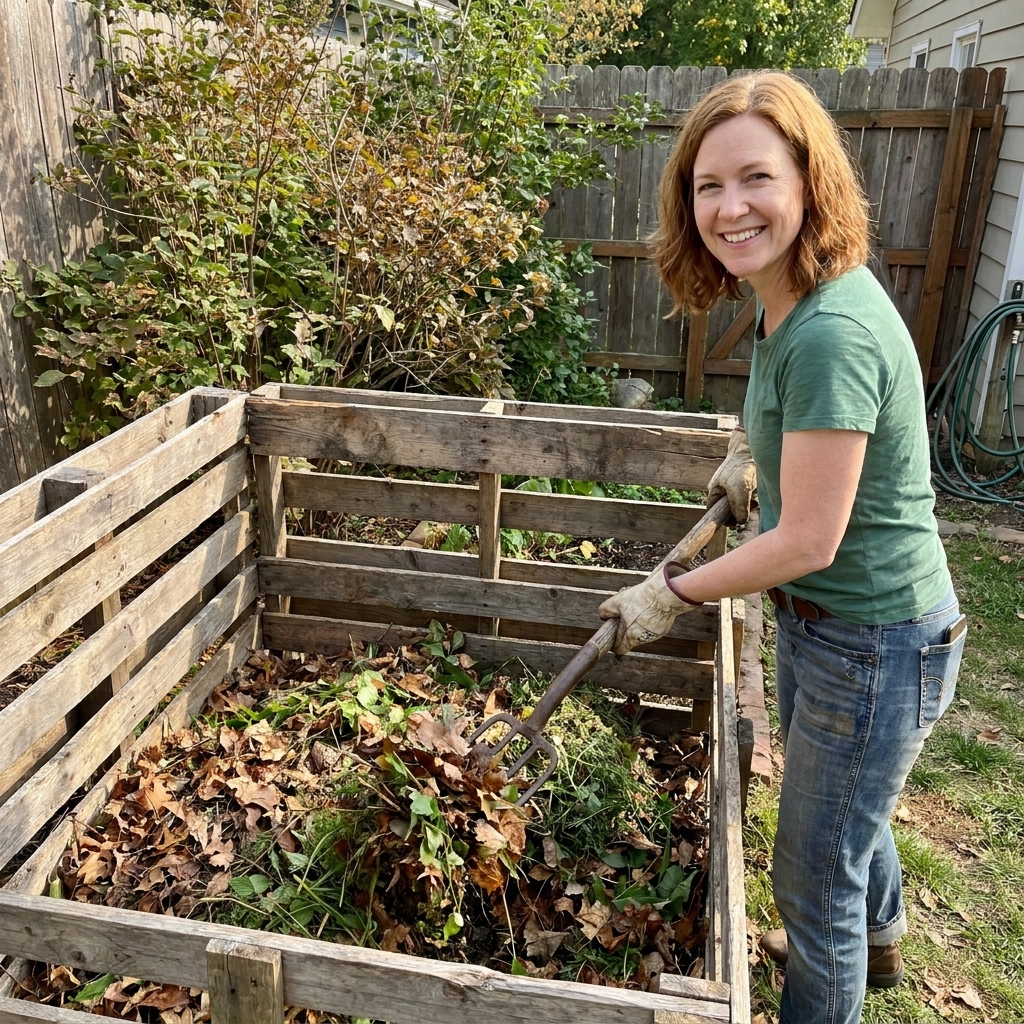
Wire fencing, pallets, or a basic slatted bin keeps things tidier and discourages windblown leaves. It also makes it easier to cover food scraps with browns.
3) A lidded bin (best for critter pressure)
If you have raccoons, rats, or neighborhood cats, use a bin with a secure lid and small ventilation. You can still cold compost. You just have to be more thoughtful with food scraps and moisture.
Build a pile that stays tidy
Cold composting is lazy, not anything goes. A little structure prevents the two classic problems: bad smells and pests.
Step 1: Start with airflow
Lay down a few inches of coarse material like small twigs, dry stems, or wood chips. This helps keep the bottom from matting.
Step 2: Add browns first
Begin with a thick brown layer, especially if you plan to add kitchen scraps. Dried leaves and shredded cardboard are my go-to.
Step 3: Add greens in thin layers
Add kitchen scraps or fresh clippings, then immediately cover them with at least 2 to 3 times as much brown material by volume. If you only remember one habit, make it this one.
Step 4: Keep it as moist as a wrung-out sponge
Too dry and it stalls. Too wet and it goes anaerobic and smelly. If you grab a handful from the center, it should feel damp but not drip.
Step 5: Top with a brown cap
Always keep a visible layer of browns on top. This reduces odors, discourages flies, and makes the pile look neat.
My lazy rule: Every time I add a bowl of kitchen scraps, I add a bigger bowl of shredded leaves or cardboard right after. No exceptions. It is the difference between pleasant forest floor and why does my yard smell like a cafeteria trash can.
Do you need an activator?
No. Cold piles break down without commercial activators. The decomposers you want are already on your materials and in your soil.
If you want a gentle boost, these help without turning your compost routine into a science fair:
- A shovel of finished compost or garden soil: adds microbial diversity.
- Coffee grounds: small, nitrogen-rich, and easy to mix in.
- Chopped materials: smaller pieces decompose faster than big, intact ones.
What no-turn means
You can absolutely cold compost without turning. Many piles break down beautifully with nothing more than time, moisture, and decent layering.
That said, there are two optional moments when a little movement pays off:
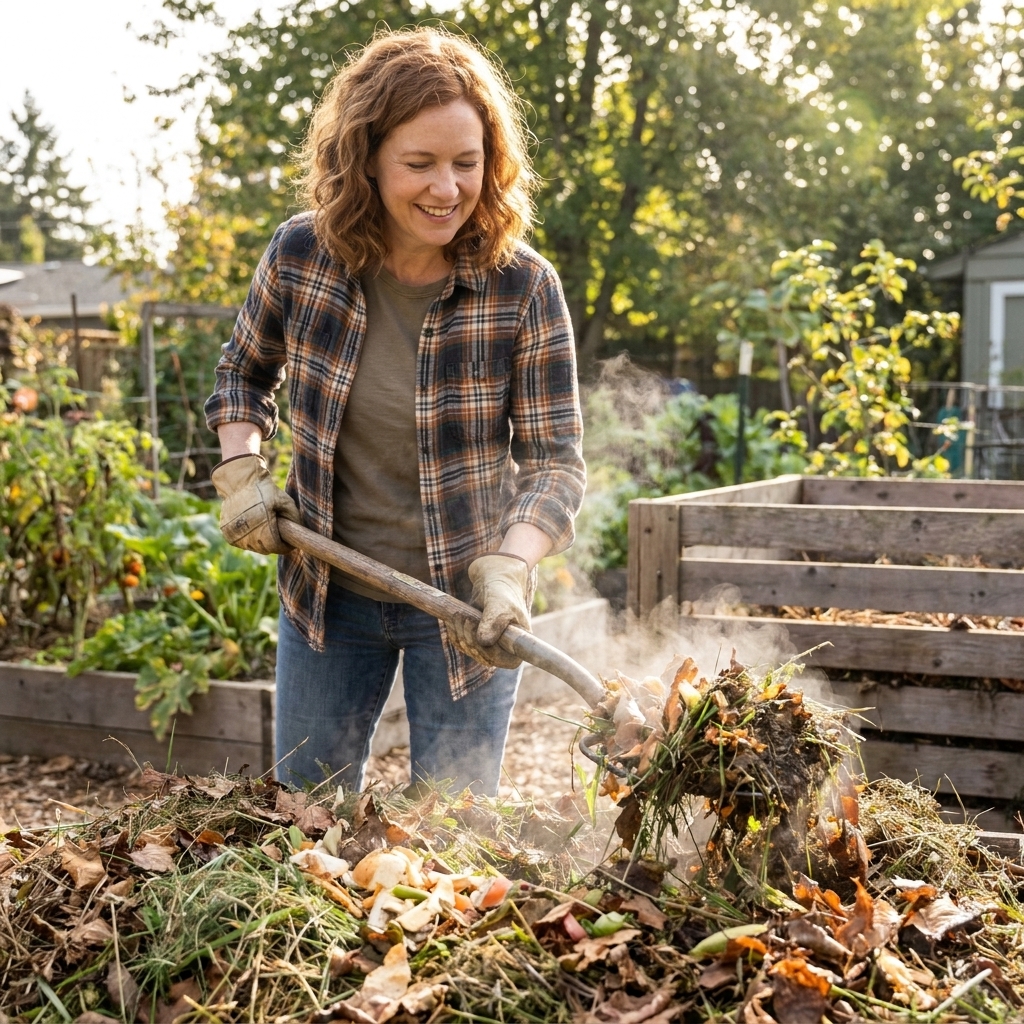
- Once or twice a year: If you have the energy, a single turn in spring or fall evens things out and speeds up finishing.
- When you see a problem: If you find slimy, matted grass or a smelly pocket, fluff that spot and add browns.
If you never turn, you will still get compost. It just tends to finish unevenly, which is completely workable.
Timeline
This depends on what you add, how small it is, and how moist the pile stays. Climate matters too. Cool or dry conditions and unshredded materials can stretch the timeline.
As a realistic rule of thumb, cold composting typically looks like this:
- Leaf-heavy piles: often 6 to 18 months.
- Mixed yard waste plus kitchen scraps: often 4 to 12 months.
- Lots of woody material: often 12 to 24+ months.
Shredding leaves and tearing cardboard into smaller pieces can cut months off your timeline, even if you never turn.
Winter composting
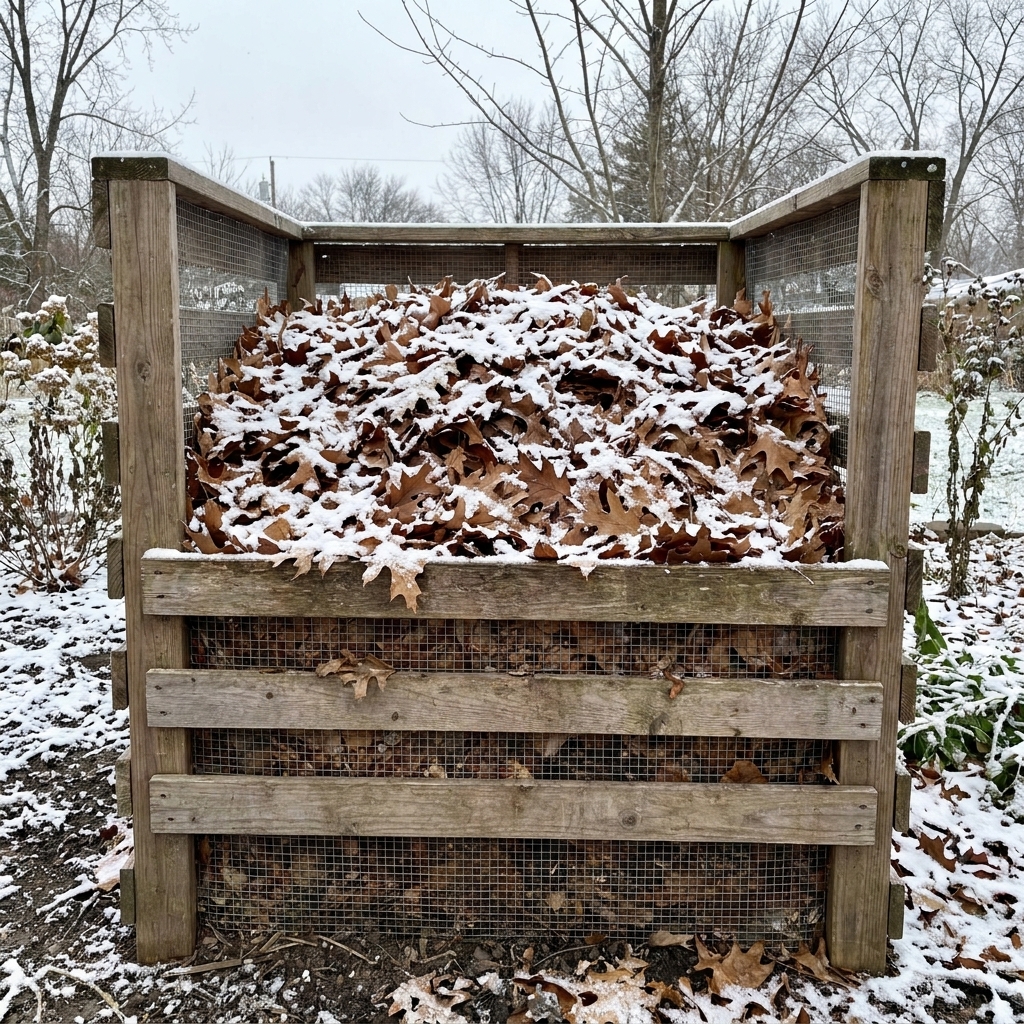
Cold composting is actually great in winter because it asks almost nothing of you. In cold weather, decomposition slows. That is fine.
Winter tips that make spring easier
- Keep adding browns: fall leaves are perfect insulation and structure.
- Bury kitchen scraps: tuck scraps into the center and cover well with browns to avoid attracting critters.
- Avoid big wet dumps: large amounts of wet scraps can freeze into a stinky lump. Add smaller amounts and cap with dry material.
- Do not worry about a frozen pile: it will wake back up when temperatures rise.
Food scraps without the drama
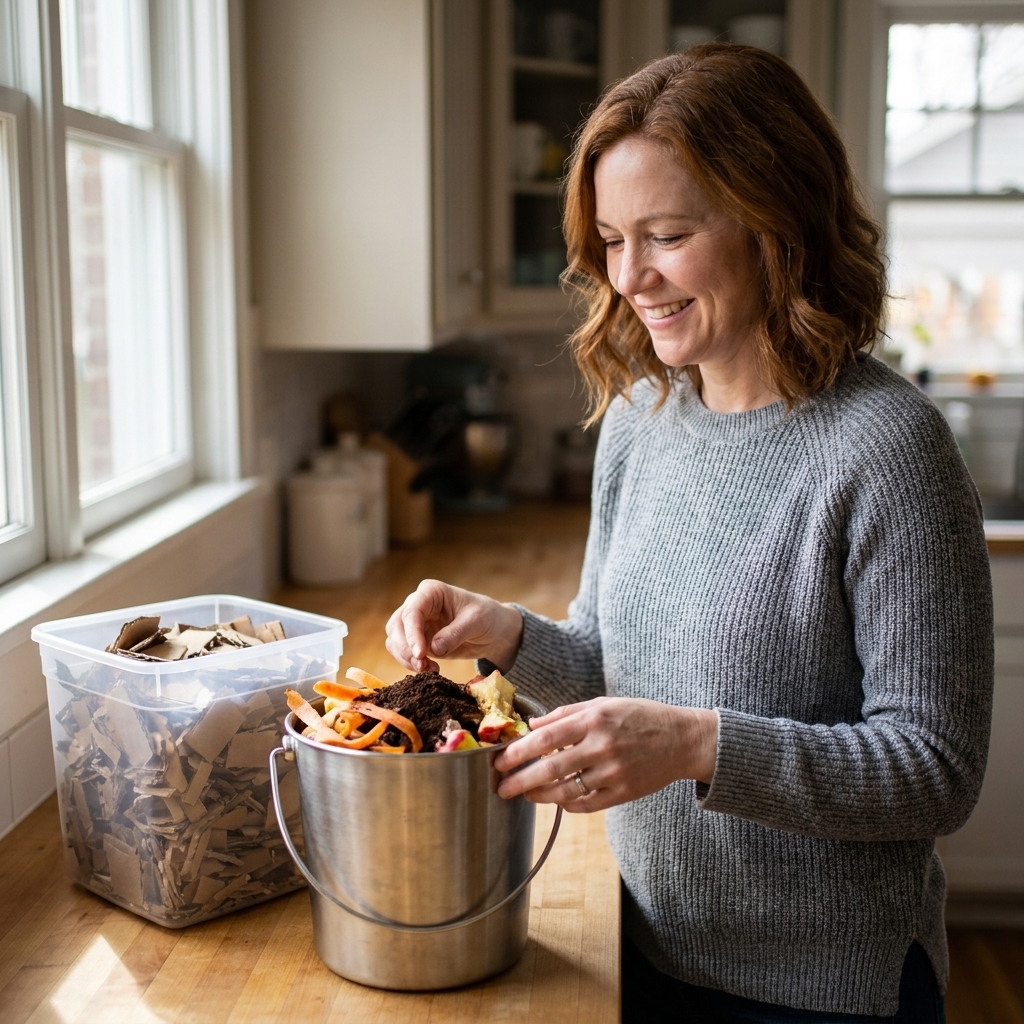
Kitchen scraps are where cold compost piles most often go sideways. The fix is simple: keep scraps contained, add them in reasonable amounts, and cover them like you mean it.
- If fruit flies are driving you nuts indoors: keep a sealed countertop container, or freeze scraps in a bag and add them to the pile when you are ready.
- Add wet scraps in smaller doses: a whole blender of smoothie leftovers is basically a moisture bomb. Spread it out over a few additions and add extra browns each time.
- Always bury and cover: scraps should not be visible once you are done. Leaves, shredded cardboard, and finished compost all work as a cover layer.
When it is finished
Finished compost from a cold pile is usually dark brown, crumbly, and earthy smelling. It should look mostly like soil, not like the ingredients you put in.
Signs it is ready
- Smells like forest soil, not sour or rotten
- Most material is unrecognizable, aside from the occasional twig
- No heat in the center after sitting undisturbed
- Texture is crumbly and easy to spread
If it is still chunky
Totally normal. You have three easy options:
- Sift it: use a simple screen to separate big bits.
- Pick out larger pieces: toss them back into the active pile.
- Use it as mulch: semi-finished compost works well around trees, shrubs, and perennials.
How to use it
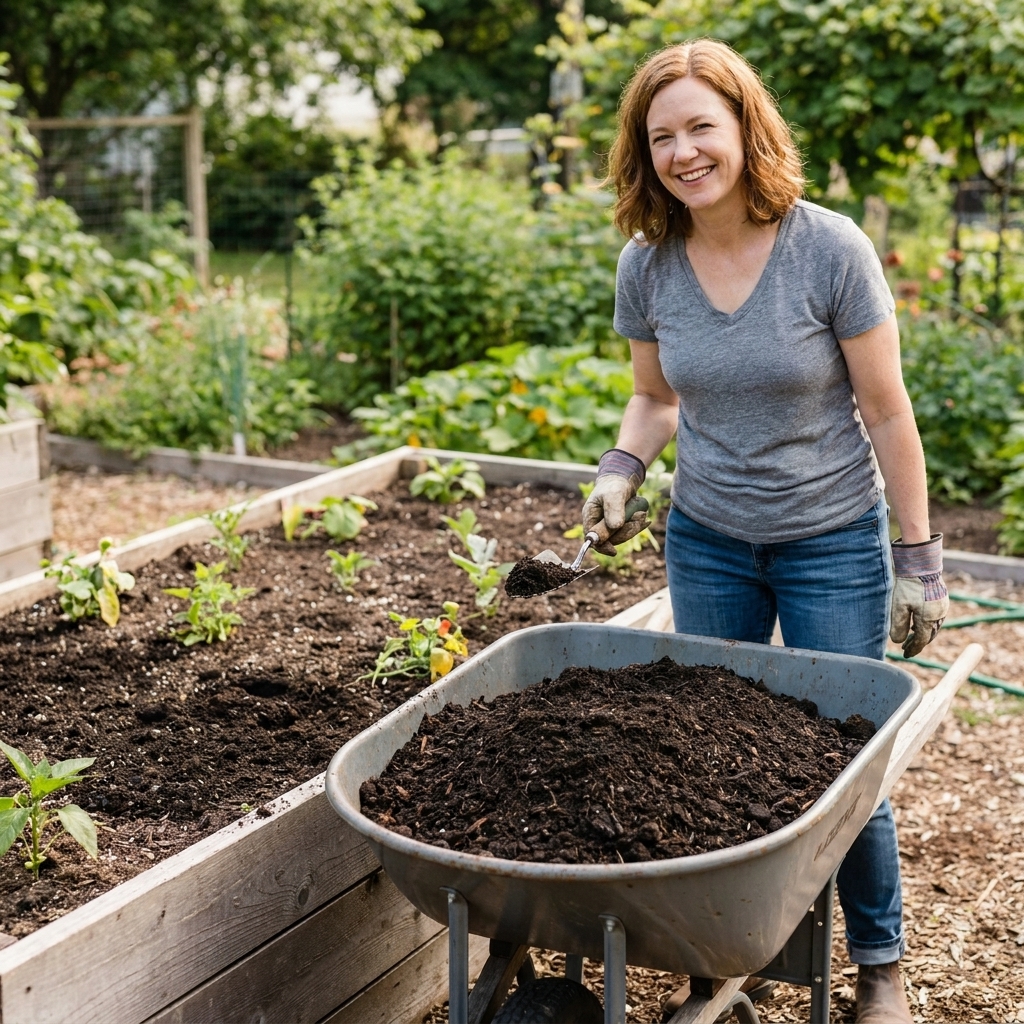
Cold compost is gentle and perfect for building soil structure. If you are gardening in clay like I was, this is where it really shines.
Easy ways to use it
- Top-dress garden beds: spread 1 to 2 inches on top and let worms pull it down.
- Mix into planting holes lightly: especially for transplants.
- Mulch around perennials: a 1 to 3 inch layer suppresses weeds and feeds soil life. Keep compost a couple inches back from stems and trunks to avoid rot.
- Refresh containers: blend finished compost with potting mix for a nutrient boost.
If your compost is not fully finished, keep it on the surface as mulch instead of digging it in. That avoids nitrogen tie-up while it completes decomposition.
One more practical note: save fully finished compost for seed starting and delicate seedlings. Unfinished compost is too unpredictable for seed trays, even if it looks pretty good.
Common problems
It smells bad
Cause: too wet, too many greens, or food scraps exposed.
Fix: add a thick layer of dry browns, then gently fluff one or two wet spots with a garden fork. Keep scraps buried and capped.
It is not breaking down
Cause: too dry, too many woody browns, or pieces are too large.
Fix: water the pile lightly, add some greens like grass clippings or coffee grounds, and chop or shred new additions.
Flies show up after scraps
Cause: scraps are too close to the surface.
Fix: dig a small pocket in the center, dump scraps, then cover with several inches of leaves or shredded cardboard.
Animals are digging
Cause: attractive food scraps or easy access.
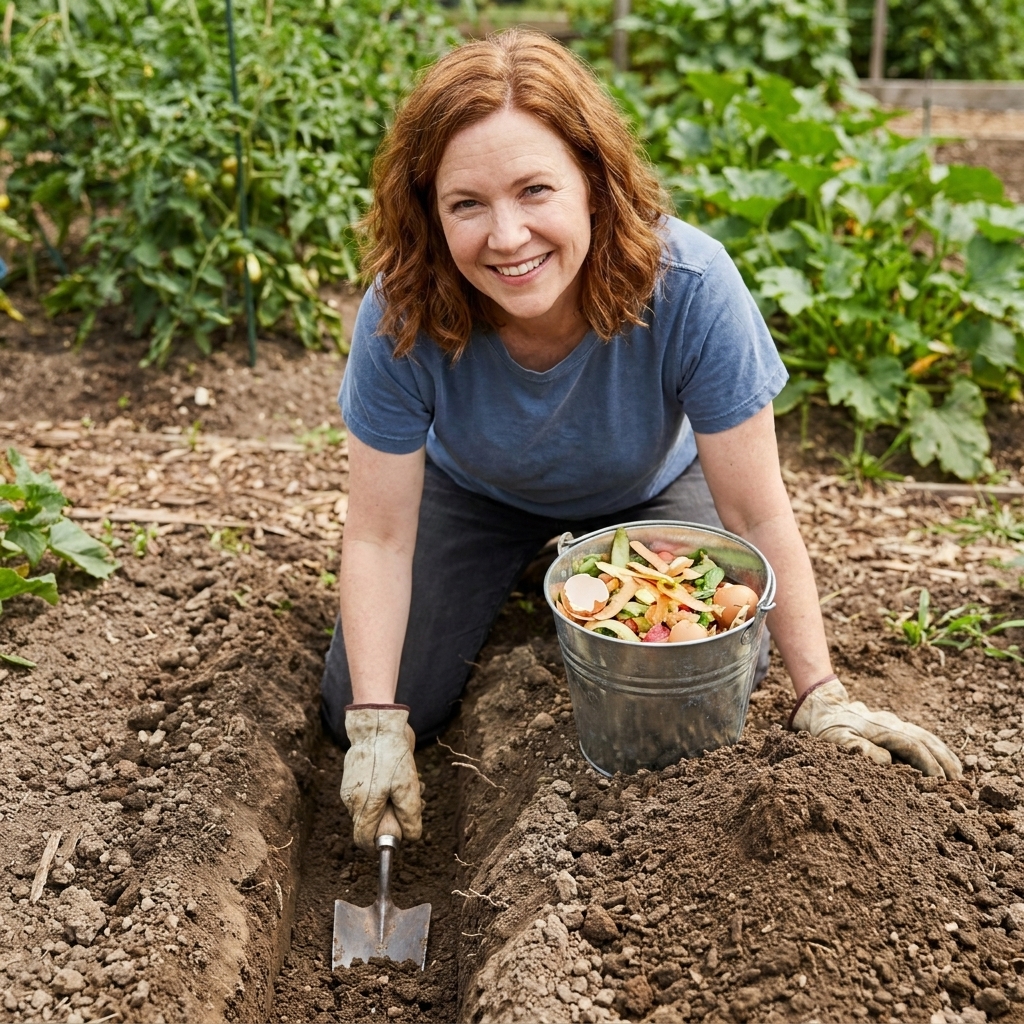
Fix: stop adding meat and dairy, bury scraps deeper, use a secure lid, and consider switching kitchen scraps to a buried trench compost method or a worm bin if pests are persistent.
Matted grass turns slimy
Cause: thick grass layers compact and go anaerobic.
Fix: add grass in thin layers only, mix with browns immediately, or dry clippings first before adding.
A routine that sticks
If you want a truly low-maintenance rhythm, here is one that works for busy weeks:
- Keep a browns stash: a bag of dry leaves, shredded cardboard, or straw near the pile.
- Add scraps 1 to 3 times a week: bury and cover every time.
- After yard work: add plant trimmings, then throw leaves or shredded cardboard on top.
- Once a month: check moisture. If it is dusty dry, water lightly. If it is soggy, add browns.
- Once or twice a year (optional): turn or simply move the pile over one bin space if you have a two-bin setup.
That is it. Cold composting rewards consistency far more than intensity.
FAQ
Can I cold compost only leaves?
Yes, and it is one of the best uses of cold composting. Leaves will break down faster if you shred them first and keep them slightly moist.
Do I need to worry about ratios?
Not in a calculator way. Just aim for more browns than greens, especially with kitchen scraps. If it smells, add browns. If it is dry and not changing, add a little green and moisture.
Can I put eggshells in a cold compost pile?
Yes. Rinse and crush them if you want them to break down faster. Whole shells can linger, which is not harmful.
Is cold compost safe for vegetables?
Finished compost is generally safe for vegetable gardens. Avoid composting pet waste. If you add weedy or diseased material, be thoughtful about where you use the finished compost.
What is the easiest way to avoid pests?
Keep food scraps buried, cap with browns, skip meat and dairy, and use a lidded bin if you have persistent critters.
My favorite part
Cold composting is the most honest compost method I know. You do not have to pretend you will turn a pile every week forever. You just keep feeding the system, keep it covered with browns, and let nature handle the rest.
And then one day, you scoop from the bottom and find that perfect, dark, sweet-smelling compost. It is not flashy. It is not fast. But it works, and it builds the kind of soil that makes gardens feel easier year after year.