The first time I tried trench composting, I was standing in my clay-heavy backyard with a bucket of kitchen scraps and absolutely no desire to wrestle with a slimy compost pile that week. So I did the simplest thing I could think of: I dug a narrow trench, tipped the scraps in, covered them up, and went back inside.
Weeks later, that spot in the bed looked darker and more crumbly, and I started noticing more worm activity when I planted nearby. No bin. No turning schedule. Just soil biology doing what it does best.
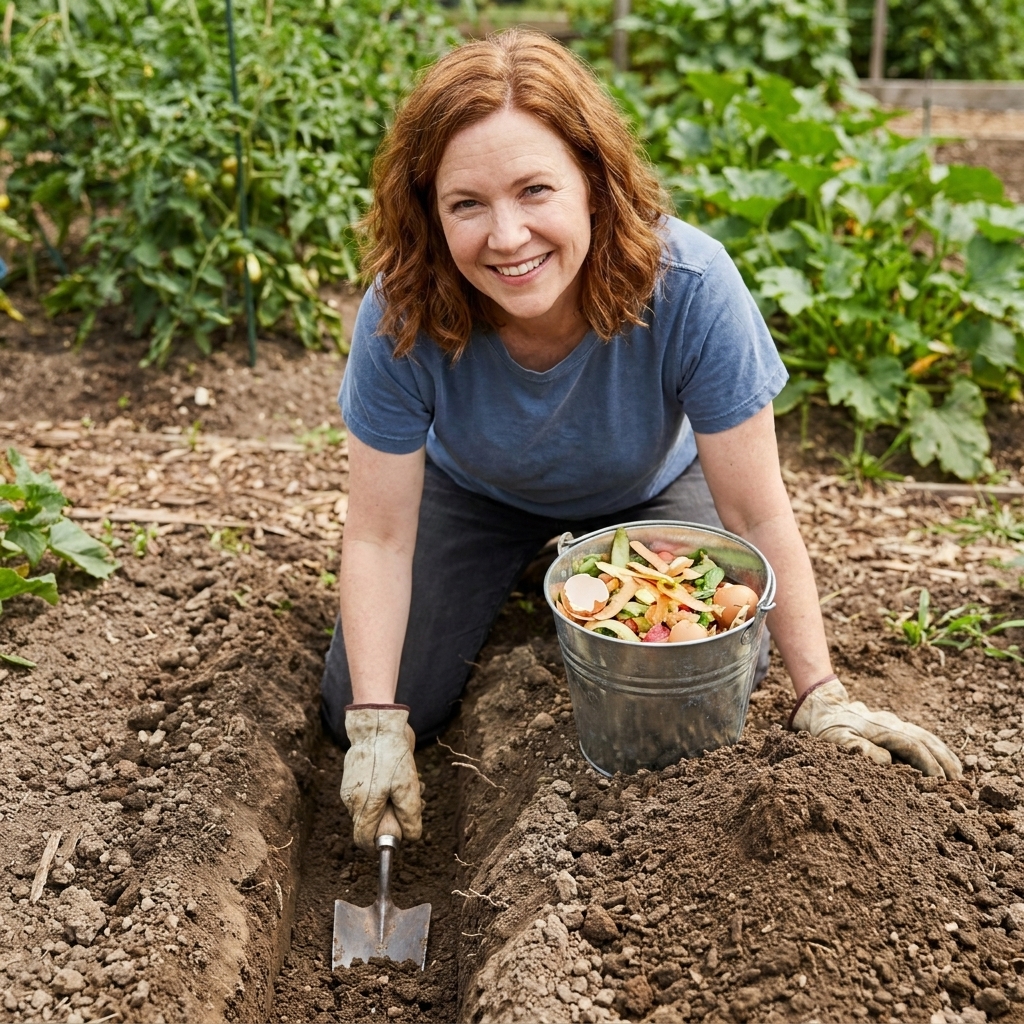
Trench composting is exactly what it sounds like: you compost directly in your garden by burying organic materials under soil. It is one of the most low-effort ways to build fertility, especially if you like the idea of feeding the soil in place and letting nutrients become available to nearby roots over time.
What it is
Trench composting is a method where you bury organic matter (usually kitchen scraps, sometimes yard waste) in a trench or hole in or near your planting area. Microbes, worms, and other soil critters break it down, turning it into improved soil structure and plant-available nutrients as decomposition and mineralization progress.
Instead of creating finished compost first and then spreading it, trench composting flips the order. You place the ingredients in the soil and let decomposition happen underground.
Why it works
- Feeds soil near the root zone. As materials break down, nutrients can become available to nearby roots, though timing varies.
- Improves soil texture over time. Great for compacted or clay soils that need more organic matter.
- Holds moisture better. Decomposing organic matter acts like a sponge.
- Keeps smells and flies down. When scraps are covered well, they stay out of sight and out of the air.
- No bin required. Perfect for small yards, patios with raised beds, or anyone who hates turning piles.
When it makes sense
Trench composting is flexible, but it shines in a few situations:
- You have active beds but limited compost space. Bury scraps between rows or in unused corners.
- You garden seasonally. Bury materials in fall so they break down over winter.
- You want to rebuild tired soil. A series of trenches over a season can noticeably increase tilth.
- You live where open compost attracts pests. Burial is often less tempting than a fragrant open pile (though it is not pest-proof everywhere).
If you need finished compost quickly for potting mixes or topdressing, trench composting is not a fast turnaround method. Think of it as slow, steady soil feeding.
What to bury
One reason trench composting gets a bad reputation is that people bury the wrong stuff, bury it too shallow, or overfill a trench into a dense, smelly mass. Keep it simple and you will have a good experience.
Best materials
- Fruit and vegetable scraps
- Coffee grounds and paper coffee filters
- Tea leaves and plain paper tea bags (avoid plastic mesh bags)
- Crushed eggshells (mainly a slow calcium source; breakdown is slow unless very finely ground)
- Chopped leaves, dried grass clippings, or straw (great for balancing wet scraps)
- Spent plant material that is healthy (no obvious disease)
Skip these
- Meat, bones, grease, dairy. Higher odor and pest risk.
- Large amounts of oily foods. Slow to break down and can smell.
- Pet waste. Pathogen risk.
- Weeds with mature seeds. Some seeds can survive mild underground composting.
- Diseased plants. Burial is not a guarantee of pathogen kill.
- “Compostable” plastics. Many require industrial conditions and linger in garden soil.
My rule of thumb: if you would hesitate to toss it into a basic backyard compost pile, do not bury it in a bed where you grow food.
How deep to dig
Depth is the difference between “this is wonderfully easy” and “why is something digging up my garden at 2 a.m.”
- Aim for 8 to 12 inches deep when you can.
- Leave at least 6 inches of soil cover over the scraps. In pest-heavy areas, more cover is better, and trench composting may not be the right tool if you are dealing with persistent rodents.
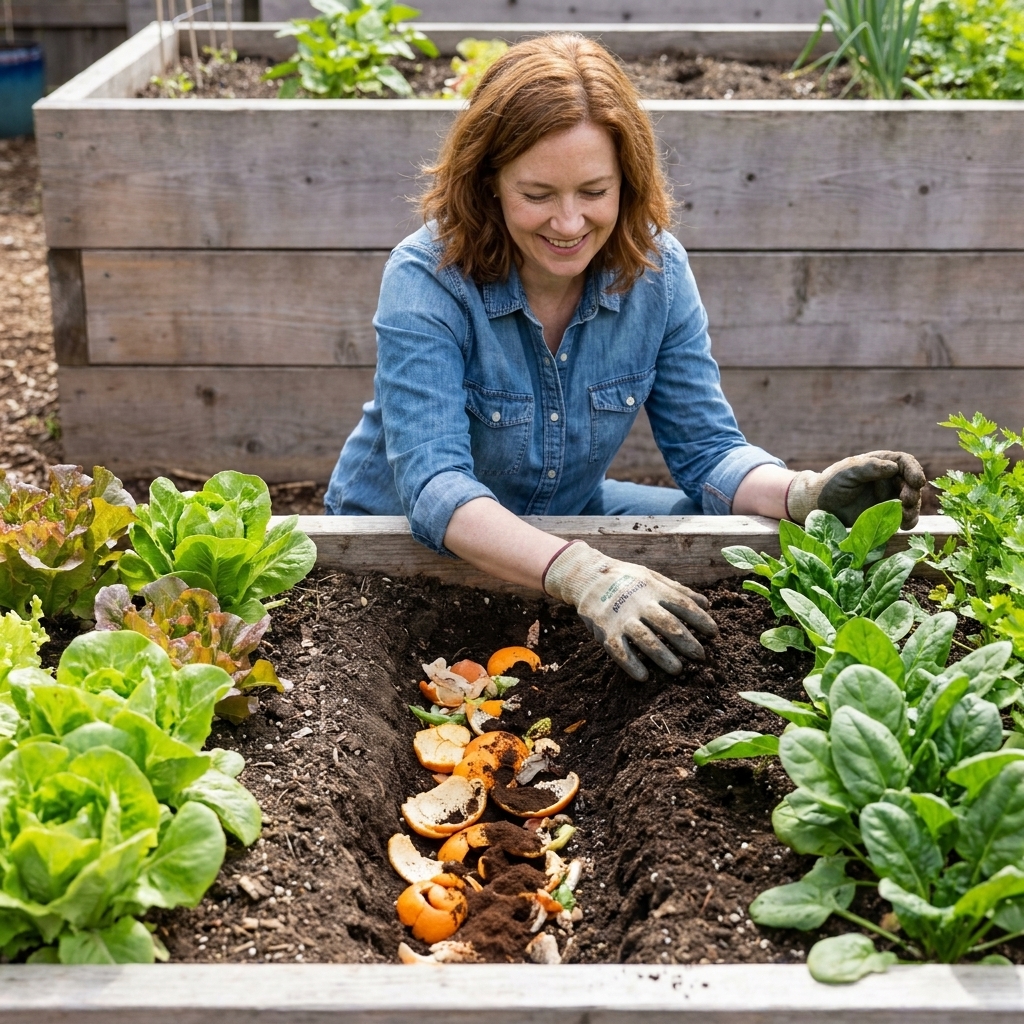
In raised beds, go as deep as your setup allows while still leaving that solid layer of soil on top.
Active bed steps
This is the method I use most often during the growing season, when I do not want to disturb established roots.
1) Pick a spot
Choose a space away from current plant stems. A good target is 8 to 12 inches from the base of most vegetables, farther for shallow-rooted crops.
Be extra cautious around perennials, shrubs, and trees. Their roots can spread wider than you think, and repeated digging can stress them. In perennial beds, I usually use the pocket method in a less-rooted area, or I compost elsewhere and topdress instead.
2) Dig a narrow trench
Make it as long as you need and about a spade-width wide. If your soil is hard (hello, clay), wet the area first and work in sections.
3) Add scraps in small layers
Avoid dumping one huge clump. Spread scraps out in a thin layer, then add a little dry carbon material (chopped leaves, shredded paper, or straw) to soak up moisture and reduce smells.
Amount guideline: I try to keep the trench no more than about half full of scraps before backfilling, and I always mix in some browns if things look wet. If it looks like a soggy lasagna, it is probably going to smell.
4) Cover well and close gaps
Backfill with the soil you removed and gently press it into place so there are no open pockets or exposed scraps. You want good soil contact and a solid cap, not a compacted brick.
5) Mark the spot
I use a small stick or a plant label so I do not accidentally dig there next week. You can also keep a simple rotation, like trenching along the north side of a bed one month, then the south side the next.
Bed prep steps
If you are preparing a bed for next season, trench composting gets even simpler.
- Dig a trench 10 to 12 inches deep in an empty area.
- Add kitchen scraps mixed with leaves or other browns.
- Backfill and water lightly if the soil is dry.
- Let it sit 6 to 12 weeks before planting, longer if you buried chunkier materials or conditions are cool and dry.
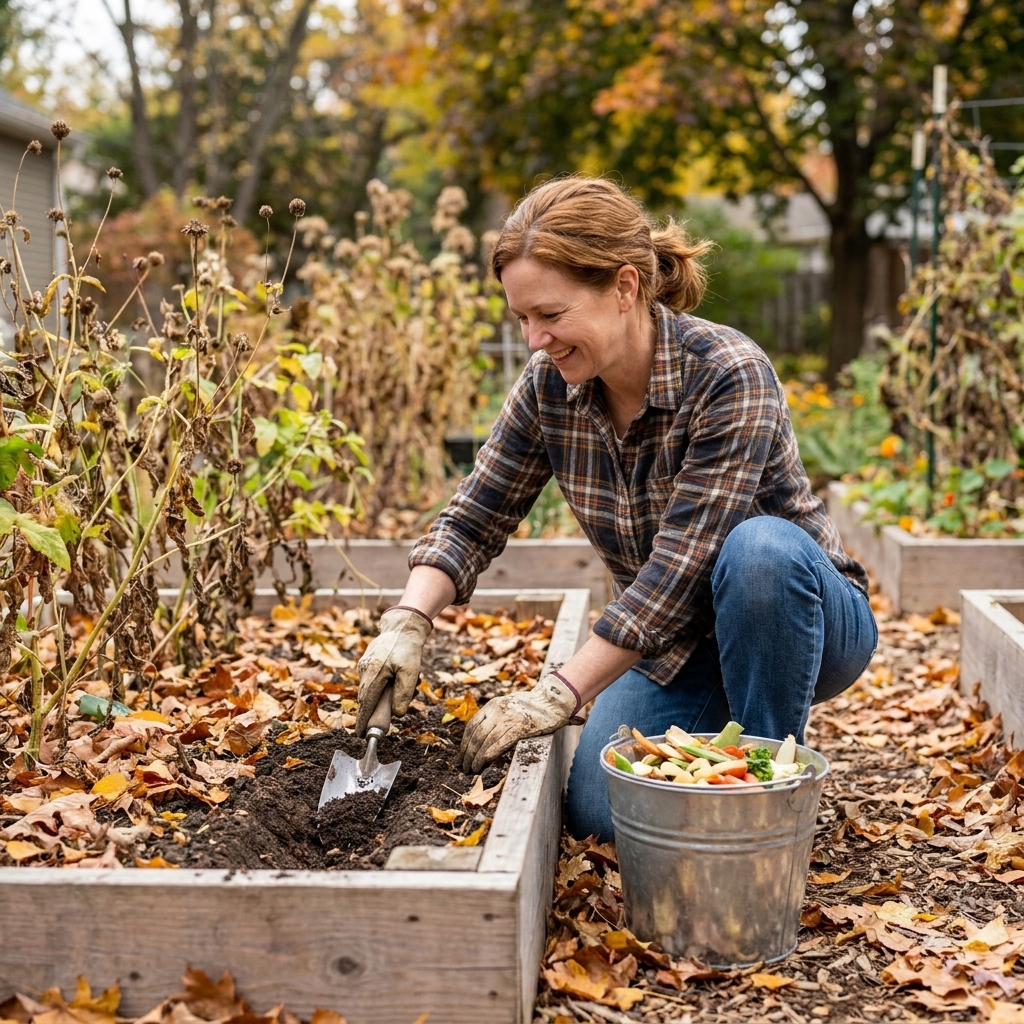
Fall trench composting is a favorite of mine because decomposition continues slowly through winter. By spring, you often have rich, crumbly pockets that plants love.
How long it takes
Trench composting speed depends on temperature, moisture, soil biology, and what you buried. Warm, moist soil breaks things down much faster than cold or dry soil.
- Soft scraps (fruit and veggie peels): often 2 to 6 weeks in warm conditions, and longer when it is cool or dry.
- Eggshells: months to years, especially in larger pieces.
- Woody stems or thick peels: 2 to 6 months or more.
If you are planting into a trenched area soon, keep the inputs small and chop them up. Smaller pieces have more surface area and break down faster.
Pests, smells, and plant issues
Most trench composting issues come from three things: shallow burial, the wrong materials, or burying too close to plants.
To prevent digging animals
- Bury scraps deep and cover with at least 6 inches of soil. More is better where pests are persistent.
- Avoid meat, dairy, and oily foods.
- Mix in dry browns to reduce odor.
- If pressure is high, lay a temporary piece of hardware cloth flat on the soil surface over the trench for a week or two and remove it later.
If you have an active rat problem in your area, trench composting may be more trouble than it is worth. A sealed system like a rodent-resistant bin, or bokashi with a secure outdoor finishing step, is often the better choice.
To prevent smells
- Do not leave scraps exposed while you dig. Add and cover as you go.
- Balance wet scraps with leaves or shredded paper.
- Do not trench compost in waterlogged soil. Anaerobic conditions are where stink lives.
- Avoid overfilling a trench with one big, dense mass of scraps.
To avoid nitrogen tie-up
If you bury mostly browns (like shredded cardboard or lots of dry leaves) without enough “greens,” soil microbes can temporarily use available nitrogen while they break it down. Keep trenches scrap-forward, or add a mix. If plants near the trench look pale a few weeks later, a light topdress of finished compost can help.
How it compares
I think of trench composting as the quiet, steady cousin of hot composting.
- Hot composting: fastest way to get finished compost, but you manage the pile.
- Tumbling bin: tidy and quicker than a cold pile, but limited capacity.
- Vermicomposting: great indoors and makes beautiful castings, but worms have preferences.
- Trench composting: low maintenance, no bin, feeds soil in place, but slower and less “finished compost” you can move around.
In my own garden, I use more than one. Trench composting handles everyday scraps when my main pile is full or when I want to feed a specific bed.
Simple plans
Between rows
- Trench between two rows this month.
- Next month, trench a new strip elsewhere.
- Plant into the first strip later in the season or next season.
Empty corner pockets
- Dig a single hole 10 to 12 inches deep.
- Add scraps weekly, always covering them well.
- When the hole is full, cap it with soil and start a new one.
Fall recharge
- After harvest, trench across the bed in one or two lines.
- Add scraps plus chopped leaves.
- Cover and leave it alone until spring.
FAQ
Can I trench compost in a raised bed?
Yes, as long as you can keep a solid layer of soil over the scraps. In shallow raised beds, use smaller scraps, bury them as deep as possible, and keep the trench away from delicate root zones.
Will it attract rats?
It can if scraps are buried too shallow, if you include higher-odor foods, or if rodents are already established nearby. Stick to fruit and vegetable scraps, bury deep, and cover well. If infestations are severe, use a sealed composting method instead.
Can I plant right on top of a fresh trench?
I do not recommend planting directly on top immediately. Fresh decomposition can create air pockets and temporarily shift nitrogen. If you need to plant soon, trench in an area you will plant later, or wait 6 to 12 weeks.
Is it safe for food gardens?
For most home gardens, trench composting with plant-based kitchen scraps is a common, practical approach. I still avoid trenching right before harvesting root crops from that exact spot, and I wash produce as normal. If you want the lowest-risk option for edible beds, keep it to fruits, vegetables, and coffee grounds, and give trenches time to break down before planting into them.
Do I need worms or compost starter?
No. If your soil has any life in it at all, it already has the decomposers you need. Moisture, contact with soil, and time are what matter most.
What if I hit roots while digging?
If you are working in an established bed, dig shallower and trench farther from plant stems. You can also use the pocket method in an unused corner to avoid root damage.
My best advice
If trench composting feels almost too easy, that is because it is. Dig, tuck scraps in, cover completely, and let your soil do the heavy lifting. Try one trench in a bed you plan to plant later, then check it in a month. The first time you see dark, crumbly soil where there used to be peels and stems, you will get why I keep coming back to this method.