If you have ever stood in the garden holding a bale of straw in one hand and a bag of wood chips in the other, wondering if you are about to make a glorious soil decision or a weedy mess, you are not alone. Mulch looks simple, but each material has its own personality.
I started mulching out of desperation in my old clay yard. The sun baked the surface into something that felt like pottery, and watering was like pouring a glass of water onto a brick. Mulch was the first thing that helped my soil stay evenly damp long enough for compost and roots to do their slow, steady work.
Let’s compare three of my favorite organic options for home gardens: straw, wood chips, and leaf mold. They all feed soil over time, but they differ a lot in how they handle moisture, weeds, and temperature.
Quick comparison
| Mulch type | Best at | Watch-outs | Where it shines |
|---|---|---|---|
| Straw | Keeping soil cool and moist, easy spreading | Can carry weed seeds, blows around, breaks down fairly fast | Annual veggie beds, new plantings, temporary seasonal mulch |
| Wood chips | Long-lasting weed suppression, moisture buffering | Too chunky for tiny seedlings, can tie up nitrogen right at the surface if mixed in | Perennial beds, around shrubs and trees, garden paths |
| Leaf mold | Gentle soil building, moisture retention, improving texture | Not the best weed blocker unless applied thick, takes time to make | Seedbeds, under perennials, top-dressing beds and containers |
What good mulch does
Organic mulches are doing a few jobs at once. Understanding those jobs makes picking the right material much easier.
- Moisture management: Mulch slows evaporation and helps water soak in instead of running off.
- Temperature buffering: It shades soil in summer and reduces rapid freeze-thaw swings in winter.
- Weed suppression: A thick layer blocks light and makes it harder for weeds to germinate.
- Soil feeding: As mulch breaks down, it becomes food for fungi, bacteria, earthworms, and all the tiny helpers that build crumbly soil.
One timing note that matters: mulching too early in a cold spring can keep soil cooler longer. For heat lovers like tomatoes, peppers, basil, and squash, I often wait until the soil has warmed, then mulch.
The trick is matching the mulch to the spot. A material that is perfect on a path can be annoying in a seed-starting bed, and vice versa.
Straw mulch
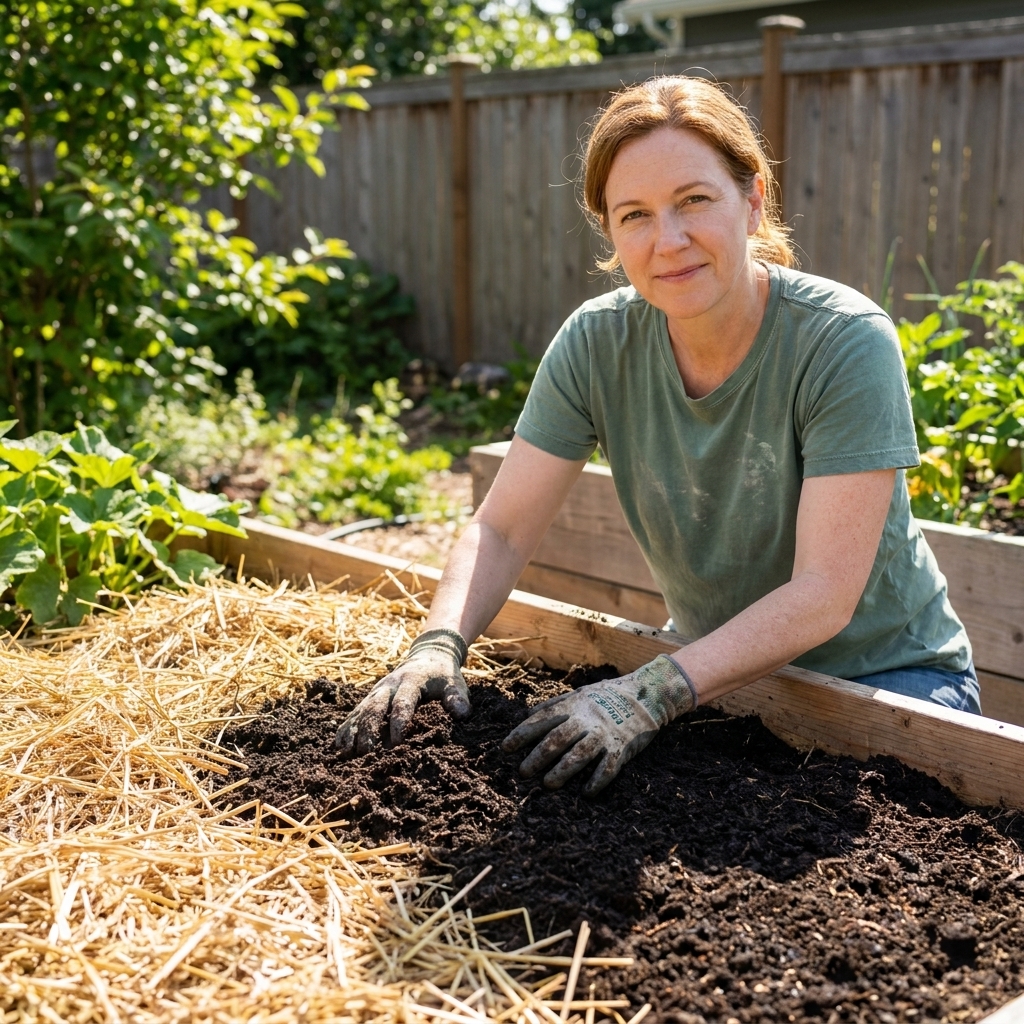
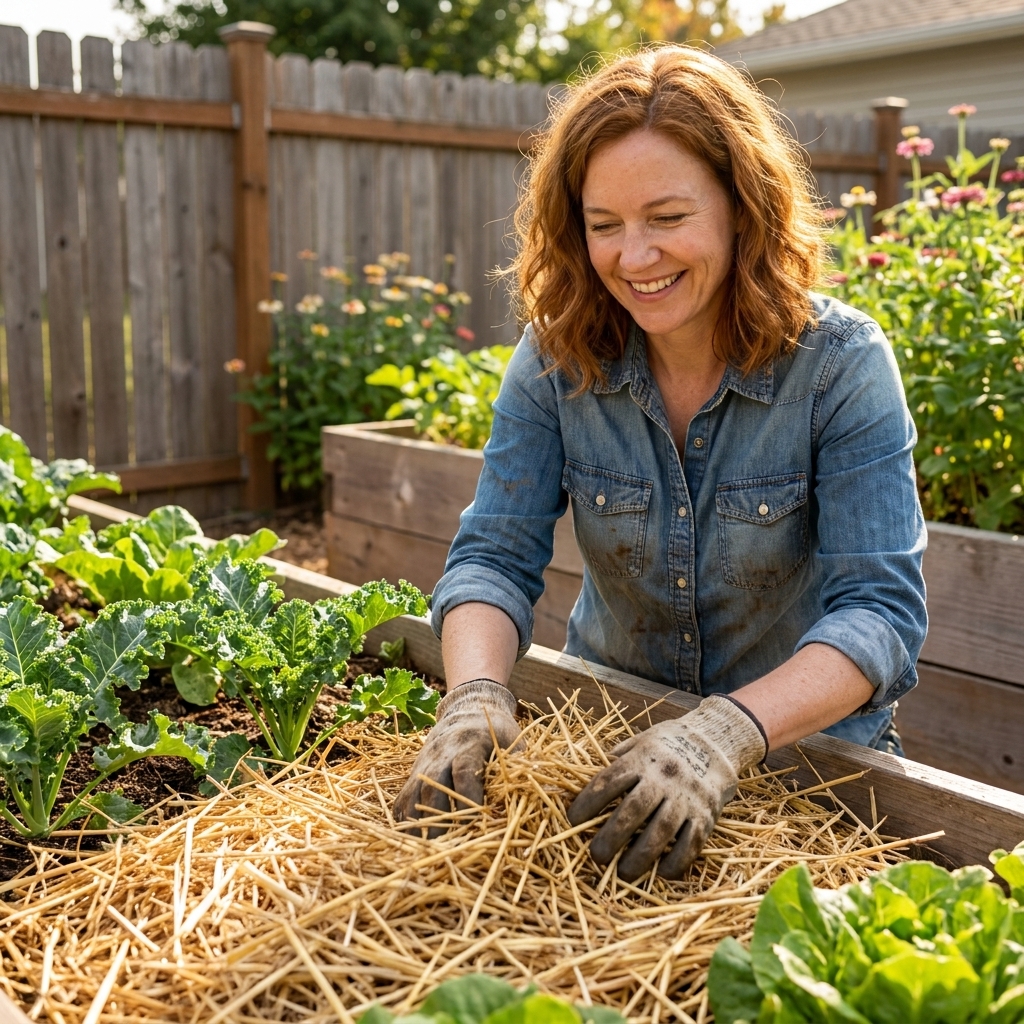
Straw is the dried stalks left after grains like wheat or oats are harvested. It is light, airy, easy to spread, and one of the quickest ways to make a vegetable bed feel “finished.”
Where straw shines
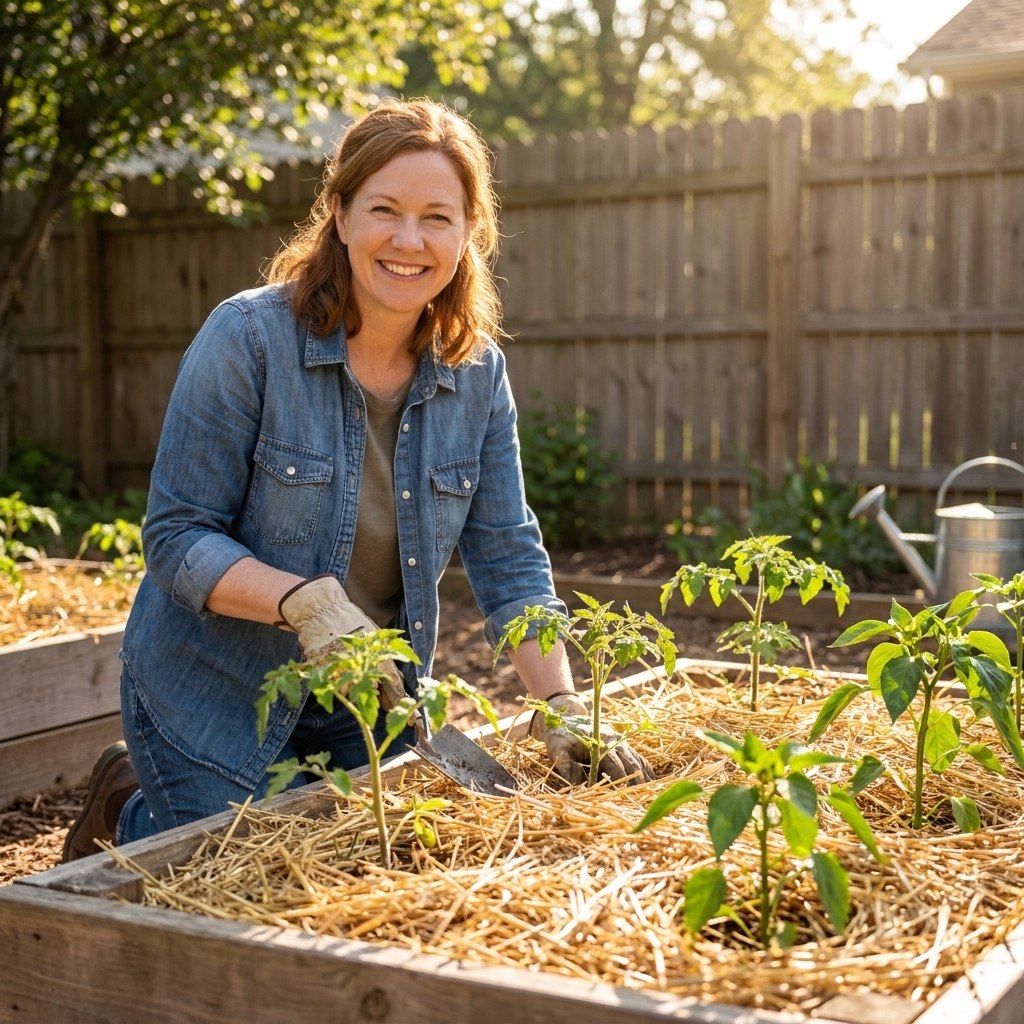
- Annual vegetable beds: Straw is fantastic around tomatoes, peppers, squash, and cucumbers once plants are a few inches tall.
- Keeping fruit clean: It is a classic under strawberries and melons to keep fruit off damp soil.
- Fast seasonal coverage: Need something this weekend that will reduce watering next week? Straw is usually the quickest win.
Benefits
- Great moisture retention: The airy layer shades soil without sealing it off.
- Cooler root zone in heat: Especially helpful during midsummer when containers and raised beds dry out fast.
- Easy to pull back: You can peel it away to direct-seed or to check soil moisture.
Common problems and how to avoid them
- Weed seeds: Straw is cleaner than hay, but it can still contain seeds. Buy from a source you trust. Where available, look for “certified weed-free” straw, and avoid bales that have clearly been stored with hay.
- Blowing around: Water it in after spreading so it settles and interlocks, or top it with a light sprinkling of finished compost to help it stay put.
- Slugs and earwigs: In very damp climates, thick straw can create cozy hiding spots. Go a little thinner, and keep it 2 to 3 inches back from plant crowns. Avoid piling it against stems.
How thick to apply
For most veggie beds: 2 to 4 inches. Start thinner if you are still direct-seeding, then thicken it once seedlings are established and the weather warms up.
Wood chip mulch
Wood chips are my favorite “set it and forget it” mulch for perennials, shrubs, and paths. They break down slowly and encourage fungal life, which is exactly what woody plants tend to love.
Where wood chips shine
- Perennial beds: Around berries, asparagus, herbs, flowers, and ornamental beds.
- Trees and shrubs: A wood chip ring helps keep mower damage away and keeps roots evenly moist.
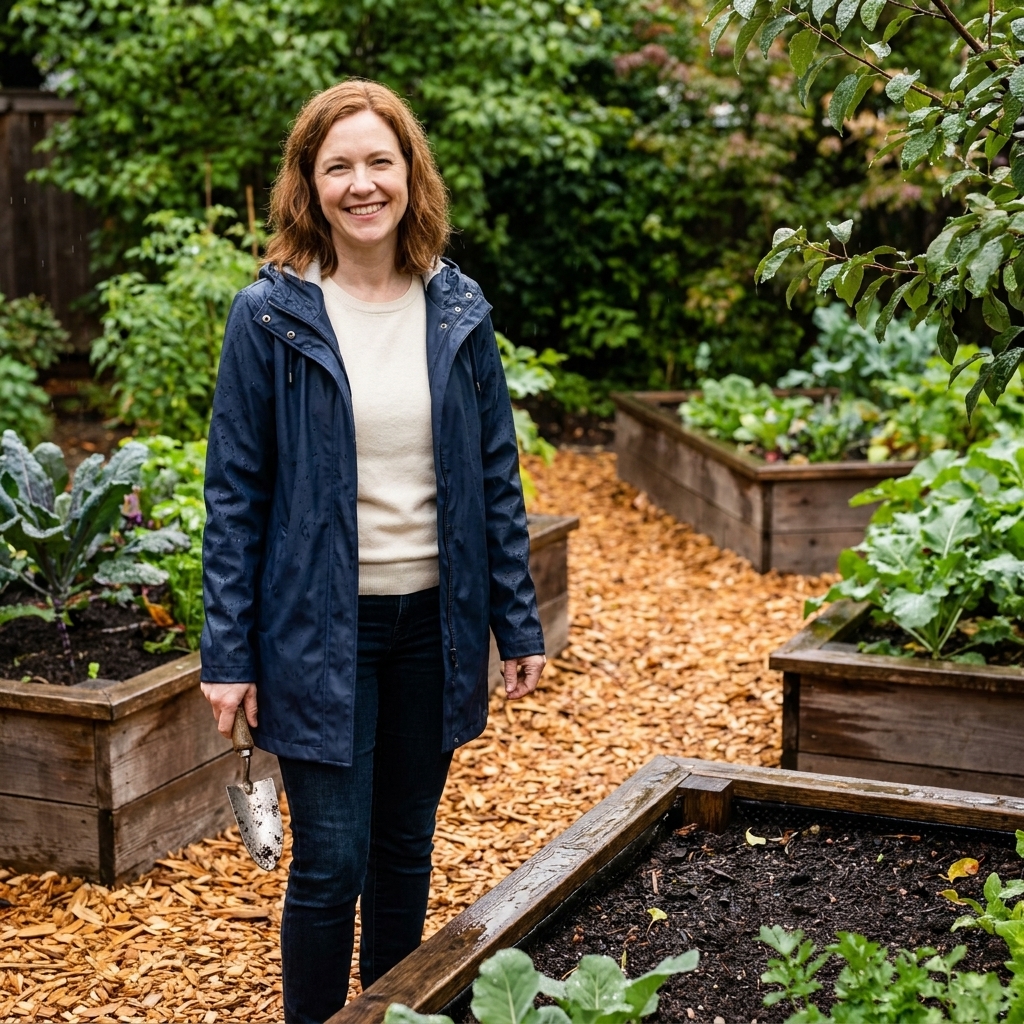
- Garden paths: Thick chips make an excellent, mud-reducing walking surface that slowly becomes soil.
Benefits
- Long-lasting: You might top up once a year, sometimes less.
- Strong weed suppression: Chips knit together into a dense blanket when applied thick enough.
- Excellent moisture buffering: They reduce both drought stress and sudden soaking and drying cycles.
The nitrogen tie-up myth, in plain language
You will hear that wood chips “steal nitrogen.” Here is the practical version: when wood is breaking down, microbes use nitrogen right where the wood meets soil. If you mix fresh chips into the soil, that process happens throughout your planting zone and plants can struggle, especially shallow-rooted annuals and new transplants if chips get worked into the top few inches. If you leave chips on top as mulch, the tie-up is mostly at the surface, and established plants do just fine.
My rule: wood chips on top, compost underneath if you have it. If a bed looks pale and hungry, a light feeding (compost, or a gentle nitrogen source) can help, but it is optional, not a requirement.
Common problems and how to avoid them
- Too chunky for direct seeding: Tiny seeds can get lost under chips. Use leaf mold or compost for seedbeds, then switch to chips after plants are established.
- Volcano mulching trees: Do not mound chips against trunks. Think “mulch donut, not mulch volcano.” Keep a 2 to 3 inch gap so bark stays dry and healthy.
- Herbicide contamination: If you source chips from unknown places, be cautious about persistent pasture herbicides that can survive composting and show up in garden materials. A simple safeguard is a quick bioassay: plant beans or peas in a pot filled with the chips (or compost made from them) mixed with potting mix, and compare growth to a clean control pot for a couple of weeks.
- Very fine chips or sawdust matting: Arborist chips (mixed sizes, often with leaves) are usually great. But heavy fines can form a crust. If your material is extra fine, apply a bit thinner and fluff it occasionally.
How thick to apply
For beds: 3 to 5 inches. For paths: 4 to 6 inches, especially if you want real weed suppression.
Leaf mold mulch
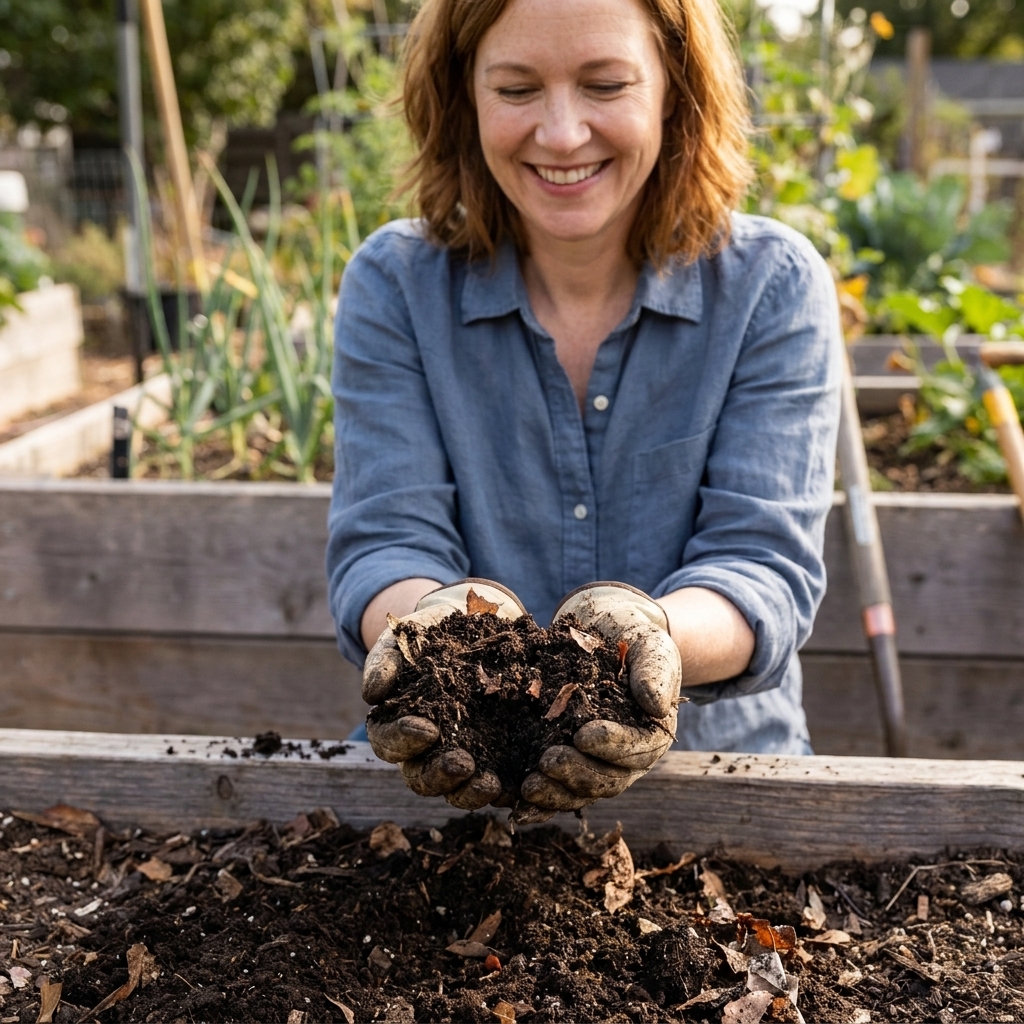
Leaf mold is what you get when fallen leaves break down slowly into a dark, spongy material that smells like the forest floor. It is not the same as leaf compost. Compost is typically faster, hotter, and more mixed. Leaf mold is the slow, fungal, moisture-holding cousin.
Where leaf mold shines
- Seedbeds and young seedlings: It is soft, fine, and gentle. It will not smother tender plants the way chunky chips can.
- Improving soil texture: Leaf mold is wonderful in both sandy soil and clay. In clay, it helps build crumbly structure over time.
- Under perennials: It mimics the natural duff layer many perennials evolved with.
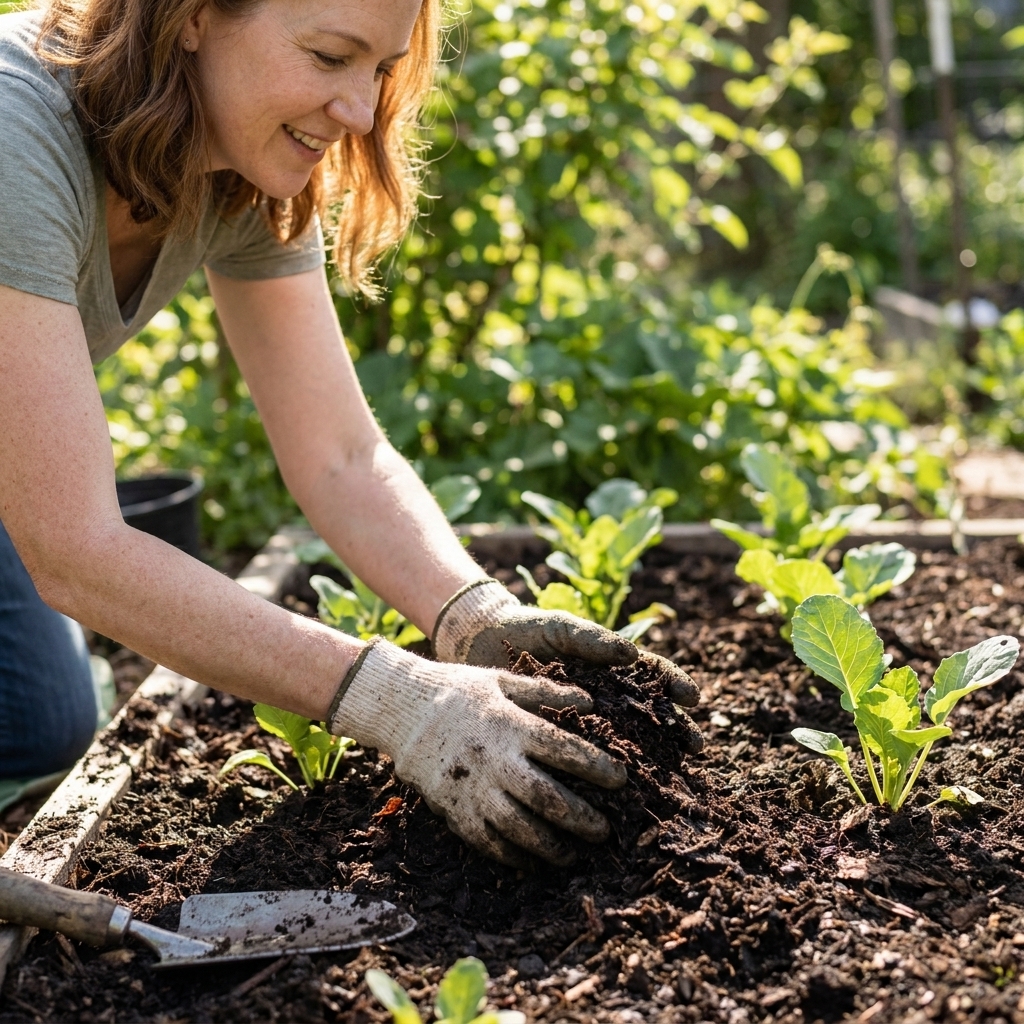
- Containers and raised beds: A thin top layer slows evaporation without creating a soggy crust.
Benefits
- Excellent water holding: Leaf mold acts like a sponge, which is priceless during hot spells.
- Soil life friendly: It supports fungi and the slow steady nutrient cycling that builds long-term fertility.
- Easy to work with: It spreads like a fluffy blanket and looks tidy.
How long it takes (and a simple way to make it)
Leaf mold is not instant. Depending on moisture, airflow, and whether leaves are shredded, it usually takes 6 to 24 months. Shredded leaves break down much faster.
The easy method: pack fall leaves into a wire bin or sturdy bags with a few air holes, wet them like a wrung-out sponge, then leave them alone. Turning is optional. Check moisture a couple times a year, and add water if the pile is bone-dry.
Common problems and how to avoid them
- Not a strong weed blocker: Leaf mold is best at moisture and soil-building. If weeds are your main issue, apply it thick or pair it with cardboard underneath in paths.
- Can mat if too wet and too fine: If it compacts, lightly rake the surface to let air in.
How thick to apply
For general mulching: 1 to 3 inches. For more weed suppression: go thicker, closer to 3 to 4 inches, and keep it fluffed.
Best mulch by setup
Raised beds
- Go with straw for summer vegetables once seedlings are established and the bed has warmed.
- Use leaf mold for spring planting and for beds where you direct-seed carrots, lettuce, and beets.
- Save wood chips for the paths around raised beds, or for perennial corners of the garden.
In-ground vegetable rows
- Straw is usually the easiest, especially if you want to pull it back to side-dress compost or check drip lines.
- If you have perennial veggies mixed in, leaf mold is a nice “soil-first” choice.
Perennial beds and shrubs
- Wood chips are the workhorse. They last, suppress weeds, and protect roots from heat swings.
- Leaf mold is ideal as a spring top-dressing under chips or on its own for plants that prefer a richer, softer surface layer.
Trees
Wood chips win here almost every time. Spread a wide, flat ring under the canopy, keep chips 2 to 3 inches back from the trunk, and let it slowly feed the soil.
Containers and patio planters
- Leaf mold is my favorite because it is lightweight and moisture-friendly.
- Straw can work, but it blows around in windy spots.
- Wood chips are often too chunky for small pots unless you use very fine chips.
How to apply mulch
- Weed first: Mulch slows new weeds, but it will not magically erase the ones already growing.
- Water deeply, then mulch: Mulch helps you keep moisture, but it cannot trap water that never soaked in.
- Keep mulch off stems: Leave a 2 to 3 inch breathing ring around crowns and trunks to reduce rot and pests. Mulch donut, not volcano.
- Do not mix woody mulch into soil: Keep chips on top. If you want to improve soil quickly, add compost underneath.
- Top up at the right time: Add more when you can see bare soil peeking through. That is when evaporation and weeds sneak back in.
My favorite combos
You do not have to pick one mulch forever. In real gardens, layering and rotating is often the sweet spot.
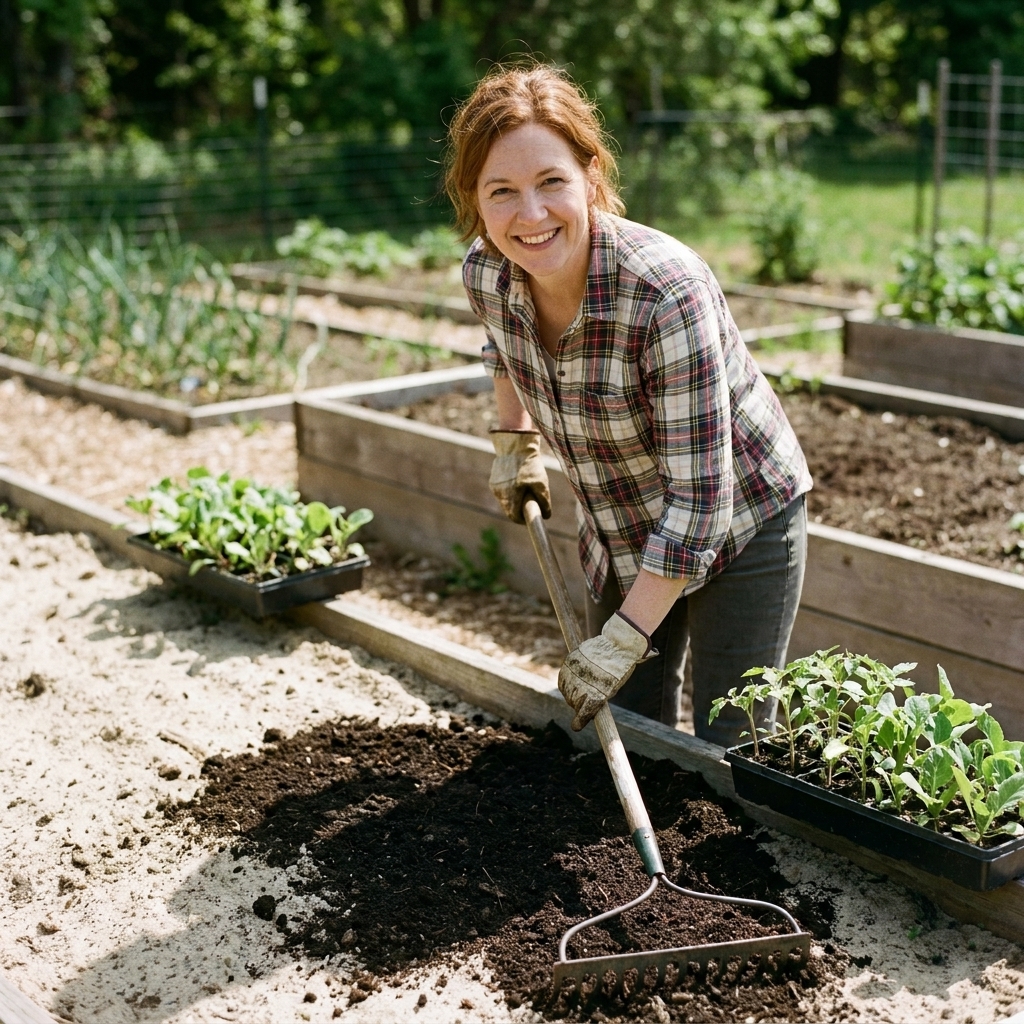
- Compost + straw: A thin layer of compost, then straw on top for summer vegetables.
- Leaf mold + wood chips: Leaf mold as a soil-feeding layer, wood chips as the long-lasting cap for perennials and shrubs.
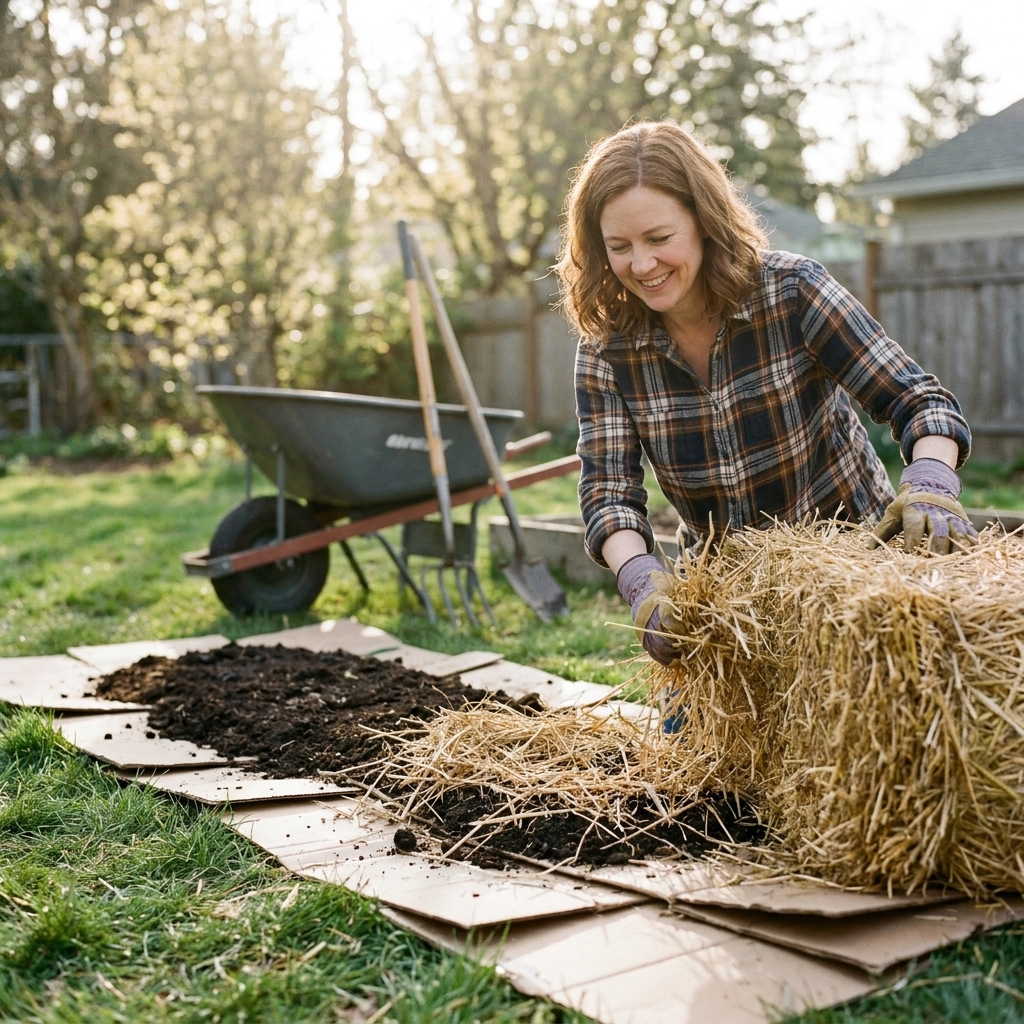
- Cardboard + wood chips (paths): Cardboard suppresses existing weeds, chips make a durable walking surface.
FAQ
Is hay the same as straw?
No. Hay is cut grass and seed heads, which often means lots of seeds. Straw is the leftover stalks after grain harvest and is typically much cleaner. If you want fewer surprise sprouts, choose straw.
Will wood chips make my soil acidic?
Usually, no in any meaningful long-term way. Surface-applied wood chips may cause a small, temporary shift right at the surface as they break down, but in most garden soils they do not significantly change overall soil pH.
Can I mulch over compost?
Yes, and it is one of my favorite moves. Compost feeds, mulch protects. Compost first, mulch second.
What if I only have fall leaves?
Perfect. Start a leaf pile and begin making leaf mold. In the meantime, shredded leaves also work as a seasonal mulch, especially in veggie beds. If they mat, fluff them with a rake.
The bottom line
If you want the simplest answer, here is mine: straw for annual veggies, wood chips for perennials and paths, leaf mold for soil building and gentle moisture control. Pick the material that matches your garden’s needs right now, then let it do its quiet work while you get on with the fun stuff like planting and harvesting.
Healthy soil is slow magic. Mulch is one of the easiest ways to keep that magic going between your watering can and the next rain.