If you have ever stood in the garden holding a sad little plant and wondered, is it me or is it the dirt? you are my kind of person. When I started gardening in heavy clay, I blamed the sun, the seedlings, the variety, the weather, the moon. Eventually I learned the truth: soil texture runs the show.
The mason jar soil test is my favorite at-home way to get a quick, surprisingly useful snapshot of your soil’s texture, meaning the ratio of sand, silt, and clay. It is not fancy lab work, but it is accurate enough to guide better decisions about compost, watering, drainage, and which plants will be happiest.
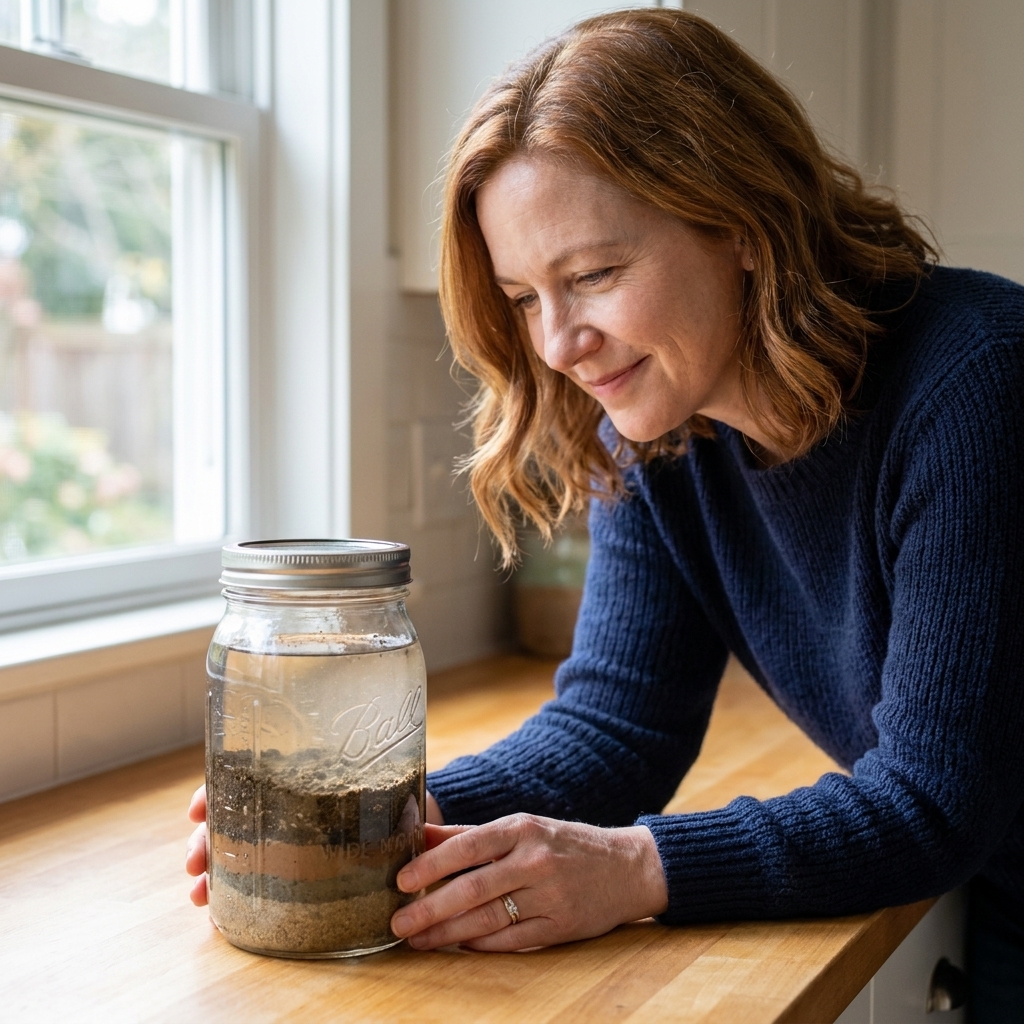
What it tells you
This test tells you:
- The approximate percentage of sand, silt, and clay in your soil sample
- Whether your soil likely drains fast, holds water too long, or sits somewhere in between
- How “sticky” or “gritty” your soil tends to be, which affects compaction and root growth
This test does not tell you:
- Soil pH or nutrient levels (that is a different test)
- How much organic matter you have (though you may see floating bits)
- Whether your soil biology is thriving (earthworms, microbes, and good aggregation are their own story)
Think of this as your soil’s “body type.” Once you know it, you can make smarter choices about amendments and care. Also worth knowing: this jar test estimates particle size distribution. It does not capture soil structure and aggregation very well, so it may not perfectly match what you see in the garden after years of compost and mulching.
Supplies you need
- A clear jar with straight sides and a lid (a quart mason jar works great)
- Garden soil (from the area you want to test)
- Water (room temperature is fine)
- A teaspoon of mild dish soap (optional, but can help)
- A ruler (metric or inches is fine, just be consistent)
- Permanent marker or masking tape (optional, but very helpful for marking layers)
Why soap? It can act like a gentle dispersant, helping soil particles separate instead of clumping. It is not a true lab dispersing agent, and some soils will still cling together, but it usually improves the read.
Quick quality note: Use a clean jar with a tight lid, and set it somewhere it will not get bumped. If your sample has obvious slow-release fertilizer pellets, pick them out so they do not confuse what you are seeing.
Step 1: Take a good sample
The biggest mistake I see is testing one little scoop from the surface and calling it “the garden.” Texture can change even a few feet apart, and it definitely changes with depth.
For a garden bed
- Scrape aside mulch.
- Dig down 4 to 6 inches.
- Take small scoops from 3 to 5 spots in the same bed.
- Mix them in a bowl and remove stones, roots, and big wood chips.
For a lawn
- Sample from 3 to 5 spots.
- Go down 3 to 4 inches (below the thatch layer).
Sample prep tip: If the soil is very wet, let it air-dry a bit until it is crumbly, then break up clods with your fingers before it goes in the jar. Big wet clumps are stubborn and can make fine particles settle faster than they should.
If your yard has very different areas, like a back corner that stays soggy and a sunny slope that bakes dry, run separate jar tests. You will learn a lot fast.
Step 2: Fill the jar
- Add soil until the jar is about 1/3 full.
- Add water until the jar is about 2/3 to 3/4 full.
- Add 1 teaspoon of dish soap (optional).
- Put the lid on tight.
Leave a little headspace so you can shake it like you mean it.
Step 3: Shake and settle
Shake the jar hard for 2 to 3 minutes. You want every last crumb broken up. If you have heavy clay, you may need a little longer.
Then set it somewhere it will not be bumped and start timing the settling. The particles drop out in order of size:
- Sand settles first (fast).
- Silt settles next (medium).
- Clay settles last (slow).
Timing checkpoints
Home jar tests often use a few checkpoints rather than staring at the jar all day. Consider these typical checkpoints, not strict rules.
- After 1 to 2 minutes: mark the top of the sand layer
- After 30 minutes to 2 hours: mark the top of the silt layer (sand + silt)
- After 24 hours: mark the top of the clay layer (total settled soil)
Important: Use a marker or a little strip of tape to mark the layer heights at each checkpoint. Boundaries can blur, and marking as you go keeps you from losing your place.
Temperature, water chemistry, and extremely fine clays can shift settling times. If the water is still cloudy after 24 hours, let it go 48 to 72 hours and take your final reading then. Consistency matters more than precision.
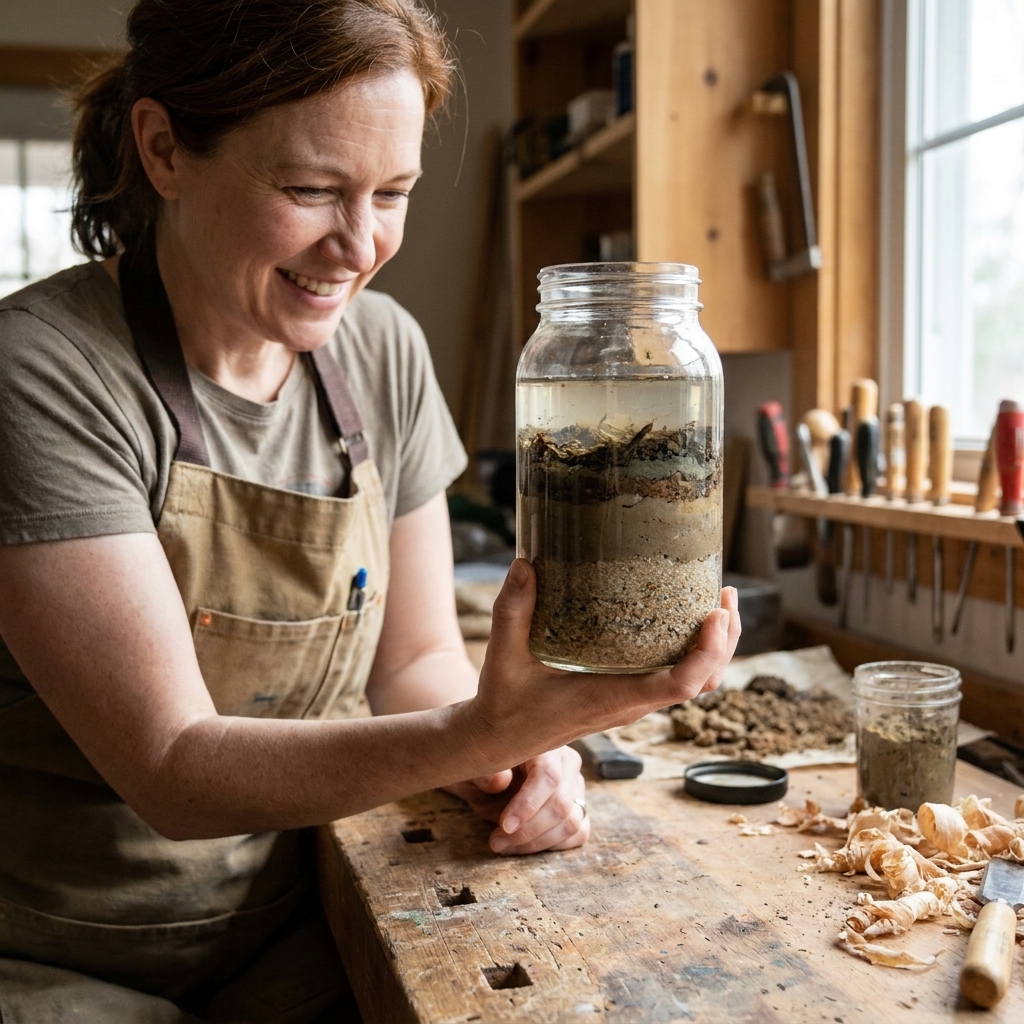
Step 4: Measure and calculate
Once the jar has settled (often 24 hours, sometimes longer), you should see distinct bands. Sometimes the silt and clay boundary is subtle, especially if your soil has lots of organic matter. Do your best and take the reading that seems most consistent.
How to measure
- Measure the total height of the settled soil (sand + silt + clay). Call this Total.
- Measure the height of the sand layer (from the bottom up). Call this Sand.
- Measure the combined height of sand + silt at your mid-point mark (30 minutes to 2 hours). Subtract sand to get Silt.
- Measure the clay height at your final mark by subtracting (sand + silt) from total. That is Clay.
Percentage formulas
- % Sand = (Sand ÷ Total) × 100
- % Silt = (Silt ÷ Total) × 100
- % Clay = (Clay ÷ Total) × 100
Quick example: If Total = 10 cm, Sand = 4 cm, Silt = 4 cm, Clay = 2 cm, then your soil is about 40% sand, 40% silt, 20% clay.
One more reality check: if your sample had clumps that did not fully break apart, fine particles can hitch a ride downward and make the sand or silt layer look a little thicker than it truly is. If your results surprise you, run the test twice and average it.
How to read results
You can get very specific using a soil texture triangle, but most home gardeners do not need to memorize one. Here is the practical version I use in my own beds.
If sand is highest
What it feels like: gritty, falls apart in your hand, drains fast.
What it means: You will fight drying out and nutrients washing through.
What helps: steady organic matter. Compost, leaf mold, and aged manure improve water holding without turning your bed into a swamp.
If silt is highest
What it feels like: smooth and floury when dry, slippery when wet.
What it means: Often very fertile, but it can crust, compact, and erode.
What helps: keep soil covered (mulch, living roots) and add compost to improve aggregation.
If clay is highest
What it feels like: sticky when wet, hard like a brick when dry, forms a ribbon when squeezed.
What it means: High water holding, slow drainage, compaction risk. Nutrients can be plentiful but locked up when structure is poor.
What helps: compost, compost, compost. Also avoid working it wet, use mulch, and consider gypsum only with a reason. Gypsum can help certain soils where calcium is limiting or sodium is high, but it is not a universal cure for typical clay. If you are tempted, a basic soil test can keep you from throwing money at the wrong problem.
If you are somewhere in the middle, especially a nice balance like loam or sandy loam, congratulations. Your job is mostly to protect what you have with mulch, compost top-dressing, and fewer bare-soil periods.
Common problems
The water stays cloudy
This often means lots of clay, lots of organic matter, or both. Let it sit longer, up to 48 to 72 hours. You can also add a tiny bit more soap and repeat the shake and settle.
Soil floats on top
Floating bits are usually organic matter like tiny wood pieces, roots, or partially decomposed compost. Skim the big stuff before testing, and remember: the floating layer is not part of your sand, silt, and clay measurement.
Layers look clumpy
That is usually incomplete dispersion. Break up clods before adding soil to the jar, shake longer, and use soap. If you want maximum separation, a dedicated dispersing agent works better than soap, but for garden decisions, soap plus patience is usually enough.
Cannot tell silt from clay
Totally normal. Use good light, look for a subtle change in color or density, and measure consistently. Running the test twice and averaging your readings is more helpful than agonizing over a millimeter.
What to do next
Soil texture is not something you can change overnight, and honestly you do not need to. The goal is to improve structure, meaning how those particles clump into aggregates that hold air, water, and life.
My go-to moves
- Top-dress with compost 1 to 2 inches, once or twice a year. Do not till it in if you can help it. Let worms and weather do the mixing.
- Mulch 2 to 4 inches to protect moisture and feed soil life (shredded leaves, straw, or clean wood chips around perennials).
- Keep living roots as much of the year as possible using cover crops or densely planted beds.
- Avoid working soil when wet, especially silt- and clay-heavy soils. That is when compaction happens fast.
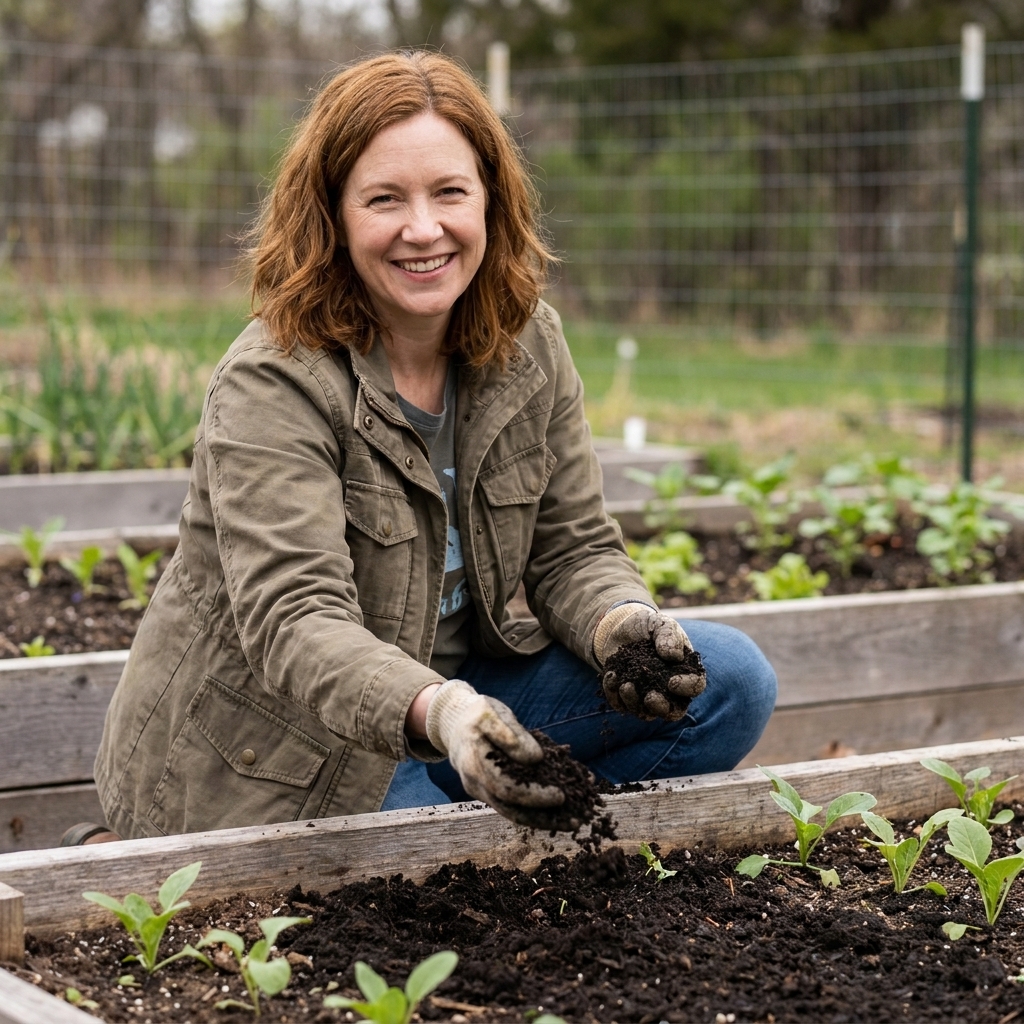
If you are composting at home, this is where it pays off. Compost will not turn sandy soil into clay or clay into sand, but it can make both behave better.
FAQ
How accurate is the mason jar soil test?
For a home method, it is surprisingly solid for identifying whether you are sand-heavy, silt-heavy, clay-heavy, or nicely balanced. It is not a replacement for lab testing, and different soils settle at different speeds, but it is accurate enough to guide watering habits and amendment strategy.
Can I use any glass jar?
Yes. Straight sides make measuring easier, but any clear jar with a tight lid works.
Should I use surface soil or deeper soil?
Take soil from the root zone. For most vegetable beds that is 4 to 6 inches down. Avoid grabbing only the top half-inch, which is often extra organic and not representative.
Do I need a soil texture triangle?
Not necessarily. If you enjoy details, you can plug your percentages into a texture triangle to get a formal name like “silty clay loam.” For everyday gardening, knowing the general balance and how it behaves in your hands is usually enough.
How often should I do this test?
Texture itself will not change quickly, so every few years is plenty. I retest when I move into a new garden area, create a new bed, or notice persistent drainage or compaction issues.
One last dirt-nerd tip
Do the jar test, then go outside and do the hand test too. Grab a damp handful and squeeze. Does it form a tight ribbon and shine? That is clay talking. Does it crumble and feel like beach sand? Sand. Does it feel like smooth cake flour and smear a little? Silt. The more ways you observe your soil, the faster you learn how to work with it instead of against it.
And if your results come back clay-heavy, I see you. That was my starting line too. The good news is that clay can grow incredible gardens once you feed it organic matter and give it time.