Why soil pH matters as much as fertilizer
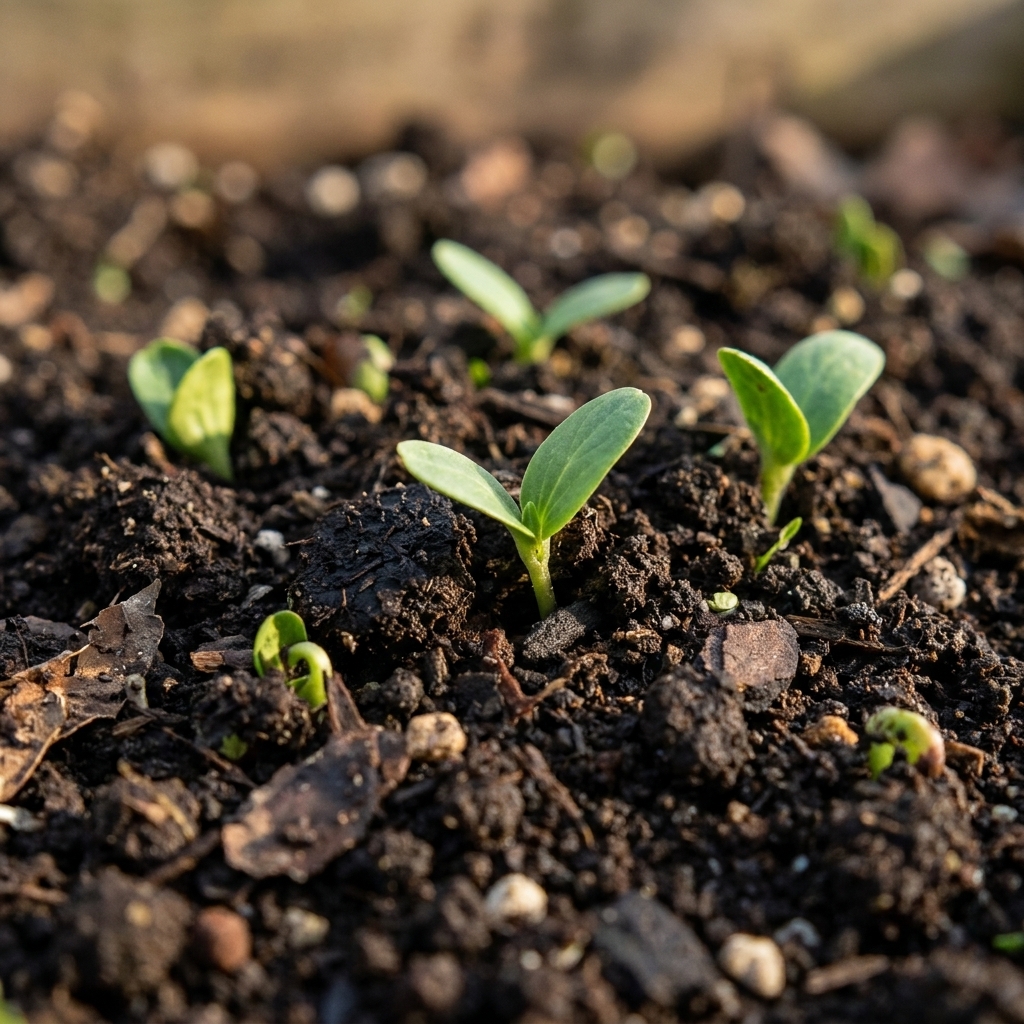
Twelve years ago, I blamed my sad, stunted tomatoes on everything except the actual culprit: my dirt. I had compacted clay, patchy compost, and a whole lot of hope. I also had pH working quietly in the background, making nutrients harder for plants to grab even when the soil technically contained them.
Soil pH is simply a measure of how acidic or alkaline your soil is. The scale runs from 0 to 14. A pH of 7 is neutral. Below 7 is acidic, above 7 is alkaline. The reason gardeners should care is that pH affects nutrient availability. If your pH is way off for what you are growing, plants can show deficiency symptoms even in soil that is not “empty.”
Most vegetables and many flowers do best in the slightly acidic range, roughly pH 6.0 to 7.0. In that window, many key nutrients are easier for plants to access. Micronutrients follow different rules, though. Iron and manganese, for example, tend to get harder to access as pH climbs.
Quick signs your pH might be off
A soil test is the only way to know for sure, but these common patterns can be hints:
- Yellowing leaves (especially between leaf veins) even though you fertilized
- Poor growth and weak roots in otherwise decent soil
- Blossom end rot on tomatoes and peppers can be worsened when calcium delivery inside the plant is disrupted, most often from inconsistent watering. Extreme pH can contribute, but it is usually not the main cause.
- Mossy lawns often show up where it is shady, wet, compacted, or poorly drained. Low pH can be associated, but light and drainage are usually the bigger levers.
- Chlorosis (pale leaves, often newer growth) is common in high pH soils where iron becomes harder to access
These can also be caused by watering problems, compaction, or low organic matter. That is why we test first, then fix.
Quick example: if your pH is 7.5+ and you see pale new growth on tomatoes or peppers, think “possible iron lockout” before you assume the bed needs more general fertilizer.
pH targets that help plants
Here are practical pH ranges I use when planning amendments. These are broad targets, not rigid rules.
- Most vegetables: 6.2 to 6.8
- Herbs: 6.0 to 7.0 (Mediterranean herbs tolerate slightly higher)
- Lawns: 6.0 to 7.0 (varies by grass type)
- Blueberries: 4.5 to 5.5 (they truly want acidic soil)
- Azaleas, rhododendrons, camellias: 5.0 to 6.0
- Potatoes: 5.0 to 6.0 (slightly acidic can help reduce scab)
- Lavender: 6.5 to 7.5 (prefers neutral to slightly alkaline with sharp drainage)
If you are gardening in containers, pH can swing faster than in-ground beds. One more twist: potting mixes are not the same as native soil. They are often peat- or bark-based and behave differently, so follow the bag directions and test each season if you reuse the mix.
Step 1: Pick the right pH test
You have three realistic options at home. Each has its place.
At-home color test kits
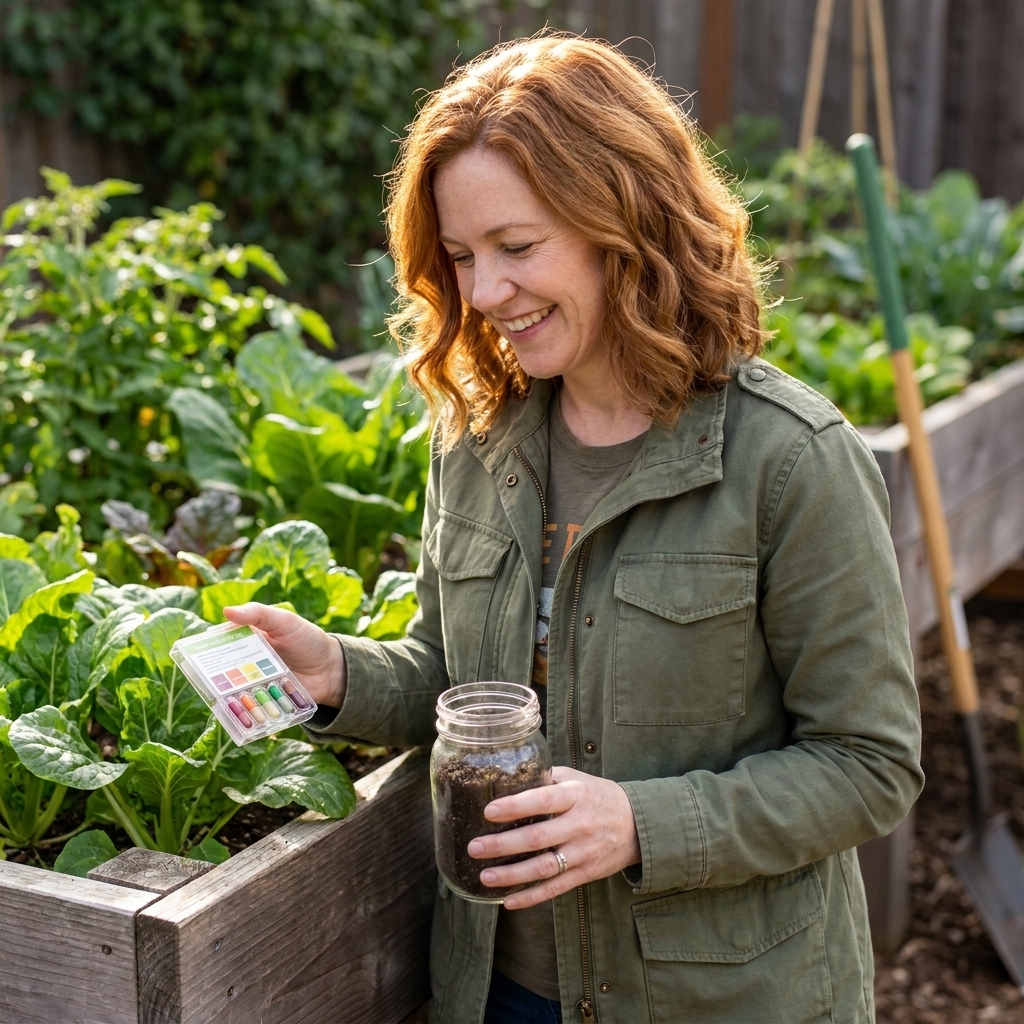
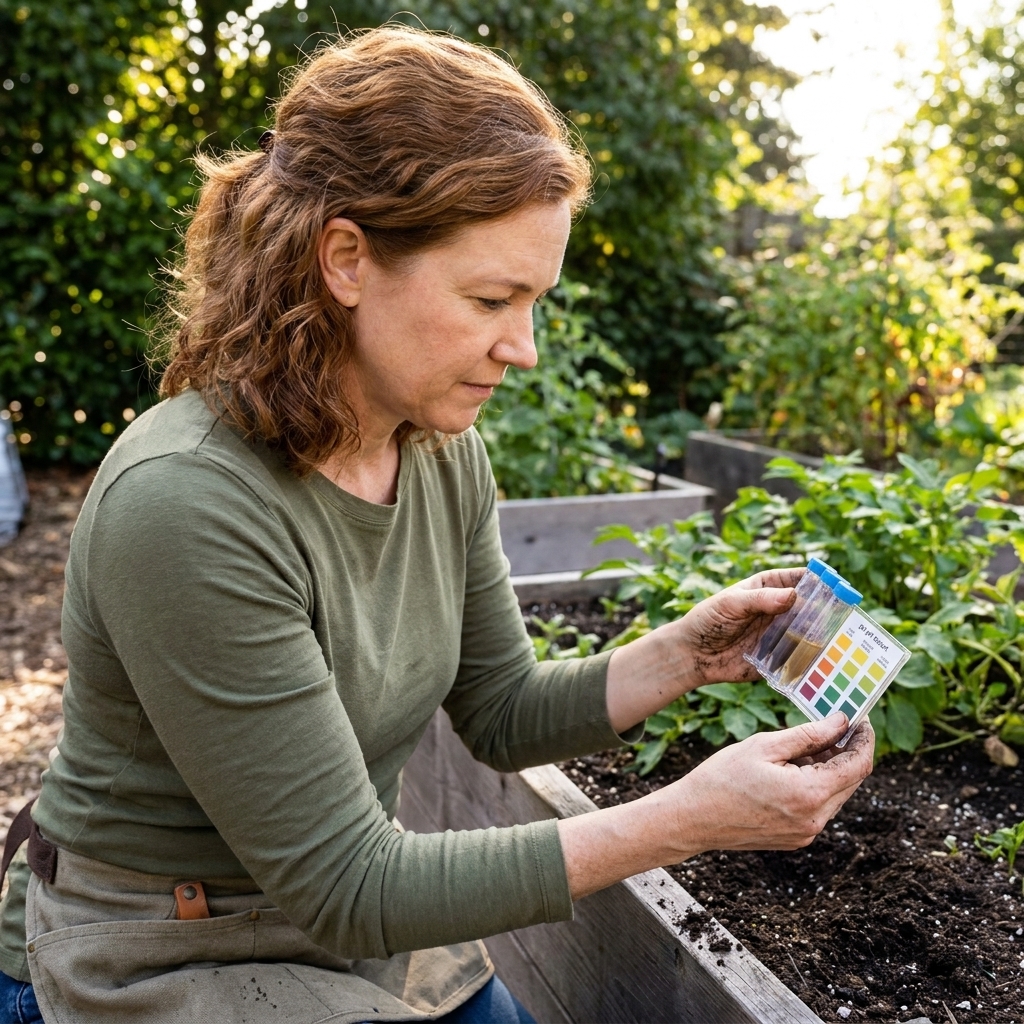
These are inexpensive and surprisingly useful for basic decisions. You mix soil with water and a testing solution, then compare the color to a chart.
- Best for: quick checks, beginners, repeat testing over time
- Limitations: color matching is subjective, and very dark organic soils can muddy the results
Digital pH meters
Some meters work well, many cheap ones do not. If you go this route, look for a meter that can be calibrated with buffer solutions (pH 4 and pH 7).
- Best for: gardeners who test often and do not mind calibrating
- Limitations: inaccurate without calibration, and probes can drift over time
Lab soil tests (recommended when you are serious)
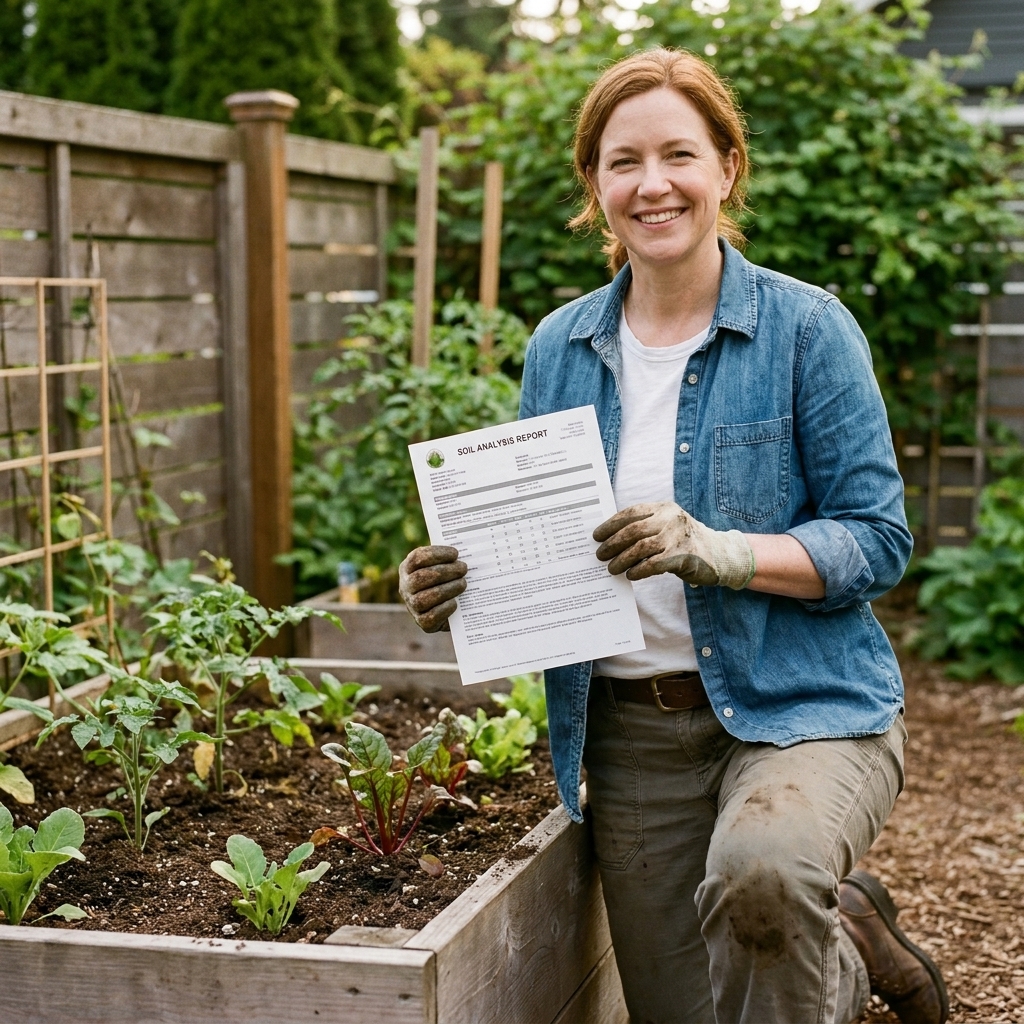
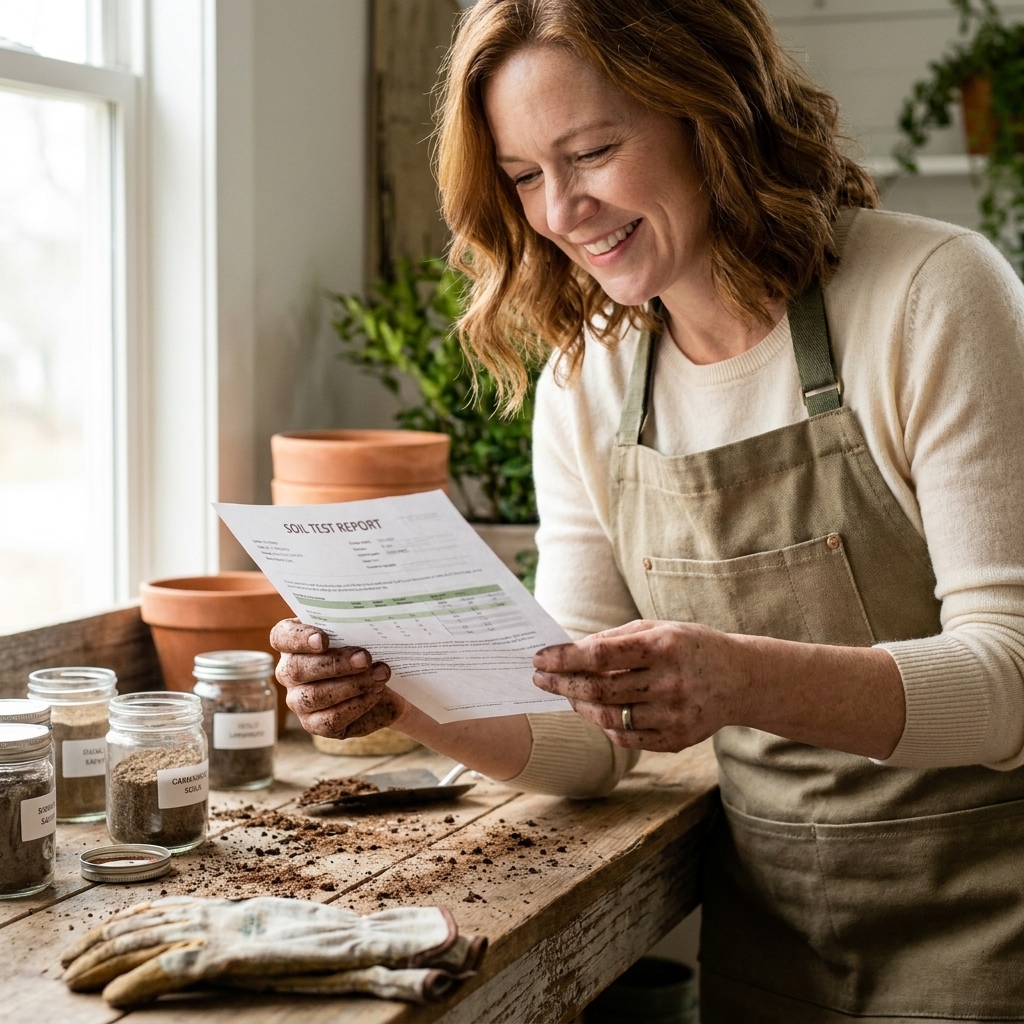
A lab test through a local extension office or a reputable soil lab is the most accurate and the most helpful because it often includes nutrient levels and recommendations for lime or sulfur based on your soil texture.
- Best for: new gardens, mystery problems, big pH corrections
- Limitations: costs more and takes time
Lab testing also captures something home kits do not: how strongly your soil resists change. You can think of this as the soil’s “buffering” ability. That is why two gardens with the same pH can need very different amounts of lime or sulfur to move the needle.
If you are only going to do one thing this season, I would choose a lab test once, then use a simple kit for follow-up checks.
Step 2: Take a soil sample that helps
The biggest testing mistake is grabbing one scoop of soil from one spot and calling it “the garden.” Soil can vary a lot across a yard, especially if you have had mulch piles, old building debris, or different watering patterns.
How to sample a garden bed
- Skip unusual spots: avoid compost piles, pet areas, edges near concrete, and places where fertilizer spilled.
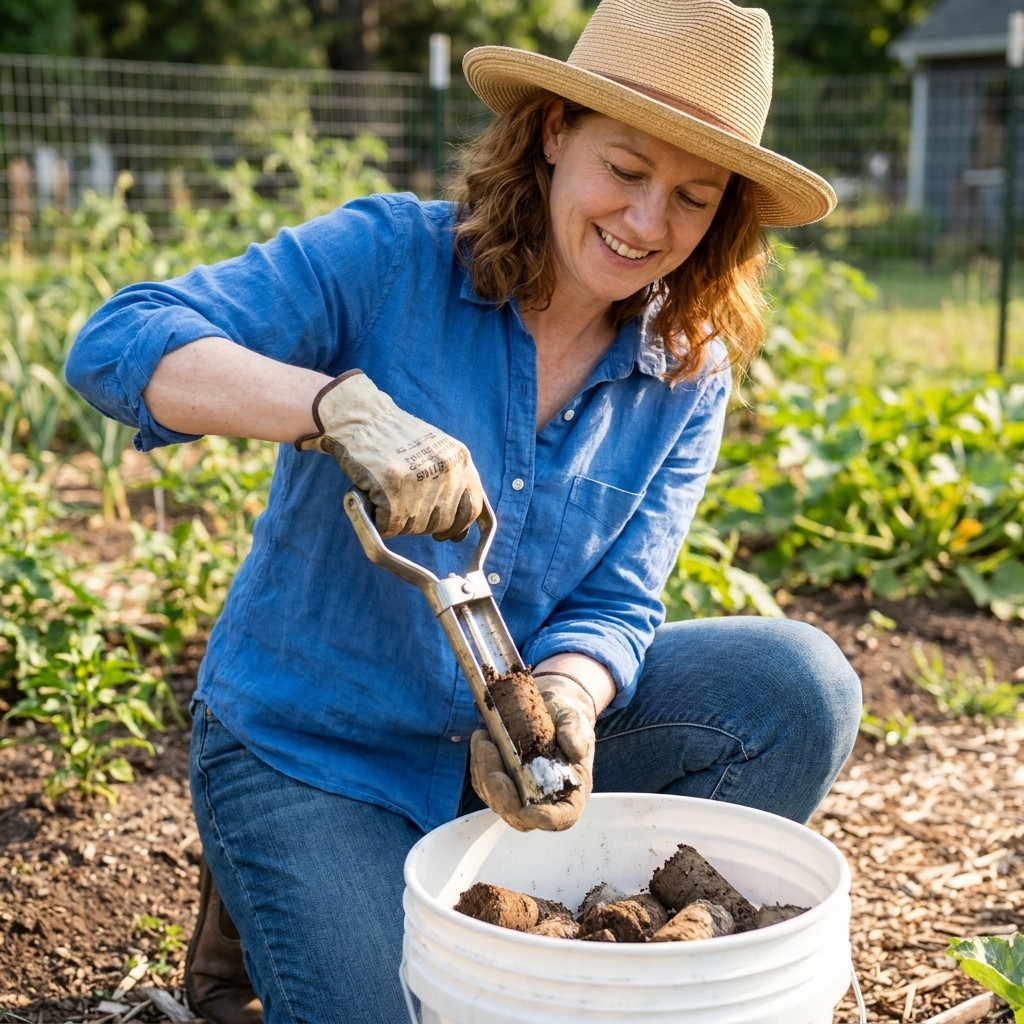
- Take multiple subsamples: 6 to 10 small scoops across the bed is a good start.
- Depth matters: for most beds, sample the top 4 to 6 inches. For lawns, 3 to 4 inches is typical.
- Mix well: crumble and mix in a clean bucket, then test a portion of the blended sample.
- Test when soil is workable: not bone-dry dust and not soup-wet after a storm.
If you garden in multiple raised beds, test them separately. One bed might have more compost, one might have more native soil mixed in, and the pH can differ enough to matter.
Step 3: Run the test and confirm
If you are using a color kit
- Remove mulch and scrape aside surface debris.
- Use the amount of soil the kit calls for, usually a small scoop.
- Add distilled water if the instructions specify it. Tap water can skew results in some areas.
- Shake or stir for the recommended time, then let it settle.
- Compare the color in good daylight, not under warm kitchen bulbs.
I like to do two tests from the same mixed sample. If they differ, do a third and go with the most consistent reading.
If you are using a meter
- Calibrate the meter (if it allows calibration) before your first use of the season.
- Make a soil slurry with distilled water, unless your meter is designed for direct soil contact.
- Insert the probe, wait for the reading to stabilize, then rinse the probe well.
Meter tips: keep the probe clean, store it correctly, and do not assume a bargain meter is accurate just because it has a screen.
What your number means
Use this as a simple interpretation guide:
- Below 5.5: strongly acidic. Great for blueberries, not great for most vegetables. It can also increase the risk of aluminum or manganese toxicity, which is one reason veggies can struggle.
- 5.5 to 6.0: moderately acidic. Some plants love it, many vegetables will tolerate it but may have reduced uptake of certain nutrients.
- 6.0 to 7.0: sweet spot for most gardens.
- 7.0 to 7.5: slightly alkaline. Many plants will still grow, but iron and manganese can get harder to access for acid-loving crops.
- Above 7.5: alkaline. Expect micronutrient issues unless you grow plants that tolerate it.
One more important concept: pH is not the same thing as fertility. pH tells you if nutrients are available. Compost and minerals help determine how many nutrients are actually there to be used.
How to raise pH
If your soil is too acidic for what you are growing, the classic fix is lime. The goal is not to make soil “sweet” overnight. It is to gently move into the range where nutrients unlock.
Best amendment: garden lime
- Calcitic lime raises pH and adds calcium.
- Dolomitic lime raises pH and adds calcium plus magnesium, useful if your soil is low in magnesium.
Lime works gradually. Depending on lime form, particle size, moisture, temperature, and whether you incorporate it, meaningful change can take months. Clay and high organic matter soils usually need more lime than sandy soils to shift pH the same amount. This is where lab recommendations really earn their keep.
How to apply lime safely
- Confirm your pH with a reliable test, and ideally confirm again if the number is surprising.
- Follow a lab or label rate. If you do not have a lab recommendation, stay conservative and plan to recheck rather than making one big correction.
- Spread evenly over the bed.
- Work it into the top few inches if possible. Surface applications move down slowly.
- Water in, then be patient.
Safety note: over-liming can push soil too alkaline and create micronutrient lockout. When in doubt, apply less, wait, and retest.
Avoid using wood ash as a primary pH raiser unless you are very cautious. It can spike pH quickly and adds salts. A light dusting on compost can be fine, but for soil correction, lime is easier to control.
How to lower pH
High pH is common in arid regions, areas with limestone, and places where irrigation water is naturally alkaline. If your soil is alkaline and you are trying to grow blueberries or other acid lovers, you will need to acidify the soil, not just “feed” it.
Best amendment: elemental sulfur
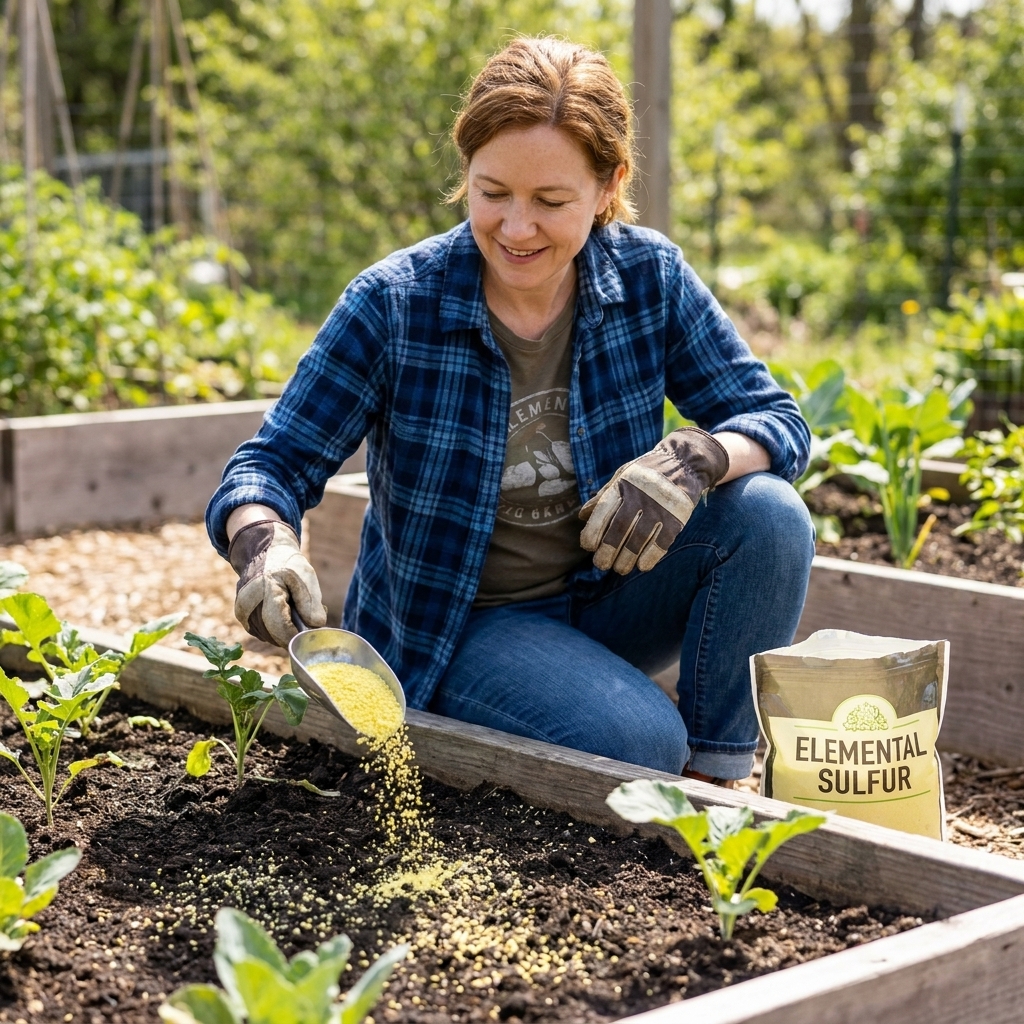
Elemental sulfur is the go-to for lowering pH in garden soil. Soil microbes convert sulfur into sulfuric acid over time, which gently lowers pH.
- Works best: when soil is warm, moist, and biologically active
- Takes time: often weeks to months, and in cool conditions it can take many months
Other tools that help
- Acid-forming fertilizers: products that contain ammonium sulfate can gradually acidify, but they are still fertilizers, so do not overapply.
- Peat moss: naturally acidic, but not my first choice for environmental reasons and long-term cost.
- Pine needles: great mulch, but they change soil pH very slowly. Use them for moisture and weed control, not as a main correction method.
- Compost: usually close to neutral. Compost improves nutrient cycling and buffering, but it rarely fixes high pH by itself.
Because sulfur recommendations are very soil-specific, a lab test is especially useful if you need a big pH drop. Too much sulfur can stress plants.
Safety note: do not exceed product label rates, and avoid piling sulfur in one spot. Even “natural” amendments can burn roots when concentrated.
When to adjust pH
My rule is simple: change pH slowly. Plants like stability, and soil chemistry likes patience.
Best timing
- Fall: ideal for lime or sulfur because it gives amendments time to react before spring planting.
- Early spring: still possible, just keep expectations realistic for quick changes.
- Mid-season: avoid big corrections when plants are already stressed by heat or fruiting. Focus on smaller tweaks and good nutrition.
How often to retest
- After amendments: recheck in about 6 to 8 weeks as an early progress check. For bigger changes, expect the most meaningful shift to show up closer to 8 to 12 weeks or even by next season.
- Routine maintenance: once a year or every other year is plenty for most home gardens.
- Containers: consider testing each season, especially if you reuse potting mix.
One more reality check: repeated use of ammonium-based fertilizers and years of heavy rainfall can slowly acidify soil. In many gardens, lime is not a one-time fix, it is occasional maintenance.
Compost and pH
Because this is Compost Grove, we have to talk about the good stuff. Compost is not a reliable pH “changer” in the dramatic sense, and that is actually a good thing.
- Compost helps buffer soil, meaning it reduces wild swings in pH and improves how evenly nutrients are released.
- Compost feeds microbes that help cycle nutrients into plant-available forms.
- Compost improves structure, which helps roots explore more soil volume, often making plants more resilient even when pH is not perfect.
If you are hovering a little outside the ideal range, adding compost and mulching consistently can make plants perform better while you work on slower pH corrections.
Common mistakes
- Correcting pH without testing: guessing often leads to overshooting.
- Chasing a perfect number: a stable 6.1 is better than swinging between 5.5 and 7.2.
- Using wood ash like lime: ash is powerful and fast, and it is easy to apply too much.
- Confusing pH problems with nutrient problems: sometimes the soil is simply low in nitrogen or potassium. Sometimes the soil is fine but watering is inconsistent.
- Not mixing amendments in: surface applications move slowly, especially in dry climates.
- Forgetting the water source: alkaline irrigation water can keep nudging pH up over time.
FAQ
Can I adjust pH and fertilize at the same time?
Yes, but keep it gentle. If you are using lime or sulfur for a correction, avoid heavy fertilizing on the same day. Give the soil time, and prioritize steady moisture and organic matter.
Is vinegar a good way to lower soil pH?
For garden soil, no. Vinegar changes pH briefly, then it rebounds. It can also harm soil life in concentrated doses. If you need a real adjustment, elemental sulfur is the more reliable route.
Why is my soil pH different in different parts of the yard?
Past construction fill, concrete edges, old ash dumping spots, compost history, drainage patterns, and even where leaves pile up can create different mini-zones. That is why mixed sampling matters.
If my soil is 7.6, can I still grow vegetables?
Often, yes, especially with lots of compost and good watering. You may see iron or manganese-related yellowing in some plants. Instead of trying to force a huge pH drop quickly, consider growing varieties that tolerate it, improving organic matter, and addressing specific deficiencies if they show up.
What is the fastest way to raise pH?
Fast is rarely better in soil. Finely ground lime reacts faster than pelletized forms, but the safest approach is still to apply modestly, mix in, and retest.
A simple plan for this week
- Test your garden bed pH using a decent kit or a lab test.
- Pick a target based on what you are growing, not what a generic chart says.
- Choose one amendment: lime to raise pH, elemental sulfur to lower pH.
- Apply conservatively, mix into the top few inches if you can, and water in.
- Recheck in 6 to 8 weeks for a progress read, and again later if you are aiming for a bigger shift.
If you want the most bang for your effort, pair pH work with steady compost additions. Healthy, well-structured soil makes everything else easier, including pH stability and nutrient uptake.