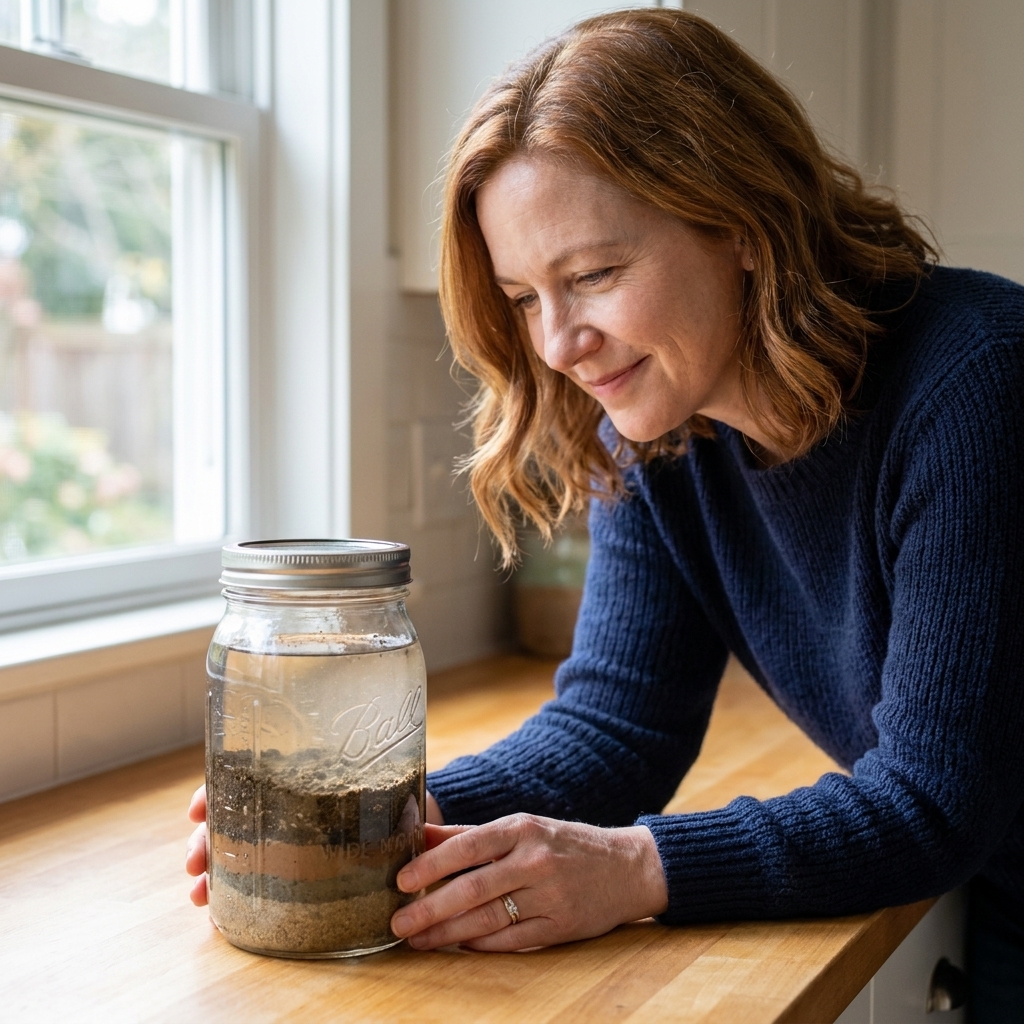
Twelve years ago I tried to grow tomatoes in a yard that was basically brick-hard clay. I threw compost at it, watered like crazy, and still got sad, stubby plants. The day I finally tested my soil was the day gardening started making sense. But here’s the thing: not all soil tests are created equal.
If you are trying to decide between a home soil test kit and sending a sample to a lab (often through your cooperative extension), accuracy depends on what you are testing for and how you plan to use the results. Let’s sort it out in plain English.
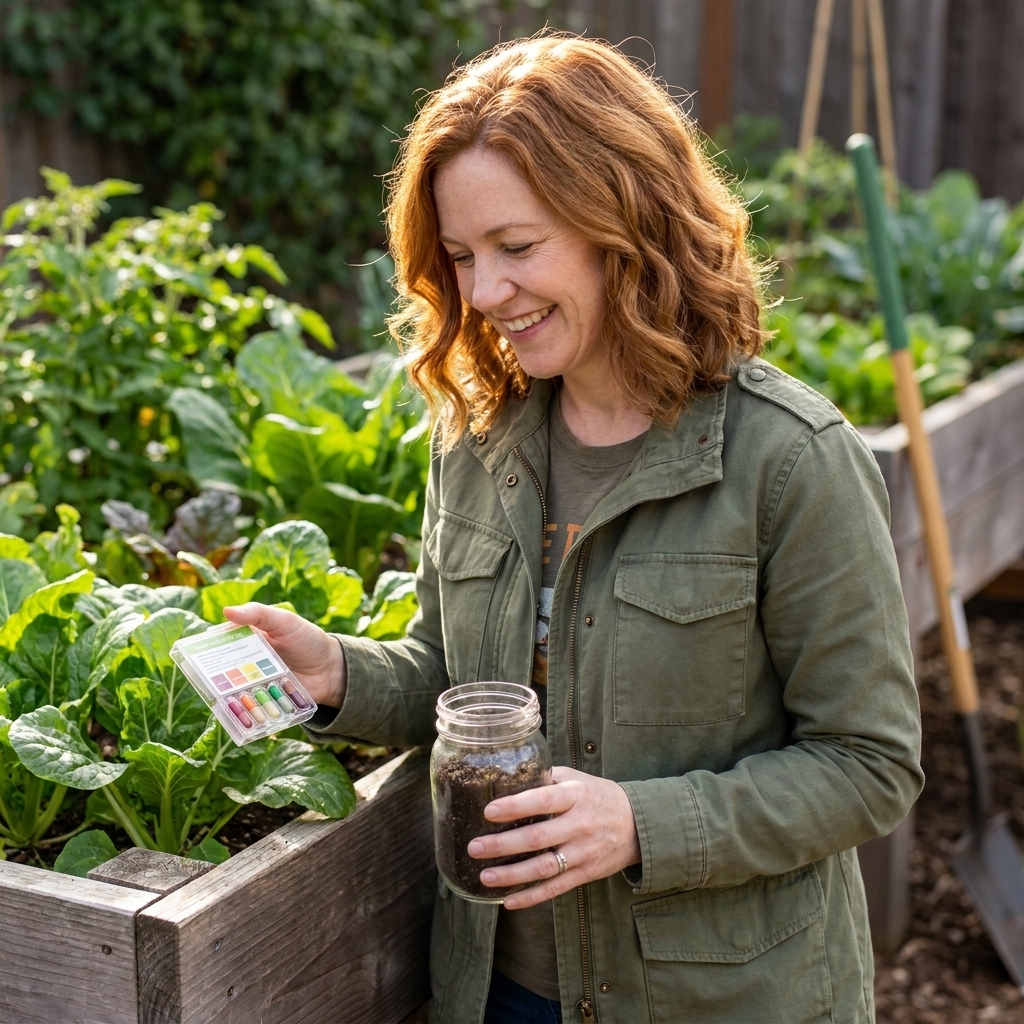
What “accurate” means in soil testing
When gardeners say “accurate,” we usually mean one of three things:
- Precision: If you test the same soil twice, do you get the same result?
- Correctness: Is the result close to the real value (the “true” pH or nutrient level)?
- Useful recommendations: Does the test translate results into what you should actually do for your garden?
Some home kits can be perfectly fine for quick, rough answers, especially for pH. Lab tests are usually better for correctness and for nutrient numbers you can confidently base fertilizer and amendment decisions on.
Home soil test kits: what they do well
Strengths of DIY kits
- Fast: Results in minutes to a couple days.
- Convenient: No mailing, no paperwork.
- Good for learning: They get you paying attention to pH and basic fertility, which is a big step up from guessing.
- Decent for screening pH: Especially if you just need to know “acidic, neutral, or alkaline.” Better-quality strips and liquid reagent kits tend to be more consistent than bargain gadgets.
Common weak spots
- Color matching is subjective: Many kits rely on comparing a liquid or strip color to a chart. Lighting, timing, and even your eyes can change the reading.
- Cheap digital meters can drift: The very inexpensive pH meters you see online often need careful calibration and storage to stay accurate. If you do not calibrate, results can wander.
- Moisture and sample prep matter a lot: Clumpy soil, bits of compost, or not mixing thoroughly can skew results.
- Nutrients are often “ballpark,” not lab-grade: Many DIY kits report nitrogen (N), phosphorus (P), and potassium (K) as low, medium, or high. That can be too blunt for dialing in amendments. (There are also mail-in consumer tests and higher-end photometers that can be more detailed, but they are basically “lab-like” options with different price tags and turnaround times.)
- Nitrate nitrogen changes quickly: A rainstorm, fresh compost, or recent fertilizer can change readings dramatically from week to week.
My neighbor-fence summary: home kits are usually best for getting oriented, not for making high-stakes decisions like “do I need to add lime” or “am I about to overdo phosphorus.”
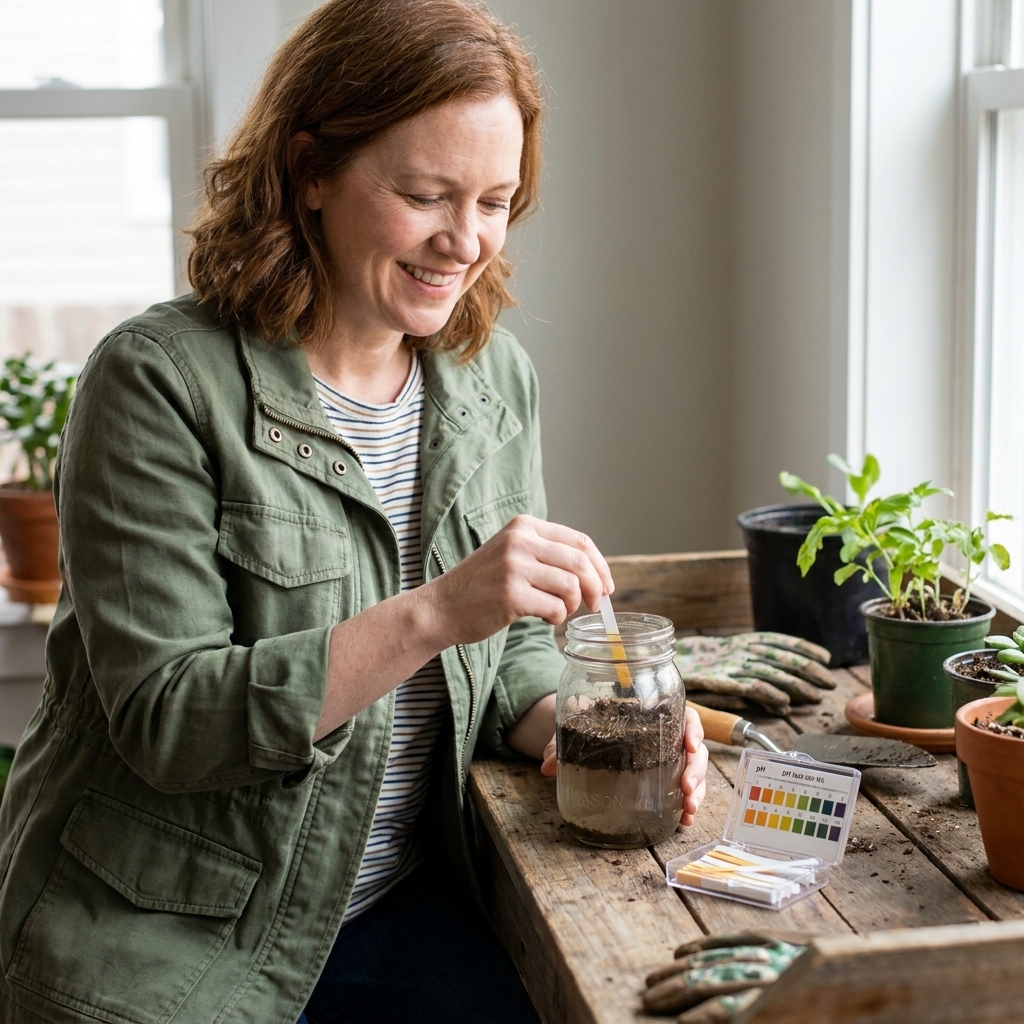
Professional lab testing: why it wins
Professional soil labs, including many cooperative extension labs, use standardized methods, calibrated equipment, and consistent extraction procedures. In plain terms, your numbers are more trustworthy and more comparable over time.
What lab tests typically measure better
- Soil pH with a calibrated meter
- Buffer pH (important for calculating how much lime you actually need)
- Phosphorus, potassium, calcium, magnesium using consistent extraction methods
- Micronutrients (often optional)
- Organic matter percentage (sometimes optional)
- Salts or electrical conductivity (very helpful if you fertilize heavily or garden in containers)
A big benefit: recommendations
Cooperative extension labs in particular often give results tied to your region’s soils and crops, especially if you tell them what you are growing. That means the report is not just numbers. It is usually a practical plan: how much lime (if any), what nutrients are actually deficient, and suggested application rates.
If you are trying to avoid over-fertilizing, protect groundwater, or stop throwing money at amendments you do not need, lab testing is the clearest path.
One important nuance about lab numbers
Lab nutrient results depend on the extraction method used (for example, Mehlich-3, Bray, or Olsen). That is normal, but it means you should be cautious about comparing numbers across different labs or across years if the lab changes methods. The best comparisons are usually your own results over time using the same lab and test package.
Why nitrogen is often not the main lab focus
Many standard garden soil tests do not report nitrogen in a way that is very useful, because available nitrate moves and changes fast. You will often see lab recommendations focus more on pH, phosphorus, potassium, organic matter, and sometimes micronutrients, with nitrogen handled through general crop guidelines.
So which is most accurate?
If we are talking strictly about accuracy and reliability, professional lab testing is the winner. It is not that home kits are useless. It is that lab tests have better controls, better instruments, and methods designed to produce repeatable, actionable results.
Here’s the practical way I’d frame it:
- Use a home kit when you want a quick snapshot, you are new to soil testing, or you only need a rough pH read.
- Use a lab test when you are adjusting pH (especially with lime), troubleshooting persistent plant problems, planning a new garden bed, growing nutrient-hungry crops, or you want to track improvement over time.
What each option can miss
Home kits often miss the “why”
A kit might tell you “low nitrogen,” but it cannot tell you whether that is because your soil is low in organic matter, because microbes are tying it up, or because you sampled right after a big rain. It is a clue, not a diagnosis.
Lab tests do not measure everything either
Even a lab report will not magically explain every garden problem. Many standard tests do not directly measure:
- Soil structure and compaction (your shovel tells you this)
- Drainage and infiltration (a simple soak test helps)
- Biology in a complete way (organic matter is a useful proxy, and some labs offer soil health panels)
- In-season nitrogen release from compost and residues
That is why I treat soil testing as one tool in the shed, right alongside compost, mulch, and observation.
How to get the most accurate results
Sampling matters more than people think
The biggest source of error is not the lab machine or the little color chart. It is a bad sample. To get results you can trust:
- Sample when the soil is not soaking wet.
- Take multiple subsamples from the area (8 to 12 is great for a typical bed or lawn section).
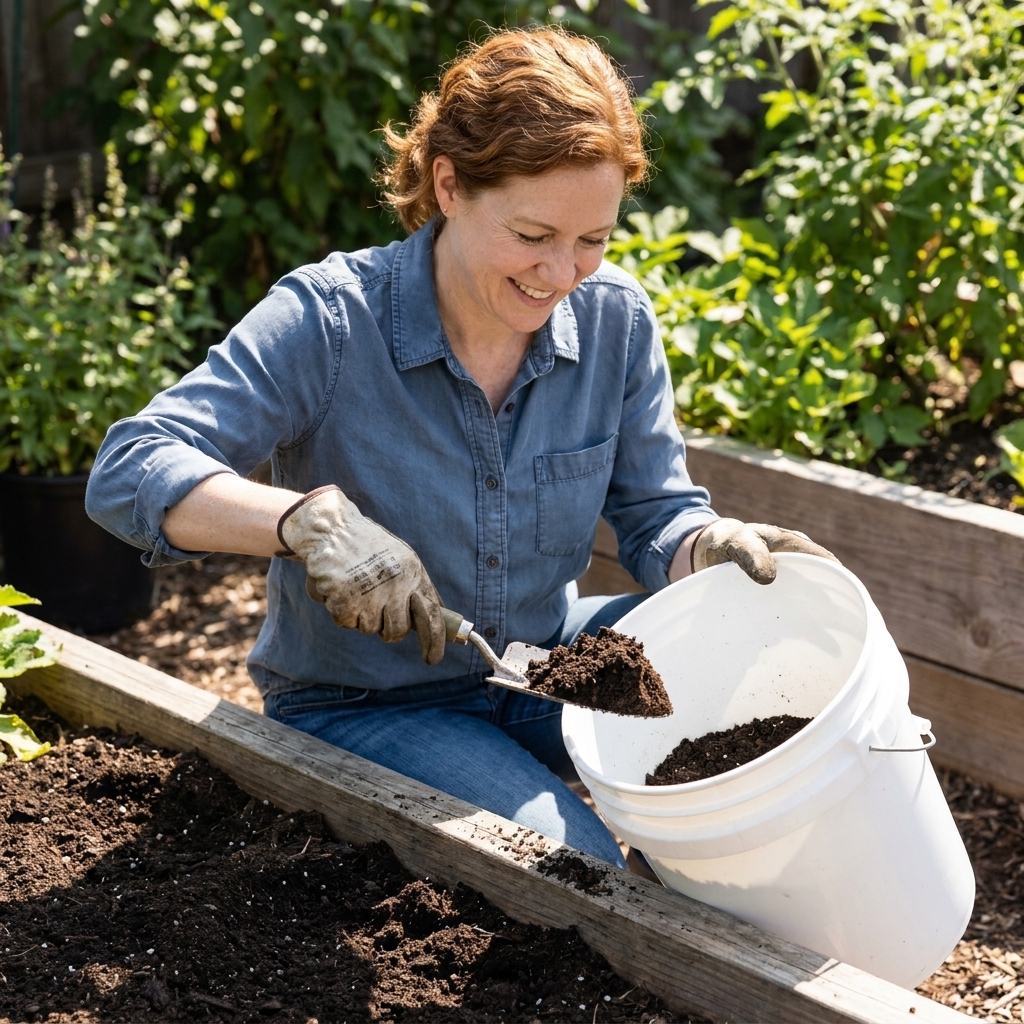
- Mix subsamples in a clean bucket and remove rocks, roots, and fresh mulch chunks.
- Sample to the right depth: for most gardens, about 6 inches is typical unless a lab instructs otherwise.
- Keep problem areas separate. The sad corner by the downspout should be its own sample.
Avoid timing traps
- Do not test right after applying fertilizer, lime, wood ash, or a big dose of compost.
- If you amended recently, wait at least a few weeks so results represent your soil, not just the topdressing. For lime in particular, follow your lab’s guidance, because pH adjustment can take longer.
Cost and turnaround time
- Home kits: Usually cheaper up front and immediate, but you may get vague results that lead to guesswork and repeated purchases.
- Lab tests: Typically cost more per test and take longer, but they can save money by preventing unnecessary amendments and giving clear lime and fertilizer rates.
If you only do one lab test, do it when you are starting a new garden space or when you feel stuck. That single baseline report can guide you for years.
Choosing the right test
If you are adjusting soil pH
Pick lab testing if you can. pH is not just “what is it today.” The important part is how resistant your soil is to change. That is where buffer pH comes in, and home kits generally do not provide it. Lime is also one of the easiest amendments to overdo, and it is harder to undo than it is to apply.
If your plants look unhealthy
Start with a lab test. Nutrient imbalances are common, and it is easy to make them worse by blindly adding more fertilizer.
If you are growing in containers
Consider a lab test that includes soluble salts if available. Container mixes can build up salts faster, especially with synthetic fertilizers.
If you just want a simple pH check
A home pH kit can be a reasonable first step for blueberries or hydrangeas. If the reading is borderline, confirm with a lab before making big changes.
What I do in my own garden
I use both, on purpose.
- Every couple of years, I do a lab test for my main beds to keep pH and major nutrients on track.
- In between, I might use a home pH kit if something looks off or if I am playing around with a new bed and want a quick read.
Then I focus on the boring but powerful stuff: compost, leaf mold, mulch, and keeping the soil covered. Those habits improve soil test numbers in a steady, lasting way.
FAQ
Are home soil test kits accurate enough for vegetable gardens?
They can be accurate enough for a rough pH reading and a general sense of fertility, but they are often not accurate enough to base specific nutrient applications on. If you grow food and want to fertilize responsibly, a lab test is the safer bet.
Do cooperative extension labs test for heavy metals?
Some do, often as a separate test. If you are gardening in an older urban area, near peeling exterior paint, next to a busy road, or on a site with unknown fill dirt, ask about lead testing specifically.
How often should I test my soil?
For most home gardens, a lab test every 2 to 3 years is plenty, unless you are actively correcting pH or troubleshooting major issues. Containers and intensively fertilized beds may benefit from more frequent checks.
Does adding compost replace soil testing?
No, but it helps in a different way. Compost improves structure and biology and can gently supply nutrients, but you can still end up with pH drift or nutrient buildup over time. Testing keeps you honest.