Twelve years ago I tried to grow tomatoes in a yard that could have doubled as a pottery studio. Compacted clay, puddles that hung around for days, and plants that looked personally offended by my efforts. My first instinct was to fight it with muscle and metal. I tilled, I chopped, I “fixed” the soil every spring. And for a little while it felt productive.
Then I noticed a pattern: the beds looked fluffy for a week, crusted over after the first hard rain, and somehow I always had more weeds than the year before. It took me a few seasons (and a lot of mud) to realize I was rebuilding a sandcastle and then stomping it down again on purpose.
No-till gardening is the opposite approach. You stop flipping and shredding the soil, and you start feeding and protecting it from the top down. The payoff is huge: better structure, fewer weed explosions, more earthworms, steadier moisture, and soil that gets easier to work each season instead of harder.
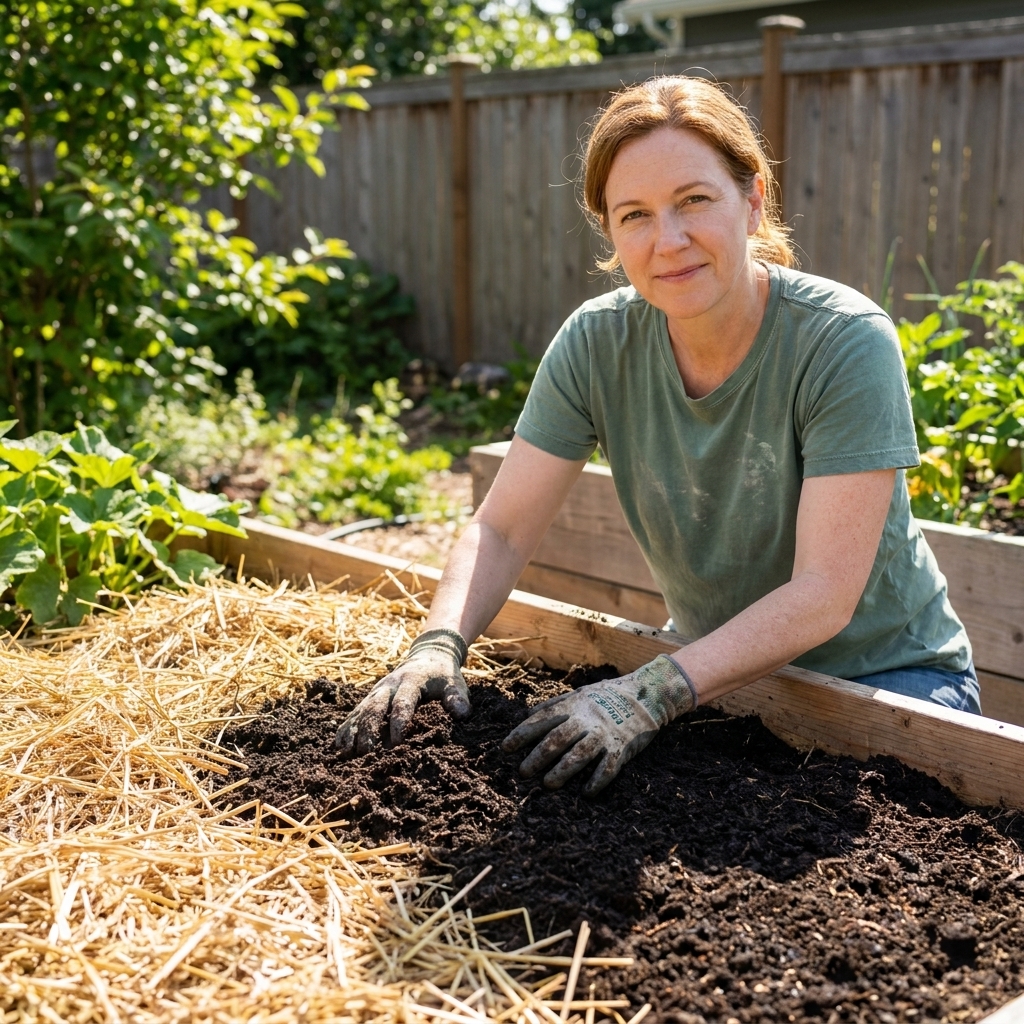
What no-till really means
No-till does not mean you never touch the soil again. It means you avoid turning it over and mixing layers. You keep the soil food web and natural structure intact as much as possible.
In a healthy bed, a lot of the action happens near the surface: decomposing plant matter, fungal networks, bacteria, springtails, beetles, and earthworms all working together. Depending on your soil type and how deep roots go, there can be plenty happening deeper too. When we rototill, we:
- Break soil aggregates (those crumbly clumps that hold air and water).
- Sever fungal networks that help plants access water and nutrients.
- Expose protected organic matter to a burst of oxygen, which can speed decomposition. Research suggests frequent disturbance can make it harder to build and keep long-term soil carbon.
- Bring up dormant weed seeds and give them the light and loose soil they love.
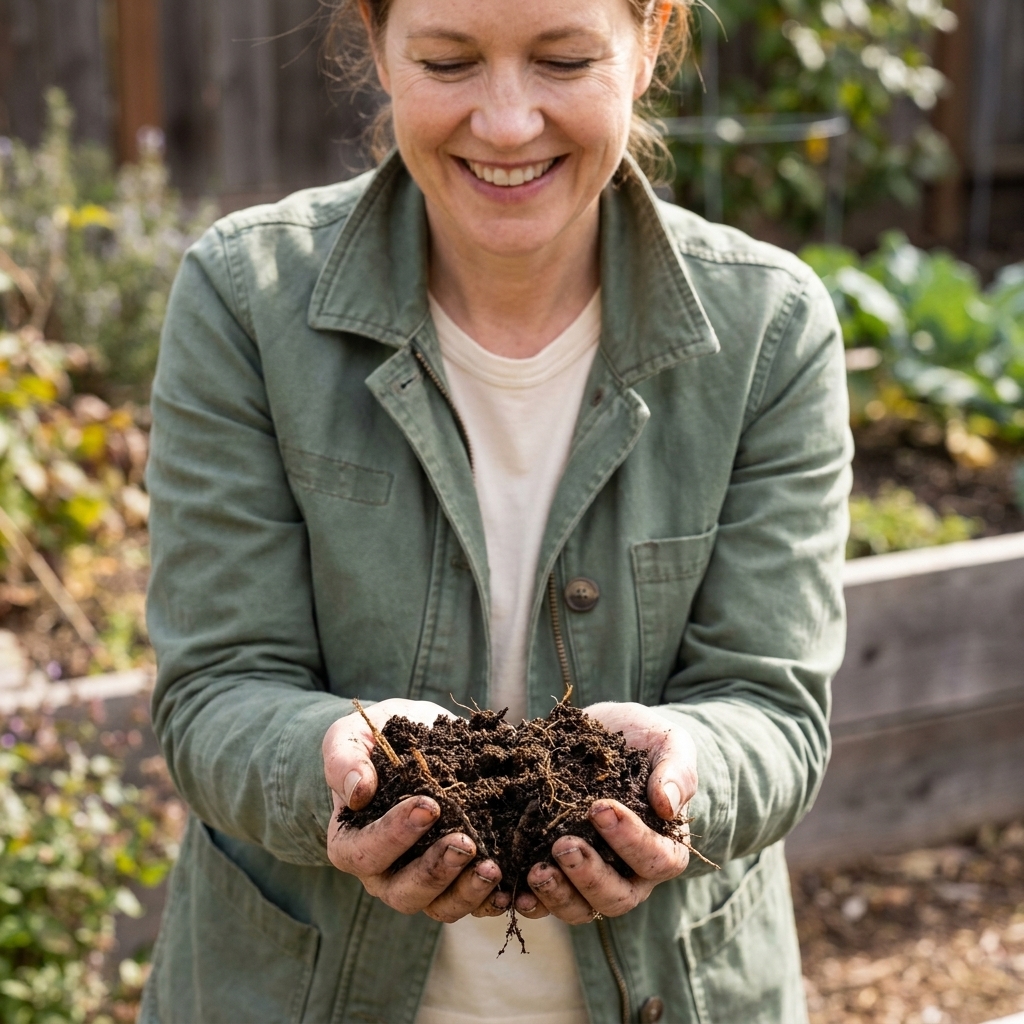
No-till keeps layers layered. You add compost, leaves, and mulch on top, and soil life pulls it down for you.
Why weeds often drop
This is the part that wins over a lot of gardeners. When you stop digging, you stop constantly “replanting” last year’s weed seeds.
Many weed seeds germinate best when they are close to the surface where light, temperature swings, and moisture are more reliable. Some weeds germinate just fine in low light or from deeper down, so it is not a magic switch. Still, tilling tends to bring buried seeds up and bury freshly shed seeds just enough to preserve them for later. It is like shuffling a deck you would rather throw away.
With no-till, you aim for a different system:
- Keep seeds buried by not flipping soil.
- Block light with mulch or a living cover.
- Pull or slice weeds young before they root deeply or set seed.
- Prevent bare soil where weed seeds land and sprout.
Before you stop digging
1) Drainage and compaction
If your soil is severely compacted (think: water sits for hours and roots struggle), no-till still works, but you may want a one-time rescue step that does not involve flipping the whole bed.
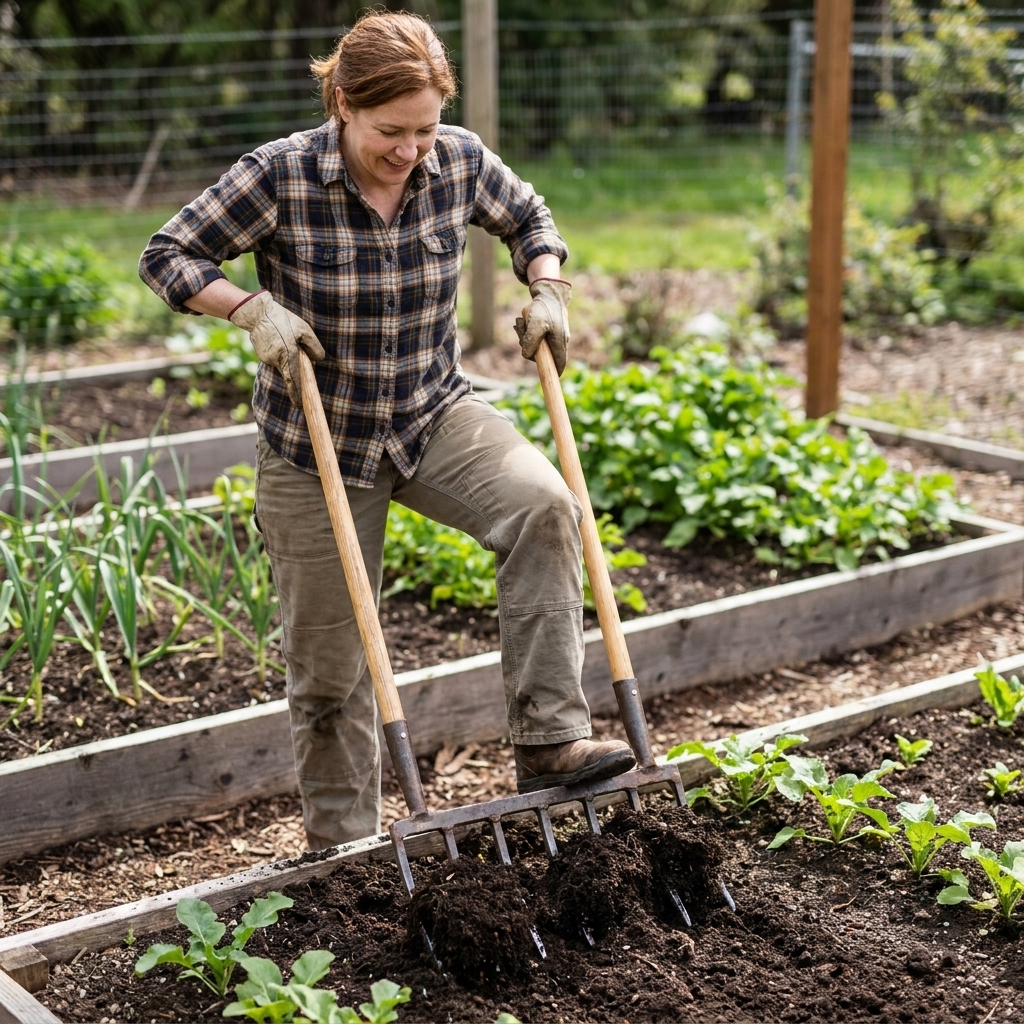
- Best option: Broadforking or deep loosening without turning the soil. You lift and wiggle to open channels, then you let it settle back in place.
- Also helpful: A thick top-dress of compost plus a deep mulch layer to keep the surface from crusting.
2) Perennial weeds
If you have bindweed, Bermuda grass, quackgrass, nutsedge, or Canada thistle, plan for a more deliberate transition. No-till can still win, but those weeds are marathon runners.
In that case, start with a smother layer (I walk you through it below) and be extra consistent about not letting any survivors photosynthesize.
3) What you are growing
No-till works for vegetable beds, flowers, herbs, and shrubs. The details shift a little:
- Direct-seeded crops (carrots, beets, greens) need a finer seedbed right at the surface. You can create that by raking compost into a thin layer, not by digging the whole bed.
- Transplants (tomatoes, peppers) are easy in no-till since you only open a small hole where the plant goes.
A simple transition plan
Step 1: Stop rototilling
This sounds obvious, but it is the hardest habit to break because tilling feels like progress. If you need to remove old plants, cut them at the base and leave the roots in the ground when possible. Those roots become food and channels for water and air.
Step 2: Add compost on top
Top-dress with finished compost like you are frosting a cake:
- Established beds: 1 to 2 inches of compost each season.
- New or struggling beds: 2 to 4 inches to jumpstart biology and improve tilth.
If you do not have enough compost (most of us do not), mix in aged leaf mold, well-rotted manure, or a quality purchased compost. The key is that it is broken down enough that it will not steal nitrogen from your plants.
If you find yourself adding thick layers year after year, do yourself a favor and get a soil test every few years. Heavy, repeated compost applications can push nutrients (especially phosphorus) higher than your plants actually need.
Step 3: Mulch a lot
Mulch is your no-till bodyguard. It protects the soil surface from pounding rain, scorching sun, and weed germination.
Good options for home gardens:
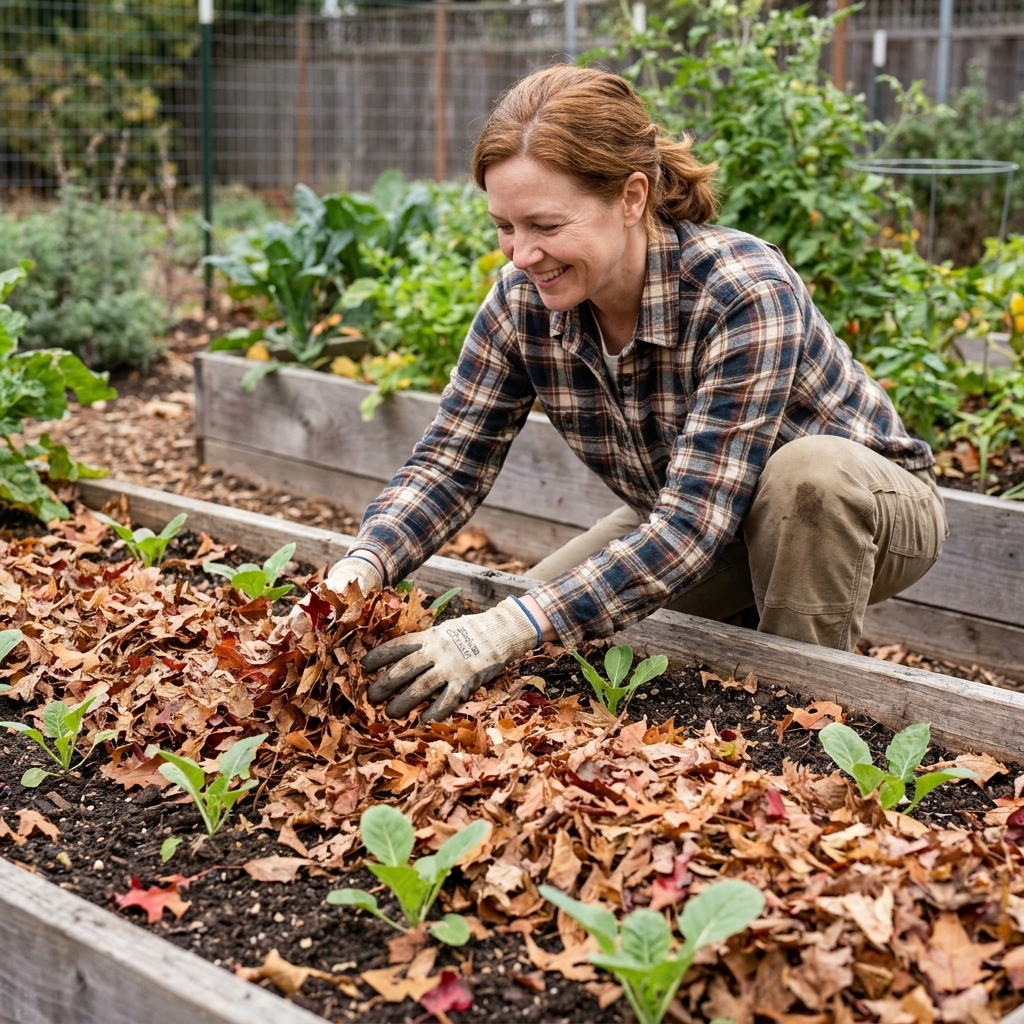
- Shredded leaves: My favorite. Free, effective, and they disappear into soil over time.
- Straw (not hay): Great for pathways and around big transplants.
- Untreated grass clippings: Use thin layers, let them dry a bit, and avoid piling them thick and wet.
- Wood chips: Best for paths and perennial beds. In annual veggie beds, keep chips on top and out of the planting zone. It is mixing them into soil that can tie up nitrogen while they break down.
Mulch depth: aim for 2 to 4 inches in beds (thicker in paths). Pull it back a little from plant stems to prevent rot and slug hideouts.
If you irrigate, drip lines and soaker hoses work beautifully under mulch. You get less evaporation, fewer crusty surfaces, and watering feels less like a daily emergency.
The smother method
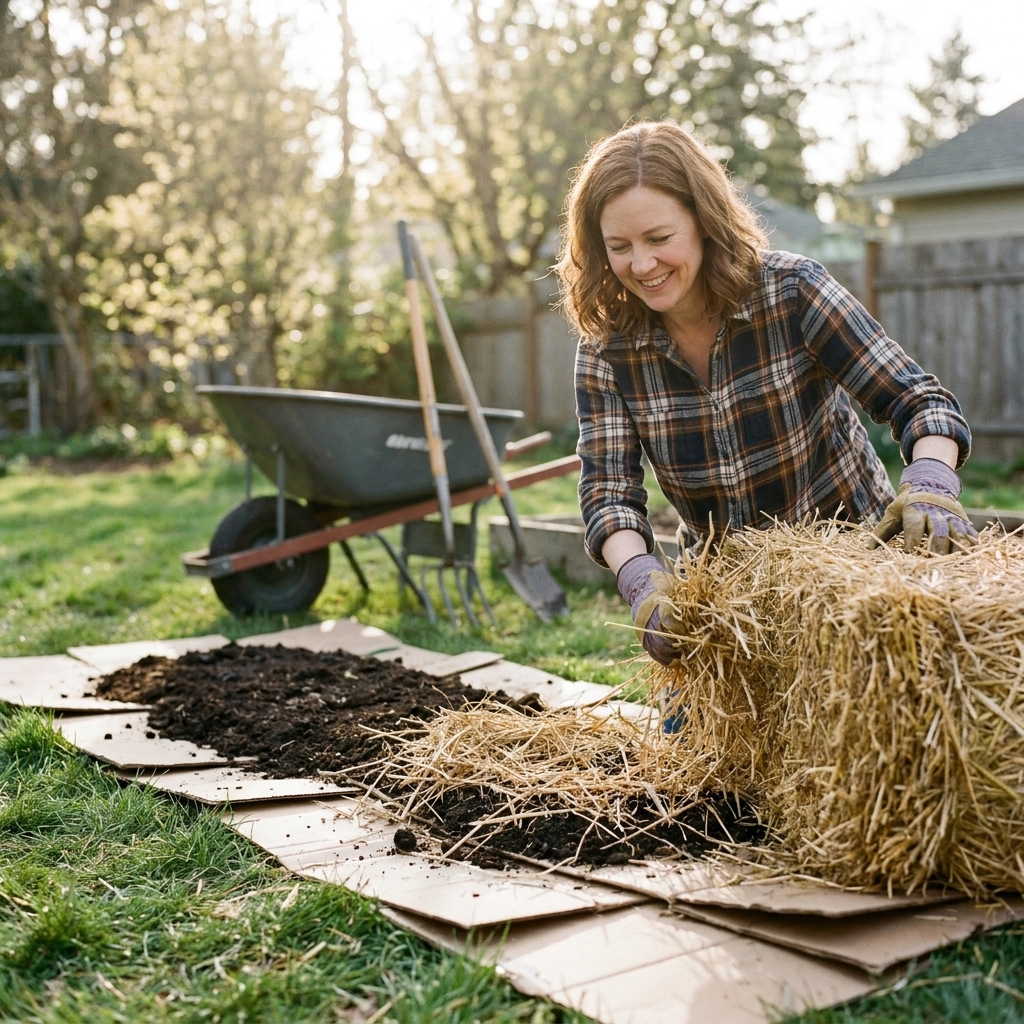
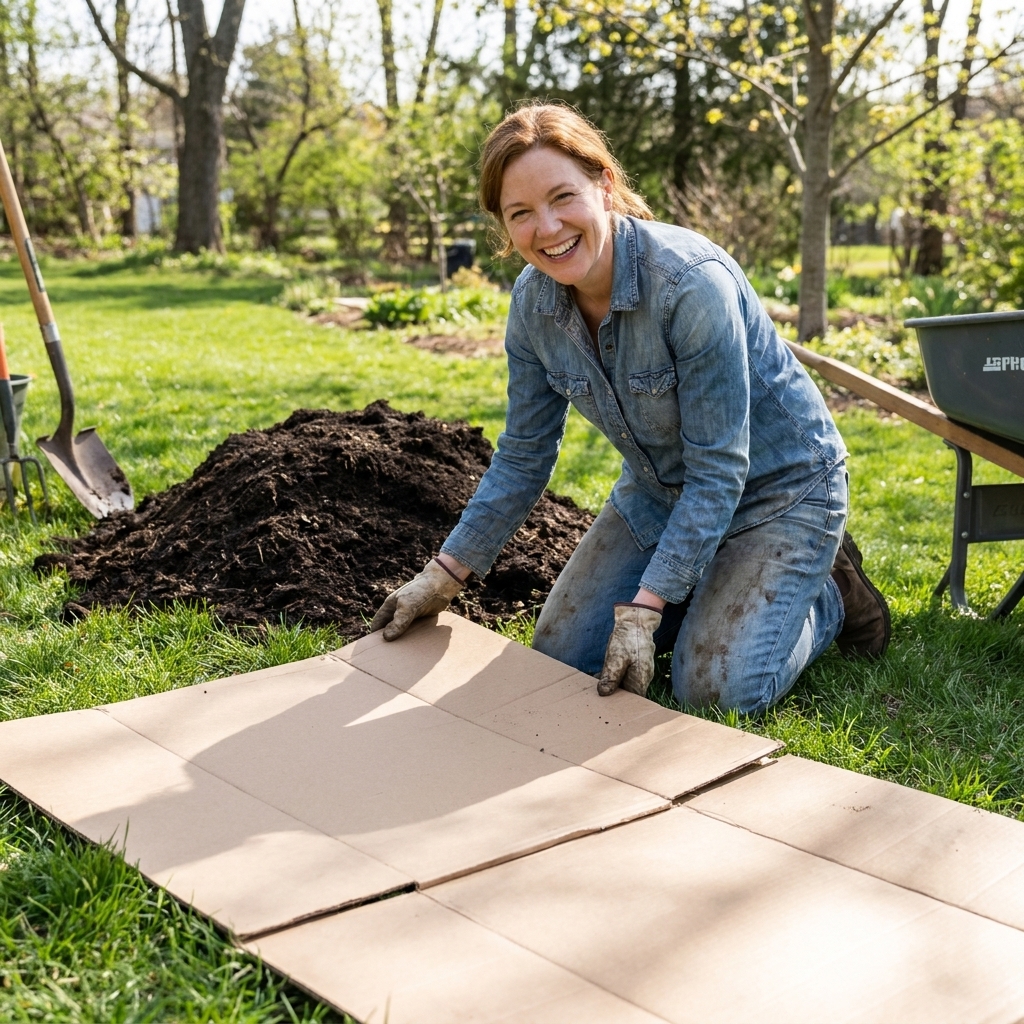
If you are converting grass to garden, or you have a bed full of weeds, smothering is my go-to. It is no-till, low drama, and it keeps weed seeds buried.
What you need
- Plain cardboard (remove tape and labels)
- Compost (2 to 6 inches depending on how fast you want to plant)
- Mulch (straw or shredded leaves)
- Water
A quick caution: skip waxed boxes and anything heavily printed or dyed. You want the simplest, plainest cardboard you can find.
How to do it
- Mow or cut everything low and leave it in place.
- Lay cardboard with generous overlap so light cannot sneak through cracks.
- Soak the cardboard until it is fully saturated.
- Top with compost and spread it evenly.
- Finish with mulch to protect your new surface layer.
You can plant right away if you use enough compost to create a root zone above the cardboard. For transplants, I cut a small X in the cardboard, tuck the plant in, and then pull mulch back around it.
For direct seeding, wait a few weeks (or a season) until the cardboard softens and soil life starts blending everything together.
How to plant
Transplants
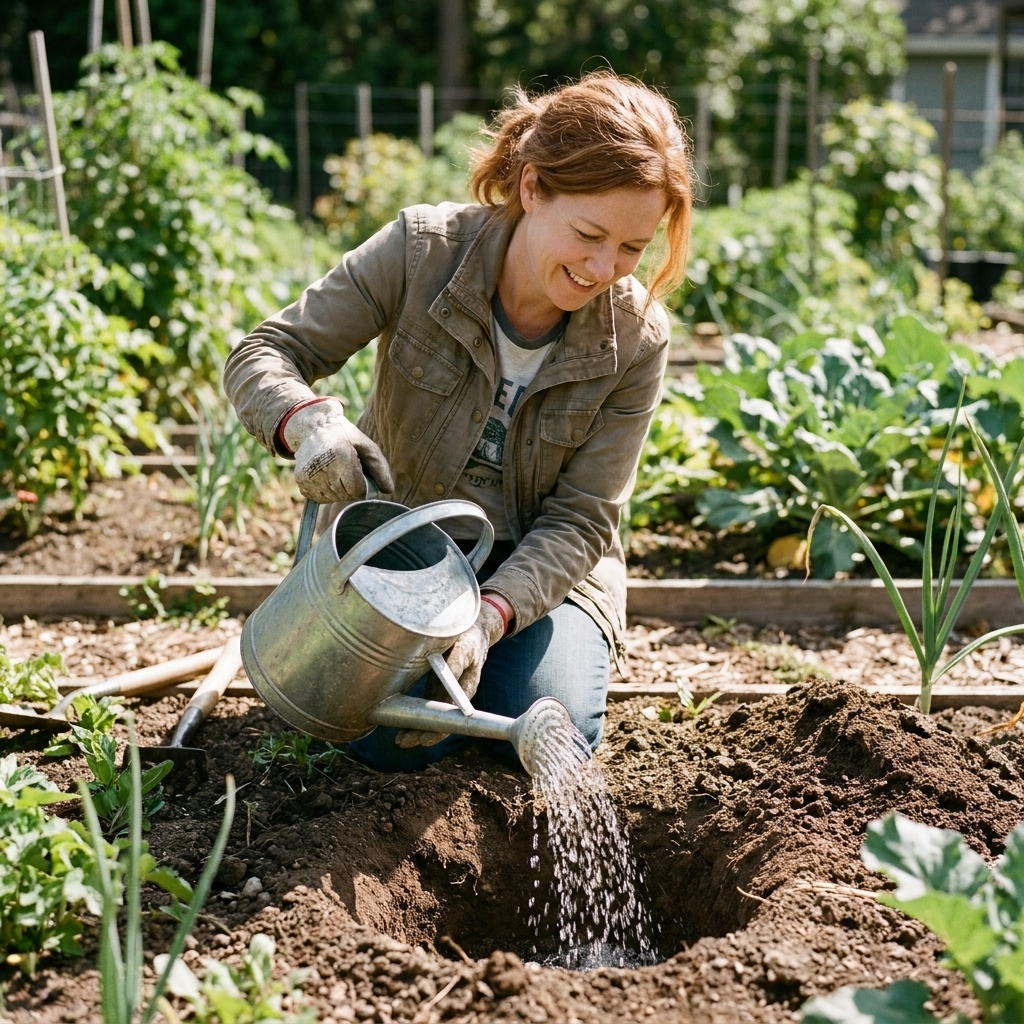
- Pull mulch aside where you will plant.
- Use a trowel or hori-hori to open a small hole, just big enough for the root ball.
- Set the plant, firm gently, water well.
- Put mulch back, keeping a small gap around the stem.
Direct seeding
This is where people sometimes get frustrated, especially in the first year. The trick is to create a soft, even surface layer without disturbing deeper soil.
- Rake mulch back.
- Spread a thin layer of screened compost or fine finished compost, about 1/2 inch.
- Make shallow furrows in that compost layer and sow seeds.
- Keep the surface consistently moist until germination.
If slugs are a problem, keep mulch a little farther from tiny seedlings until they are established, and water in the morning instead of evening.
Keeping structure
Feed the top
No-till soil structure improves when organic matter is added regularly and the soil surface stays covered. You are basically building a slow, steady forest floor in your garden.
My simple rhythm looks like this:
- Spring: 1 to 2 inches compost, then mulch after the soil warms. A good cue is when the soil is workable and nighttime temperatures are staying reliably mild for your area.
- During the season: Spot-mulch bare areas, add chopped leaves or grass clippings when you have them.
- Fall: Leave roots in place, add shredded leaves, and top up compost if you can.
Use the right tools
You will still cultivate, but gently and shallowly.
- Hori-hori or trowel: For planting holes.
- Stirrup hoe: For slicing weeds at the surface without flipping soil.
- Broadfork: For occasional deep loosening when compaction shows up.
- Garden rake: For pulling mulch back and smoothing compost for seeds.
Stay off the beds
One of the fastest ways to protect soil structure is to stop stepping on it. If you can, keep beds narrow enough to reach from either side. If you garden in-ground, define paths and commit to them.
If you are thinking, “But I have to step in there sometimes,” you are not alone. When I absolutely must, I use a wide board to spread my weight.
Cover crops
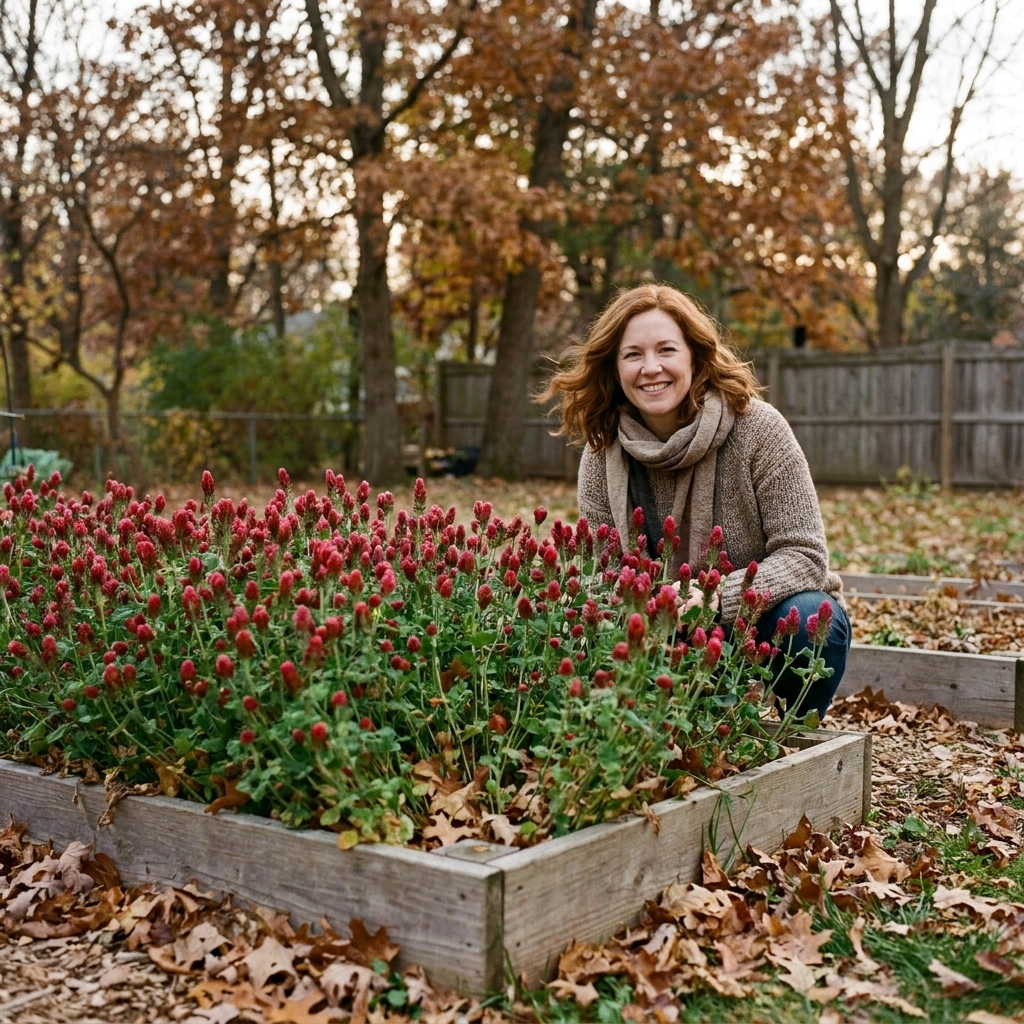
Once you are comfortable with compost and mulch, cover crops take no-till to the next level. They hold soil in place, feed microbes, and keep living roots in the ground.
Easy options
- Crimson clover: Adds nitrogen and flowers beautifully.
- Oats: Great fall cover in cold climates because winter kills it, leaving a soft mat.
- Rye (cereal rye): Excellent biomass and weed suppression, but tougher to terminate.
- Buckwheat: Fast summer cover for empty beds.
How to end them
For small gardens, you do not need fancy equipment:
- Cut at the base with pruners or a scythe when it starts to flower.
- Leave the roots in the soil.
- Use the cut material as mulch right on the bed, then top with compost for planting pockets.
Common worries
“My soil is too hard. I have to till.”
Hard soil is real, especially in clay. But tilling is usually a short-term puff of air, not a long-term fix. Try a one-time broadforking, then commit to compost and mulch. Give it a season. Soil structure is a relationship, not a weekend project.
“Won’t mulch make pests worse?”
Mulch can give shelter to slugs and pill bugs, especially in damp climates. The solution is not bare soil. Instead:
- Keep mulch a few inches back from seedlings until they are sturdy.
- Water in the morning.
- Use iron phosphate slug bait if needed (follow label directions, and use care around pets and wildlife).
- Encourage predators like ground beetles by keeping habitat nearby.
“My garden stays colder in spring.”
Mulch insulates, which is great in summer and sometimes annoying in early spring. Pull mulch back to let the sun hit the soil for a week or two, then re-mulch after planting once the soil warms.
“Do I ever dig again?”
You might, but it is rare and targeted. Sometimes I will dig a single planting hole for a shrub, or lift a compacted spot with a broadfork. What I do not do anymore is flip the whole bed because it is “time.”
A first-year schedule
Early spring
- Rake mulch back.
- Top-dress 1 to 2 inches of compost.
- Broadfork only if the bed is truly compacted.
Planting time
- Transplant into small openings.
- For direct seeding, use a thin compost layer as your seedbed.
Late spring to summer
- Mulch to 2 to 4 inches once plants are established.
- Slice weeds at the surface with a stirrup hoe while they are tiny.
- Keep soil covered. Bare patches are weed invitations.
Fall cleanup
- Cut plants at the base and leave roots in place.
- Add shredded leaves and any finished compost you have.
- Consider a cover crop for empty beds.
What success looks like
In a no-till garden, the win is not a perfectly smooth bed. It is soil that is alive.
Signs you are on the right track:
- Earthworms show up when you pull mulch back.
- Water soaks in instead of running off.
- The soil surface does not crust as hard after rain.
- Weeds shift from “carpet” to “occasional guests.”
- You can plant with a trowel instead of a wrestling match.
If you are making the switch, give yourself a full season to learn the rhythm. No-till is slower at the start, then it quietly turns into the easiest garden you have ever managed because the soil does more of the work.
FAQ
How thick should compost be for no-till?
For most established beds, 1 to 2 inches once or twice a year is plenty. For brand-new beds or very tired soil, 2 to 4 inches helps kickstart better structure. If you are regularly applying heavier layers, consider soil testing so you do not accidentally build up nutrients your garden does not need.
Can I do no-till in containers or raised beds?
Yes. In containers, no-till mostly means you do not dump and remix everything each season. Top-dress with compost, refresh mulch, and disturb only the planting spots. In raised beds, no-till is especially effective because compaction is usually lower when you stay out of the bed.
What is the best mulch for vegetable gardens?
Shredded leaves and straw are my top picks for annual vegetables. They suppress weeds, break down nicely, and are easy to pull back for planting.
Do I need special no-till soil additives?
No. Compost, leaf mold, and mulch do most of the heavy lifting. If your soil test shows a deficiency, you can add amendments, but you can usually apply them on top and let water and soil life move them down over time.