The first time I tried to grow vegetables in my old clay yard, I thought the problem was my tomatoes. It was not. It was the dirt. If you have a patch of lawn, a weedy corner, or a tired bed that never seems to hold moisture, lasagna gardening can feel like cheating in the best way.
Lasagna gardening is a popular, home-gardener take on sheet mulching. Either way, the idea is the same: you build soil in place by layering cardboard, nitrogen-rich “greens,” and carbon-rich “browns” right on top of the ground. Over time, those layers break down into dark, crumbly topsoil, while the cardboard smothers grass and many weeds (especially when you overlap seams and stay on top of the edges).
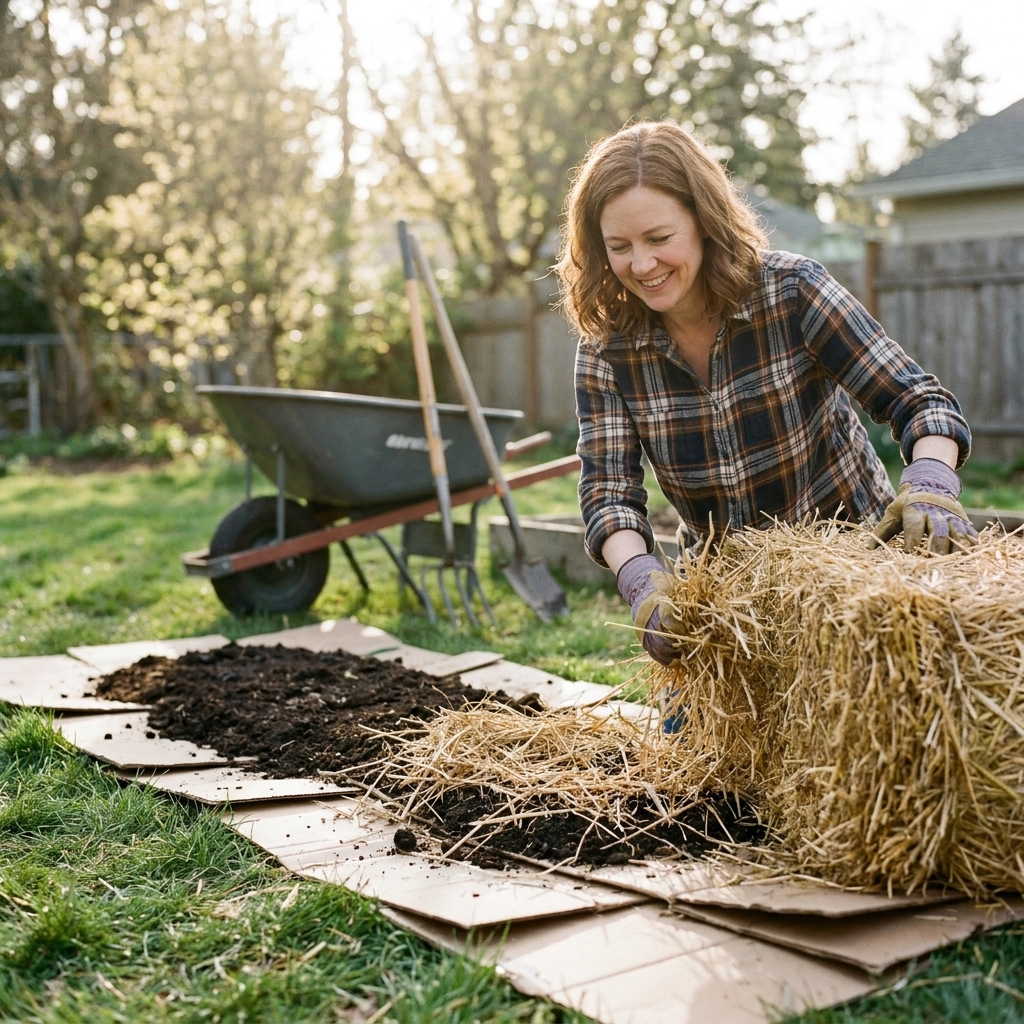
What is lasagna gardening?
Lasagna gardening is exactly what it sounds like: you build a garden bed in layers. Instead of digging up sod, you cover it and compost it down. Earthworms and soil microbes do the heavy lifting, pulling those materials down and turning them into soil structure and plant food.
This method works for:
- New beds over lawn (my favorite use)
- Weedy areas you want to reclaim
- Raised beds where you want to fill cheaply with compostable material
- Paths you want to convert into planting space later
It is also wonderfully forgiving. If your layers are not perfectly even, the garden does not care nearly as much as you think it will.
Why it works
Sheet mulching succeeds because it tackles three problems at once:
- Smothers growth: Cardboard blocks light, so grass runs out of energy and dies back. Seams and edges are the weak spots, so overlap well.
- Feeds soil life: Browns and greens become slow-release food for fungi, bacteria, worms, and beetles.
- Builds structure: As materials break down, you get better aeration, better drainage, and better moisture retention.
If you have compacted soil, this is a gentle way to loosen it over time without flipping layers and waking up a whole new crop of weed seeds.
What you’ll need
You can do sheet mulching with whatever you have, but these are the basics I reach for:
Base layer
- Plain cardboard (remove tape, shipping labels, and heavily printed sections)
- Or newspaper (6 to 10 sheets thick, not the shiny ads; inks vary, so follow local guidance if you are unsure)
Greens (nitrogen)
- Fresh grass clippings (very thin layers only)
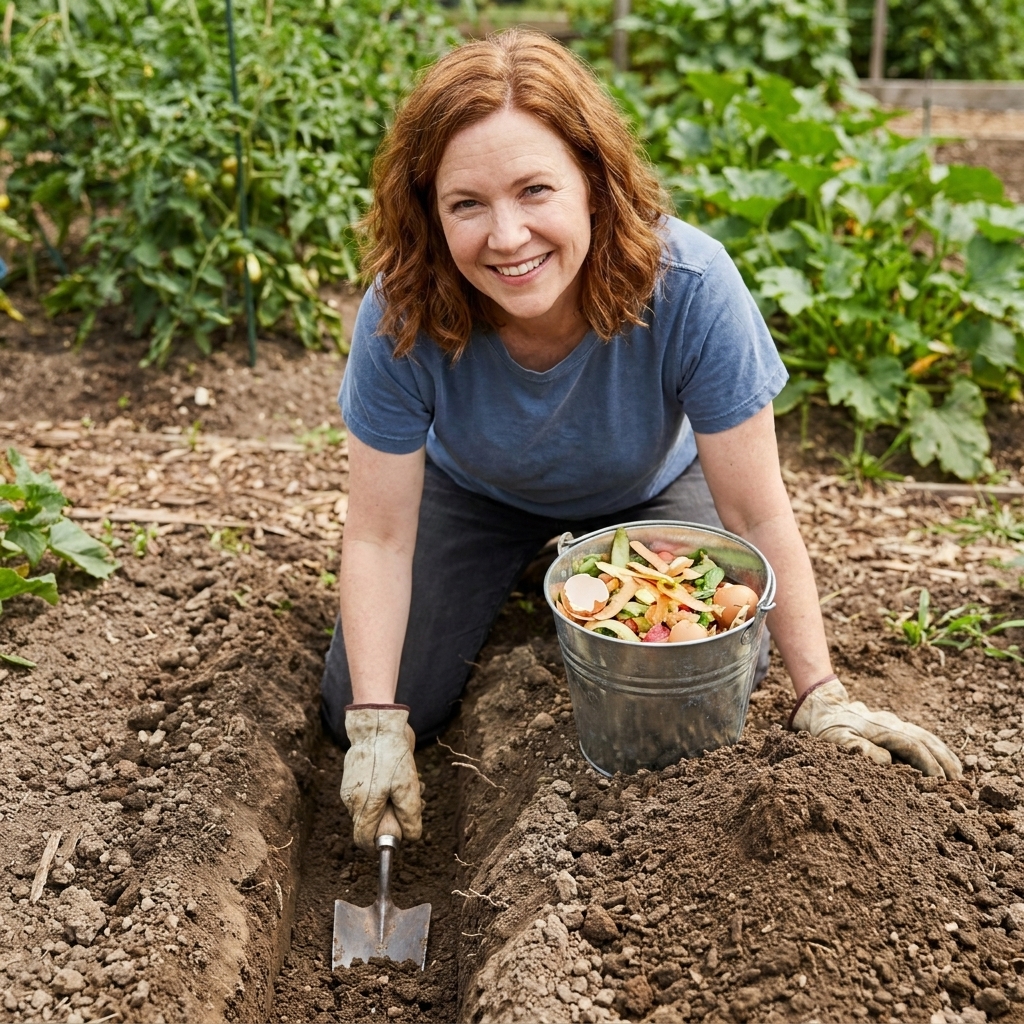
- Kitchen scraps (fruit and veg scraps, coffee grounds)
- Manure from herbivores (aged is easiest to manage)
- Green garden trimmings (chopped)
Browns (carbon)
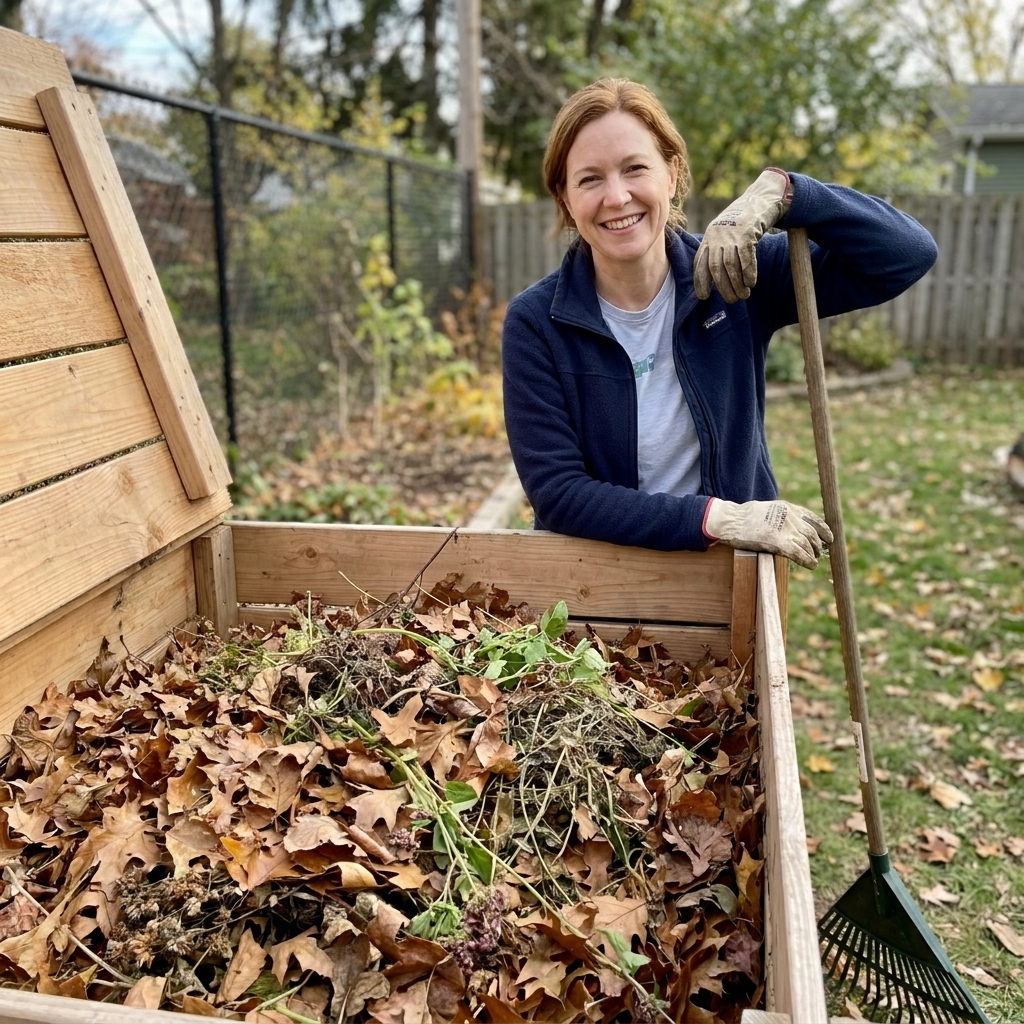
- Dry leaves
- Straw (not hay, which is seedier)
- Untreated wood chips (best on top, or as a separate top layer)
- Shredded paper (small amounts mixed in)
Top-off materials
- Finished compost or a compost and topsoil blend (optional, but very helpful)
- Mulch to cap it all (straw, leaves, or wood chips)
Quick note: Avoid anything treated with pesticides or herbicides, and skip pet waste. For cardboard, keep it brown and boring. The shinier and more coated it is, the less I want it in my garden.
Manure note: Use well-aged manure, especially in beds for vegetables. Fresh manure can burn plants, smell awful, and raises food-safety concerns for crops you harvest soon, particularly leafy greens.
Build a bed over grass
This is the method I use most often when I am converting lawn to planting space.
1) Mark the bed
Hose lines, string, or a few stakes make it easy. If you are doing a first bed, start smaller than you think. You can always expand next season.
2) Mow or knock down growth
Mow grass short or use a string trimmer. You do not need to remove clippings, but if they are thick, rake and compost the excess so you do not create a slimy mat.
3) Water the ground
Moisture is what kicks decomposition into gear. A good soak now saves time later.
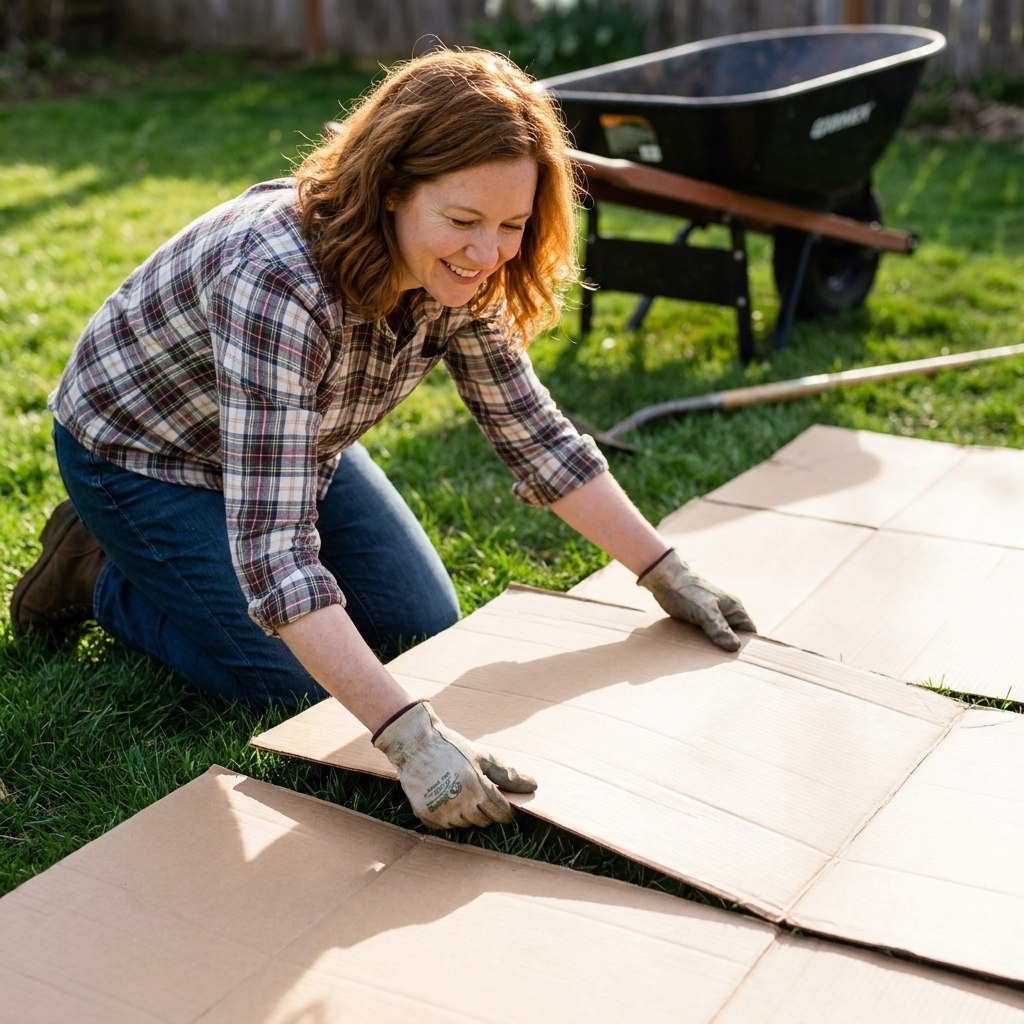
4) Lay cardboard like shingles
Overlap edges by 4 to 6 inches. Grass loves to sneak through cracks, so take your time here.
- Remove plastic tape, shipping labels, and heavy staples.
- Use two layers of cardboard for stubborn grass or known invasives.
Then wet the cardboard thoroughly until it molds to the ground. This matters more than it sounds: dry cardboard can act like a barrier and slow water soaking in.
5) Add a green layer
Think “thin and even.” One to two inches of fresh greens is a common starting point, and less is better if you are using grass clippings (they mat fast). If you are using kitchen scraps, bury them in the middle of the bed, not right at the surface, to avoid critters.
6) Add a brown layer
Add 3 to 6 inches of browns like shredded leaves or straw. (Three inches of straw can be plenty; loose leaves often settle fast, so you may want closer to six.) Browns help prevent odors and keep the pile from going soggy.
7) Repeat (optional), then cap
You can do a simple two-layer system (greens, browns) or repeat it once or twice. Either way, finish with:
- 1 to 2 inches of finished compost (best for planting sooner)
- 2 to 4 inches of mulch to protect the surface from drying out
Water again so everything settles and makes good contact.
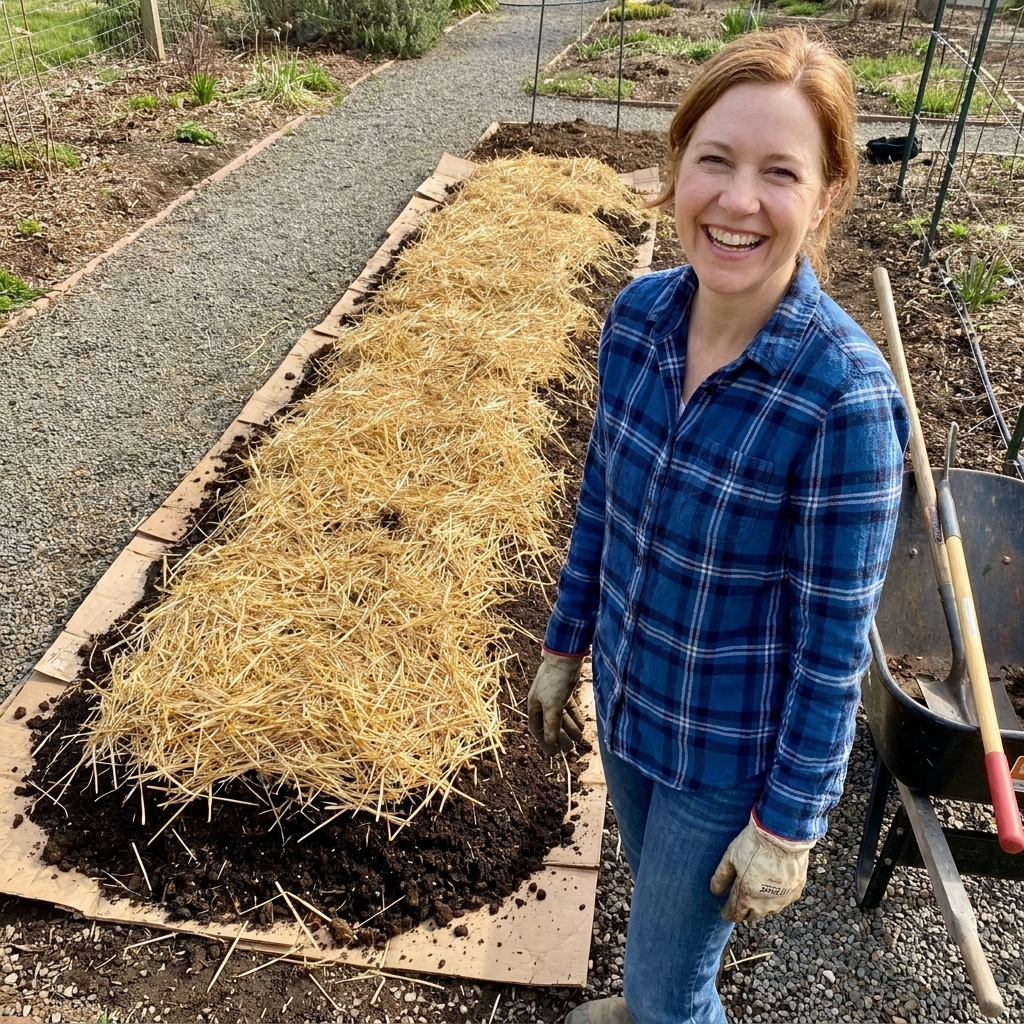
Layer thickness
If you want a simple rule of thumb: more browns than greens, and keep greens in thinner layers. Think of the measurements below as a common starting point, not a law of nature. Your climate, how dense your materials are, and how wet the bed stays will change what works best.
- Cardboard: 1 layer (2 layers for tough spots), overlapped
- Greens: 1 to 2 inches per layer (thinner for grass clippings)
- Browns: 3 to 6 inches per layer
- Compost/topsoil (optional): 1 to 3 inches near the top if you plan to plant soon
- Mulch cap: 2 to 4 inches
If your bed looks tall at first, that is normal. It will settle as the materials break down.
Best time to build
Fall (my favorite)
Build in fall, keep it damp, and by spring you often have a bed that is ready to plant with minimal fuss. Leaves are also plentiful and free, which makes the whole project easier.
Spring
Spring works too, but plan for a slower breakdown. If you want to plant right away, add a thicker compost layer at the top and focus on transplants rather than tiny seeds.
Anytime you can keep it moist
Decomposition slows way down when the layers dry out. If you are building in summer, mulch well and water like you mean it.
Planting right away
Sometimes, yes. It depends on what you are planting and how “finished” the top layer is.
Good for immediate planting
- Transplants (tomatoes, peppers, squash, herbs)
- Perennials (berries, shrubs, flowers)
To plant right away, pull back mulch, add a pocket of finished compost, and set your transplant into that.
Wait a bit for these
- Direct-sown seeds (carrots, lettuce, beans) if the surface is chunky or still breaking down
- Root crops if the bed is lumpy or full of sticks
If you want to sow seeds soon, top the bed with 2 to 3 inches of fine compost so you get good seed-to-soil contact.
What to plant first
In year one, I lean toward plants that do well with a rich, fluffy top layer: tomatoes, squash, potatoes, peppers, and hearty herbs. I save the tiny-seed divas (carrots especially) for beds that have had more time to settle.
What to avoid
Too many wet greens
A thick mat of grass clippings can turn into a smelly, slimy layer that sheds water. Keep grass clippings thin and always sandwich them between browns.
Glossy or coated paper
Skip shiny cardboard, waxed boxes, freezer boxes, and anything that looks like it could repel water.
Persistent invasives without extra steps
Sheet mulching is great, but it is not magic against everything. Plants like bindweed, Bermuda grass, and goutweed can push through weak spots. Use extra overlap, double cardboard, and be ready to pull escapes early.
Letting the bed dry out
If the layers dry, decomposition stalls. A deep watering once a week during dry spells helps a lot, especially in the first month.
Building on slopes without a plan
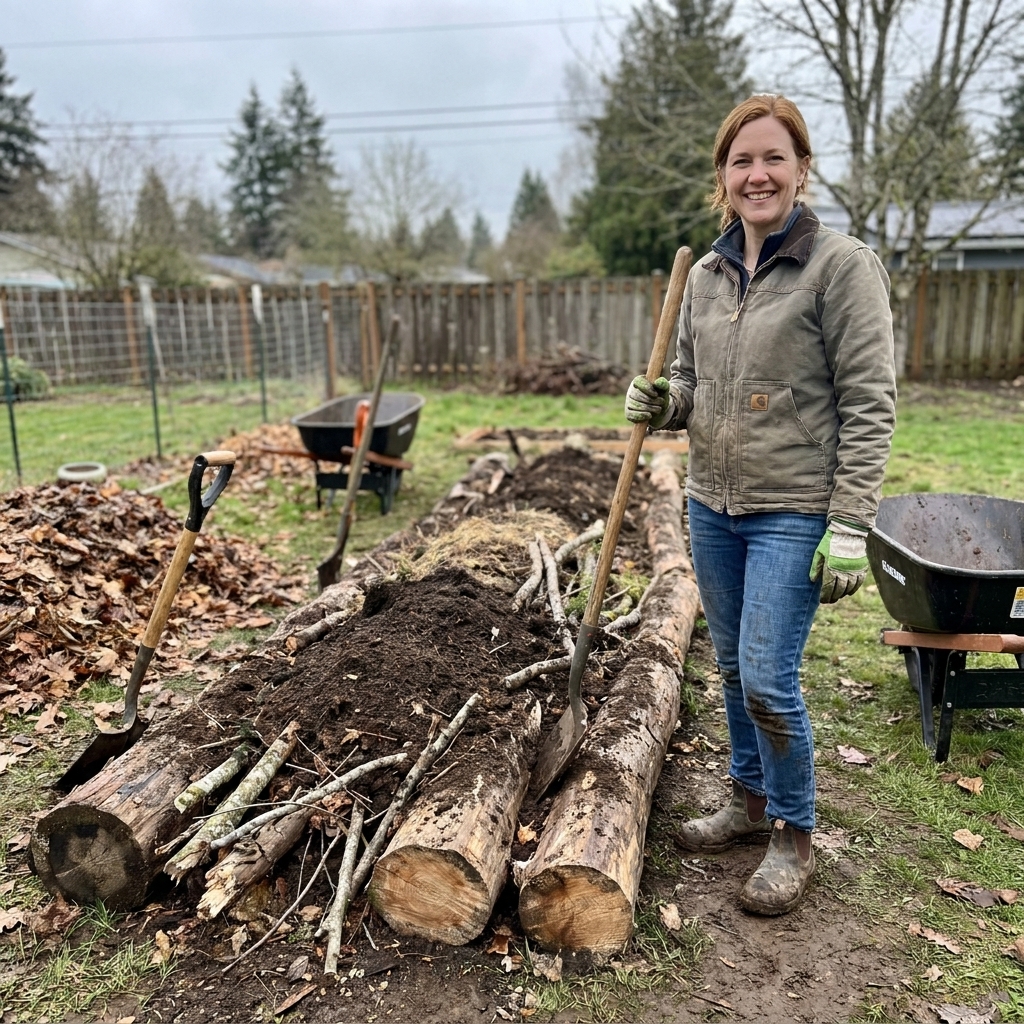
On a slope, layers can creep downhill. A simple edge (logs, boards, rocks) helps hold materials in place, and lighter mulches like straw may need extra watering to settle.
Troubleshooting
“Grass is growing through.”
- Overlap seams more.
- Add a second layer of cardboard.
- Patch holes immediately with another piece of cardboard and wet it down.
“It smells bad.”
- Add more browns (dry leaves, straw) right away.
- Fluff the top layer gently with a rake.
- Avoid adding thick layers of grass clippings.
“Animals are digging.”
- Bury food scraps deeper and cover with browns and compost.
- Use a mulch cap, then water it so it settles.
- In problem areas, lay hardware cloth temporarily over the top until things calm down.
“Nothing is breaking down.”
- Water more consistently.
- Chop materials smaller when possible.
- Make sure you have greens in the mix. A bed of only dry leaves breaks down slowly.
Raised beds and containers
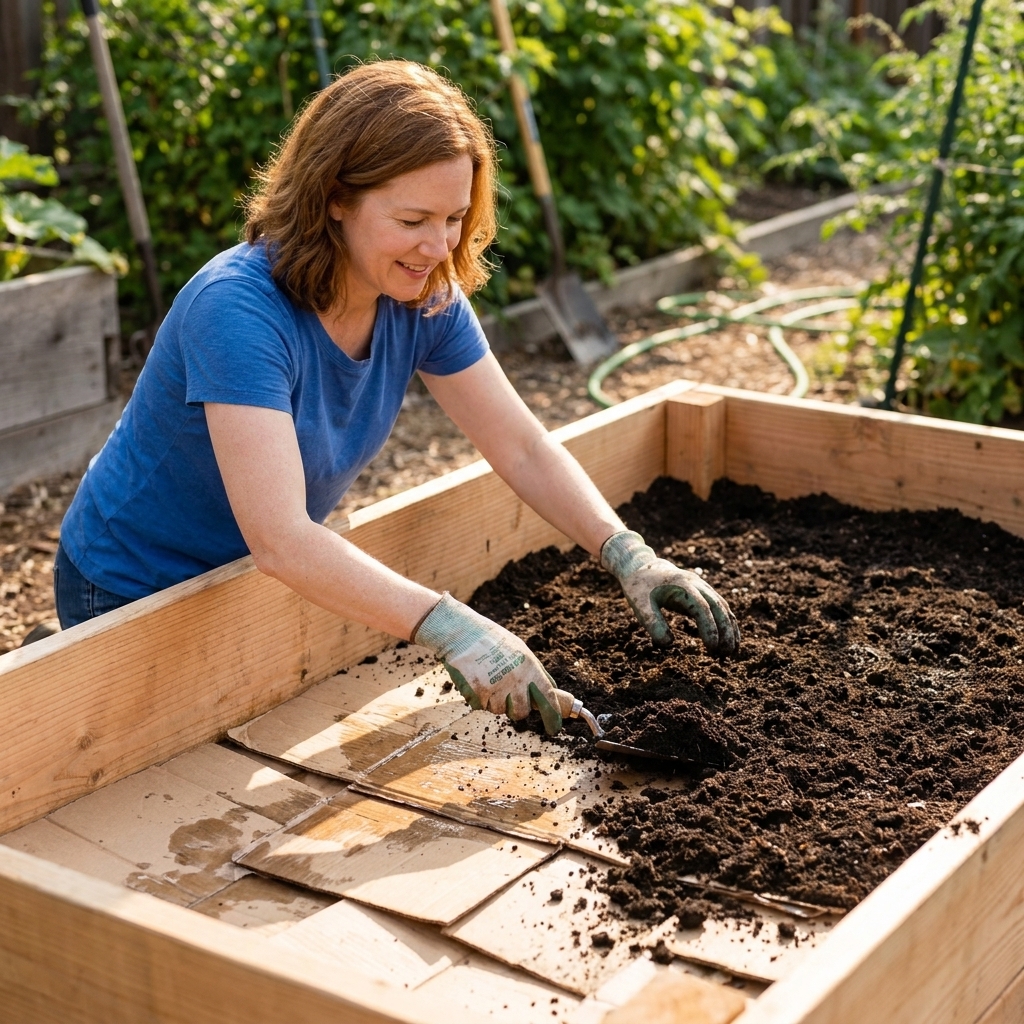
Once you get the hang of in-ground sheet mulching, you can use the same layering idea in built structures to save money on fill and build soil faster.
Raised beds
- Start with cardboard on the bottom to block weeds.
- Add coarse browns (sticks, wood chips) only in the lowest portion, if at all.
- Finish with at least 6 to 8 inches of compost-rich soil at the top for planting.
Containers
I do not recommend true lasagna layering in small pots. As microbes break down high-carbon materials, they can temporarily tie up available nitrogen, and pots also settle unevenly. For containers, stick with potting mix and finished compost.
Simple recipe
If you want a no-overthinking version, here is a reliable build for a new bed over grass:
- Mow short and water.
- Overlap cardboard across the whole bed and soak it.
- Add 1 to 2 inches of greens (thinner if using grass clippings).
- Add 4 to 6 inches of browns.
- Top with 1 to 2 inches of finished compost (optional but great).
- Cap with 2 to 4 inches of mulch.
- Water again and keep it lightly damp for the first few weeks.
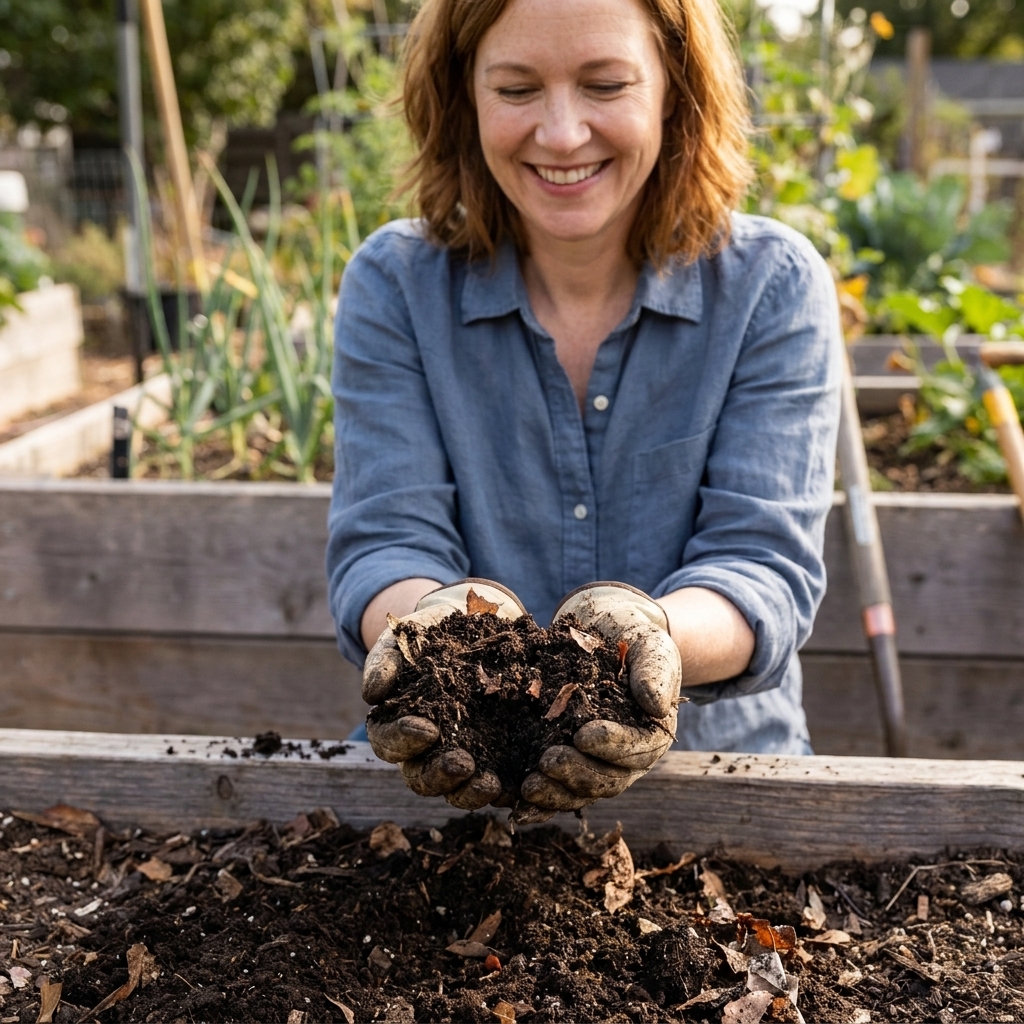
If you build it in fall, you will be shocked at what you find underneath by spring. Dark soil, worms, and a bed that feels like it finally wants to grow something.
FAQ
Will cardboard harm my soil?
Plain, uncoated cardboard is generally safe for garden use when you remove tape, shipping labels, and heavily printed sections. It breaks down and becomes carbon for soil microbes. If you are worried, use brown cardboard only and avoid glossy packaging.
Do I need to dig?
No. That is the point. The only “digging” I do is a small hole for transplants, and even that is mostly through the top compost layer.
How long does it take?
In warm, moist conditions, you will see real breakdown in a couple of months. For a fully settled, crumbly bed, expect 6 to 12 months. Cooler climates, drier weather, and chunkier materials can push that timeline longer.
Can I use wood chips as a layer?
Wood chips are best as the top mulch layer. Mixed deep into the bed, they break down slowly and can tie up nitrogen near the surface. If wood chips are what you have, keep them on top and plant into compost pockets.
Is this the same as composting?
It is composting, just done right where you want the finished product. Instead of turning a pile and hauling compost around, you let the bed compost itself.
My best tip
If you do two things well, sheet mulching works: overlap your cardboard and keep the layers moist. Everything else is a bonus.
Once you try it, it is hard to go back to wrestling sod. There is something deeply satisfying about turning yesterday’s leaves and kitchen scraps into next season’s garden bed, no fancy gear required.