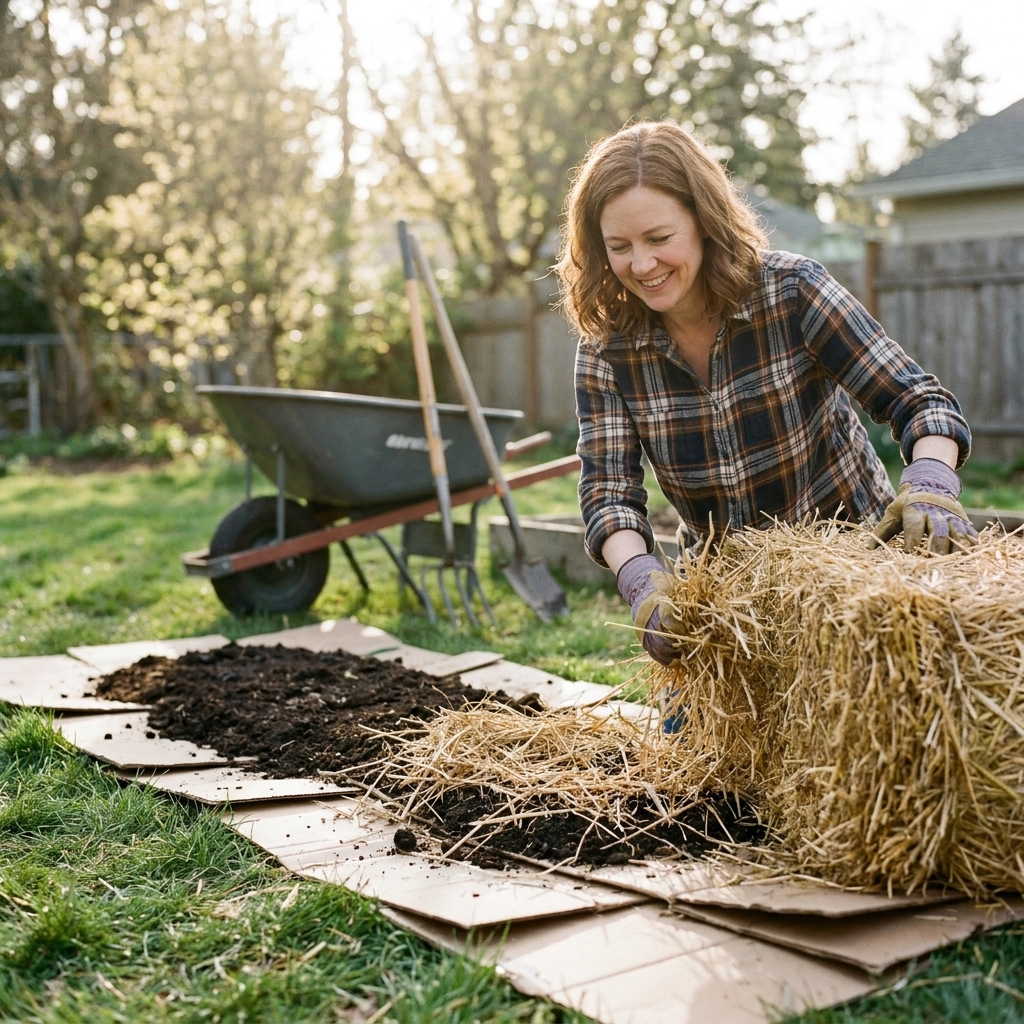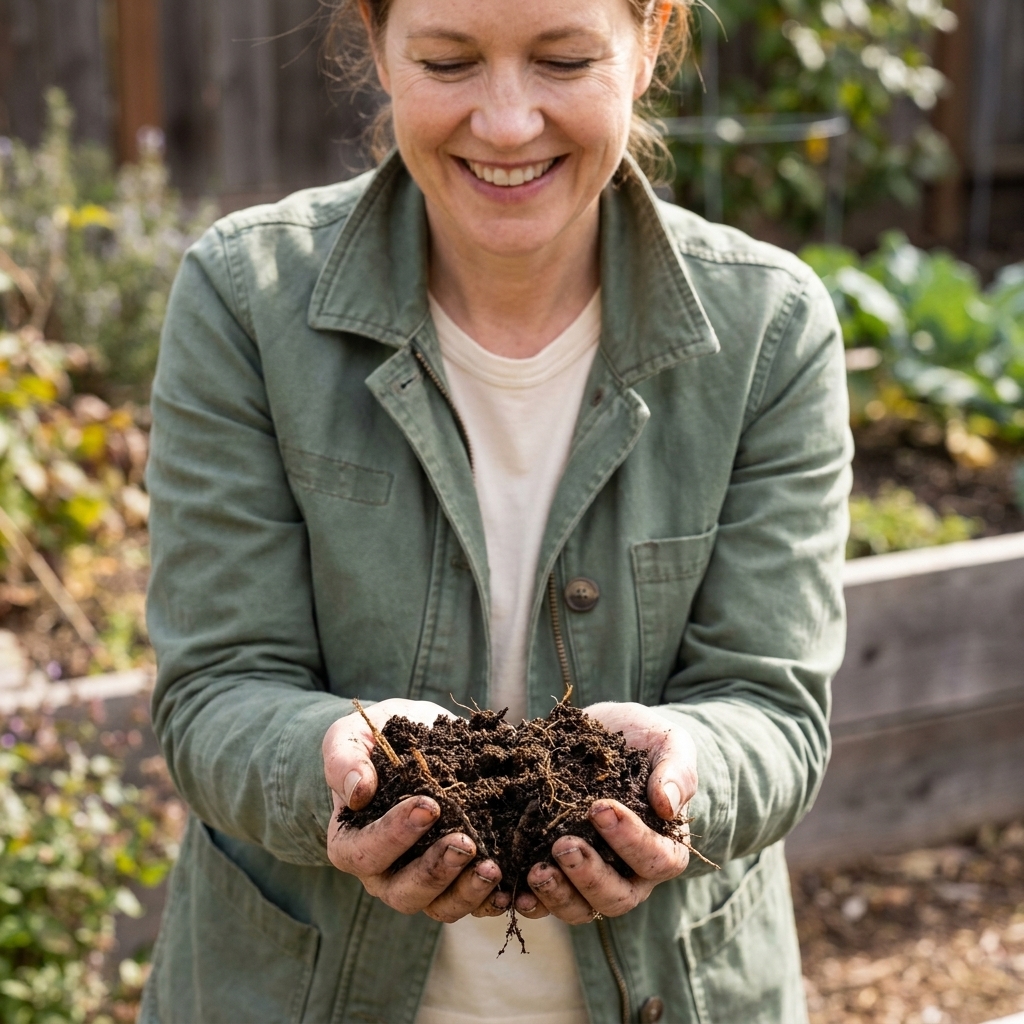
My first garden was a sad little experiment in compacted clay. The plants were technically alive, but they acted like they were doing me a favor. What finally changed everything was learning to build soil instead of fighting it.
Hügelkultur, often pronounced something like HYOO-gul-culture or HOO-gul-culture, is one of those dirt-nerd methods that sounds fancy until you actually do it. Then you realize it is basically: bury wood and yard mess, cover it with soil, and let nature compost it slowly from the inside out. The payoff is big. A hügel bed holds water better, feeds plants gradually, and turns branches and logs into spongy, living soil over time.
What a hügelkultur bed is
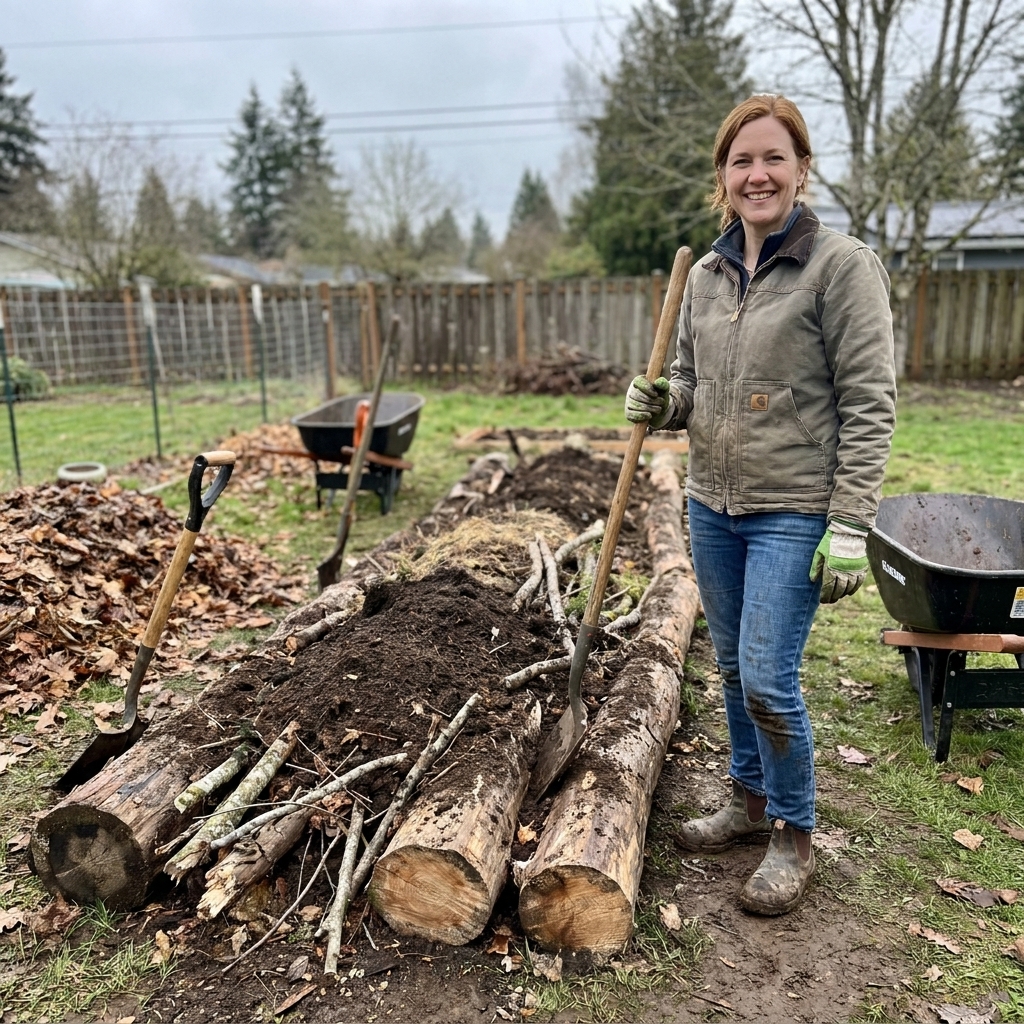
Hügelkultur is a raised bed or mound built over buried wood. Logs, branches, twigs, and other coarse organic materials form the bottom layer. As that wood breaks down, it acts like a slow compost system underground.
- The wood becomes a moisture bank. Rotting wood turns porous and holds water like a sponge.
- It feeds soil life for years. Fungi, bacteria, worms, and beetles move in and steadily convert the materials into humus.
- It uses up bulky yard waste. Instead of hauling sticks, leaves, and old stems away, you can stack them into something useful.
Think of it as composting in place, with a thicker, slower-moving pile that grows plants at the same time.
Pros, cons, and best times
Why I love it
- Less watering once it settles in. After the first season or so, many hügel beds need less frequent irrigation.
- Great for poor soil. If you are dealing with clay, sand, or thin topsoil, a mound gives roots a nicer zone to grow into.
- Long-term soil building. You are not just feeding plants, you are building structure and organic matter.
What can trip people up
- It can tie up nitrogen at first. Fresh wood breaking down can temporarily tie up nitrogen, especially if you do not add enough “greens” or compost. This is manageable with a good nitrogen layer and a thicker soil cap.
- It settles. As materials collapse and decompose, the mound shrinks. Plan for that.
- Not ideal over tree roots or utilities. Digging can damage roots, and nobody wants to discover a line the hard way.
Best uses
- Drought-prone areas or beds that dry out fast
- Sloped yards where you want a mound to slow water and reduce runoff
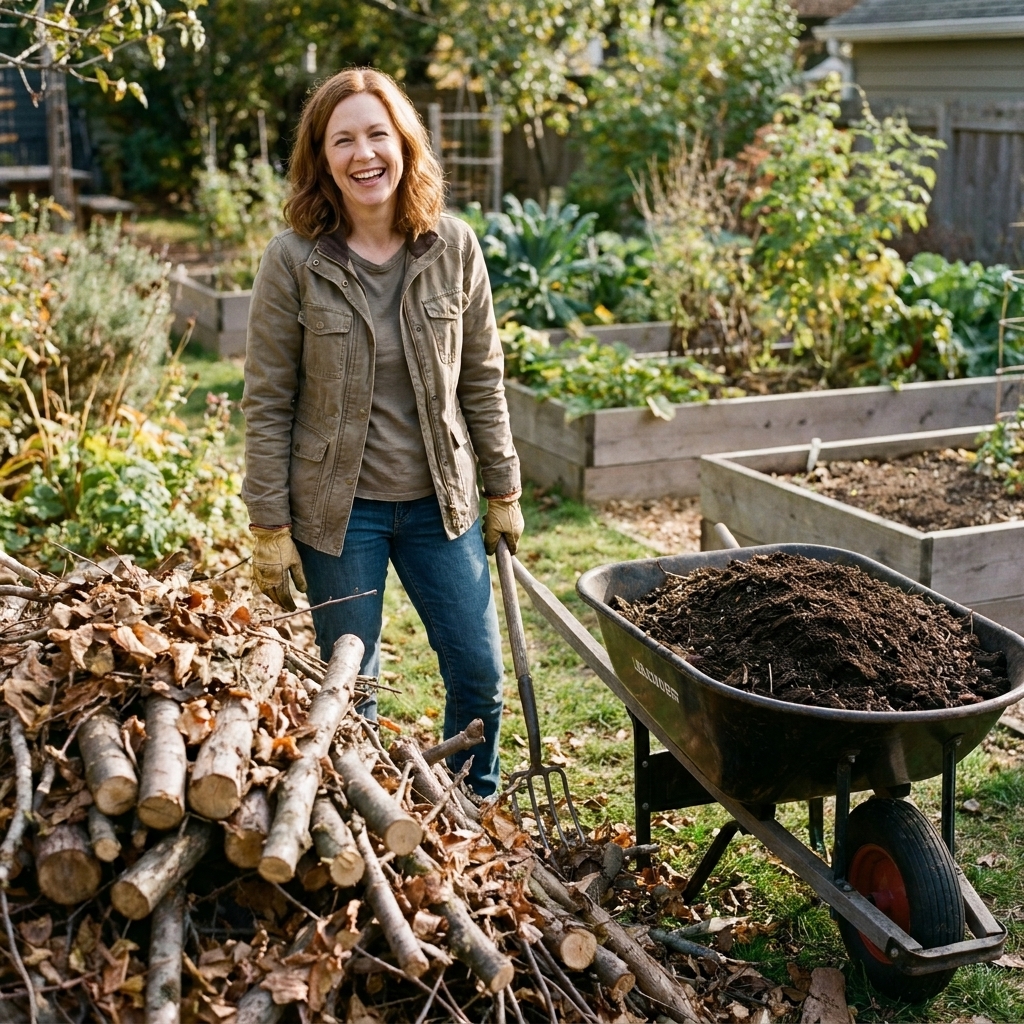
- Gardeners with lots of prunings, fallen branches, or storm debris
If your site is very wet or poorly drained, consider a lower mound or a trench style (so it does not slump and smear) and focus on drainage first. Hügelkultur is great, but it is not magic against standing water.
Materials to use (and skip)
Good wood choices
Almost any untreated, non-painted wood works, especially woods that are not extremely rot-resistant. Partially rotted wood is gold if you can get it.
- Old logs that are already starting to soften
- Branches, twigs, brush
- Wood chips or shredded sticks as a filler layer
Quick wood nuance: Super rot-resistant woods like cedar and redwood can take a long time to break down. They still work, but they are more “slow sponge” than “quick soil.” Conifers and resinous woods (pine, fir, spruce) are also usable. They may decompose differently, and the acidity worry is usually overstated once the bed is capped with soil and compost.
Other helpful fill
- Browns: dry leaves, straw, shredded paper, cardboard (no glossy coating), dried stems
- Greens: fresh grass clippings (thin layers), kitchen scraps, green garden trimmings
- Soil builders: finished compost, aged manure, worm castings
Skip these
- Black walnut (can suppress some plants)
- Other known allelopathic woods common in your area (for example, tree-of-heaven, and eucalyptus in some regions)
- Treated lumber or painted wood
- Thick mats of weeds with seeds unless you are confident they will be buried deep and smothered
- Diseased plant material (especially if you are not hot composting it first)
How big to build it
You can go modest or dramatic. I recommend starting with a manageable size so you learn how your materials behave.
- Easy starter bed: 3 to 4 feet wide, 6 to 10 feet long
- Height: 18 to 36 inches tall after building, knowing it will settle
- Path space: leave at least 18 to 24 inches around it so you can reach and weed
If you want a bed you can plant immediately without steep sides slumping, keep it wider than it is tall.
Step-by-step build
Step 1: Choose the spot
Full sun is usually best for vegetables, but a hügel bed also shines in part sun for greens and herbs. If your yard has slope, orient the mound along the contour like a gentle barrier to slow and soak water.
Before you dig, check for irrigation lines and call your local utility marking service if you are not 100 percent sure what is underground. It is not the fun part, but it beats the alternative.
Step 2: Mark it out
Use a hose, string, or handful of flour to outline the footprint. Stand in the paths and make sure the bed is reachable from both sides.
Step 3: Optional: Dig a shallow trench
If you can spare the effort, scrape out 6 to 12 inches of soil where the mound will sit and set that soil aside. This does three nice things: stabilizes the bed, gives you soil to cover the mound later, and lets the wood start below grade where it stays moister.
If digging is not realistic, you can build right on top of the ground. Just plan to use cardboard and a thicker soil or compost cap to smother grass.
Step 4: Lay the biggest wood
Place logs first. Think of them as the bed’s backbone. Tuck gaps with chunks of wood, smaller branches, and sticks.

Step 5: Add a nitrogen layer
This is the part many quick explanations skip. Wood is carbon-heavy, and decomposers need nitrogen to break it down. If you do not provide it, they can borrow nitrogen from the surrounding soil where the materials touch, and your plants can look pale and hungry.
My go-to “nitrogen cushion” is one or more of these:
- a thick layer of fresh grass clippings (not slimy, not in one heavy mat)
- kitchen scraps tucked deep in pockets
- aged manure
- finished compost, especially if you are building and planting right away
Step 6: Add the messy middle
Now you can pile on the rest of your organic matter in rough layers: leaves, spent plants, straw, shredded cardboard, and small twigs. Water as you go. You want it damp like a wrung-out sponge, not dry and dusty.
Step 7: Cap with soil and compost
Top the whole thing with a generous layer of soil mixed with compost. Aim for:
- At least 6 inches of planting soil for shallow-rooted crops
- 8 to 12 inches if you want to plant right away with fewer hiccups
If you dug a trench, use the soil you set aside first, then finish with compost-rich top layers.
Step 8: Mulch the surface
Mulch helps the mound hold moisture while everything settles. Straw, shredded leaves, or wood chips work well. Keep mulch pulled back an inch or two from seedlings and stems to prevent rot.
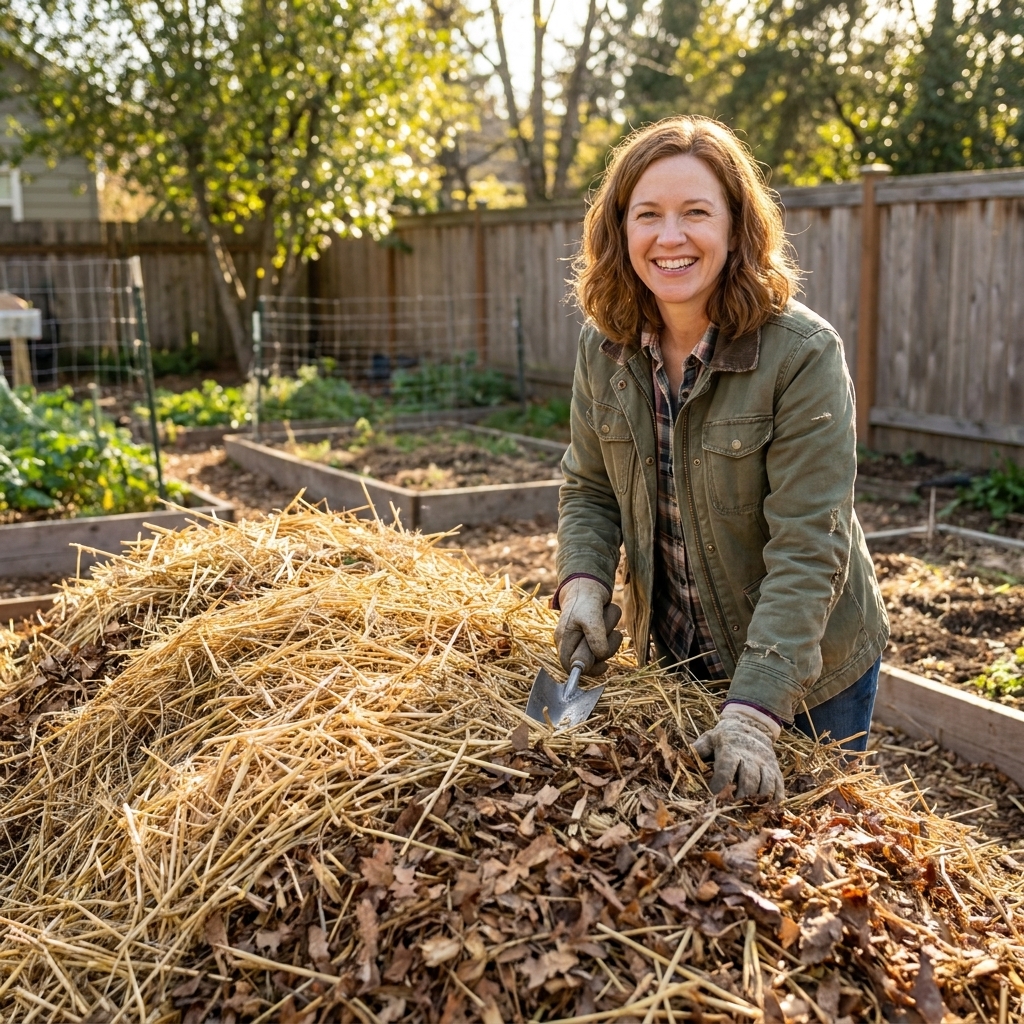
Step 9: Water deeply and let it settle
Give it a long soak, especially if the materials were dry. Over the next few weeks it may sink and crack. That is normal. Keep a bag or two of compost around to top up low spots.
Planting: year 1 vs year 2
Year 1: Keep it forgiving
In the first season, the bed is still waking up. Depending on how much fresh wood you used, how fine the woody material is, and how much nitrogen you added, you may see some nitrogen drawdown early on. To keep things easy, I like to plant:
- beans and peas (they can help over time, especially if inoculated, but still give them compost at planting)
- squash, cucumbers, melons
- potatoes (they usually love the loose, fluffy soil, but keep moisture steady and watch for scab in dry, alkaline conditions)
- herbs and flowers that are not heavy feeders
If you want tomatoes, peppers, or corn in year 1, do it with extra compost and a steady, gentle nitrogen source like fish emulsion or alfalfa meal.
Year 2 and beyond: The payoff
Once the inner layers soften and soil life gets established, the mound usually becomes easier to manage. Moisture holds longer, and plants tend to root deeply into the rich, crumbly center.
Watering and upkeep
- Water deeply, less often. Frequent light watering encourages shallow roots. A good soak trains roots into the mound.
- Top-dress every season. A half-inch to one inch of compost on top keeps fertility steady and fills settling spots.
- Keep it mulched. Hügelkultur plus mulch is the moisture-retention combo I wish I had known years earlier.
- Watch for dry shoulders. The sides of a tall mound can dry out faster. Plant drought-tolerant herbs or strawberries on the shoulders and thirstier plants lower down.
- Stabilize the sides. In rainy climates, bare soil can erode. Mulch well, plant quickly, and consider a lower profile if you get pounding storms.
Common problems and fixes
Pale plants or slow growth
Likely cause: nitrogen is tied up during early decomposition.
Fix: top-dress with compost, water in a mild nitrogen feed, and add a thin layer of grass clippings under mulch.
Bed slumps a lot
Likely cause: lots of airy brush and leaves, not enough soil cap.
Fix: add more soil and compost on top, then re-mulch. Next build, pack materials tighter and water while layering.
Rodent tunnels
Likely cause: cozy habitat in the woody core, especially near tall grass or compost piles.
Fix: keep edges mowed, avoid putting food scraps near the surface, and plant strongly scented herbs like thyme on the perimeter. If it is a persistent issue, skip kitchen scraps and use manure or compost as your nitrogen layer instead.
Slugs or snails
Likely cause: moist mulch plus hiding spots, especially in cool, damp climates.
Fix: hand-pick at dusk, thin mulch right around seedlings, and use simple traps or barriers if needed. Young plants are the main target, so protect them early.
Too dry in summer
Likely cause: dry core at the start or not enough mulch.
Fix: deep soak to recharge the wood, mulch thicker, and consider drip irrigation for the first season.
Simple variations
Raised bed frame hügelkultur
Have a wooden or metal raised bed frame? You can do a smaller-scale hügel inside it. Put sticks and chunky debris in the bottom third, add nitrogen-rich material, then fill with soil and compost. This is perfect for tidy yards or smaller spaces.
Trench hügelkultur
In very windy areas, a tall mound can dry out. A trench version keeps more material below grade. Dig deeper, bury the logs, and cap with a modest rise. You still get the sponge effect without the tall profile.
My no-regrets recipe
If you want a basic plan that works in most backyards, here is what I do when I am building a new mound and want to plant the same season:
- Bottom: logs and thick branches
- Gap fill: smaller sticks, wood chips, crushed stems
- Nitrogen layer: 2 to 4 inches of aged manure and/or a thick compost layer
- Bulk layer: leaves and garden trimmings, watered well
- Top: 8 to 12 inches of soil mixed with compost
- Finish: mulch, then plant
FAQ
Does the wood have to be rotten?
No, but partially rotted wood kick-starts the process and is less likely to tie up nitrogen. If you only have fresh logs, add more compost and nitrogen-rich material before you plant.
How long does a hügelkultur bed last?
It depends on the wood size and climate, but the buried wood can feed soil life for several years. You will notice the mound gradually settling as it decomposes. I top-dress with compost each season and let the bed slowly evolve.
Will it attract termites?
Termites and other decomposers may show up because you are putting wood in contact with soil. That is part of decomposition. If you are near a wooden foundation or you are concerned, build the mound well away from structures and follow local extension guidance for your region. As a practical rule, do not put a hügel bed right up against a house.
Can I build one in fall?
Fall is fantastic. You usually have leaves, garden cleanup debris, and cooler weather for digging. By spring, the bed has had time to settle and start breaking down.
Do I need fertilizer?
In year 1, I treat it like a new composty bed: compost at planting time and occasional gentle feeding for heavy feeders. Over time, many hügel beds need less supplemental fertility, but I still top-dress with compost because it keeps everything humming.
One last tip
If you have a pile of branches you have been meaning to “deal with,” a hügel bed is one of the most satisfying ways to turn that mess into something that feeds your garden. Start small, water as you build, and do not skimp on the compost cap. Your future self, the one not dragging hoses around in August, will be very grateful.