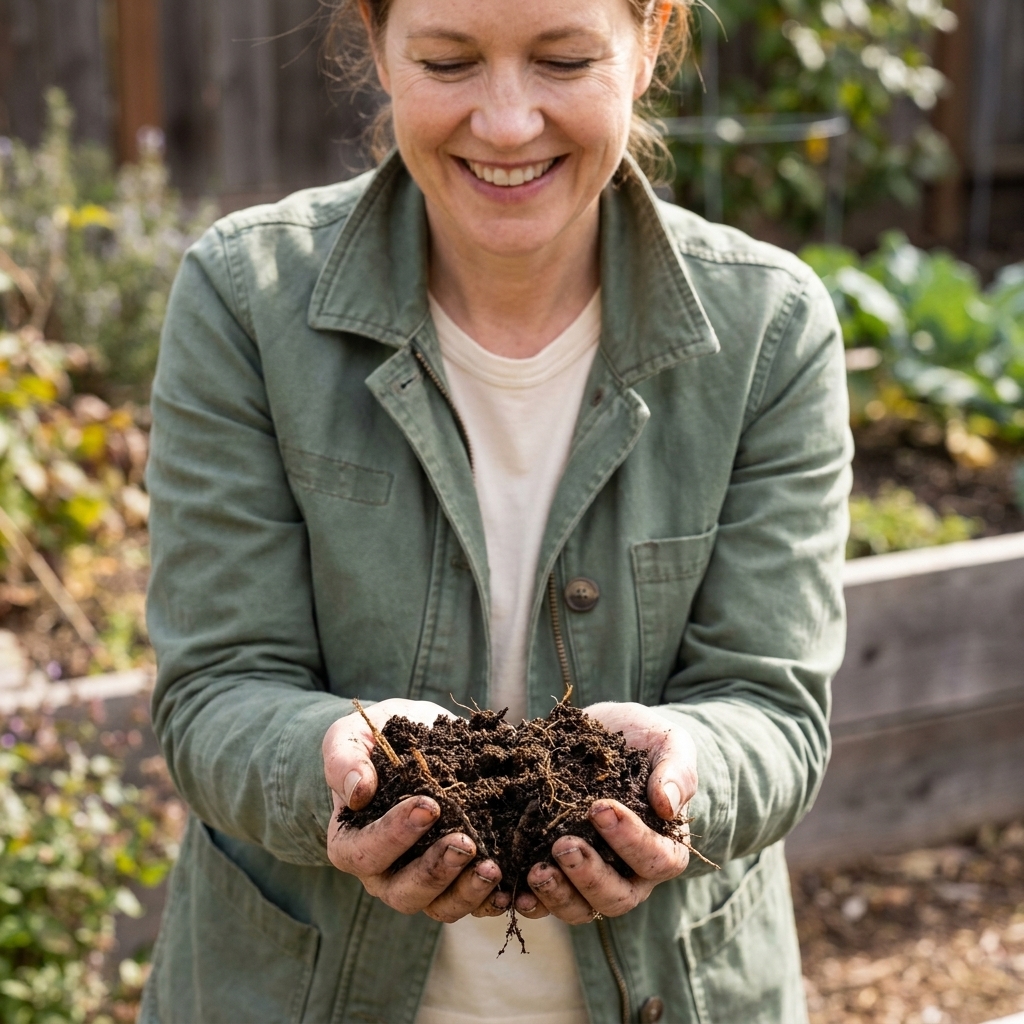
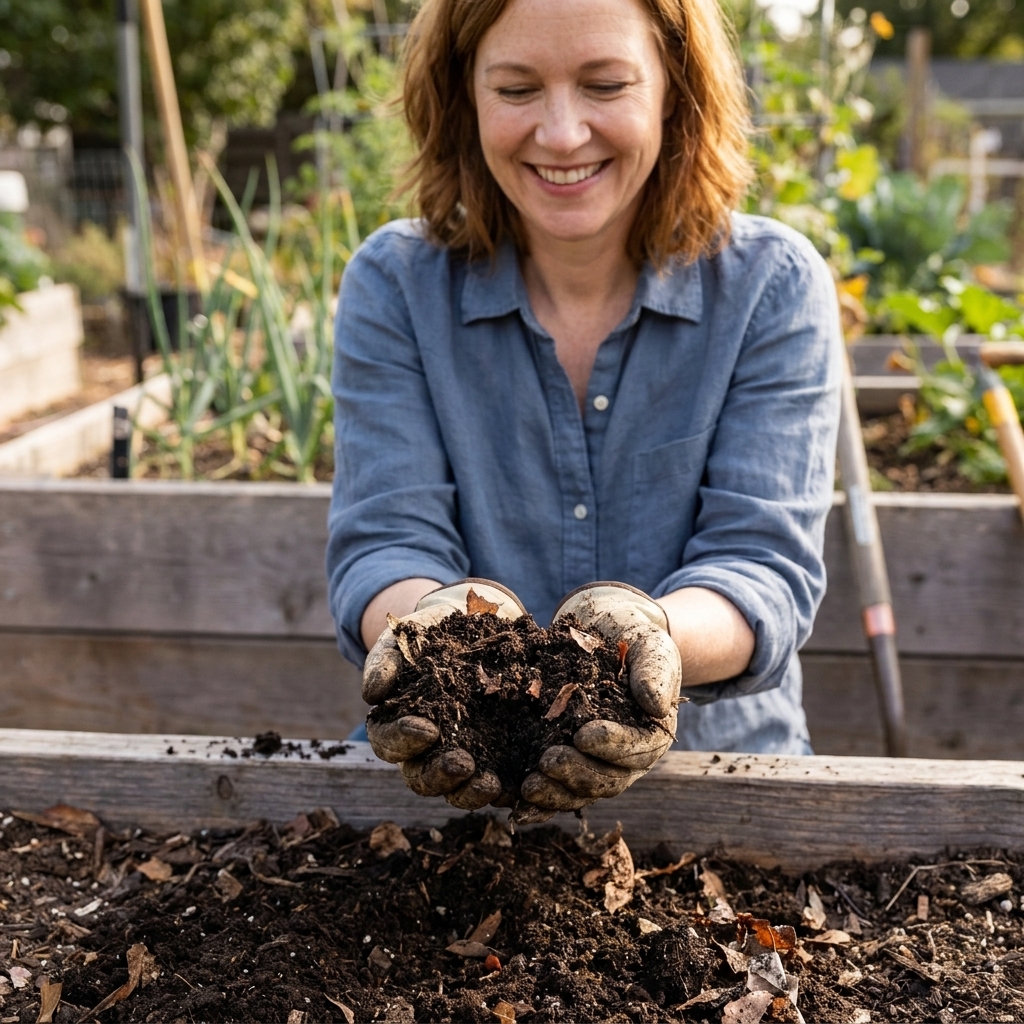
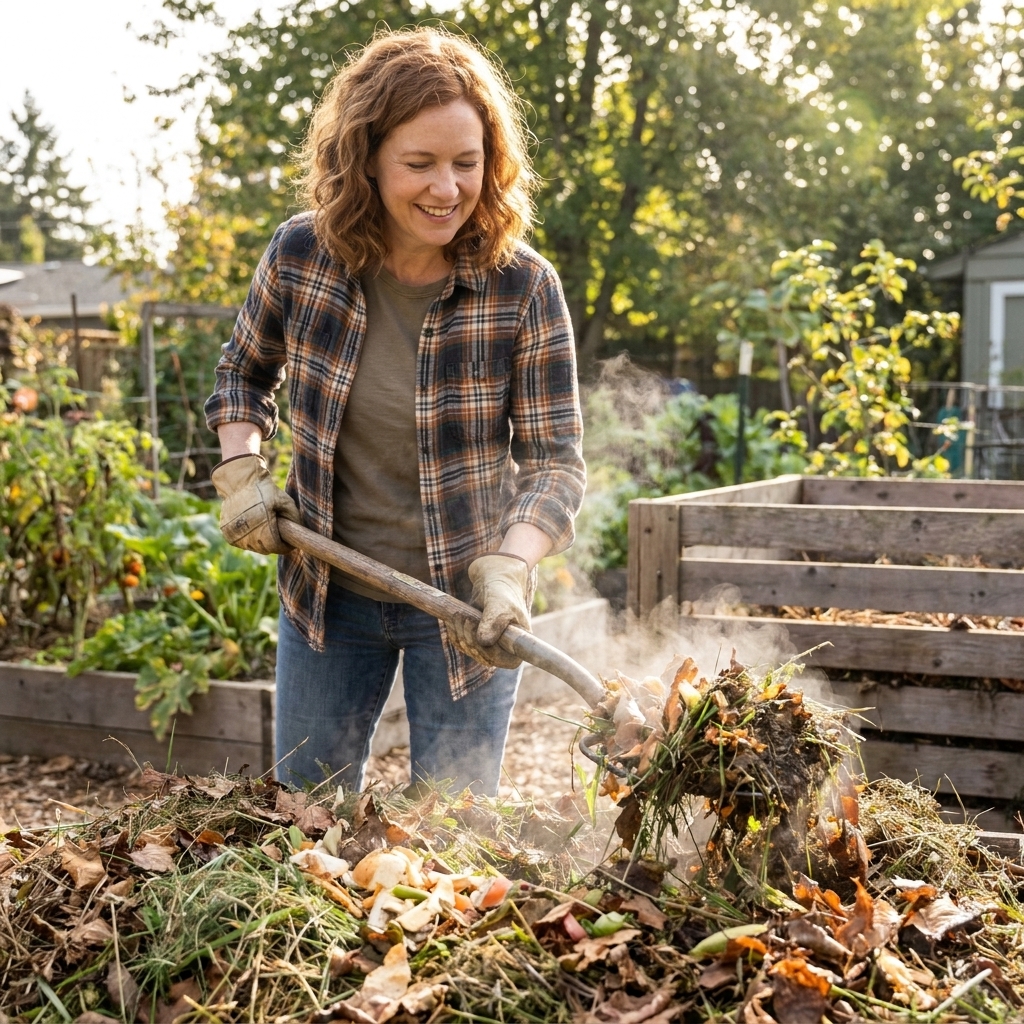
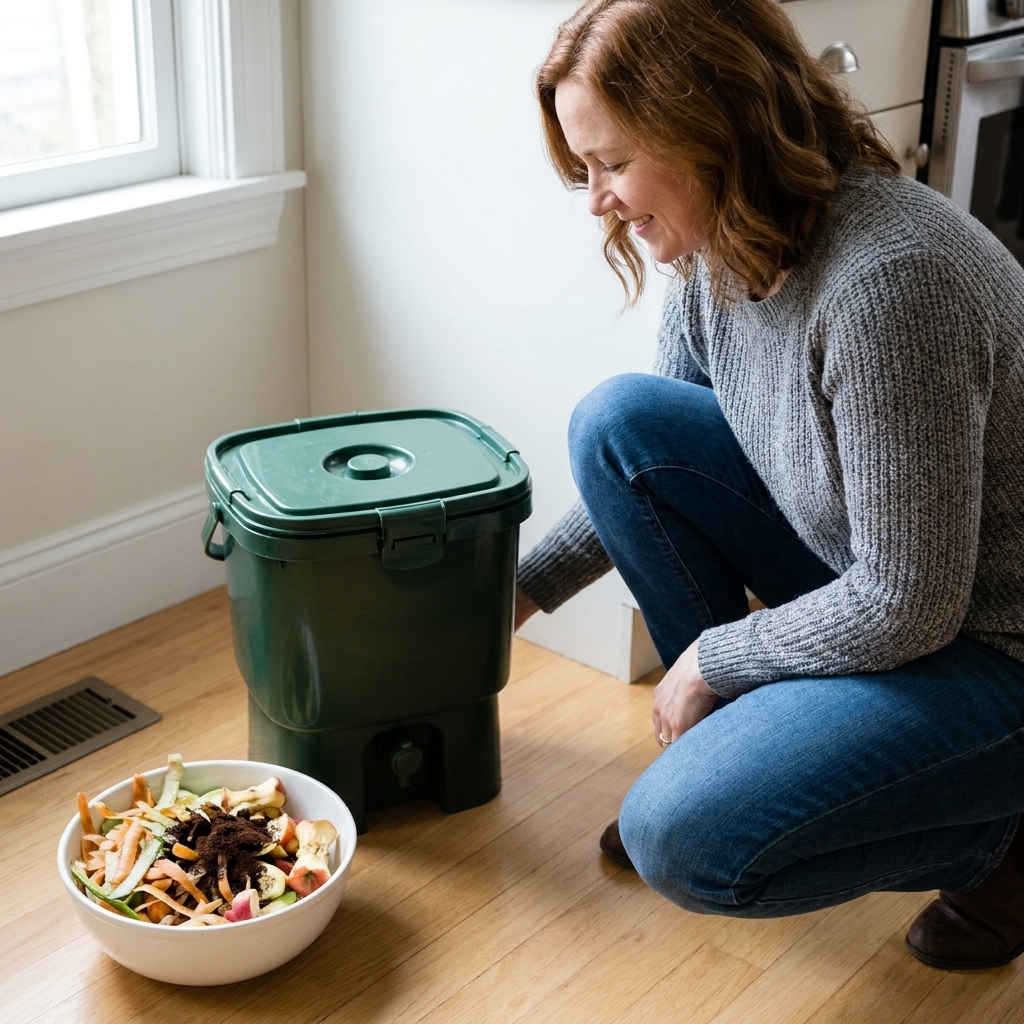
When my first vegetable garden flopped in a yard full of compacted clay, I went looking for the fastest way to get life back into my soil. Compost was the long game, but I also wanted something I could apply right now. That is where actively aerated compost tea comes in.
Done right, aerated compost tea is basically a short, oxygen-rich brew that pulls beneficial microbes and some soluble nutrients out of quality compost or worm castings. You then apply it to soil or leaves as a potential boost to the living system around your plants. Results can be impressive in some gardens and underwhelming in others, so I treat it as a helpful tool, not a guarantee.
What it is (and is not)
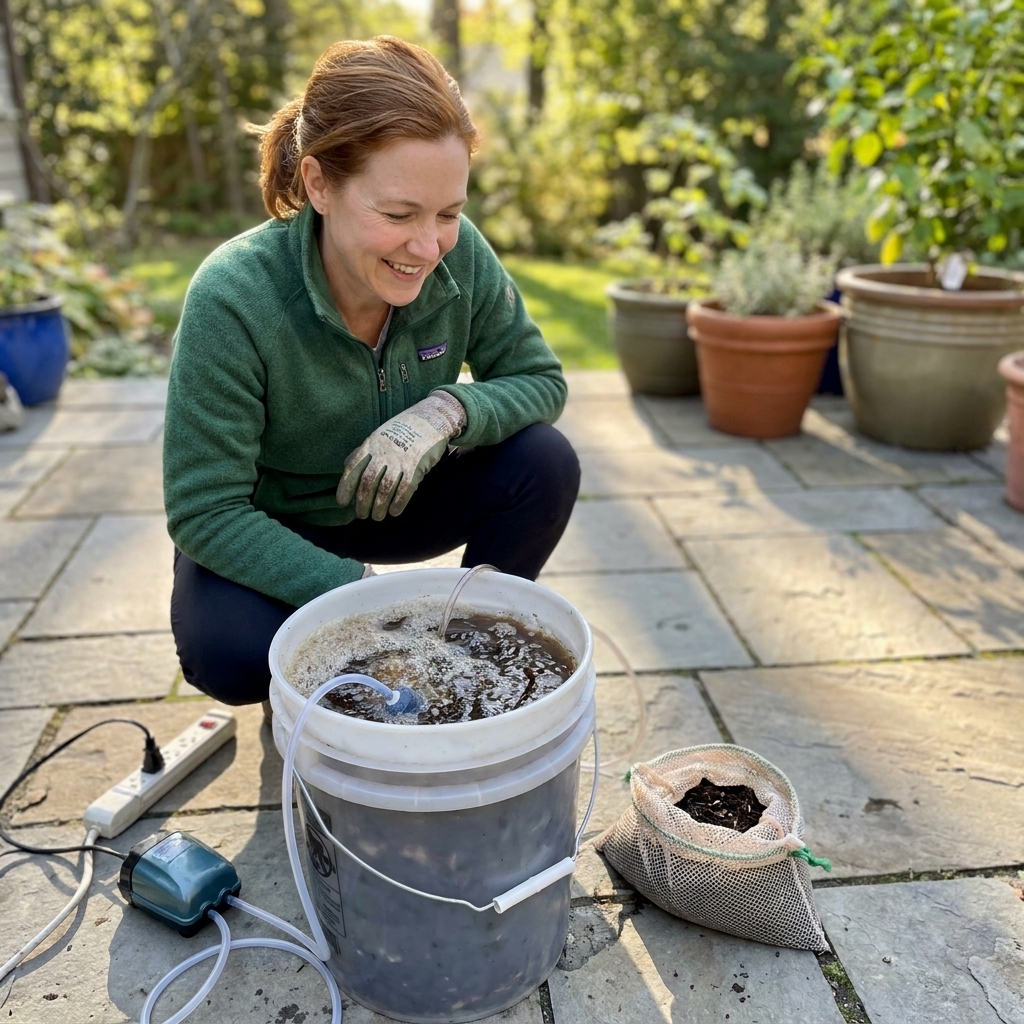
Actively aerated compost tea (AACT) is compost steeped in water while being continuously oxygenated with an air pump. That oxygen is the whole point. It favors the aerobic organisms most gardens want and helps prevent the brew from turning anaerobic.
It is not the same as:
- Compost “soak” or leachate: liquid that drains out of a compost pile or bin. It can be inconsistent and sometimes anaerobic.
- Manure tea: a different product with different safety considerations. I do not recommend brewing manure tea for spraying on edible crops.
Think of AACT as a microbe delivery system, not a magic fertilizer that replaces compost, mulch, and good watering habits.
Safety for edible gardens
I am a big fan of simple rules that keep gardeners out of trouble. Compost tea is not automatically unsafe, but home-brew tea can carry food-safety risk if inputs, water, equipment, or handling are poor.
- Start with clean, finished compost that smells earthy, not sour or rotten. If you would not want it on your hands, do not brew it.
- Skip manure-based inputs if you plan to spray leaves or use on crops close to harvest.
- Use clean equipment and rinse immediately after brewing. Leftover residue can turn biofilmy fast.
- Apply promptly. Use aerated compost tea the same day you brew it, ideally within a few hours of stopping aeration.
- Do not store it sealed. Without oxygen it can go anaerobic quickly.
- Be extra cautious with foliar sprays on ready-to-eat crops (salad greens, herbs). If you are not 100 percent confident in your inputs and sanitation, stick to soil drenches and wash produce as usual.
If you garden for a school, community plot, or market, it is worth checking any local guidance or program rules on compost tea and foliar applications.
Equipment checklist
You do not need a lab. You do need good aeration.
Minimum setup
- Bucket: 5-gallon food-grade bucket is perfect for most home gardens.
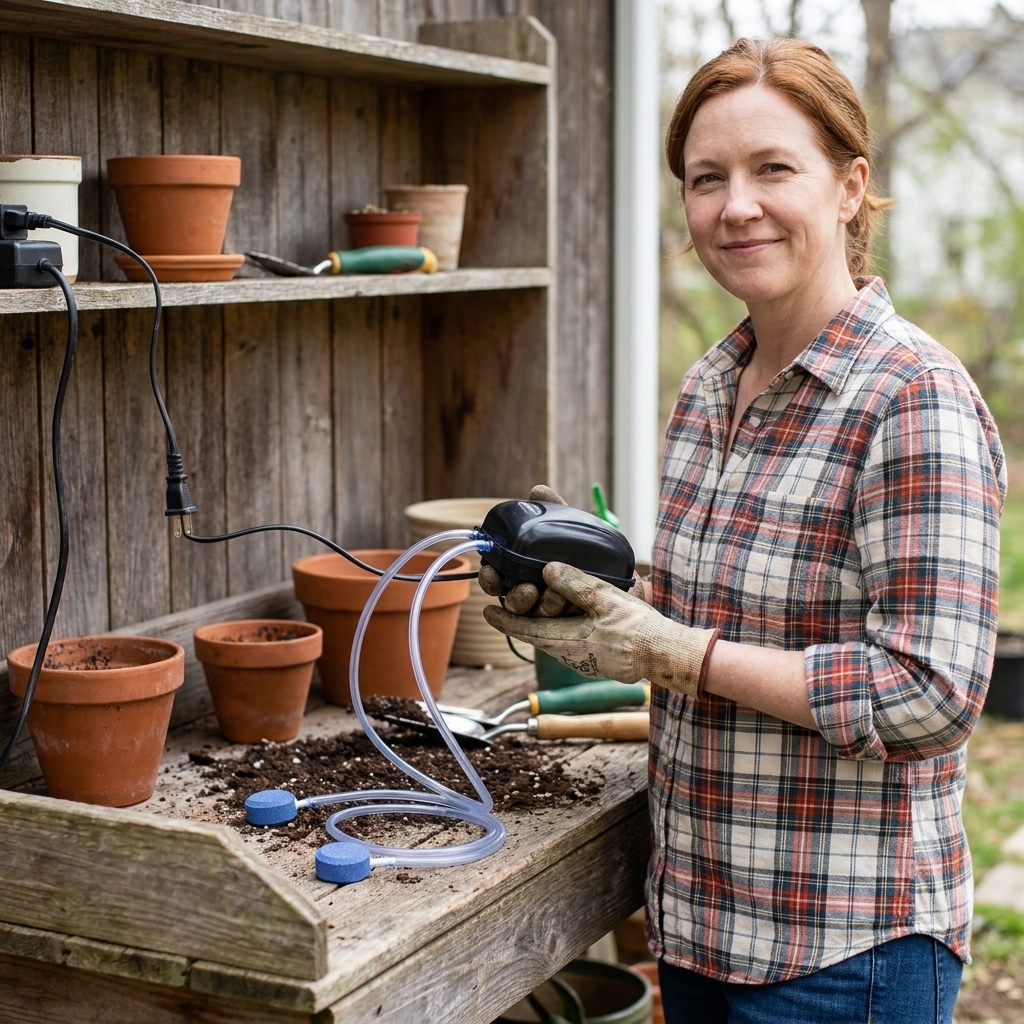
- Air pump: aquarium or pond pump with enough output to keep the surface churning. If your brew looks still, upgrade the pump.
- Air stone or diffuser plus tubing: two air stones in a 5-gallon bucket is often better than one.
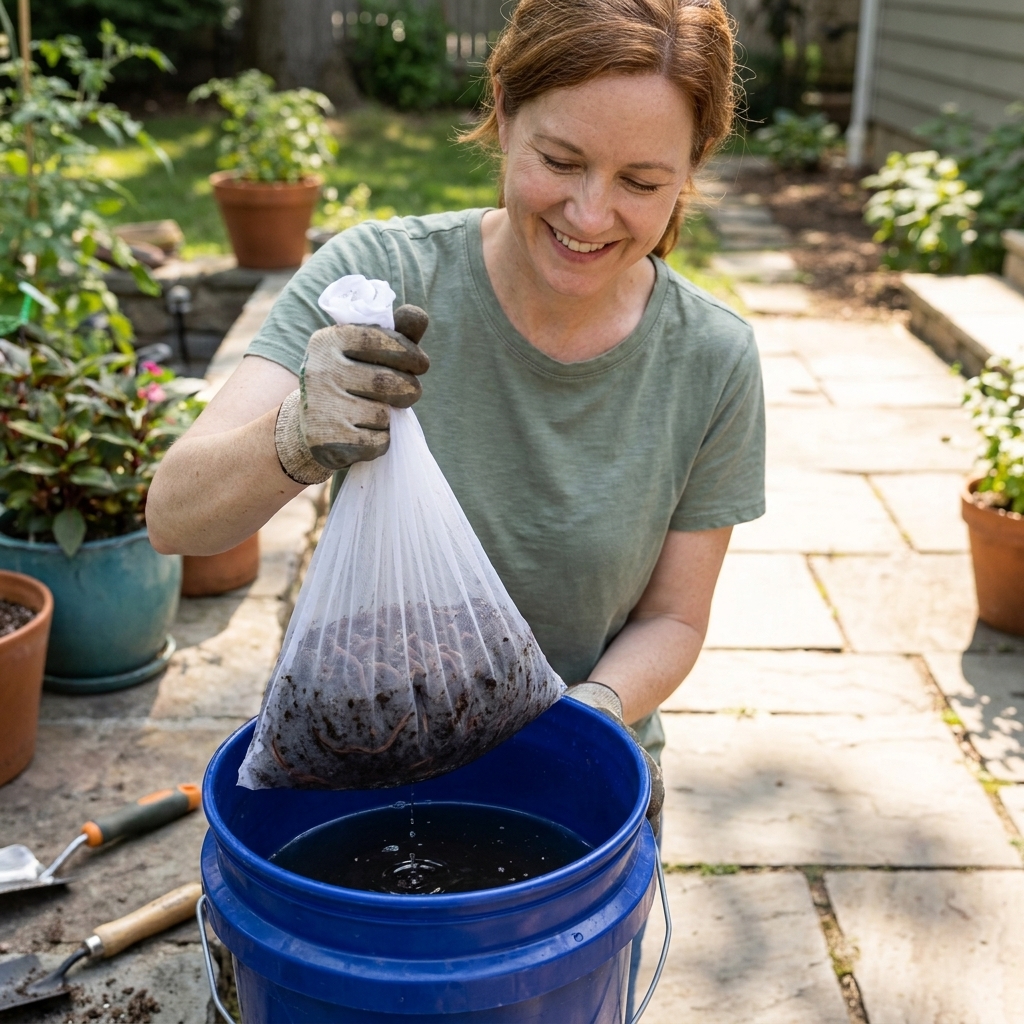
- Mesh bag (optional): for holding compost if you prefer a tea bag style. A paint strainer bag works well.
- Chlorine-free water: see the water notes below.
Helpful extras
- Thermometer: microbial activity is strongly tied to temperature.
- Stir stick: for breaking up clumps and wetting compost evenly.
- Strainer: especially if you will use a sprayer for foliar feeding.
- Clips or ties: to keep the compost bag and tubing from tangling around the diffuser.
Water prep
Microbes do not love disinfectants. If you use city water, you will likely have chlorine or chloramine.
- If your water has chlorine: fill your bucket and let it sit out 12 to 24 hours, or bubble it with the pump for an hour or two to help off-gas.
- If your water has chloramine: letting it sit often does not remove it. The simplest fix is to use rainwater or run water through activated carbon filtration rated for chloramine. Many basic pitcher filters are not consistent here, so check the filter specs and flow rate.
If you are unsure, check your local water report or call the utility. It takes five minutes and saves a lot of guesswork.
Compost vs castings
The best tea starts with the best biology.
Great compost looks like
- Finished, dark, crumbly material that smells like forest soil
- Built from diverse inputs (leaves, plant scraps, aged woodier material)
- No obvious slime, no ammonia smell, no fresh food chunks
Worm castings
High-quality castings make a wonderfully consistent tea. If my compost pile is in a meh phase, I reach for castings because they are reliably microbe-rich and easy to dissolve.
Basic recipe (5 gallons)
This is my go-to when I want a balanced, beginner-friendly brew.
Ingredients
- Water: 5 gallons chlorine-free
- Compost or worm castings: 2 cups (up to 4 cups if your compost is excellent)
- Microbe food: 1 to 2 tablespoons unsulfured blackstrap molasses (optional, but common)
Steps
- Fill the bucket with water and get your air pump running first. You want lively bubble action before adding ingredients.
- Add compost. Either put it in a mesh bag and submerge it, or add it loose and plan to strain later. If you use a bag, clip it so it does not wrap around the air stones.
- Add molasses (if using). Stir well so it dissolves and does not sink in a sticky blob.
- Brew for 18 to 36 hours. Keep aeration running nonstop.
- Watch temperature. Ideal brewing temperature is roughly 60 to 75°F. Colder brews run slower. If your brew area is consistently above 80°F, shorten the brew window and keep it shaded, because warm brews can go anaerobic faster.
- Stop, strain, apply. When you are ready to use it, strain through a fine mesh if it will go into any kind of sprayer.
My timing rule: If it smells clean and earthy, you are in good territory. If it smells sour, putrid, or like a swamp, do not use it on plants. Pour it into a non-sensitive area or onto an active compost pile and troubleshoot your process before the next batch.
Two more recipes
1) Seedling tea
This is what I use when I am babying starts or settling transplants in.
- 5 gallons chlorine-free water
- 1 to 2 cups worm castings or very finished compost
- Skip molasses if you want to keep it extra mild
- Brew 12 to 24 hours with strong aeration
How I apply: soil drench only, right at the root zone. I avoid foliar sprays on delicate seedlings because water sitting on tender leaves can invite trouble.
2) Perennial and mulch bed tea
People love to chase a perfectly fungal-dominant tea. In the real world, home brews are variable. You may nudge the community a bit with ingredients, but the bigger levers for fungi are woody mulch, leaf litter, steady moisture, and less disturbance.
- 5 gallons chlorine-free water
- 3 to 4 cups very mature compost with lots of leaf mold, or high-quality castings plus a handful of leaf mold
- 1 tablespoon unsulfured molasses or a small pinch of oatmeal flour (go easy)
- Brew 18 to 30 hours with vigorous aeration
Where it shines: around perennials, shrubs, and under wood chip mulch, where fungal networks are more likely to establish over time.
How to tell if it is working
Good signs
- Steady bubbling and circulation
- Earthy, composty smell
- Light foam is possible, especially with molasses, but it is not required
Warning signs
- Rotten egg, sewage, sour milk, or swampy odors
- Little to no bubbling
- Brewing too long in warm conditions
If something is off, the fix is usually one of these: more air, cleaner inputs, cooler temps, or shorter brew time.
How to use it
Compost tea is most useful when you apply it intentionally. Here are the three methods I use most.
1) Soil drench
This is the easiest and most reliable way to use AACT because you are aiming at the soil food web where it lives. If compost tea does anything consistently in home gardens, it is usually as a soil application, not a miracle foliar spray.
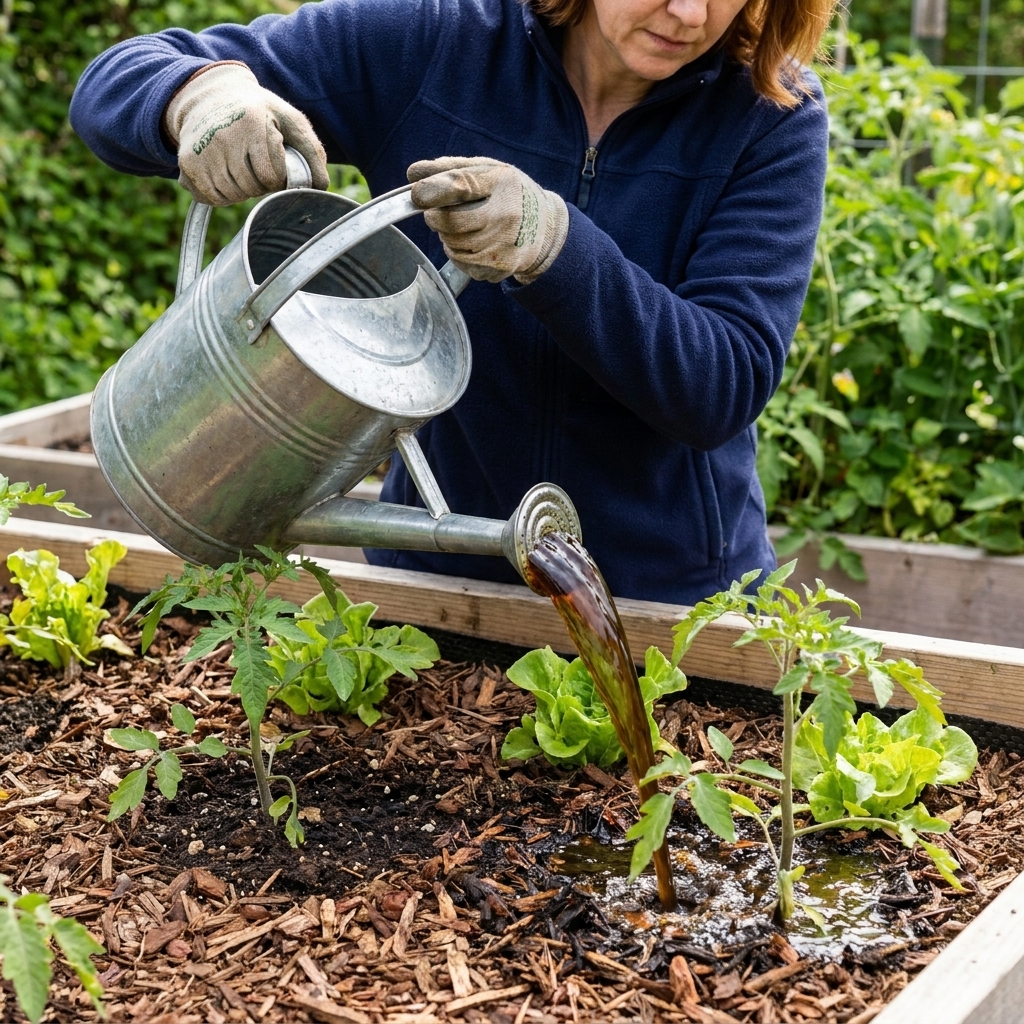
- How: Pour around the root zone, then water lightly to help move microbes into the top few inches.
- When: Early morning or evening is ideal.
- How much: Roughly 1 to 2 cups per small plant, or 1 to 2 gallons per 100 square feet for beds. Do not stress about perfection. Consistency matters more than exact volume.
2) Foliar spray
Foliar spraying can help coat leaf surfaces with beneficial microbes, but it is more finicky than a drench, and outcomes vary a lot by crop and conditions.
- Strain very well to prevent clogging sprayers.
- Spray early so leaves can dry. I prefer early morning after dew starts lifting.
- Avoid spraying right before rain, which can wash it off.
- Skip in high disease pressure if your leaves tend to stay wet for long periods.
- Clean your sprayer after. Flush with clean water right away so nothing grows in the lines or clogs the nozzle later.
Food garden note: Foliar tea on edible leaves is the higher-risk use. If you do it, use excellent compost or castings, clean gear, and avoid spraying close to harvest. When in doubt, keep tea in the soil and wash produce as usual.
3) Compost and mulch support
If you have a compost pile that is dragging, or fresh mulch that feels dead, tea can add moisture and introduce some active biology. Still, turning, moisture, and your carbon-to-nitrogen balance matter more than tea.
- Compost pile: sprinkle tea as you turn layers, then cover to hold moisture.
- Mulch: drench wood chips or leaf mulch after spreading, then water as usual.
Dilution
With actively aerated tea, I usually apply it undiluted as a soil drench. If I need to stretch a batch, a simple 1:1 dilution with chlorine-free water is reasonable.
For foliar spraying, some gardeners dilute (often 1:1 or 1:2) to reduce stickiness and make coverage easier. The bigger priority is straining well and spraying at a time when leaves will dry.
How often
This depends on your starting soil and your goals, but here are practical rhythms that work for many home gardens. Think of these as starting points, not laws of nature.
- New beds or tired soil: every 2 to 3 weeks for a couple months, paired with compost and mulch
- Established beds: monthly during active growth, or a few times per season
- Container gardens: every 2 to 4 weeks, lightly, since pots can swing wet and dry fast
If you already top-dress with compost and keep soil covered, you might find you only want tea as an occasional boost, not a weekly chore.
What tea cannot do
I love compost tea, but I try to keep it in its lane.
- It will not fix compaction by itself. Clay and hardpan improve with organic matter, roots, worms, and time.
- It will not replace compost. Tea is not bulk organic matter, and it does not build long-term soil structure the way compost does.
- It will not instantly change soil texture. If your soil is tight and crusty, focus on mulch, top-dressing, and minimizing disturbance.
Additives to avoid
If you are brewing at home, simple is safer and usually works better.
- Avoid big doses of sugar. More is not better, and it can push a brew anaerobic if aeration cannot keep up.
- Skip raw animal inputs (manure, raw fish, etc.) in home brews, especially if you will spray anything on leaves.
- Be cautious with concentrated bottled fertilizers. They can make tea saltier than you think and raise the risk of leaf burn if sprayed.
Troubleshooting
“My tea smells bad.”
- Likely causes: not enough aeration, poor compost quality, brewing too long, warm temperatures
- Fix: upgrade your pump, shorten brew time, brew in shade, start with better compost
“There is no foam. Did I fail?”
Nope. Foam can happen, especially with molasses and active brewing, but it is not a reliable success indicator. Smell and aeration matter more.
“My sprayer keeps clogging.”
- Use a mesh bag during brewing
- Strain through finer material (paint strainer, then a fine kitchen strainer)
- Reserve foliar sprays for castings-based tea, which tends to be smoother
“My plants look burned after application.”
Compost tea is generally mild, but burning can happen if you added strong soluble fertilizers, used salty inputs, or sprayed in hot sun. Stick to simple ingredients, avoid midday foliar sprays, and test on one plant if you are experimenting.
FAQ
Can I brew compost tea without molasses?
Yes. Molasses is a common microbial food, but it is optional. With great compost or castings and strong aeration, you can brew a helpful tea without it.
Can I use compost tea on houseplants?
You can, but go light. I dilute 1:1 and apply as an occasional soil drench, not a weekly watering replacement. Make sure your potting mix drains well and does not stay soggy.
Can I store aerated compost tea?
I do not recommend it. Once you stop aeration, biology changes quickly. Brew what you can use that day.
Is aerated compost tea better than compost?
They do different jobs. Compost builds long-term structure, slow nutrients, and habitat. Tea is a short-term inoculation and soluble boost that may help, depending on your inputs and conditions. If I had to pick only one, I would pick compost every time. Tea is the sidekick, not the hero.
My best dirt-nerd advice
If you want compost tea to have the best shot at being useful, focus on the big three:
- Quality inputs: finished compost or good castings
- Real aeration: vigorous bubbling for the whole brew
- Immediate use: apply the same day, then get back to mulching and feeding your soil regularly
And if you try your first batch and it feels a little messy or confusing, welcome to the club. Soil building is not about perfection. It is about repeating the good habits until your garden starts doing more of the heavy lifting for you.