If you are composting in a small space, your two biggest goals are simple: no smells and no mess. When I started gardening in heavy clay, compost felt like some mysterious farm skill. Twelve years later, I can tell you the truth: apartment composting is not only possible, it can be delightfully easy if you pick the right system for your lifestyle.
This guide compares five apartment- and balcony-friendly composting setups I have used myself or helped friends set up. I will be honest about what each one does well, what it struggles with, and which one I would choose depending on your space, schedule, and squeamish level.
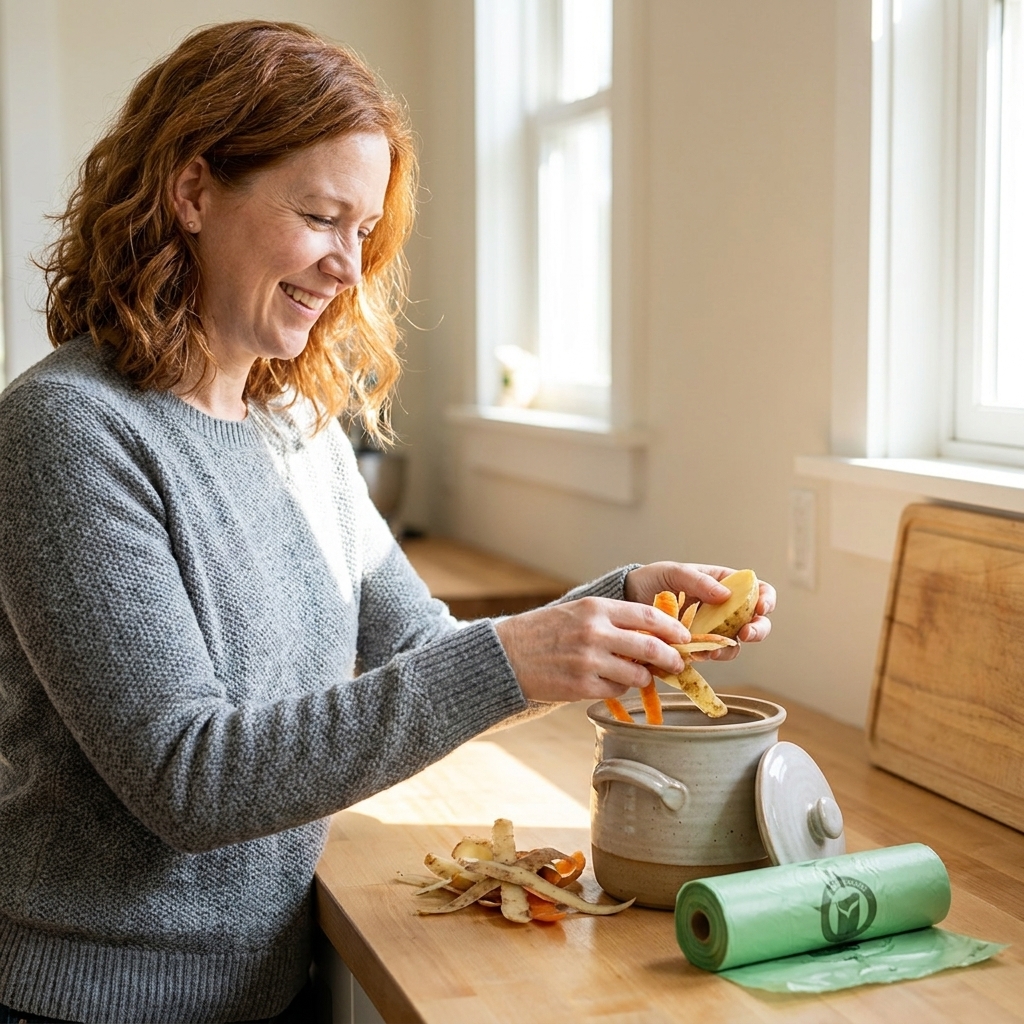
Before you pick a system: 4 small-space rules
Every odor-free compost setup, from worms to electric units, follows the same basic rules.
- Keep scraps contained. A tight lid, a carbon cover layer, or both.
- Balance wet and dry. Food scraps are wet. You need a dry “brown” like shredded cardboard, paper, or coco coir to prevent stink.
- Size matters. Too big gets ignored. Too small gets overwhelmed. Match your bin to how much you cook.
- Have an exit plan. Finished compost or castings need somewhere to go: a houseplant, balcony containers, a community garden, or a friend with a yard.
Quick comparison: which system fits you?
| System | Best for | What it handles well | Biggest drawback |
|---|---|---|---|
| Worm bin (vermicompost) | Apartment kitchens, year-round | Most fruit and veg scraps, coffee grounds | Needs basic care and the right moisture |
| Bokashi bucket (fermentation) | People who cook a lot, including meat and dairy | Nearly all food scraps (with a finishing step) | You still must finish it (bury or soil bin) |
| Sealed countertop indoor composter (electric) | Maximum convenience, minimal “icky” factor | Daily scraps, fast volume reduction | Cost, noise, and it makes dried material, not true compost |
| Balcony mini hot pile (vented bin) | Balcony gardeners with a bit of space | Plant trimmings, leaves, veggie scraps | Can smell if too wet or ignored |
| Trench composting in containers | Balcony planters, lazy composters | Small amounts of scraps directly in soil | Slow, and you must bury well to avoid pests |
What not to compost (no matter what)
This is where a lot of beginner composting heartbreak comes from. Even in a great setup, these are the usual troublemakers.
- Plastic of any kind, including “compostable” plastic unless your city specifically accepts it.
- Produce stickers (they do not break down in home systems).
- Pet waste and litter (pathogen risk).
- Diapers (even “compostable” ones), wipes, and hygiene products.
- Glossy paper and heavily coated packaging.
- Chemical-treated sawdust or wood scraps from pressure-treated lumber.
1) Worm bin (vermicomposting)
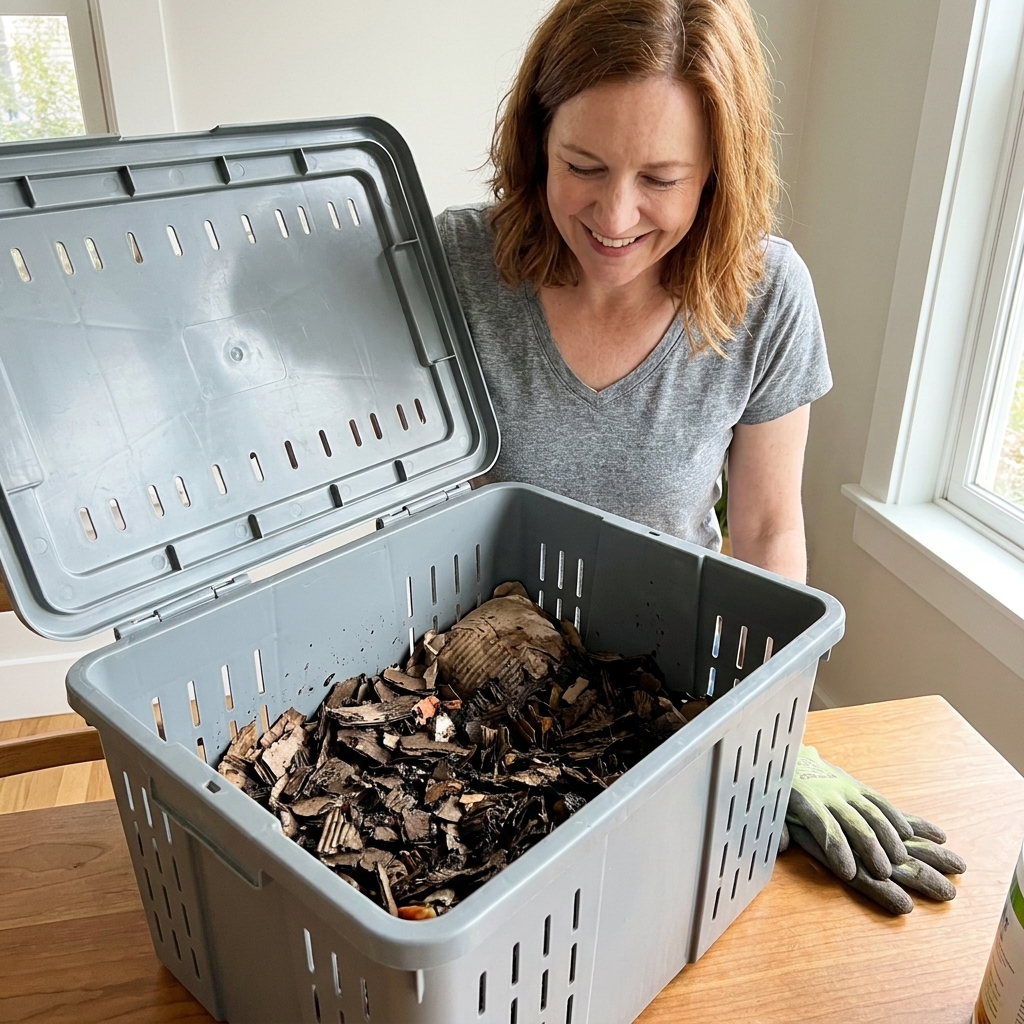
If I could only recommend one small-space system to most apartment gardeners, it would be worms. A worm bin is compact, quiet, and when it is balanced, it smells like damp soil. Not garbage. Not rot. Soil.
Why it works in apartments
- Odor control is built in when you cover food with bedding and avoid overfeeding.
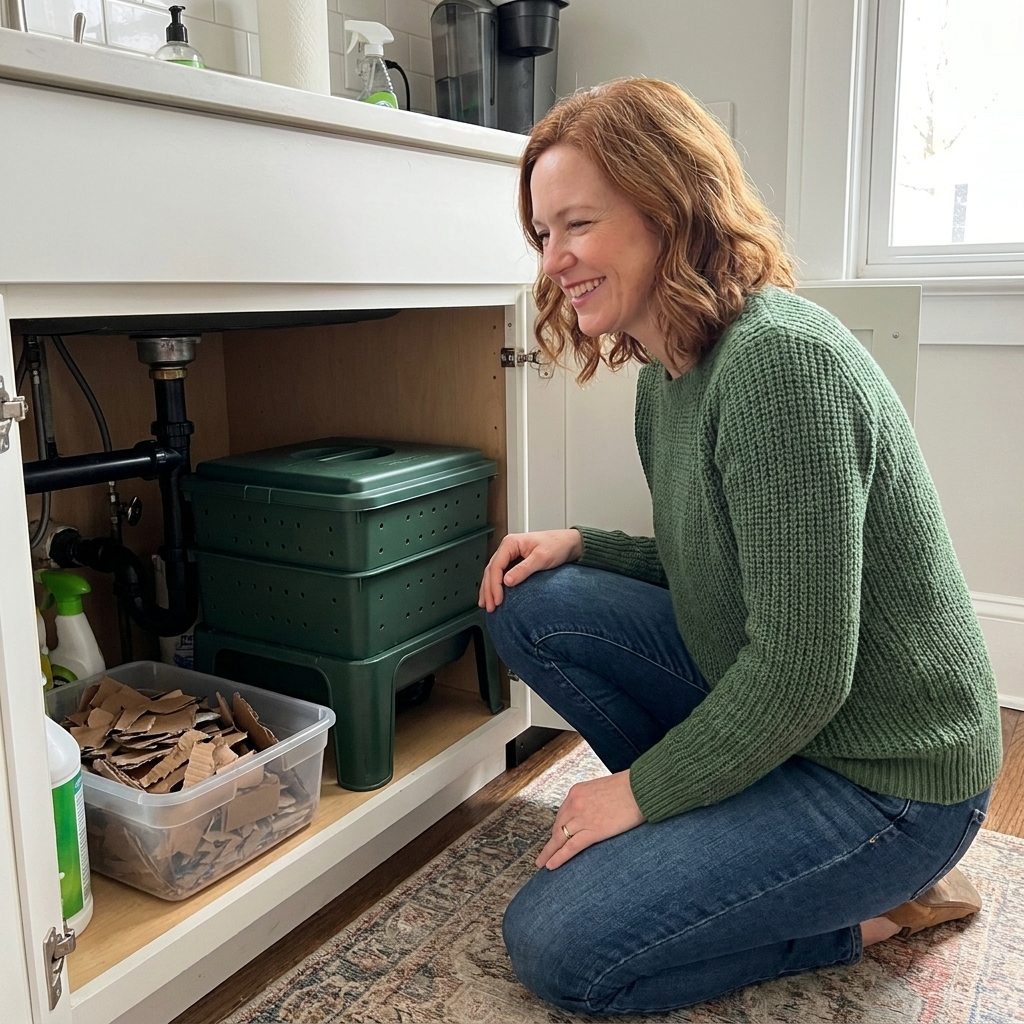
- No outdoor space required. A worm bin can live under a sink, in a closet, or on a protected balcony.
- The output is gold. Worm castings are one of the gentlest, most plant-friendly soil builders.
The worms to use (and a quick temp note)
Use red wigglers (often sold as Eisenia fetida or Eisenia andrei), not earthworms dug from outside. They thrive in shallow bins and eat kitchen scraps like it is their job. For comfort, aim for typical indoor room temperatures. Extended heat waves or cold snaps can stress them, so keep the bin out of direct sun and away from heaters.
What you can compost
Yes: fruit and veggie scraps, coffee grounds and filters, tea (no plastic mesh), crushed eggshells, small amounts of bread or grains, shredded paper and cardboard.
Limit (rather than avoid): citrus and onions. Small amounts are usually fine, especially in a larger bin with a healthy worm population.
Avoid: meat, fish, dairy, oily foods, salty leftovers.
Setup and maintenance (the no-stink version)
- Start with bedding first. Shredded cardboard, torn paper, and a handful of damp coco coir make a cozy home.
- Add food slowly. For the first couple weeks, feed lightly so the population can adjust.
- Always cover scraps. A simple layer of bedding on top is your smell shield.
- Keep it as damp as a wrung-out sponge. Too wet smells sour. Too dry slows everything down.
My real-life tip: Freeze scraps in a container, then thaw and add. Freezing breaks cell walls, so worms process food faster, and you avoid a fruit fly parade on your counter.
Signs something is off
- Worms trying to escape often means the bin is too wet, too acidic, or you added too much food at once. Add dry bedding, stop feeding for a few days, and fluff gently.
- Strong sour smell usually means overfeeding or soggy bedding. Pull out any obvious clumps of unprocessed food and add more dry shredded cardboard.
2) Bokashi bucket (fermentation composting)
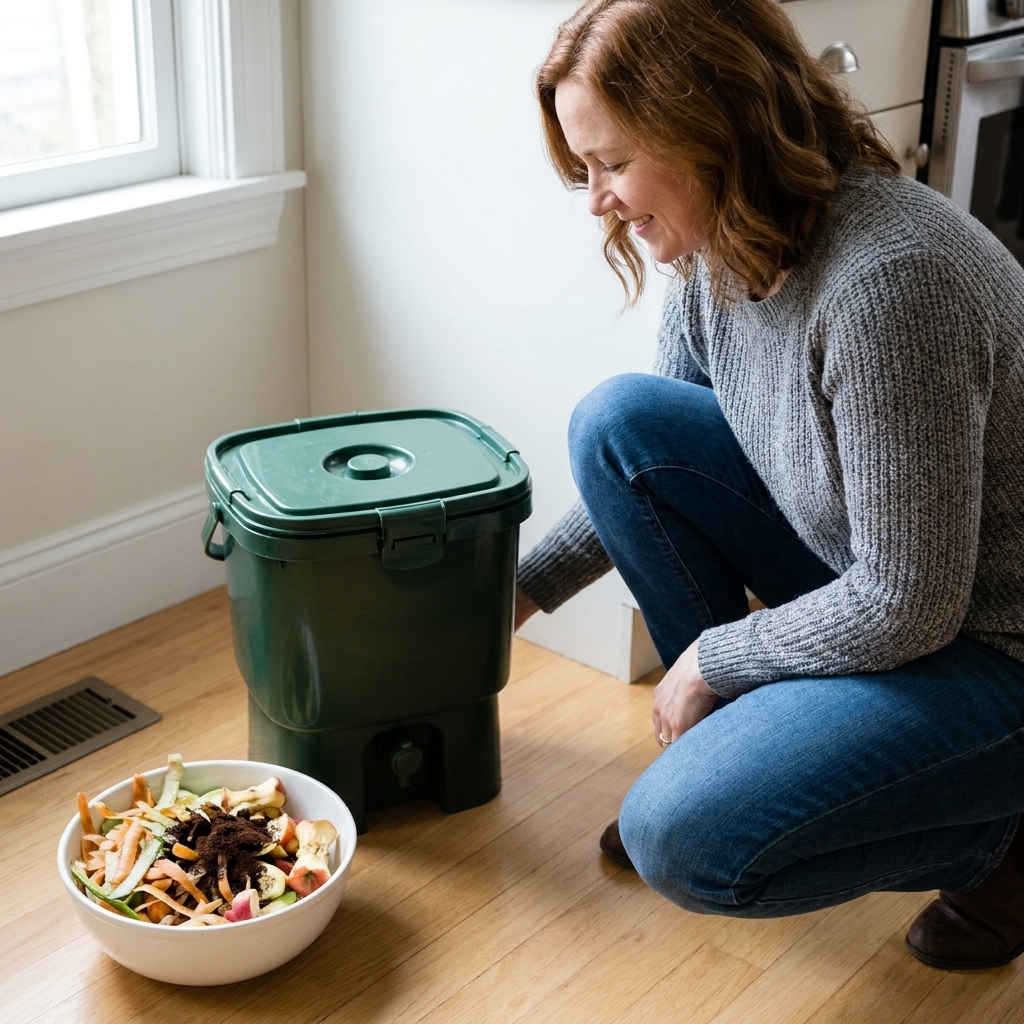
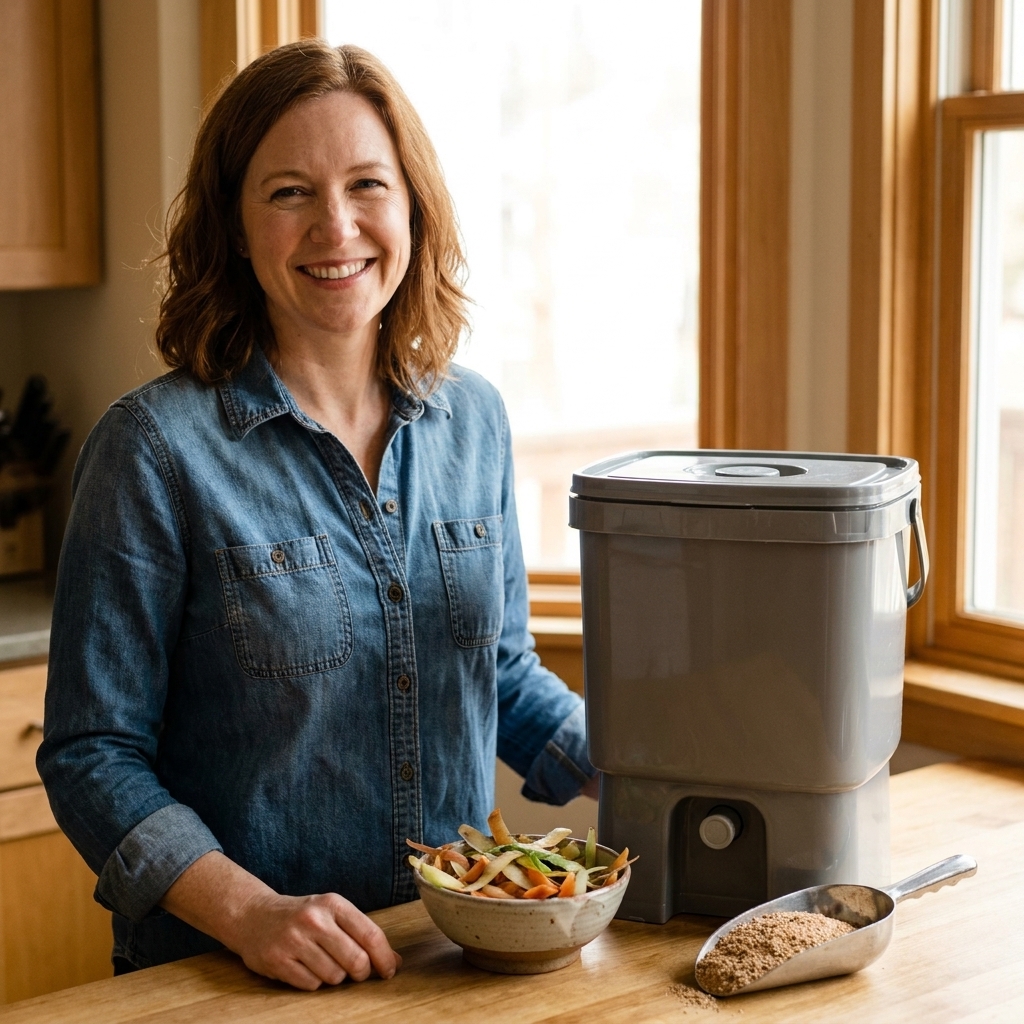
Bokashi is my favorite answer for people who say, “I want to compost, but I cook real meals.” It is a sealed bucket system that ferments food scraps with inoculated bran. Because it is anaerobic and sealed, it is surprisingly apartment-friendly.
Why it works in small spaces
- Handles meat and dairy that you should not put in a worm bin.
- Sealed lid helps with odor. A sharp fermented smell is normal. A rotten, putrid smell is not.
- Fast and tidy. You can fill a bucket in a couple of weeks and let it finish fermenting.
What you can compost
Yes: almost all food scraps including meat, fish, cheese, leftovers, bread, and cooked foods.
Bones: small fish or chicken bones can go in, but expect slow breakdown during the finishing phase. Skip large or very hard bones in a small-space setup.
Go easy on: very liquidy soups and sauces unless you can drain well.
The catch: you still need a finishing step
Bokashi does not give you finished compost by itself. It creates pickled pre-compost that must be finished in contact with soil and microbes. Your options:
- Bury it in soil (a deep planter works beautifully on a balcony), or
- Use a soil bin, meaning a small tote of potting soil where the bokashi breaks down over a few weeks, or
- Drop it at a community garden that accepts it.
A quick note on bokashi liquid
Many bokashi buckets produce a small amount of liquid as scraps compact. Drain it as your system recommends. Some people dilute it heavily and use it on outdoor plants, but it is potent and not universally “safe fertilizer.” If you are not sure, it is fine to dispose of it down the toilet or a drain with plenty of water.
Signs it is working (and when to worry)
- Normal: tangy smell (pickles or sourdough) and white mold or yeast.
- Not normal: rotten smell, lots of blue, green, or black mold, or visible maggots. Those usually point to air intrusion, excess liquid, or not enough bran.
3) Sealed countertop indoor composter (electric)
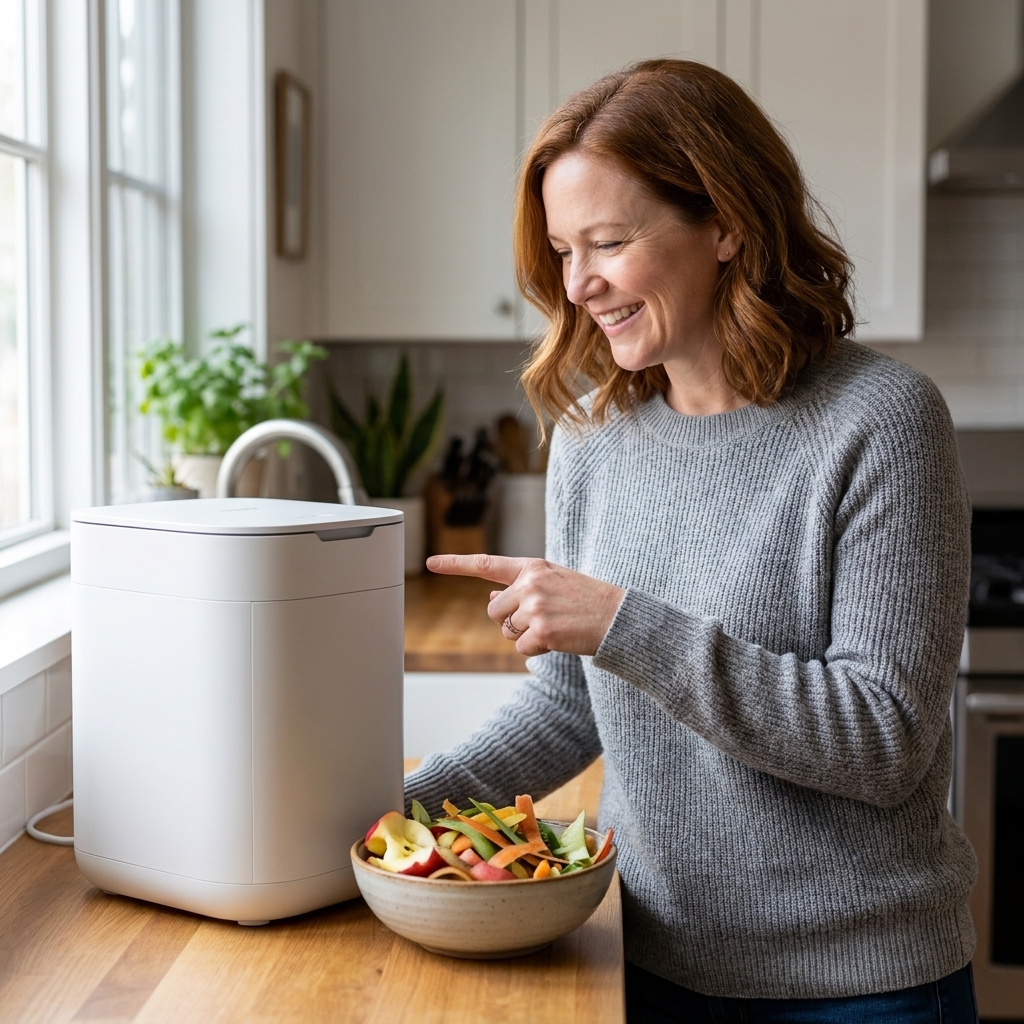
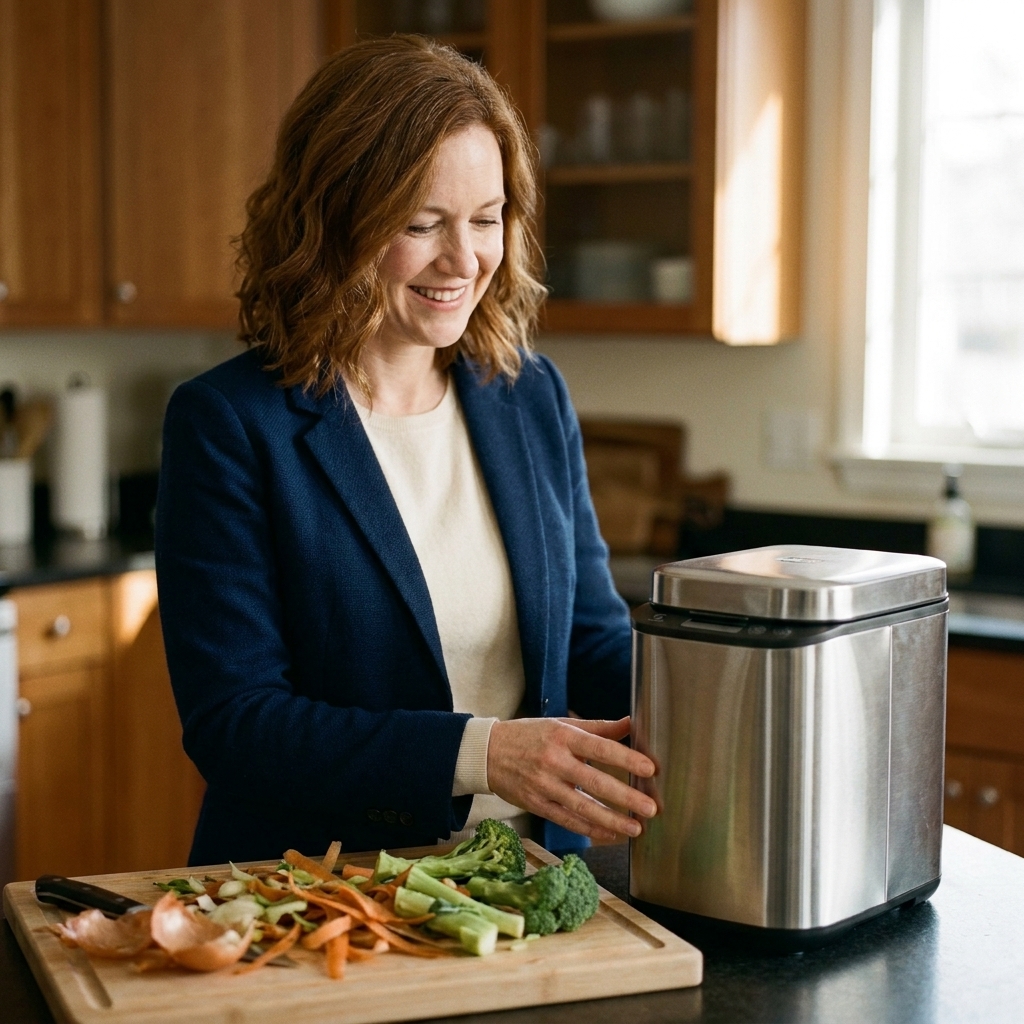
If your priority is convenience and you do not want to think about balancing browns and greens, an electric countertop unit can be a solid choice. These machines heat and dry scraps and usually grind them down, turning a day’s worth of peels into a small amount of dry material.
What it is best at
- Reducing volume fast. Great when trash odors are the bigger issue.
- Containing smells. Many units use carbon filters, and the lid stays closed during processing.
- Helping you compost even if you travel. No living system to keep alive.
Important reality check
The output is usually best thought of as dehydrated, ground food waste, not finished compost. It still needs time in soil for microbial decomposition. You will get the best results if you:
- Mix it into potting soil and let it mellow for a few weeks, or
- Add it in small amounts to outdoor soil or planters, or
- Blend it into a worm bin or balcony compost bin in moderation as a dry-ish ingredient.
Potential downsides
- Cost and electricity use.
- Noise and heat. Fine for many kitchens, annoying for some.
- Capacity limits. You may still need a freezer container for overflow during busy cooking weeks.
Signs it needs adjusting
- Persistent smell while running can mean the filter is saturated or the unit needs cleaning.
- Output that looks greasy or clumpy usually means too much oily food went in. Run smaller batches and follow the manufacturer’s guidance.
4) Balcony mini compost bin (aerobic, contained)
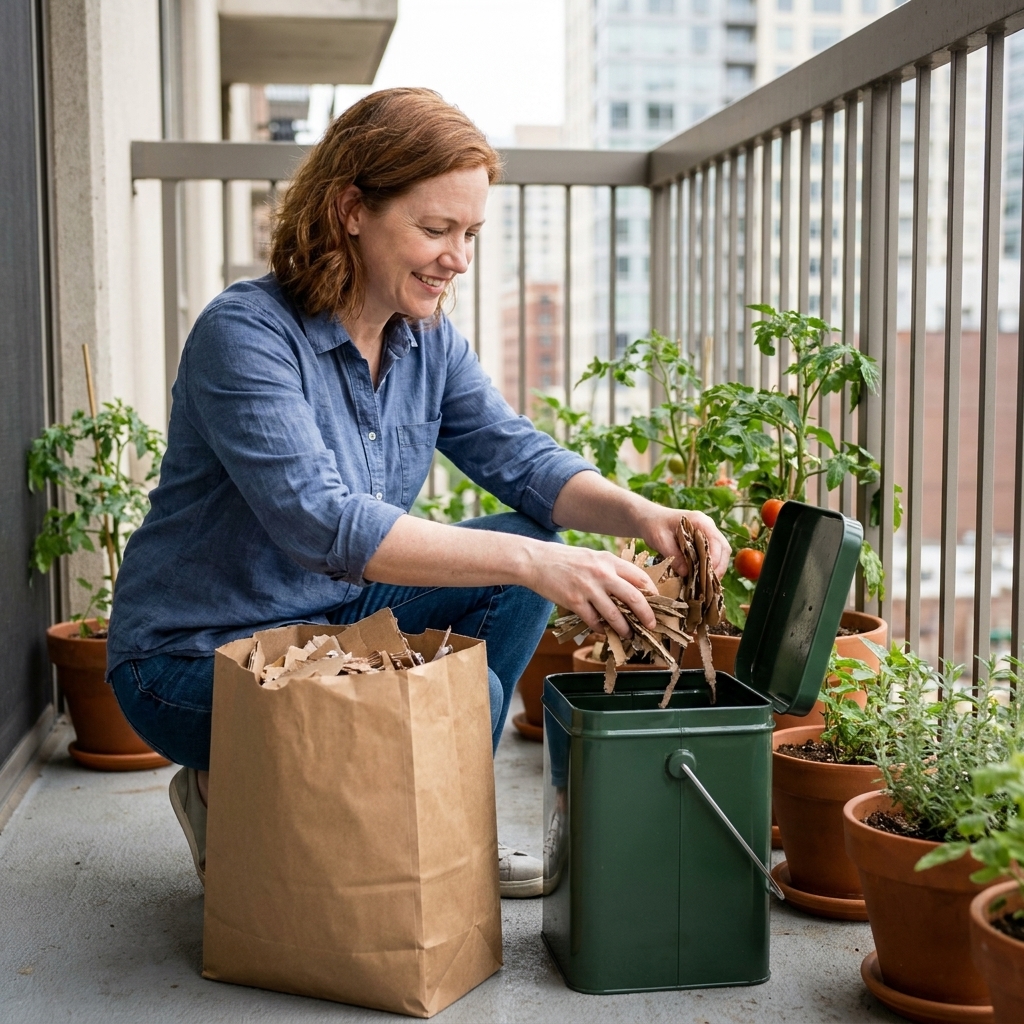
If you have even a small balcony, you can compost outdoors with a compact, vented bin or lidded bucket designed for aerobic composting. This option feels the most like “classic compost,” just scaled down.
Who this is for
- Balcony gardeners with a little floor space
- People who have access to browns like dry leaves, shredded cardboard, or wood shavings
- Anyone who wants a more traditional compost texture for planters
How to keep it odor-free
- Start with a brown base. A thick layer of dry shredded cardboard or dry leaves.
- Add scraps, then cover. Always bury fresh scraps under browns.
- Keep it slightly damp, not wet. If it looks shiny or soupy, add more browns immediately.
- Stir or tumble regularly. Even a quick mix once a week helps prevent anaerobic pockets.
Pest prevention on balconies
- Skip meat, dairy, greasy food.
- Chop scraps smaller so they break down faster.
- Use a bin with a tight lid and small vents.
- If rodents are a concern in your building, consider bokashi or an indoor worm bin instead.
Signs you need more browns
- Leachate (dark liquid pooling at the bottom) usually means the mix is too wet. Add dry cardboard and mix.
- Sour or rotten odor is almost always a wet, airless pocket. Fluff the bin and pause feeding briefly.
5) Trench composting in pots and planters
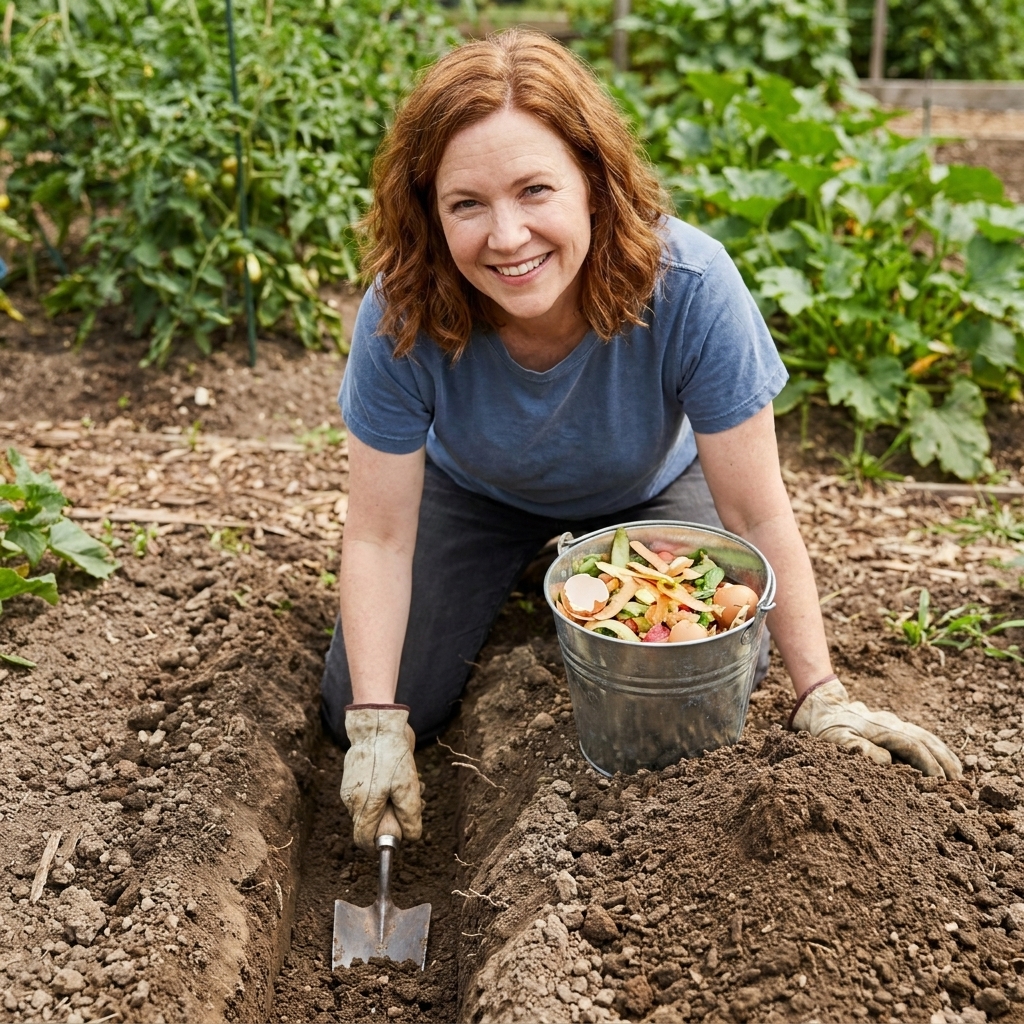
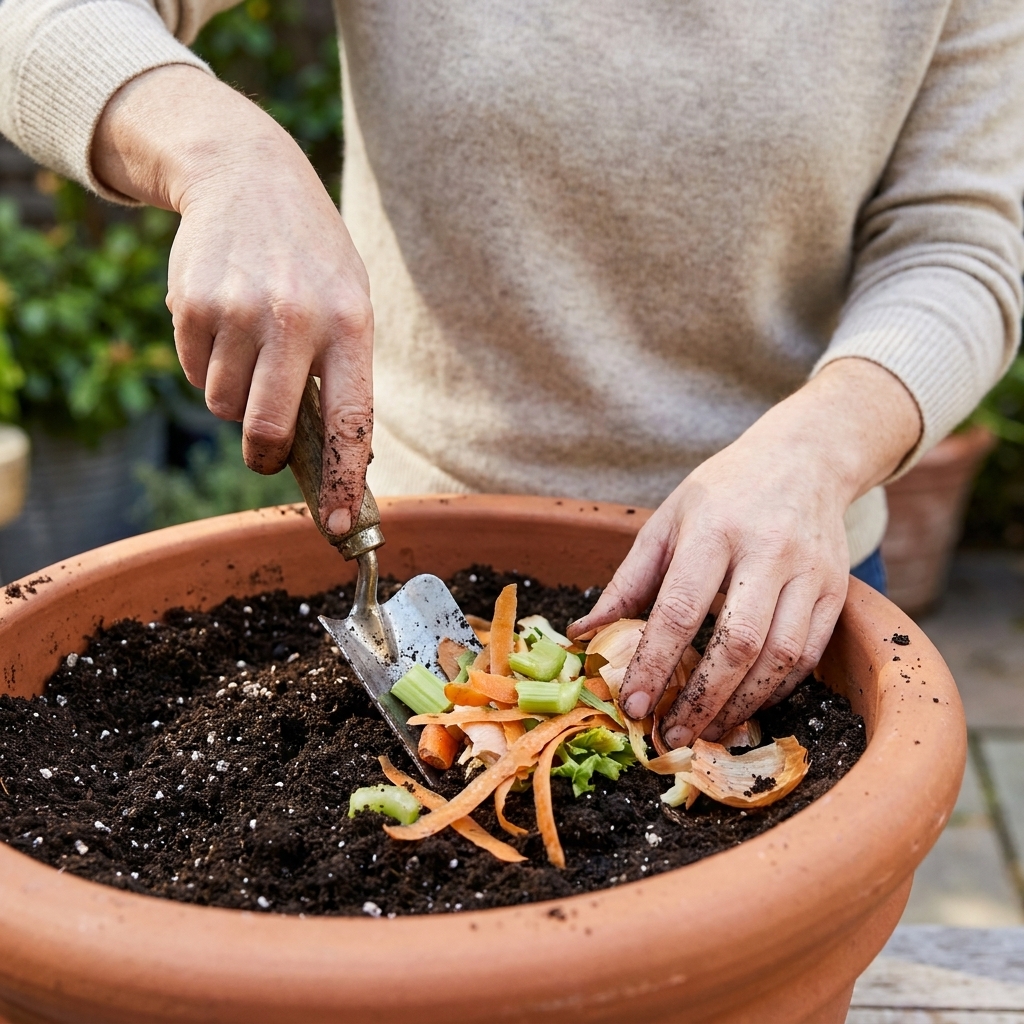
This is the quiet workhorse method that does not get enough love. If you grow in containers, you can compost right in the pot by burying small amounts of scraps under the soil. It is not fast, and it is not fancy, but it is wonderfully low-effort.
How it works
Dig a hole in a large container, add a small handful of scraps, cover completely with soil, then water. Soil microbes do the rest.
Best scraps for container trench composting
- Chopped veggie scraps
- Fruit scraps in small amounts
- Coffee grounds (thin layers)
- Crushed eggshells
Avoid: meat, dairy, oily food, large amounts of citrus, and anything that will smell if it sits too close to the surface.
Keys to keeping it pest-free
- Bury as deep as your container allows. Ideally 4 to 6 inches, and fully covered with soil.
- Go small and rotate spots. Think “little and often,” not “dump a week’s scraps.”
- Top with mulch. A layer of straw or shredded leaves helps disguise scents and stabilizes moisture.
My pick: which one should you start with?
If you are stuck choosing, here is the simple decision path I use with friends:
- You want the best compost for plants and do not mind a living system: start with a worm bin.
- You cook meat and dairy and want zero fruit flies: choose bokashi plus a finishing plan.
- You want the easiest, most hands-off option: an electric countertop unit is the least “composty” feeling (and still needs soil time to become real compost).
- You have balcony space and access to browns: a mini outdoor bin is satisfying and classic.
- You already grow in big containers: do trench composting as a starter method.
Odor troubleshooting (because that is the deal-breaker)
If it smells rotten
- Cause: too wet, not enough air, or too much food at once.
- Fix: add dry browns, mix, and pause feeding for a few days.
If it smells like ammonia
- Cause: too many “greens” (food scraps, coffee) and not enough browns.
- Fix: add shredded cardboard or paper and fluff the bin.
If you have fruit flies
- Cause: exposed scraps or a too-warm counter container.
- Fix: freeze scraps, keep a tight lid, and always cover with bedding or browns.
If your worm bin smells sour
- Cause: overfeeding or overly wet bedding.
- Fix: remove any unprocessed food, add dry bedding, and let it stabilize.
What to do with finished compost in an apartment
This is the part people forget to plan for, and it is the part that makes the whole habit stick.
- Houseplants: mix compost or worm castings into potting mix, usually 5 to 20 percent by volume depending on the plant and how airy your mix already is.
- Balcony containers: top-dress a thin layer, then water it in.
- Seed starting: use sparingly and sifted, especially castings, so mixes stay light.
- Community gardens: many accept compost donations or have shared piles.
- Give it away: gardeners will happily take a bucket of finished compost off your hands.
When you have too many scraps
Some weeks you meal-prep like a champion and your bin is not ready for the flood. You still have options.
- Freeze scraps. This is the easiest overflow plan and it cuts down on smells and flies.
- Municipal organics drop-off. Many cities have food-scrap drop sites, even if your building does not offer a green bin.
- Compost pickup services. In some areas you can subscribe to a bucket swap service that takes your scraps weekly.
- Store browns like a pantry staple. Keep a bag of shredded cardboard or paper so you can “dry out” a bin quickly when life gets busy.
Small-space composting FAQ
Can I compost in an apartment without attracting bugs?
Yes. The biggest bug triggers are exposed scraps and wet, uncovered food. Use a lidded container, freeze scraps if needed, and always cover food in worm bins or balcony bins with a dry brown layer.
Do compostable bags help with odors?
They can help keep your kitchen caddy tidy, but odor control still comes from balance and containment. If a bag gets slimy and sits too long, it will smell. Empty your caddy often and rinse it.
Is bokashi safe to keep indoors?
Yes, as long as the lid stays sealed and you manage liquids as your bucket directs. A properly run bokashi bucket should smell fermented, not rotten.
Do I need a balcony to compost?
No. Worm bins, bokashi buckets, and electric countertop units all work indoors. A balcony just adds more options for finishing and curing.
A final neighbor-to-neighbor nudge
If you are nervous, start smaller than you think you need. Composting success in apartments is less about processing everything perfectly and more about building a habit you can maintain. Pick one system, run it for a month, and adjust. Living soil is patient, and it rewards consistency more than perfection.