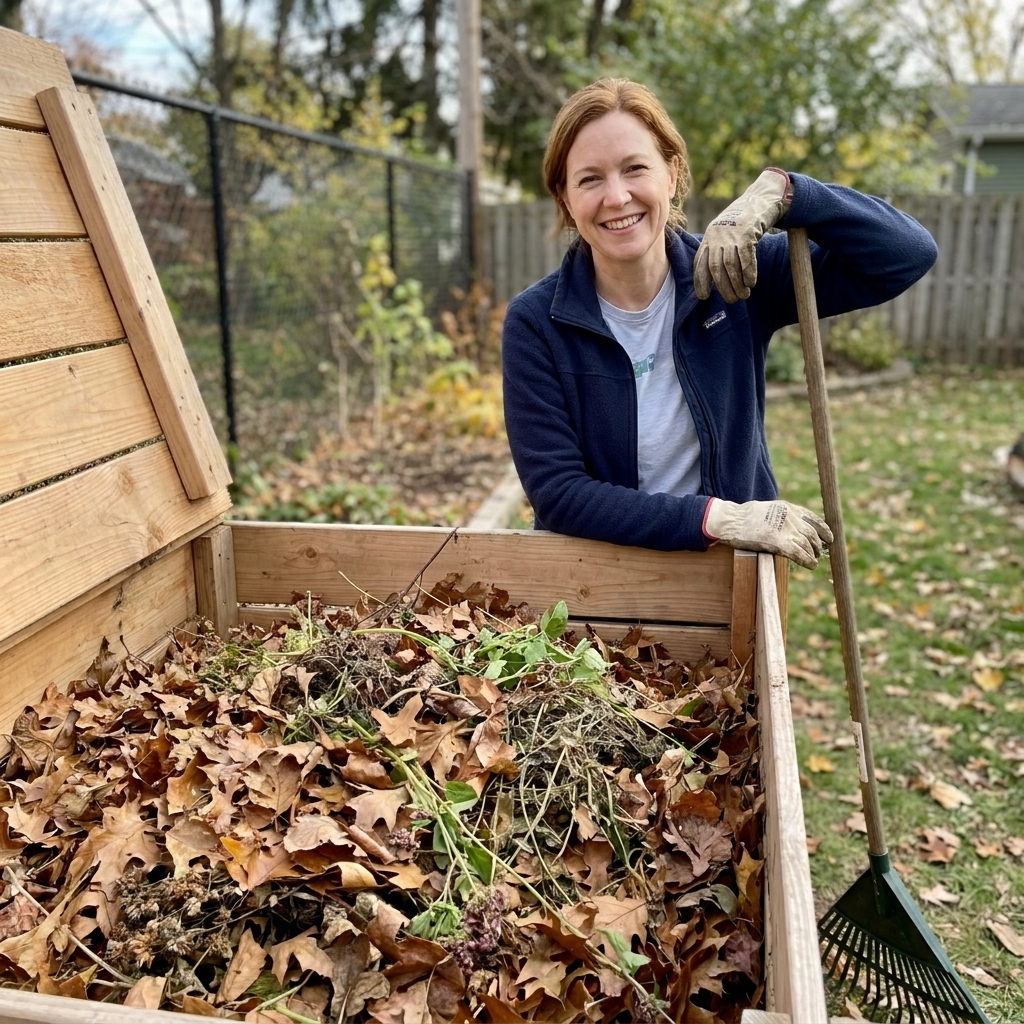
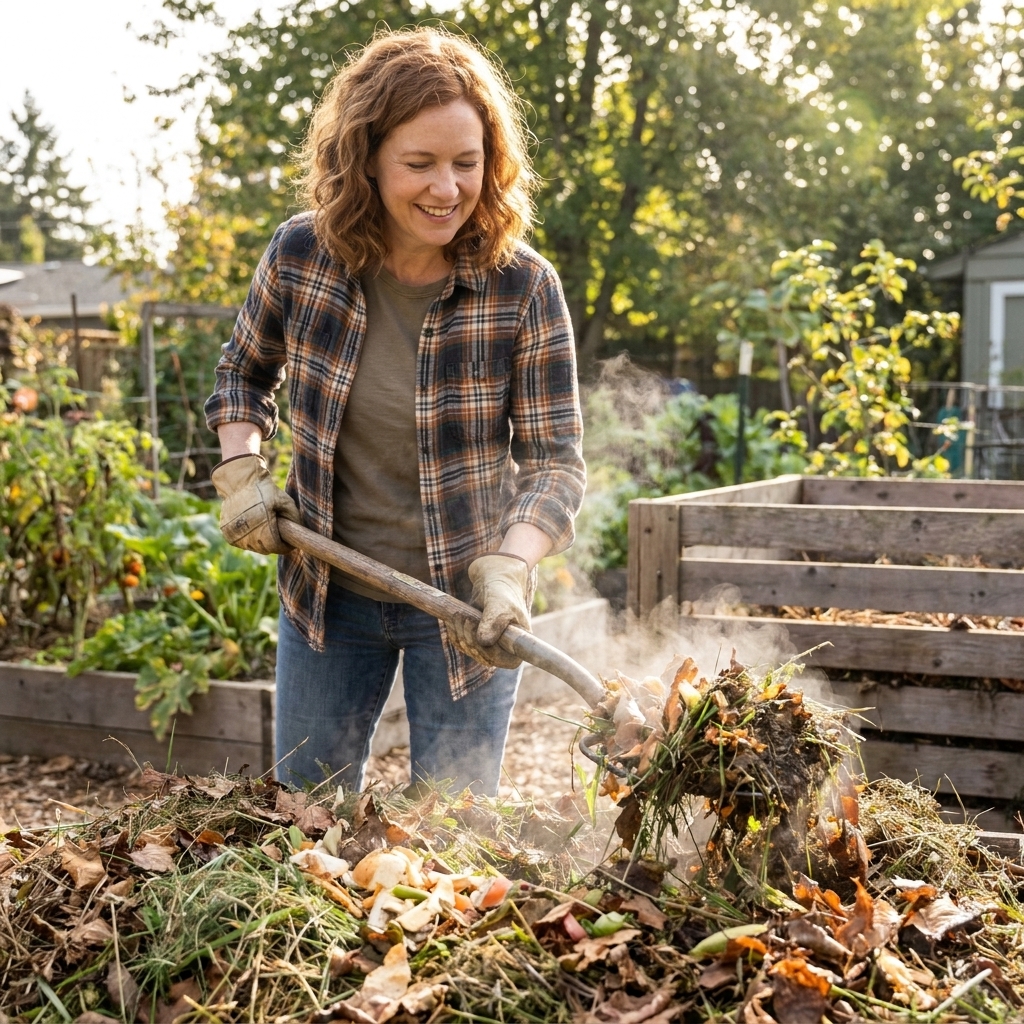
Twelve years ago, I tried to grow vegetables in a yard that was basically a brick of clay. The plants struggled, I sulked, and then I fell headfirst into soil building. Bokashi was one of those “where have you been all my life?” discoveries, especially when I wanted to keep composting through winter and when my kitchen scraps included things my outdoor pile hated.
Bokashi is an indoor, low-odor way to ferment food scraps in an airtight bucket. It is not traditional composting at first. It is more like pickling your leftovers so they break down safely and quickly later. The best part is that bokashi can handle meat, dairy, cooked food, and oily bits that most backyard composters avoid.
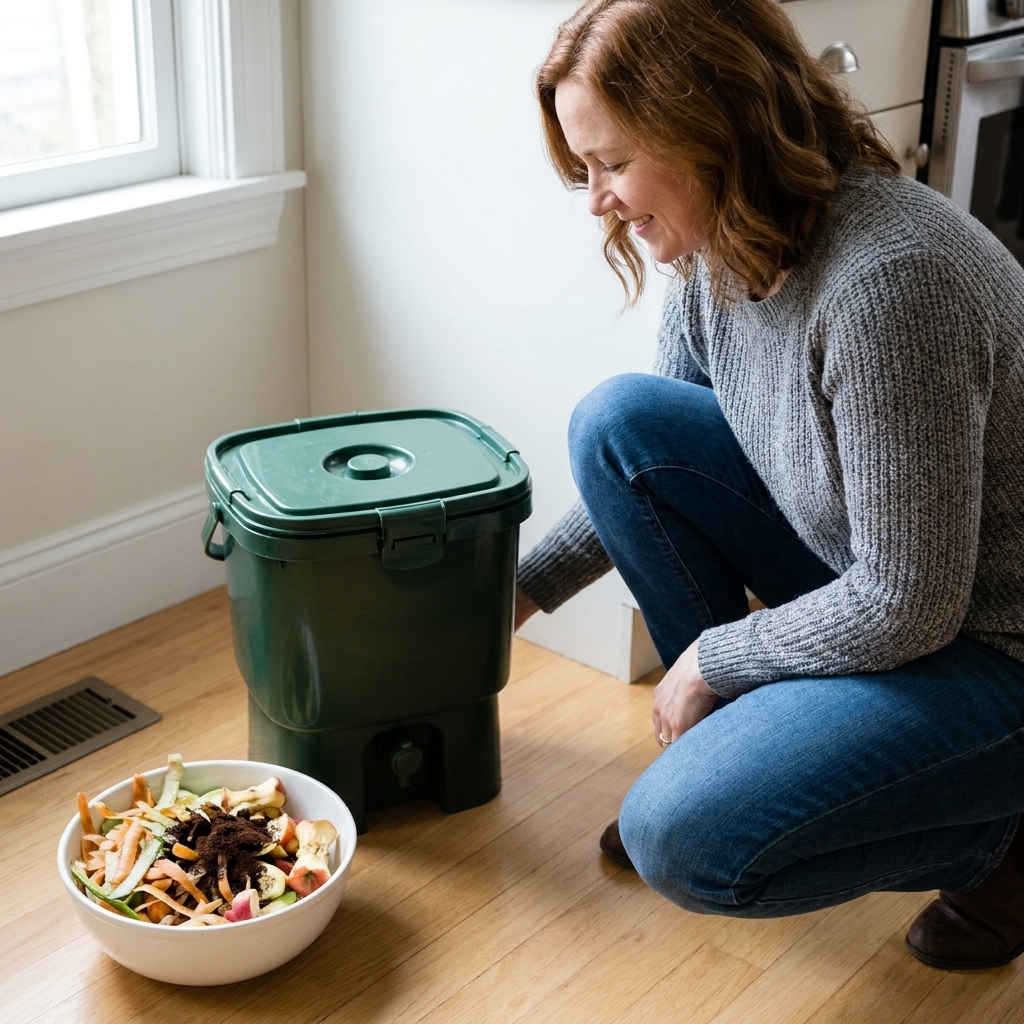
In this guide, I will walk you through what bokashi is, what you need, exactly how to run a bucket, how to avoid the common stink and slime problems, and how to turn that fermented bucket into something your garden will love.
What bokashi is (and is not)
Bokashi is an anaerobic fermentation method. You layer food scraps with a starter (usually called bokashi bran) that’s been inoculated with beneficial microbes. In an airtight container, those microbes ferment the scraps instead of letting them decompose in open air.
Two quick clarifications that make the whole system easier to understand:
- It is anaerobic. You want as little air as possible inside the bucket. Oxygen pushes the system toward aerobic breakdown, which is where the nasty “garbage” smells start.
- The bucket contents are “pre-compost.” When a bucket is finished, the food will look mostly intact. It is fermented, not fully decomposed. The finishing step happens later in soil or a compost pile.
Why bokashi works indoors
- Handles almost all food scraps: meat, fish, dairy, bread, leftovers, citrus, onions, and cooked foods.
- Small footprint: a bucket fits under a sink or in a pantry.
- Quick to finish later: once buried or added to an active pile, it typically breaks down faster than raw scraps (timing depends on temperature, moisture, particle size, and volume).
- Low pest risk: the bucket is sealed, so no fruit flies or raccoons.
What bokashi will not do
- It will not make fluffy compost in the bucket.
- It will not work well if the lid is constantly off or the bucket is loose and leaky.
- It will not magically erase bad smells if the process is off. The goal smell is sweet-sour, like pickles or vinegar, not garbage.
How bokashi works
Think of bokashi like this:
- Ferment: You pack food scraps into an airtight bucket and add bokashi bran. The microbes lower the pH and preserve the scraps.
- Drain: As the scraps ferment, liquid collects at the bottom. You drain it periodically.
- Finish: After a sealed fermentation period, you bury the fermented material in soil or add it to an active compost pile to fully decompose.
The “magic” is the microbe blend in the bran. Most products are based around lactic acid bacteria and yeast cultures. The specific mix varies by brand and recipe, but the outcome is similar: an acidic environment where the scraps are stabilized instead of rotting.
Temperature note: Fermentation is slower in cool spaces. If your bucket lives in a chilly mudroom or garage, plan on the longer end of the timeline, and do not be surprised if it needs extra days to smell properly tangy.
What you need
Essentials
- Bokashi bucket with a tight lid (ideally with a spigot for draining liquid and an inner plate to compress scraps).
- Bokashi bran or another approved inoculant.
- A small kitchen container to collect daily scraps (a bowl or countertop pail).
- A potato masher or gloved hand for pressing scraps down to remove air pockets.
Helpful extras
- Second bokashi bucket so you can fill one while the other ferments.
- Uncoated paper to blot extra-wet scraps.
- Freezer space if you want to store scraps until you have time to run them to the bucket.

What goes in (and what does not)
Great inputs
- Fruit and vegetable scraps
- Cooked food and leftovers
- Meat and fish scraps
- Dairy including cheese and yogurt
- Bread, rice, pasta, cereal
- Egg shells (crushed is best)
- Coffee grounds and tea leaves
Use caution with these
- Bones: you can include small bones, but expect very slow breakdown during the soil or compost finishing stage. If you do bones, bury the finished bokashi deeply and give it time.
- Very wet foods (soups, watermelon, lots of pickle brine): bokashi can handle moisture, but excess liquid can invite off smells. Drain well and add a little extra bran.
- Salt or vinegar heavy foods: small amounts are fine, but big quantities can slow or stall fermentation. When in doubt, mix them with “normal” scraps and use a bit more bran.
- Big chunks: cut or smash to speed finishing later and to avoid air gaps in the bucket.
Skip these
- Liquids like stock, milk, or oil poured in directly (small amounts clinging to food are fine).
- Lots of cooking oil or grease (small residue is okay, but do not dump a pan of grease).
- Non-food “compostables” like plastic-lined takeout boxes, stickers, rubber bands.
- Pet waste (different system, different pathogens).
Step by step: running a bucket
1) Get the bucket ready
Make sure the bucket is clean and dry. If you have a bucket with a false bottom, install it. Close the spigot if yours has one.
If you like, add a light starter sprinkle of bran on the bottom. It is not strictly required, but it can help the first scraps ferment cleanly.
2) Add scraps in layers
Each time you add scraps:
- Open the lid briefly.
- Add a layer of food scraps.
- Sprinkle bokashi bran over the top. You are aiming for a light, even dusting, not a snowdrift.
- Press it down firmly to squeeze out air pockets. Packing matters more than perfection.
- Close the lid tightly.
My rule of thumb is “more bran for risky stuff.” If it is meat-heavy, very wet, or you accidentally left the lid open while chatting, toss in a little extra bran and compress well.
3) Keep it closed
A bokashi bucket is happiest when it is boring. Open it once a day (or every couple of days), add scraps, press, sprinkle, close. The longer it sits open, the more you invite the wrong microbes.
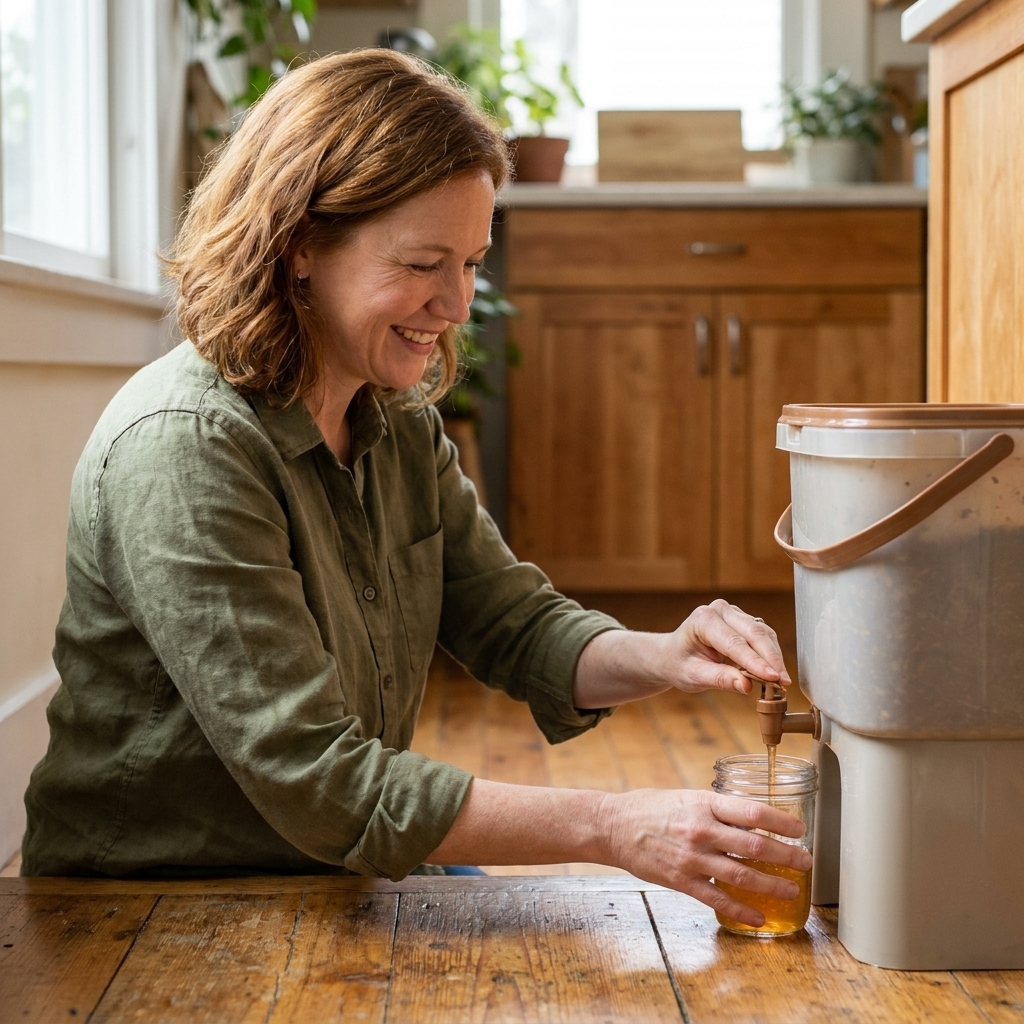
4) Drain the liquid regularly
Most buckets produce liquid as the scraps ferment. Drain it every few days, or whenever you notice it building up. If the bucket sits in liquid, it can go swampy.
5) Fill, then ferment
Once the bucket is full, stop adding new scraps. Press the top layer down, add one last sprinkle of bran, and close the lid.
Let it ferment for 10 to 14 days at room temperature, undisturbed. If your space runs cool, give it longer. Bokashi is not on a stopwatch.
What it should smell and look like
Normal, healthy bokashi
- Smell: tangy, sweet-sour, like vinegar, cider, or pickles.
- Appearance: food pieces mostly intact, softer, sometimes whitened in spots.
- White growth: a thin white film or fuzzy patches can be normal. This is often yeast or beneficial fungi and usually means the fermentation is on track.
Signs something is off
- Putrid, rotten, or sewage smell: too much air exposure, not enough bran, too wet, or a leaky lid.
- Blue, green, or black mold: a sign oxygen got in and things went sideways. The safest move is to discard the batch. If you choose to proceed anyway, only do so when the mold is minimal and the bucket still smells clean and pickly. If it smells rotten, do not take chances.
What to do with a finished bucket
This is where bokashi turns from “weird science bucket” into actual soil-building goodness. You have three solid options.
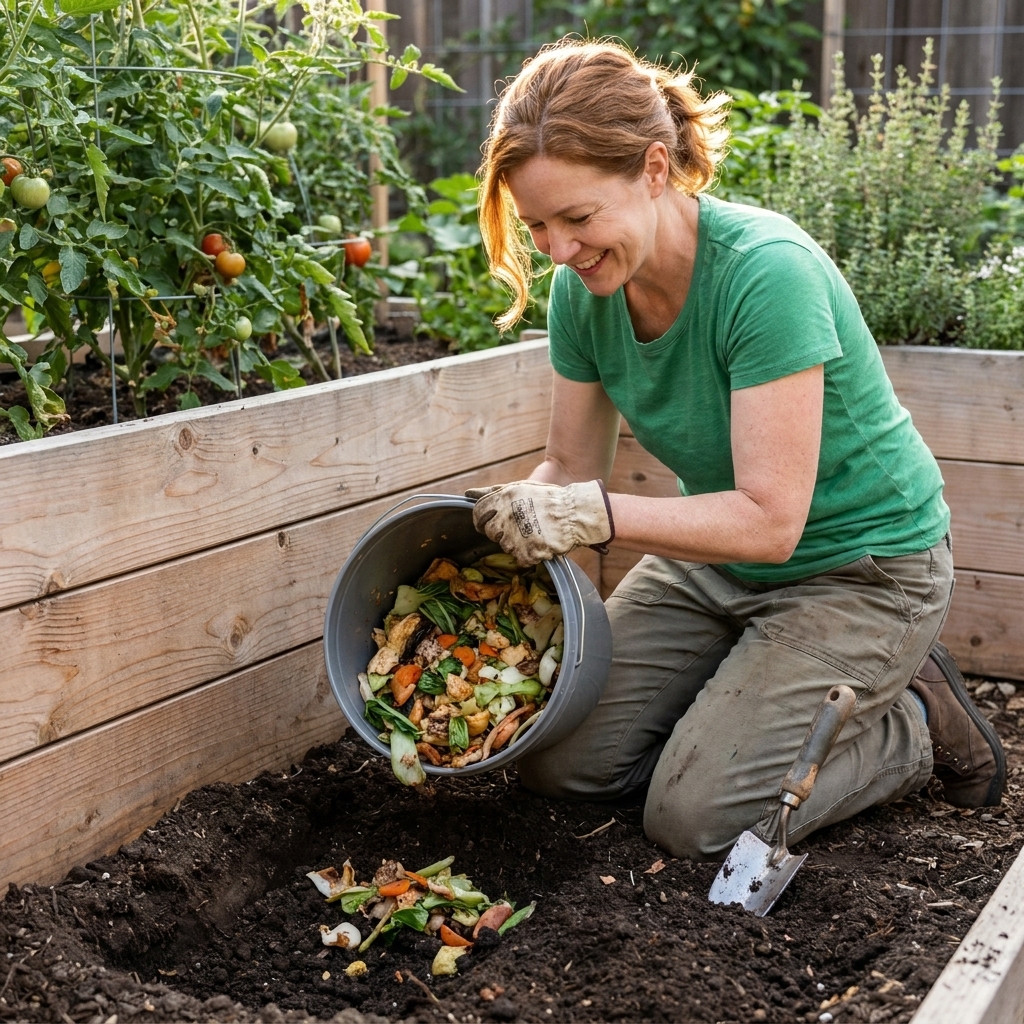
Option 1: Bury it (my favorite)
If you have garden beds, this is the simplest:
- Dig a trench or hole about 8 to 12 inches deep.
- Add the fermented bokashi material.
- Mix lightly with surrounding soil if you can, then cover completely.
- Wait 2 to 4 weeks before planting in that exact spot (longer in cold soils).
The fermented scraps are acidic at first and can stress roots if planted into immediately. After a couple of weeks, soil life balances it out and it becomes plant-friendly.
If you included bones or chunky meat scraps, bury deeper and give it extra time. That is how you keep pests uninterested.
Option 2: Add it to an active compost pile
If you already run a hot pile or a well-managed bin, bokashi is like a turbo booster.
- Bury the fermented material in the center of the pile.
- Cover it with browns (leaves, shredded cardboard).
- Keep the pile moist like a wrung-out sponge.
Because the scraps are already softened and inoculated, they tend to disappear quickly when paired with an active compost system. In winter or in a sleepy pile, it still breaks down, just more slowly.
Option 3: Soil factory in a tote
No yard? No problem. You can finish bokashi in a lidded tote:
- Add a few inches of potting mix or finished compost to the bottom.
- Add a layer of bokashi material.
- Cover with more soil mix.
- Repeat until full, then let it sit 3 to 6 weeks.
Keep it slightly moist, not soggy. When it smells earthy and you cannot recognize the food, you have usable soil blend for planters and beds.
Bokashi liquid: using it safely
The liquid you drain is often called bokashi tea, but in many home buckets it is essentially leachate from fermented scraps. Treat it with respect. It can smell strong, it can be acidic, and it can be rough on plants if used full strength.
Best uses
- Drain deodorizer (anecdotal): Some gardeners pour a small amount down a sink or floor drain, then flush with water. Do not rely on it for clearing clogs, and do not mix it with bleach or harsh cleaners.
- Outdoor soil drench (diluted): If you want to experiment, dilute and apply to established soil, not tender seedlings.
A conservative dilution
If you are going to put it on soil, start with at least 1:100 (about 4 tablespoons per 1.5 gallons of water) and see how your plants respond. When in doubt, skip it and just drain it away. The real value of bokashi is the fermented solids that finish into soil.
Storage
Use drained liquid within a day. It changes quickly once exposed to air.
Troubleshooting
“My bucket smells like garbage.”
- Cause: too much oxygen, not enough bran, lid not sealing, or scraps too wet.
- Fix: press harder, add more bran, drain liquid, and check the gasket or lid fit. Add drier scraps (bread ends, paper used to blot wet food) to balance moisture.
“There are maggots or fruit flies in my bokashi.”
- Cause: the lid is being left open too long, or it is not sealing.
- Fix: tighten your routine. Add scraps quickly, compress, close. Wipe the rim and lid so it seals cleanly.
“It is too wet and slimy.”
- Cause: lots of watermelon, soup, saucy leftovers, or not draining often enough.
- Fix: drain more frequently, add extra bran, and mix in absorbent additions like stale bread or a little uncoated paper to soak up excess moisture.
“I see mold. Is it ruined?”
White mold is often fine. Blue, green, or black mold is a warning sign. The safest move is to discard, especially if there is any rotten odor. If it is a tiny patch and everything still smells clean and sour, some people scrape it off and add bran, but I keep my risk tolerance low here.
“Nothing seems to be happening.”
Bokashi does not look dramatic. The scraps will not shrink much in the bucket. The proof is in the smell (pickly) and how quickly it breaks down once you bury it. In cooler temperatures, the smell may take longer to develop.
Choosing a system
Bucket types
- Two-bucket systems with a spigot: easiest for draining and odor control.
- Single bucket without spigot: works, but liquid management is trickier. You may need to tilt and carefully pour off liquid.
- DIY buckets: doable if you can create a false bottom and a reliable seal. The seal matters more than the price tag.
Starter options
- Store-bought bran: consistent and simple.
- Homemade bran: possible if you are comfortable sourcing effective microbes and fermenting the carrier material. If you are new, I recommend starting with a commercial bran to learn what “good bokashi” looks and smells like first.
Bokashi with other composting
Bokashi plays nicely with almost any composting setup:
- With a hot pile: bokashi becomes a powerful “green” input that can heat a pile fast when buried in the center and balanced with browns.
- With a worm bin: I do not recommend dumping fresh bokashi into a worm bin. Fermented scraps are acidic and can stress worms. If you want to try it, finish it in soil first or pre-compost it until it is no longer sour.
- With curbside organics: bokashi can reduce odors and mess if you must store food scraps for several days, but check your local rules before sending fermented material to municipal programs.
Quick timeline
- Daily to every few days: add scraps, sprinkle bran, press, close.
- Every 2 to 4 days: drain liquid as needed.
- When full: ferment 10 to 14 days with the lid closed (longer if cool).
- After fermenting: bury in soil or add to compost.
- 2 to 6 weeks later: most scraps are broken down depending on temperature, moisture, particle size, and finishing method.
FAQ
Does bokashi attract pests?
If the bucket is sealed, bokashi is one of the least pest-attracting compost methods. Pests usually show up when the lid is not airtight or the bucket is opened for long periods.
Can I bokashi compost meat and dairy safely?
Yes, that is one of bokashi’s strengths. Fermentation stabilizes those scraps so you can finish them in soil or a hot compost pile with far less odor and pest pressure than tossing them into an open heap.
Can I keep a bokashi bucket in an apartment?
Absolutely. Choose a tight-sealing bucket, drain liquid regularly, and keep your additions quick and tidy. A pantry, laundry area, or under-sink cabinet works well.
How do I know when it is done fermenting?
After 10 to 14 days sealed (longer if your space is cool), it should smell tangy and pickly, not rotten. The food will look preserved and softened. That is “done” for bokashi. Then you move to the finishing step in soil or compost.
Can I plant right away where I buried it?
I wait. Give it 2 to 4 weeks to mellow out in the soil before planting in that exact spot, especially for seedlings. In cold soils, give it longer. If you bury it deeper and plant above, you can sometimes shorten the wait, but patience is the safer play.
Beginner tips that prevent headaches
- Compress every time. Air is the enemy.
- Drain often. A swampy bucket is an unhappy bucket.
- Keep additions small. Chop big scraps so finishing is faster and air gaps are smaller.
- Use two buckets. One fills while the other ferments. It makes the whole system feel effortless.
- Trust your nose. Pickles good. Garbage bad.
If you have been composting for a while, bokashi feels a little strange at first because you are training yourself to keep things sealed instead of turned and aerated. Once it clicks, it becomes one of the easiest ways to keep food waste out of the trash all year long, even if you are working with a tiny kitchen and a tiny garden.