The first time I tried vermicomposting, I expected a tiny science project. What I got was a steady supply of the darkest, fluffiest plant food I have ever made, all from banana peels and wilted lettuce. If you can keep a houseplant alive (or even if you cannot), you can keep a worm bin going.
This guide walks you through building a beginner-friendly vermicomposting system, whether you tuck it under a kitchen counter, park it in a garage, or keep it outside in mild weather.
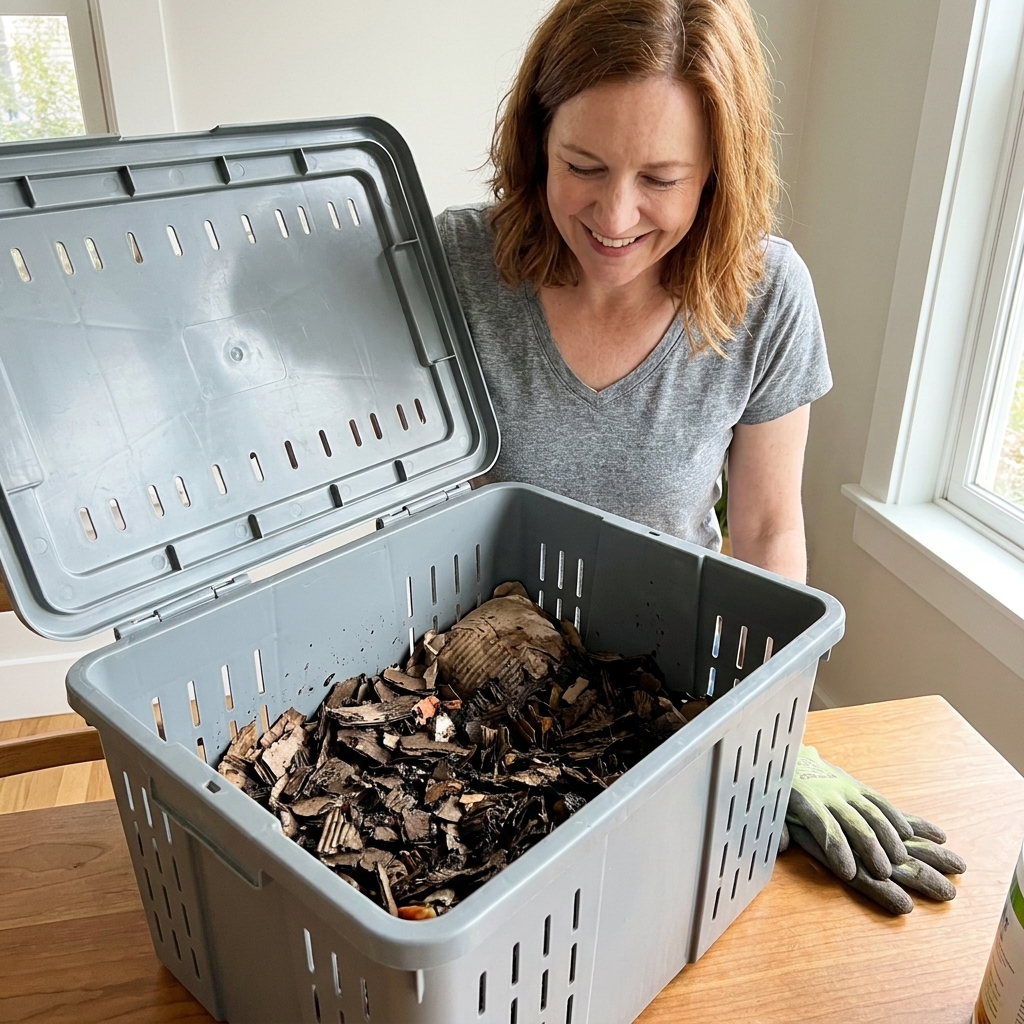
What it is (and why gardeners love it)
Vermicomposting is composting with the help of worms and microbes. The worms (usually red wigglers) eat soft food scraps and bedding, and what comes out the other end are worm castings.
Castings are gentle, nutrient-rich, and loaded with beneficial biology. In plain language: they help soil hold moisture, feed plants steadily, and make potting mixes and raised beds come alive.
What a worm bin does well
- Handles everyday kitchen scraps without needing a big outdoor pile
- Works year-round indoors
- Creates a premium soil amendment for seedlings, houseplants, containers, and garden beds
What a worm bin is not
- It is not a fast way to process huge volumes like a hot compost pile
- It is not ideal for greasy foods, meat, dairy, or big bones
- It will not tolerate drying out or overheating for long
Choose the right worms
For a beginner bin, you want composting worms, not earthworms dug from the yard.
Best starter worms
- Red wigglers (Eisenia fetida, sometimes sold alongside the closely related Eisenia andrei): the classic worm bin worms, hardy and hungry
- European nightcrawlers (often sold as Eisenia hortensis and sometimes listed as Dendrobaena veneta): larger than red wigglers and also good in bins, a bit slower
How many worms to start with: A common beginner amount is 1/2 to 1 pound for a typical 10 to 20 gallon tote. If you are nervous, start with 1/2 pound and feed lightly while the bin settles. If you cook a lot of produce, start closer to 1 pound.
Feeding rule of thumb: In the first few weeks, feed less than you think. Add a small handful, then wait until most of it is shrinking and unrecognizable before adding more. It is much easier to scale up than to fix an overfed bin.
Pick the bin location first
Worms are easy to keep if you give them steady conditions. Before you buy anything, decide where the bin will live.
Ideal conditions
- Temperature: roughly 55 to 80 F is comfortable, with 60 to 75 F being the sweet spot
- Safety note: performance drops at extremes, and sustained temps above about 85 F or near freezing can kill worms
- Darkness: worms prefer low light
- Airflow: they need oxygen, but not a drying breeze
Good beginner locations
- Under a sink or in a pantry (if you have room)
- Basement, mudroom, or laundry area
- Garage that stays above freezing and not too hot in summer
- Covered porch in mild seasons (bring it in during extremes)
Supplies checklist
You do not need fancy equipment. My favorite worm bins are the ones that are simple enough to maintain.
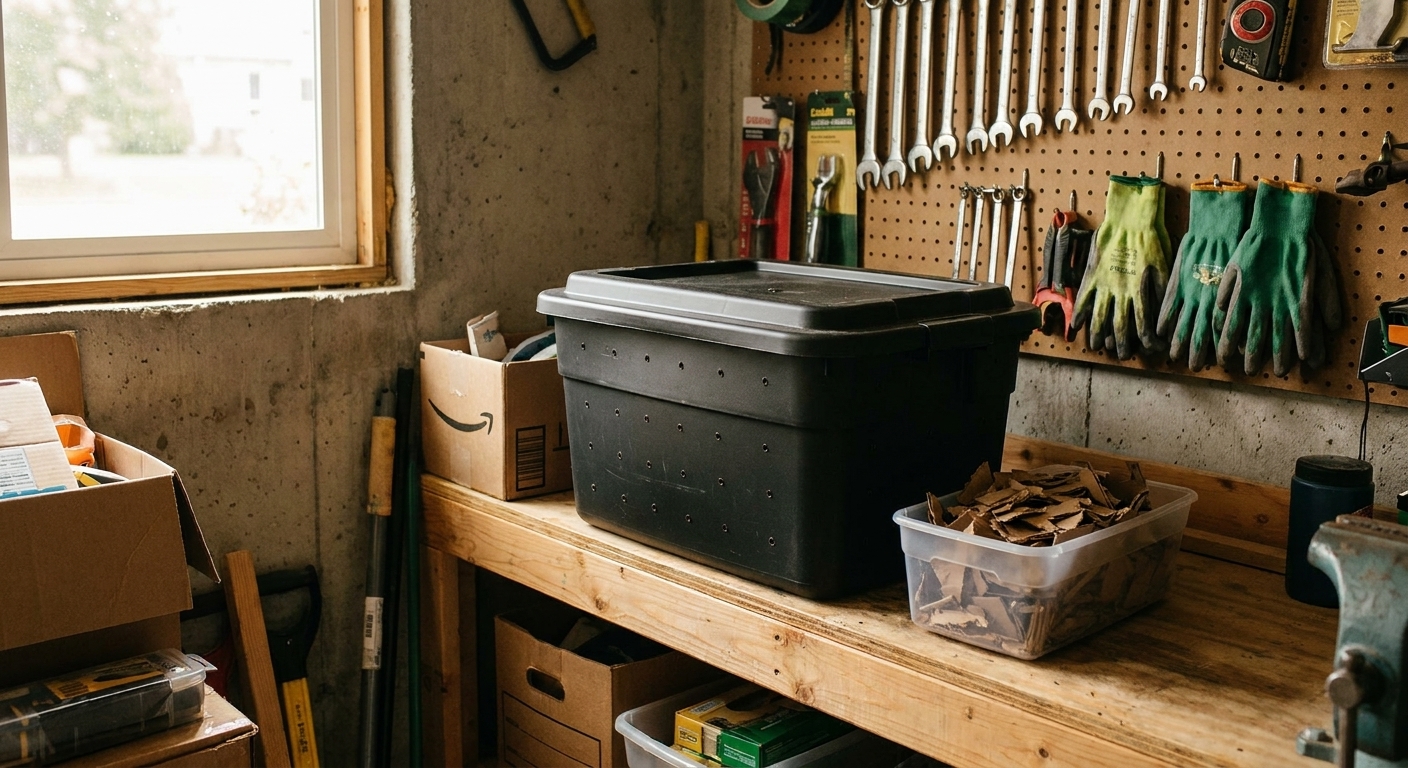
- Bin: an opaque plastic tote, roughly 10 to 20 gallons, with a lid
- Drill or nail: for air holes (and optional drainage later)
- Bedding: shredded cardboard and/or black-and-white newspaper
- Grit: a small amount of crushed eggshells, garden soil, or finished compost
- Moisture helper: spray bottle or small watering can
- Food scraps: fruit and veggie scraps, coffee grounds, tea leaves (no plastic tea bags)
- Optional: a small tub to freeze scraps until bin day
Paper and cardboard note: Skip glossy paper, heavily dyed or coated paper, and waxed or plastic-lined cardboard. Pull off tape, shipping labels, and stickers before shredding.
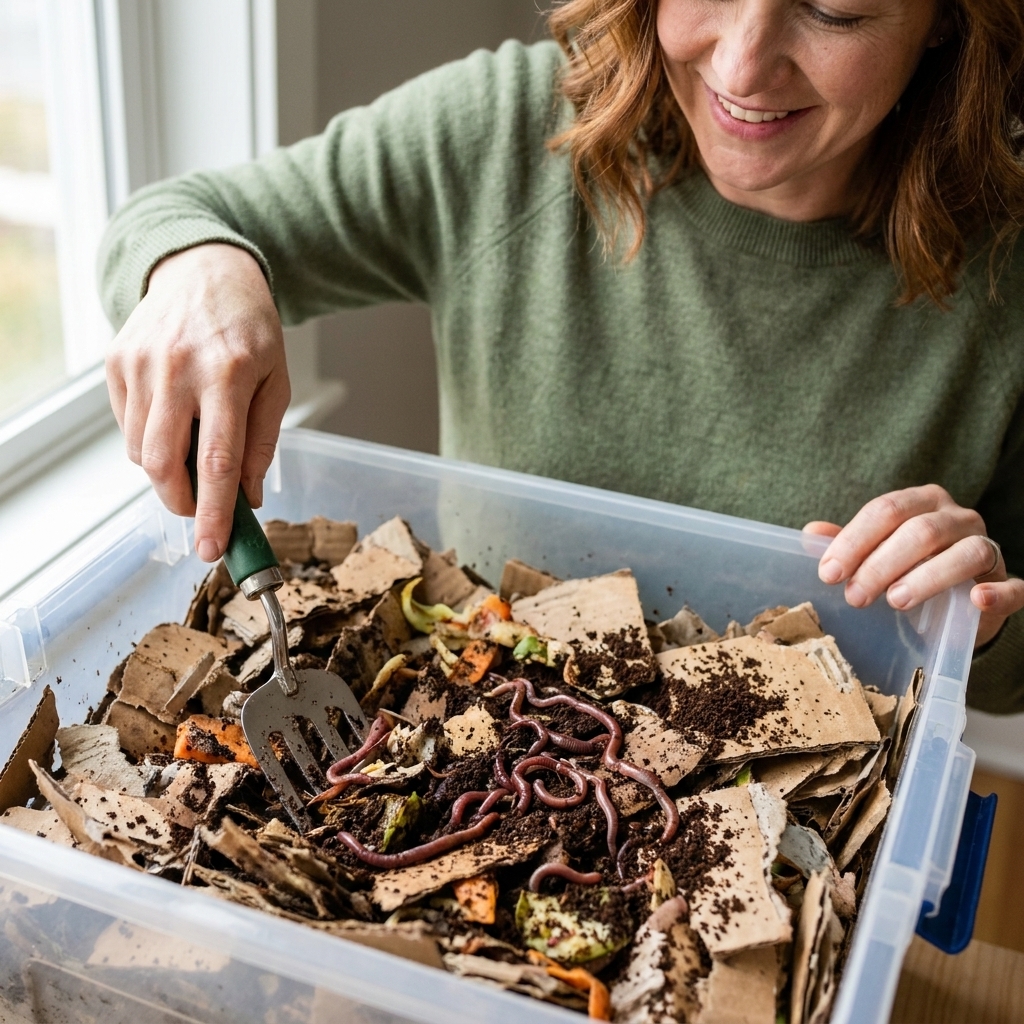
Set up your first worm bin
Step 1: Add ventilation
Worms breathe through their skin, and a bin needs oxygen.
- Drill small holes (about 1/8 inch) along the top sides of the tote and in the lid.
- For a 10 to 20 gallon tote, aim for holes every 2 to 3 inches around the upper rim, plus a scattering across the lid.
- If fruit flies are common in your home, tape a fine mesh on the inside of the lid over the holes.
Drainage note: Many beginner guides add holes in the bottom. That can work, but it can also make a mess if you do not have a tray. I prefer a no-drain bin at first and manage moisture with bedding. You can always add drainage later once you learn your bin’s rhythm. If you do add drainage holes later, set the tote in a shallow catch tray and keep it up on blocks so air can circulate.
Step 2: Add bedding (keep it loose)
Think of bedding like the bin’s carbon and also the worm’s home. Shred cardboard into thin strips, soak it, then wring it out so it feels like a damp sponge.
- Fill the bin about 2/3 full with moist bedding, loosely, not packed down.
- Fluff it up. Worms love air pockets.
Step 3: Add grit (and a little biology)
Worms use grit in their gizzard to help grind food. Sprinkle in:
- 1 to 2 handfuls of very finely crushed eggshells (rinsed and dried helps)
- or a handful of garden soil or finished compost
Eggshells also help buffer acidity, which is handy while you are learning.
Step 4: Add worms
Set the worms on top of the bedding and give them a few minutes. They will move down away from the light.
Step 5: Feed lightly for the first two weeks
Start small. A new bin needs time for microbes to establish and for you to see how wet or dry it runs.
- Dig a little pocket, add a small handful of chopped scraps, then tuck them in under bedding so nothing is exposed.
- Feed in a different spot each time, like moving around a clock face.
Step 6: Cover the surface
This is my favorite beginner trick: lay a sheet of damp cardboard or a few pages of damp newspaper right on top of the bedding. It keeps moisture steady and discourages flies.
What to feed (and what to skip)
Worms can eat a surprising amount, but a beginner bin is happiest with simple, plant-based scraps.
Great worm foods
- Fruit and vegetable scraps (peels, cores, trimmings)
- Melon rinds (cut into smaller pieces)
- Coffee grounds and paper filters
- Tea leaves (make sure bags are not plastic)
- Crushed eggshells
- Small amounts of cooked plain grains (only if you bury well and do not overdo it)
Foods to avoid in a beginner bin
- Meat, fish, dairy
- Oils, greasy foods, salad dressing, peanut butter
- Pet waste or cat litter
- Large amounts of citrus and onion (a little is fine, but go easy)
- Heavily salty or spicy leftovers
One more skip: most “compostable” plastics
Even if something says compostable, it often needs industrial conditions. Unless you know it breaks down in a home worm bin, keep it out. Same goes for produce stickers and plastic-coated takeout boxes.
Size matters
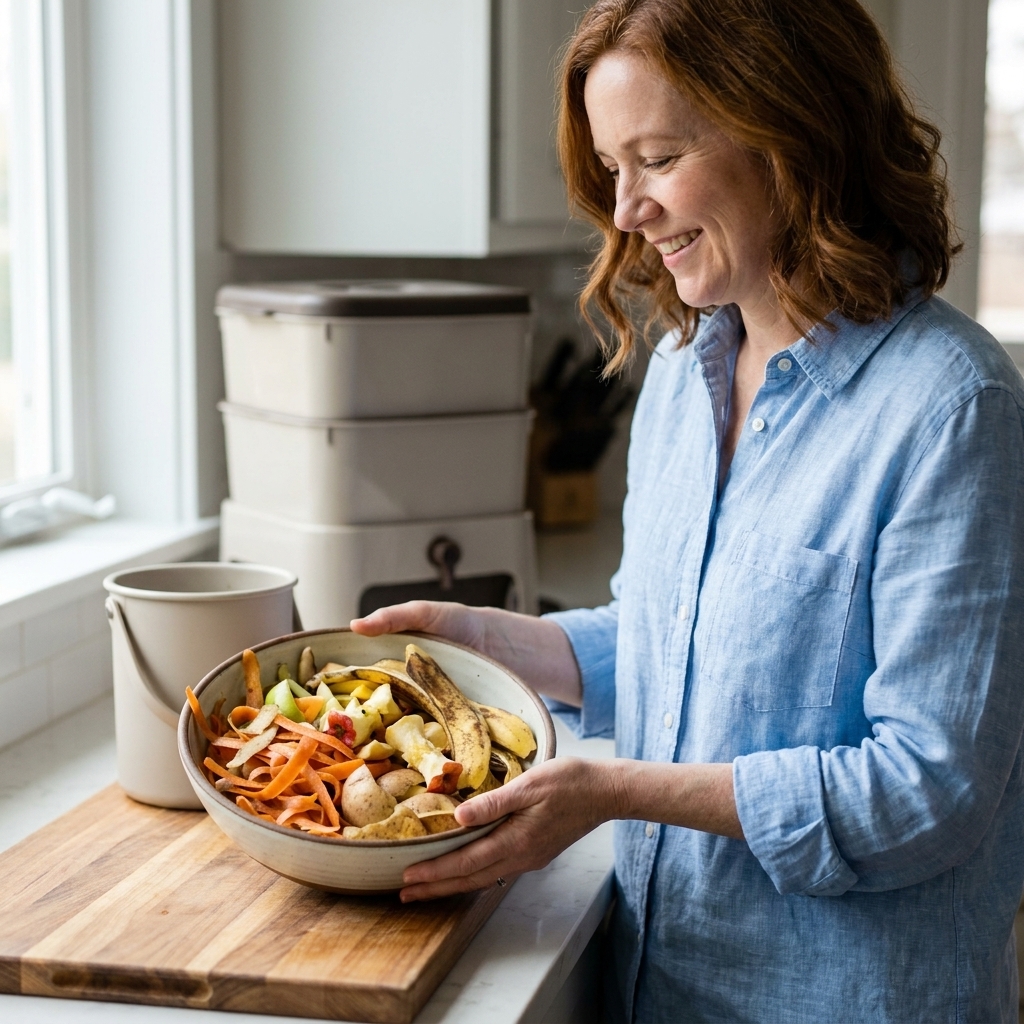
Worms do not have teeth, so smaller pieces disappear faster. Freezing and thawing scraps also softens them, which helps a lot if you are impatient like me.
Moisture, air, and smell
A worm bin should smell earthy, like a forest after rain. If it smells sour or rotten, something is out of balance.
Moisture target
Aim for wrung-out sponge. If you squeeze a handful of bedding, you want it damp with maybe one drop of water, not a stream.
If the bin is too wet
- Add dry shredded cardboard and fluff the bedding
- Pause feeding for a week and let worms catch up
- Check that you are tucking food fully under bedding
If the bin is too dry
- Mist the bedding and mix gently
- Add watery foods like cucumber or melon (tucked in under bedding)
- Make sure the lid is on and the bin is not in a drafty spot
Airflow tip
Compaction is sneaky. Every couple of weeks, gently fluff one section with your hands. Do not churn the whole bin like cake batter. Just loosen it so oxygen can move.
Easy maintenance routine
Once your bin is established, it runs on a simple rhythm.
- 1 to 2 times per week: add scraps in a new spot and tuck them in under bedding
- Weekly: quick sniff test and moisture check
- Monthly: add a fresh layer of bedding and a pinch of finely crushed eggshells
If you ever feel unsure, default to this: feed less and add bedding. That solves most beginner problems.
Common problems (and easy fixes)
Fruit flies or fungus gnats
- Tuck food deeper and add extra bedding on top
- Freeze scraps before adding them
- Keep a damp cardboard sheet on top of the bin
- Avoid leaving banana peels exposed, they are basically a fly invitation
Bad odor
- Cut feeding in half for a couple of weeks
- Add dry bedding and fluff
- Remove any large, slimy food clumps and replace with fresh bedding
Mold on food
Mold looks alarming, but it is usually just part of decomposition. Tuck the food in better and reduce feeding until the worms catch up.
Worms trying to escape
Right after setup, a few explorers are normal. If lots are climbing the sides or lid, check:
- Too wet: add dry bedding
- Too acidic: add crushed eggshells and more bedding, reduce citrus
- Too hot: move the bin to a cooler spot
- Not enough air: fluff bedding and confirm ventilation holes
Ants (usually outdoor bins)
- Bin is often too dry, moisten bedding slightly
- Move the bin off soil and onto a stand or tray
- Avoid sugary fruit overload
When castings are ready
In a healthy bin, you can often harvest castings in about 3 to 6 months, depending on worm count, temperature, and how much you feed.
You will know castings are ready when much of the bin looks like dark, crumbly soil and the original bedding is mostly gone. If you still see lots of recognizable paper, cardboard, or obvious food pieces, it needs more time.
When you harvest, try to leave a little of the old material behind to “seed” the next cycle with the bin’s good microbes.
How to harvest castings
Option 1: Side-to-side migration (my go-to)
- Stop feeding one side of the bin.
- On the other side, add fresh bedding and start placing all food there.
- Wait 2 to 4 weeks. Most worms will migrate to the new side.
- Scoop out the darker finished castings from the old side.
This method is low drama and keeps your worm population intact.
Option 2: Light method (fastest)
- Dump bin contents onto a tarp or into a large tub.
- Make small cone-shaped piles.
- Shine a bright light overhead or work in daylight.
- Worms move down. Scrape castings off the top of each pile every few minutes until you are mostly down to worms.
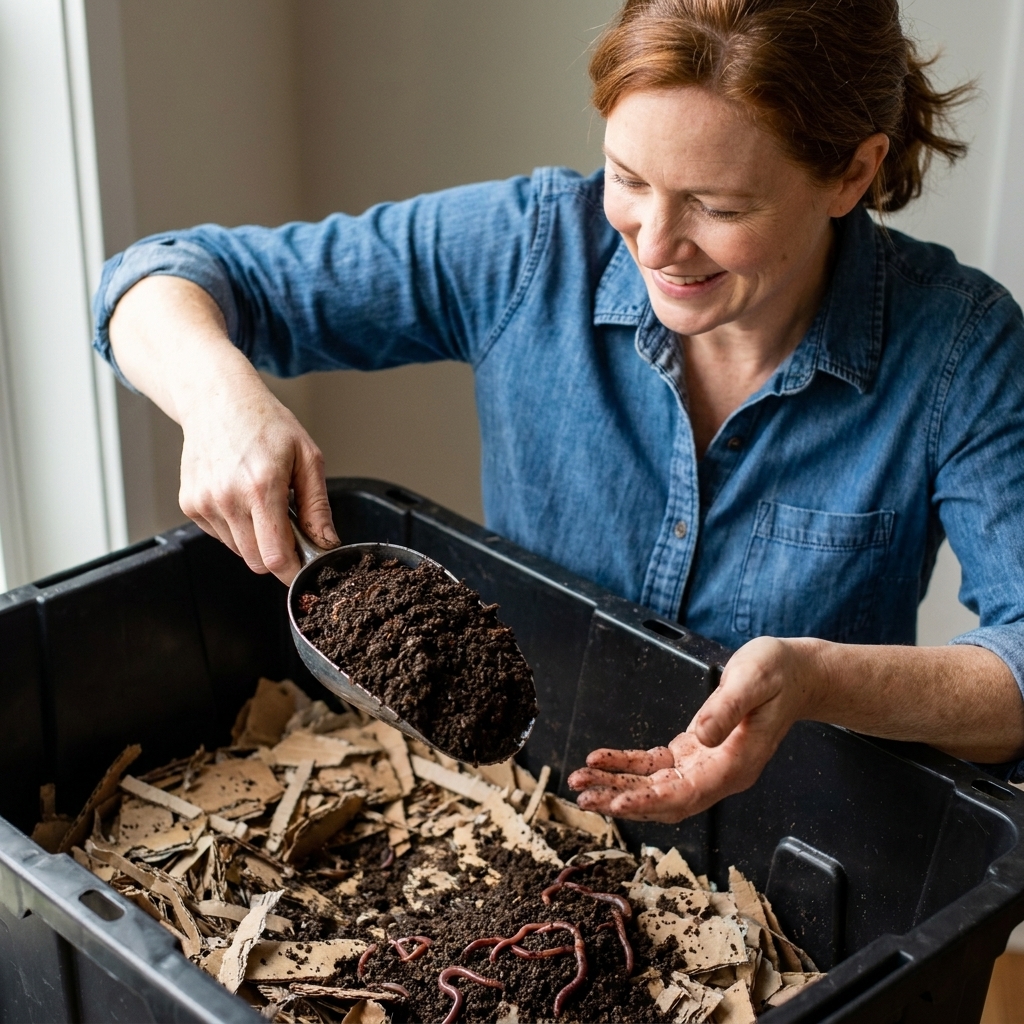
How to use castings
Castings are powerful but gentle. You do not need a thick layer to see benefits.
- Houseplants: top-dress with 1 to 2 tablespoons for small pots, a small handful for large pots
- Seed starting and potting mixes: mix in about 10 to 20% castings
- Vegetable beds: sprinkle a thin layer around plants and lightly scratch in
- Transplanting: add a handful to the planting hole and mix with native soil
About “worm tea”
Worm bins can produce liquid if they run too wet. That liquid (leachate) is not the same as properly aerated worm casting tea, and it can contain anaerobic byproducts and pathogens. The safest beginner move is to fix the moisture issue and use castings directly. If you do collect leachate from a spigot bin, dilute it heavily and avoid using it on seedlings or edible leaves.
Outdoor bin tips
You can keep a worm bin outdoors, but temperature swings matter.
- Heat: Keep the bin shaded. High heat can wipe out a bin quickly.
- Cold: If your winters freeze, bring the bin into a garage, basement, or indoors.
- Rain: Protect from direct rain to prevent waterlogging.
Beginner FAQ
Will a worm bin smell?
A healthy worm bin smells earthy. Bad smells usually mean too much food, too much moisture, or food left uncovered. Add bedding, feed less, and make sure scraps are fully tucked in.
Can I vermicompost in an apartment?
Yes. A lidded tote under a sink, in a closet, or on a protected balcony works well. The key is keeping scraps covered and bedding at the right moisture level.
Do I need a multi-tray system?
No. Multi-tray systems are convenient, but a simple tote works just as well while you learn. Most of my best castings came from basic bins.
How often should I feed my worms?
Feed when the last scraps are mostly gone. Many beginner bins land at 1 to 2 feedings per week, but your bin will tell you what it can handle.
What if I go on vacation?
Worms can coast for a couple of weeks if the bin has plenty of bedding. Before you leave, add extra moist bedding and a modest amount of food buried deep, then do not overfeed.
Your first week checklist
- Set up bin with moist bedding and ventilation
- Add worms and a small amount of food, fully tucked in and covered
- Place a damp cardboard sheet on top
- Check moisture and smell after 3 to 4 days
- Feed again only if the first scraps are shrinking and mostly unrecognizable
If you remember just one thing, make it this: bedding is your best friend. When in doubt, add more shredded cardboard, and your worms will usually forgive the rest.