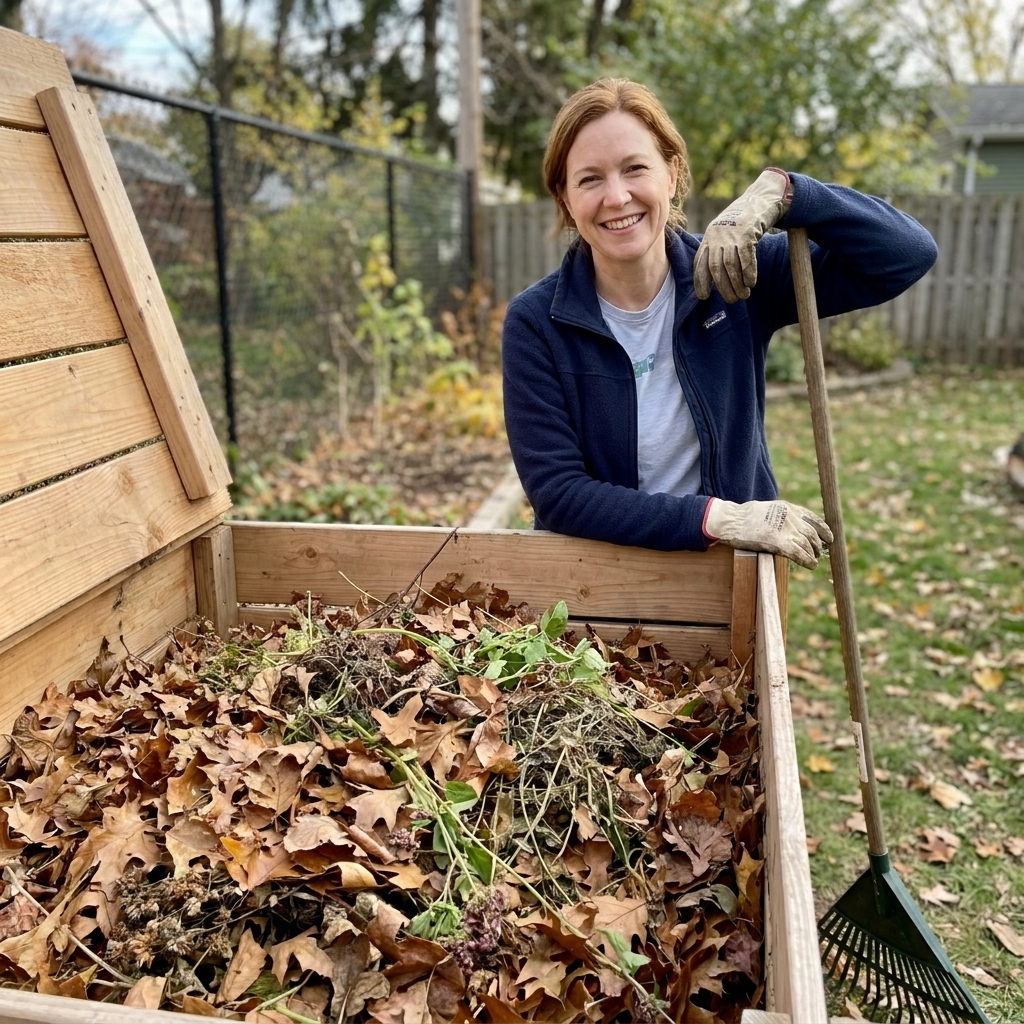
The first time I tried to grow tomatoes in my old clay yard, I blamed the seedlings, the sun, and my watering schedule. Then I tried pushing a screwdriver into the ground and it was like hitting a brick. That was my wake-up call: if roots cannot move, plants cannot thrive.
The good news is you do not need fancy equipment to get a real read on compaction. The “screwdriver test” is quick, cheap, and surprisingly informative. Done right, it shows you where the soil is tight, how deep the resistance starts, and what kind of fix makes sense.
What soil compaction is
Compaction happens when soil particles get pressed tightly together, squeezing out the pore spaces that normally hold air and water. Roots need those pores. So do earthworms, fungi, and all the tiny soil life that turns dead stuff into plant food.
Compaction often shows up as:
- Slow infiltration: water puddles, runs off, or only soaks in through cracks.
- Stunted growth: plants stay small even with fertilizer.
- Shallow roots: plants topple easily or dry out fast.
- Crusting: the surface bakes into a hard “cap” after rain.
- Hardpan: a dense layer several inches down that roots struggle to cross.
And yes, clay soils compact more dramatically, but sandy soils can compact too, especially with foot traffic or repeated tilling that destroys aggregates.
What you need
- A long, sturdy flathead screwdriver (8 to 12 inches is ideal)
- A tape measure or a marker (optional, but helpful)
- A notepad or your phone for quick notes
- Water (only if the soil is bone dry and you need a fair test)
Tip: This works best when the soil is evenly moist, like a wrung-out sponge. If it is dust dry, almost anything feels compacted. If it is saturated, you will get a false “easy” reading.
How to do the test
1) Pick a few spots
Do not test just one place. Compaction is often patchy. Pick 3 to 6 spots that represent how you actually use the area:
- Between rows or beds
- Near a gate, hose spigot, or path
- Where you park a wheelbarrow
- Under drip lines or downspouts
- A “good looking” area for comparison
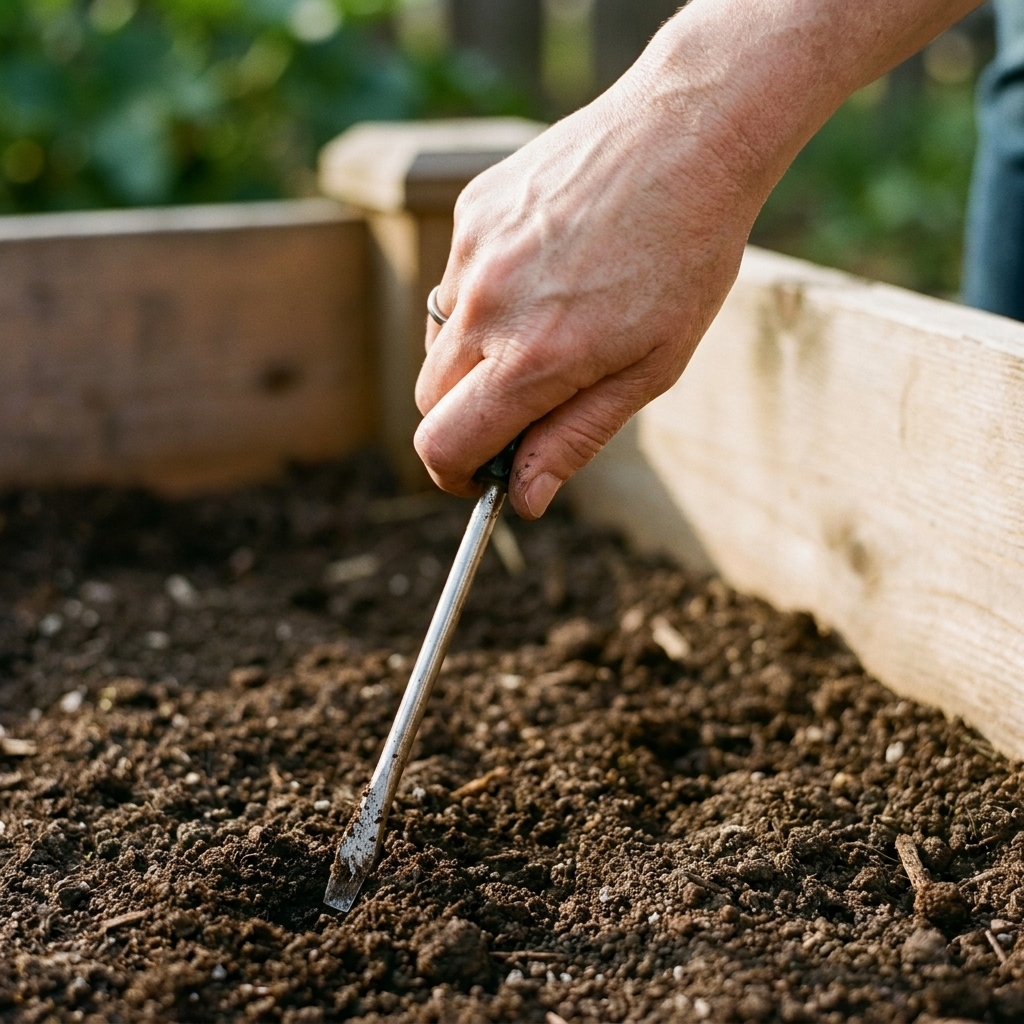
2) Push straight down, slowly
Hold the screwdriver vertical and press it in with steady pressure. Do not wiggle side to side at first. You want to feel the soil’s natural resistance.
Safety note: Keep your palm on the handle, not the shaft. If it suddenly slips, you do not want your hand sliding down onto metal.
3) Notice where it changes
You are looking for a clear “easy, easy, easy, then suddenly hard” moment. That sudden stop can point to a compacted layer, but remember this is a screening tool. A rock, gravel lens, or abrupt soil texture change can feel similar.
4) Measure the depth
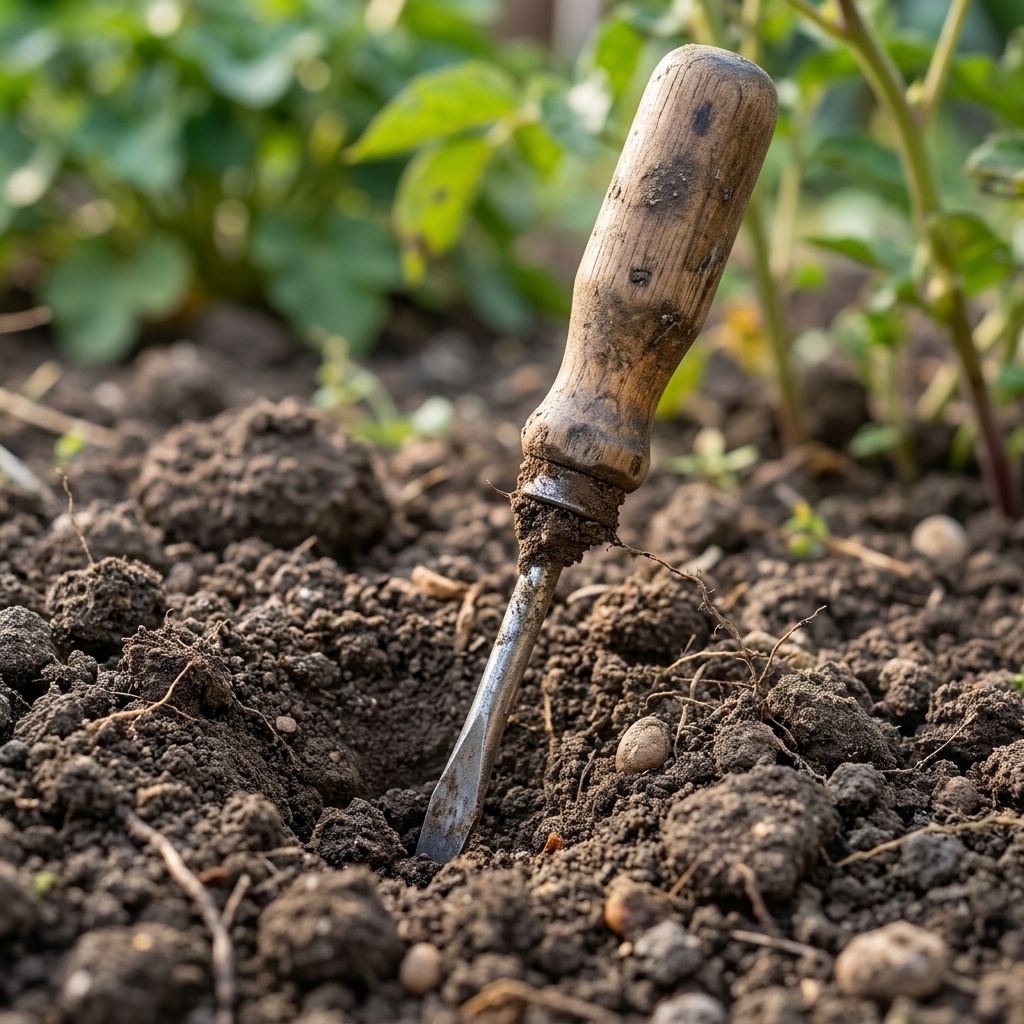
Pull it out and measure how far it went in comfortably. Or mark the screwdriver with your thumb, then measure from the tip to your thumb.
5) Repeat after a soak
If you are not sure whether you hit compaction or just dry soil, test again 24 to 48 hours after a thorough watering or a good rain, once the surface has drained but the soil is still evenly moist.
Reading your results
I like to think of the screwdriver test as a “root reality check.” Many vegetables do best with workable soil well past 8 inches, especially deeper-rooted crops like tomatoes, squash, and carrots. Some crops can get by with less early on, but even shallow-rooted plants benefit when water and air can move through the profile.
Use the depth as a clue, not a verdict. The strongest sign of compaction is when you feel the same firm resistance at about the same depth across multiple nearby spots.
Quick guide
- 0 to 2 inches then hard: often surface crusting from bare soil, heavy rain impact, or irrigation that seals the surface. Usually improves with mulch and gentle surface loosening.
- 2 to 6 inches then hard: common foot traffic compaction and repeated shallow cultivation. Often improves with compost topdressing, broadforking, and deep-rooted cover crops.
- 6 to 10+ inches then hard: could be a hardpan or naturally dense subsoil. Focus on “biological tillage” (roots), targeted deep loosening at the right moisture, and time.
- Easy most of the way down: celebrate quietly and keep doing what you are doing. Your job is to protect that structure.
Another clue: a shiny, smeared blade
If the blade comes out coated in slick, smeary clay, the soil is likely too wet to judge well, or you may be hitting a dense, slow-draining layer. In that situation, hold off on big conclusions and avoid aggressive digging. Smearing is when soil structure gets wrecked. Let the area drain, then retest under better moisture conditions.
Common causes
- Walking in beds: even a few steps, repeated all season, adds up.
- Working soil when it is wet: especially clay. This is how clods and hard layers get made.
- Heavy rainfall on bare soil: raindrops hit like tiny hammers and seal the surface.
- Construction fill and new-build subsoil: scraped topsoil, crushed layers, and debris.
- Repeated rototilling: it can create a “tillage pan” right under the till depth.
- Wheelbarrows, mowers, pets: concentrated traffic patterns.
Fixing compaction gently
If your first instinct is to till everything into fluff, I get it. Tillage can feel like an instant win. But it often trades short-term looseness for long-term collapse, especially in clay. The goal is to add organic matter and rebuild pores while disturbing the soil as little as you can.
Start with the least disruptive
1) Cover the soil
Mulch is a compaction preventer and a repair tool. A 2 to 4 inch layer of shredded leaves, straw, or untreated grass clippings (thin layers) cushions soil from rain impact and moderates moisture swings.
If you mulch one thing this season, mulch your bare paths. Paths get hammered and then that compaction creeps sideways into beds.
2) Topdress with compost
Compost improves aggregation, feeds soil life, and helps soil hold water without turning into a brick. For most garden beds, I prefer:
- 1 to 2 inches of finished compost spread on top once or twice a year
- Let worms and weather pull it down naturally
If you mix compost aggressively into tight clay when it is wet, you can create dense chunks that set hard. Topdressing is slower, but it is gentler and more reliable.
3) Use roots as your “tilling fork”
Deep-rooted plants open channels that persist. This is one of my favorite fixes because it improves structure without ripping it apart.
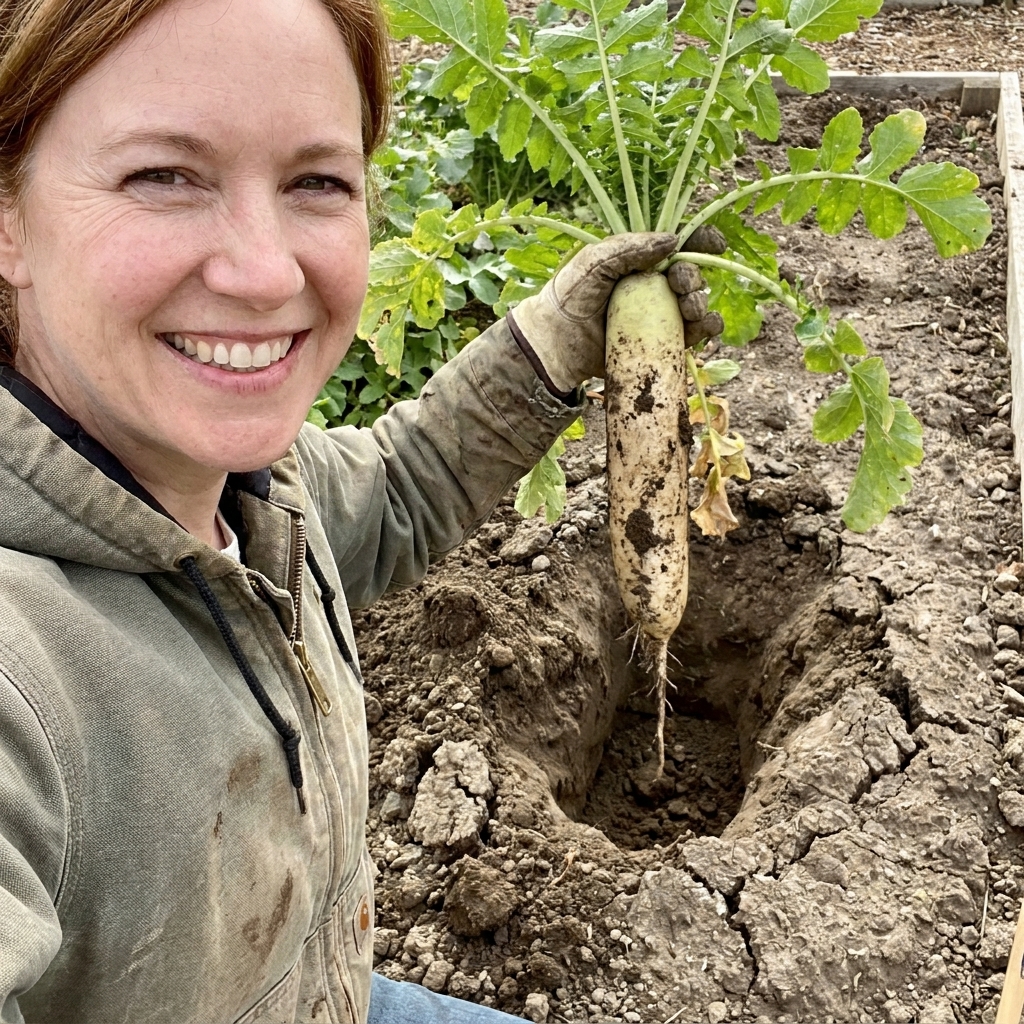
- Daikon radish (tillage radish): punches down and leaves a hole when it rots.
- Cereal rye: dense roots help build stable aggregates.
- Red clover: good in rotation, adds nitrogen.
- Comfrey (perennial areas): deep taproot, great chop-and-drop mulch.
When to use a broadfork
If your screwdriver stops hard at about 4 to 8 inches, a broadfork can be the perfect middle ground between “do nothing” and “rototill the universe.” It loosens soil by lifting and cracking, while keeping layers mostly intact.
Broadfork basics
- Work when soil is moist but not wet.
- Insert the tines straight down.
- Step on the bar to sink it in.
- Pull back gently until you feel the soil lift and fracture.
- Do not flip the soil over. You are making air spaces, not turning layers.
After broadforking, topdress compost and mulch. The loosening creates room, and the organic matter helps keep that new pore space from collapsing.
Hardpan: what helps
Hardpan is a dense layer that can form from repeated traffic, repeated tilling at the same depth, or construction disturbance. It is not always visible from the surface, which is why the screwdriver test is so handy.
What helps
- Deep-rooted cover crops over a full season, sometimes two
- Broadforking or targeted deep loosening in beds (not when wet)
- Consistent compost topdressing and mulch to build stable aggregates
- Better water management so the soil is not swinging from bone dry to soggy
What often backfires
- Rototilling repeatedly: can create a new pan below the tines.
- Adding sand to clay in small amounts: it rarely improves heavy clay and can create a denser, harder-to-work mix. Meaningful texture change takes very large volumes and works best paired with lots of organic matter.
- Digging when wet: smearing and compaction get worse.
Watering and compaction
Compacted soil tends to shed water, then stay wet in the wrong places. If you are seeing both puddling and drought stress, compaction may be the reason.
Adjustments that help fast
- Water slower: drip irrigation or a hose on a low trickle gives water time to soak instead of run.
- Water deeper, less often: when plants are established and temperatures allow, deeper soakings encourage roots to explore and can support better aggregation over time.
- Keep soil covered: mulch reduces surface sealing and evaporation.
If you are using overhead sprinklers on bare soil, you are basically training the surface to crust. A mulch layer is the simplest correction.
My quick triage plan
If you want an easy starting point, here is what I do when a bed fails the screwdriver test:
- Stop walking in the bed. Add stepping stones in wide beds or convert to narrower no-step beds.
- Mulch paths heavily. Paths are the compaction factory.
- Topdress 1 inch of finished compost.
- Mulch the bed. Leaves, straw, or shredded bark in ornamental areas.
- Broadfork once if the compaction is at 4 to 8 inches and the soil is not wet.
- Plant a deep-rooted cover crop in off-season windows.
- Retest with the screwdriver in 6 to 8 weeks, then again next season.
FAQ
Can I do the screwdriver test in a raised bed?
Yes, and it is very revealing. Raised beds can compact from repeated watering, fine-textured mixes, and leaning or kneeling in the same spot. If your screwdriver stops at 3 to 5 inches in a raised bed, add compost, keep it mulched, and consider broadforking gently if the bed is deep enough.
What if I hit rocks or roots?
Move over a few inches and try again. Rocks feel like a sharp, abrupt stop in one exact point. Compaction usually feels like a wider, consistent “dense layer” across multiple nearby tests.
Is it okay to use a metal rod instead of a screwdriver?
You can, but a flathead screwdriver gives you better feedback because the blade “reads” soil resistance. A smooth rod can slip through cracks and make soil seem looser than it is.
How long does it take to fix compacted soil?
Surface crusting can improve in weeks with mulch and gentle watering changes. Deeper compaction and hardpan usually take a season or two of compost topdressing, root-based loosening, and less traffic. The payoff is worth it because healthy structure is the foundation for everything else.
Retest and protect it
Once you get that satisfying, steady push down into the soil, your job switches from “repair” to “protect.” Keep beds no-step, keep soil covered, feed it compost, and let roots and soil life do the heavy lifting.
If you take nothing else from this, take the screwdriver out to the garden today. It is one of the fastest ways I know to stop guessing and start fixing what is really happening underground.