The first year I tried to “fix” my sad little vegetable patch, I threw every soil amendment I could find at it. Some helped. Some did nothing. And a couple taught me a fast lesson in the difference between feeding soil and forcing growth.
Blood meal and bone meal are two of the most common animal-based fertilizers you’ll see at garden centers. They sound similar, they’re often shelved right next to each other, and they’re both organic. But in the garden they act like totally different tools.
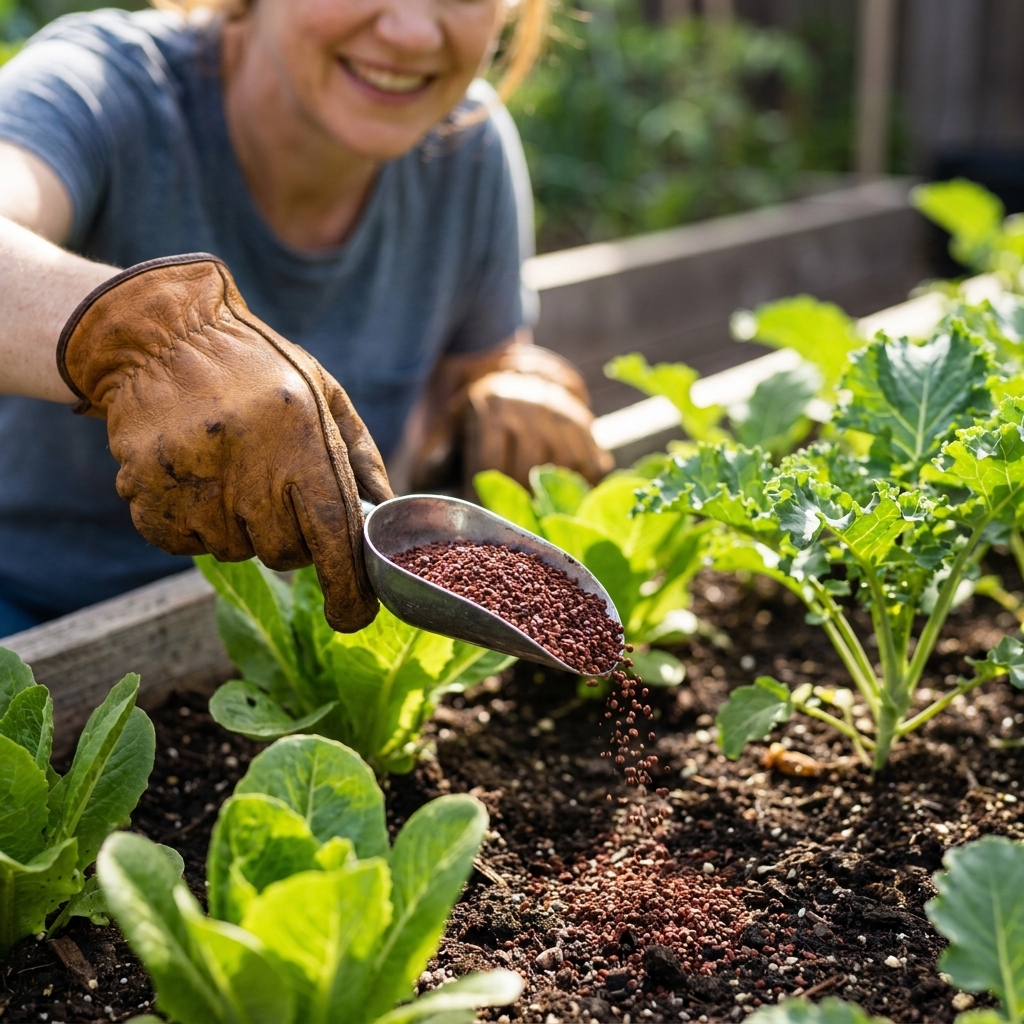
Below is my practical, dirt-under-the-fingernails comparison of blood meal vs. bone meal, including when to use each one, when to skip them, and how to apply them without stressing your plants.
Quick difference
Think of these like two separate dials you can turn in your soil:
- Blood meal is mostly about nitrogen. It pushes leafy growth fast.
- Bone meal is mostly about phosphorus (and calcium). It can support roots, blooms, and fruiting, but it works more slowly and only really helps when soil conditions (and actual nutrient levels) call for it.
If your plants look pale and stuck, blood meal can be a quick nitrogen correction. If your plants struggle to establish roots or set fruit, bone meal can help, but only if phosphorus is actually the missing piece.
NPK profiles
Both products are made from animal processing byproducts, so the exact analysis depends on the source and how it’s processed. Always check your specific bag. Also, “bone meal” can mean a few things, and steamed bone meal is what most gardeners are picturing when they talk about typical NPK and slower release.
Here’s the usual range you’ll see:
| Amendment | Typical NPK | How fast it works | Main job in the garden |
|---|---|---|---|
| Blood meal | Often around 12-0-0 (commonly 10–14% N, but it varies) | Fast (often days to a couple weeks in warm, active soil) | Greens up plants, boosts leaf and stem growth |
| Bone meal | Often around 3-15-0 for steamed bone meal (commonly 12–16% P, but it varies widely and some have a little K) | Slow to moderate (weeks to months) | Supports root development and flowering when P is actually low |
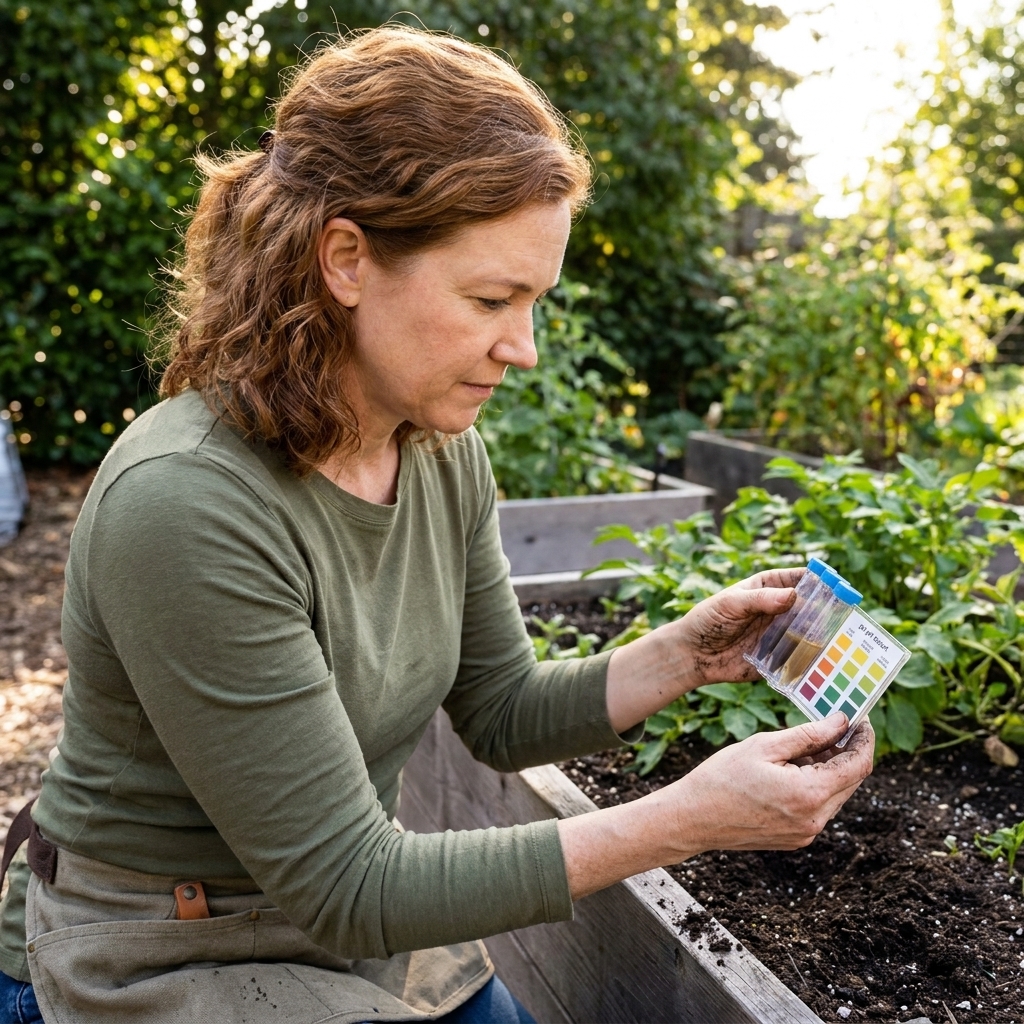
One soil-nerd detail that matters with bone meal: phosphorus is most available near neutral pH. In very alkaline and very acidic soils, phosphorus can get tied up and unavailable. If your pH is far off, bone meal may sit there like a snack your plants cannot unwrap.
Blood meal
When it shines
- Leafy greens (lettuce, spinach, kale, chard) when they look light green or slow.
- Brassicas (cabbage, broccoli, cauliflower), which are heavy nitrogen feeders.
- Corn, which loves nitrogen once it’s actively growing.
- Early-season boost for beds where compost is good but you need a bit more “go.”
When to be cautious
- Right before flowering and fruiting on tomatoes, peppers, and other fruiting crops. Too much nitrogen can mean gorgeous plants and disappointing harvests.
- Beans and peas, especially once they are nodulating and doing their own nitrogen-making. Extra nitrogen can push leaves at the expense of flowers.
- If your soil is already rich or you use a lot of manure-based compost. Blood meal can tip you into excess nitrogen quickly.
- If you struggle with hungry critters. The smell can attract dogs, raccoons, and other scavengers.
What overdoing it looks like
Too much nitrogen shows up fast:
- Very dark green leaves
- Lots of leafy growth with few flowers
- Soft, lush growth that attracts aphids
- Leaf tip burn or “fried” seedlings if it’s concentrated near roots
If you’ve ever watched a tomato plant explode with leaves and refuse to set fruit, you’ve seen the nitrogen dial turned too far.
Bone meal
Where it helps most
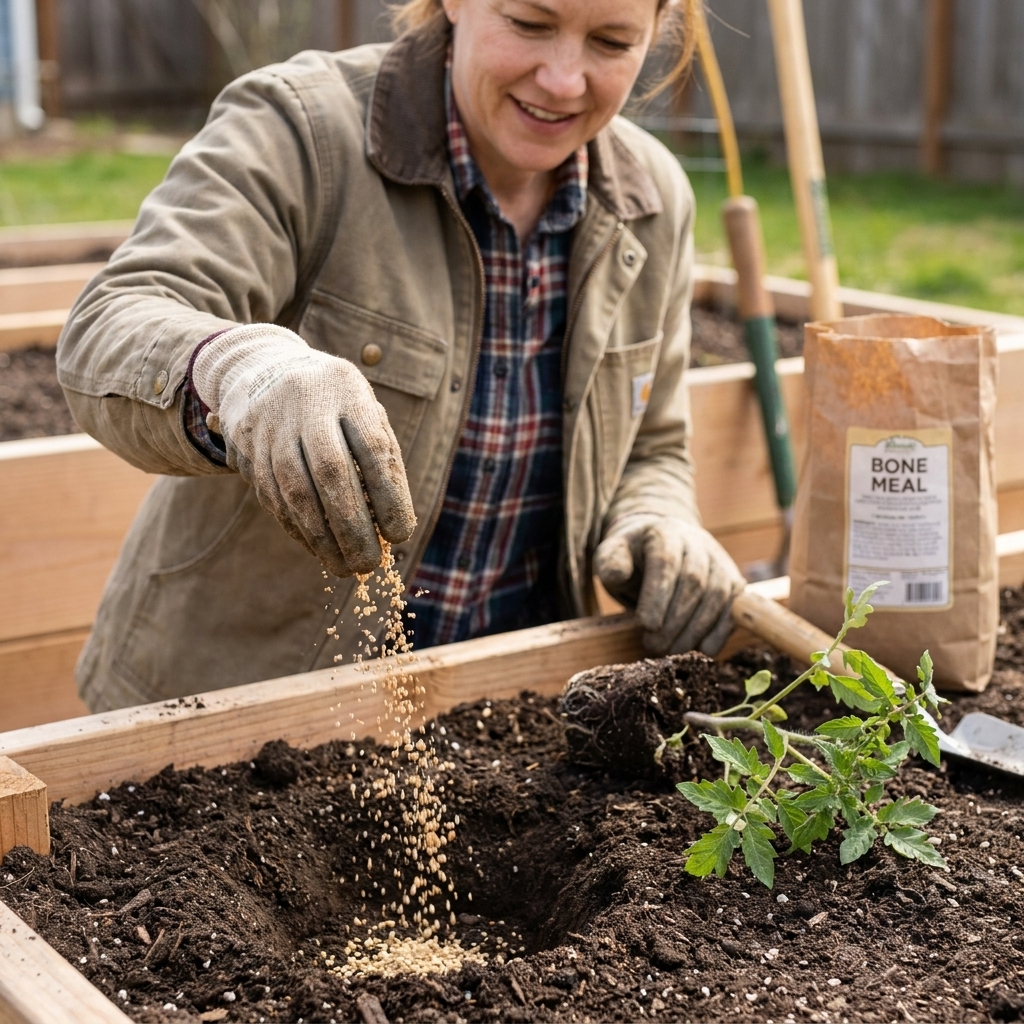
- Root development at planting time for transplants that need to establish quickly.
- Flowering and fruiting crops (tomatoes, peppers, squash, cucumbers) when a soil test shows low phosphorus.
- Bulbs (garlic, onions, ornamental bulbs) especially in low-P soil.
- Calcium supplement as a gentle, slow add, not a rapid fix.
Reality check: blossom-end rot
Bone meal is often recommended for blossom-end rot. Sometimes it helps indirectly if your soil truly lacks calcium, but blossom-end rot is usually a water consistency and calcium-uptake problem, not a “dump more calcium” problem. The fruit can end up calcium-short even when the soil has plenty, especially when watering swings, roots are stressed, or nitrogen is too high. Consistent moisture, healthy roots, and avoiding overfeeding nitrogen usually beat any single amendment.
When bone meal is likely to be wasted
- Your soil already has adequate phosphorus. Many garden soils do, especially where compost and manure have been used for years.
- Your pH is far from neutral. Phosphorus can get tied up and stay out of reach.
- You need a quick change. Bone meal is slow and steady, not instant.
How to choose
If you want the short version, here’s how I decide at home:
- Plants are pale, slow, and leafy crops are stalling: consider blood meal (lightly).
- You’re planting and want root support, and your soil test shows low P: consider bone meal.
- Tomatoes are huge and green but not flowering: skip blood meal, focus on steady watering, sunlight, and a balanced fertilizer.
- You have no idea what your phosphorus level is: use compost first, then consider a soil test before adding bone meal.
In vegetable gardens, phosphorus is the nutrient most commonly overapplied. Nitrogen is the one most commonly “felt” quickly. That’s why blood meal can be useful, and why bone meal should be more intentional.
How and when to apply
General timing
- Blood meal: best applied when plants are actively growing and you can see a need, or as a light early-season boost.
- Bone meal: best applied at planting time or worked into soil ahead of the season.
Typical home-garden rates
Different brands vary, so treat these as starting points and read your bag:
- Blood meal: often applied at roughly 1 to 2 tablespoons per medium to large vegetable plant (think brassicas, corn, established leafy greens), or 1 to 2 cups per 100 square feet as a light top-dress. Start on the low end, and do not use this rate for tiny seedlings.
- Bone meal: often applied at roughly 1 to 2 tablespoons mixed into the soil of the planting hole for typical transplants, or 2 to 5 pounds per 100 square feet when working into beds (label rates vary a lot here).
Application steps I use
- Measure instead of eyeballing. These are concentrated.
- Keep it off stems and leaves.
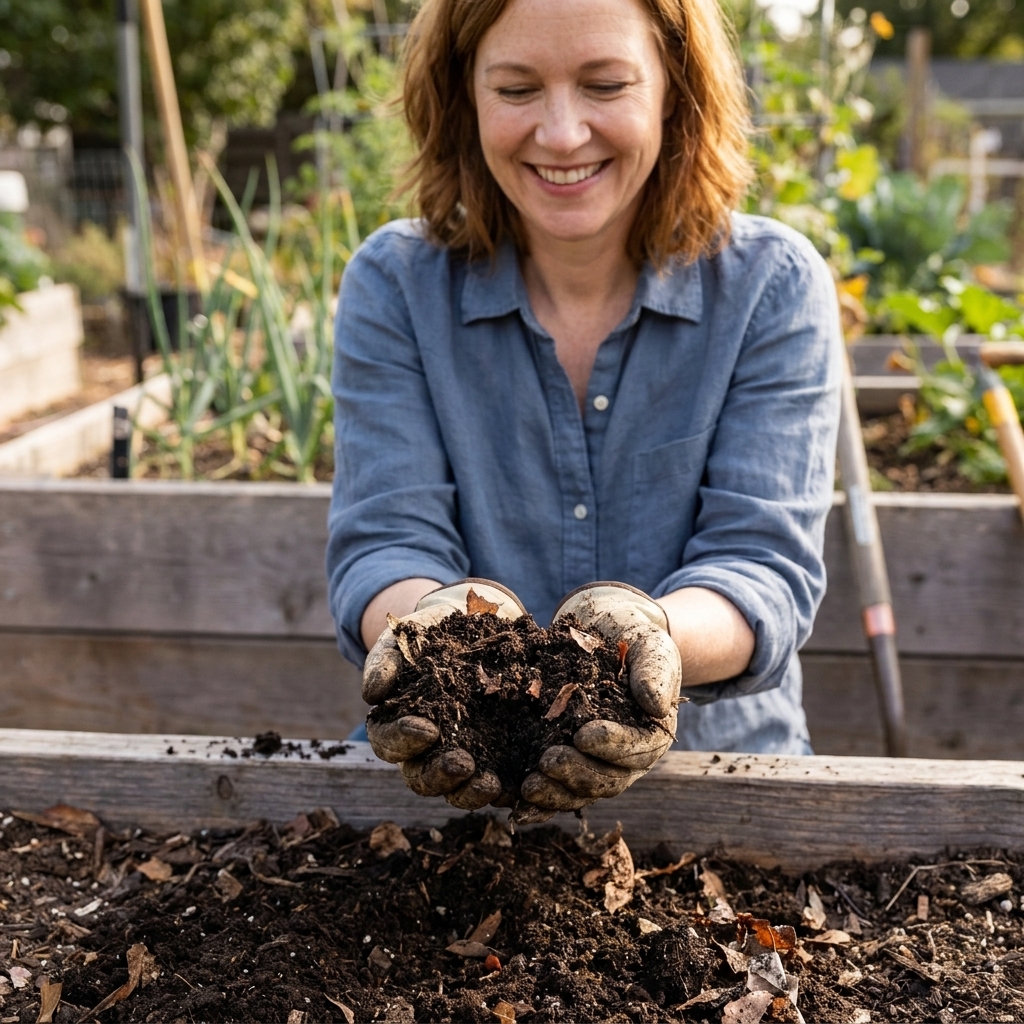
- Scratch it into the top 1 to 2 inches of soil (or mix into the planting-hole soil for bone meal).
- Water well to start the breakdown process and reduce smell.
- Reapply only if needed. With blood meal especially, I wait 2 to 4 weeks and watch the plant.
Keeping animals out
If dogs or raccoons treat your garden like a buffet:
- Work the meal into the soil instead of leaving it on top.
- Water immediately.
- Consider a physical barrier for a day or two (row cover, temporary fencing) right after application.
Using both together
You can, and many “complete” organic blends basically do. The key is not stacking them on top of other high-N or high-P inputs.
If you want to combine them in a DIY way, I recommend doing it only when:
- You are building a new bed with low fertility soil, and
- You are also adding plenty of compost for organic matter, and
- You apply both at modest rates, mixed thoroughly into the soil.
In an established vegetable garden that gets compost yearly, I usually pick one targeted amendment instead of two. Less drama, better results.
In compost
They can go into compost, but they are not my first choice.
- Pros: they add nutrients to the finished compost, and a little can help heat up a pile (blood meal in particular, since it is nitrogen-heavy).
- Cons: they can attract pests, smell stronger than plant-based inputs, and concentrate nutrients in ways that are hard to control.
If you compost at home like I do, I’d rather see you put those dollars toward more diverse compost inputs or a soil test. If you do add them, keep the amount small, bury it in the center of a hot pile, and make sure you have plenty of carbon (dry leaves, shredded cardboard) to balance things out.
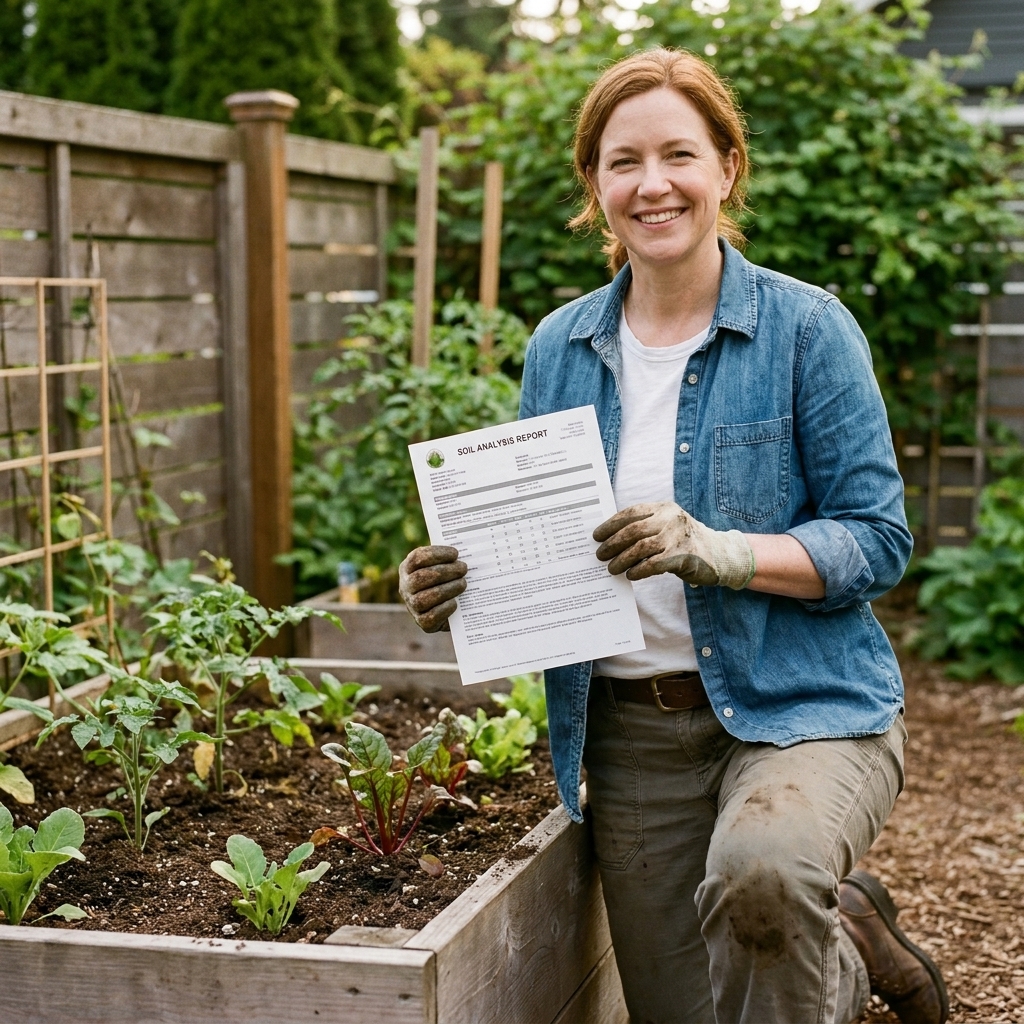
Soil testing
If you want to be confident with bone meal, a soil test is the calm, boring superpower.
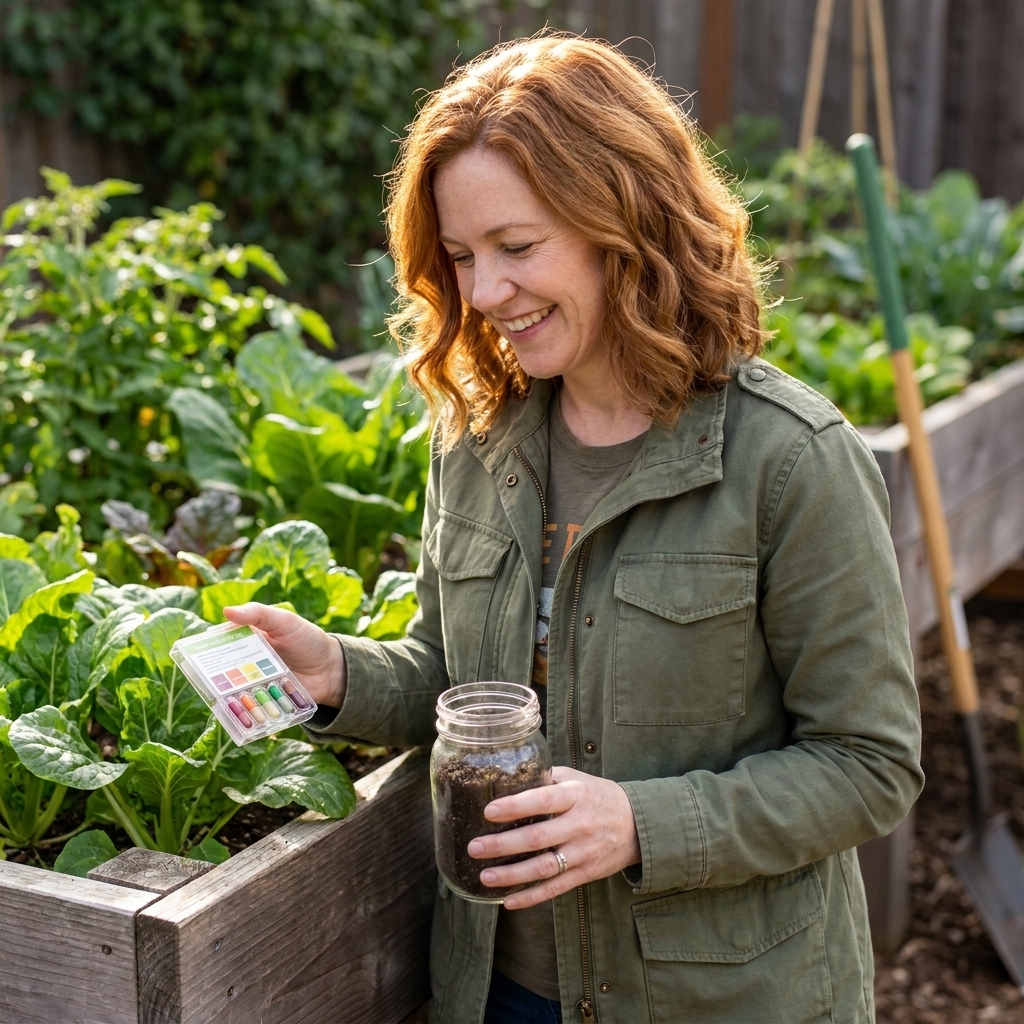
- Where to get one: your local cooperative extension is usually the most reliable option. There are also at-home kits, but lab tests tend to give clearer numbers and better recommendations.
- What “low phosphorus” means: it depends on the test method and the lab’s scale, so follow the interpretation that comes with your results instead of chasing a universal target number.
My personal line in the sand: if your test does not call for more phosphorus, I do not add it “just in case.”
Safety and common sense
- Wash hands after applying, and keep bags stored dry and sealed.
- Keep away from pets. Dogs in particular will try to eat it.
- Do not apply heavily right before a big rain to reduce nutrient runoff.
- Be extra cautious with phosphorus. Overapplied phosphorus is more likely to linger in soil and contribute to runoff pollution if it moves into waterways.
- Consider your source. Look for reputable brands that disclose ingredients and processing.
Alternatives I use
Sometimes the best move is not blood meal or bone meal. Here are a few swaps I reach for depending on what the soil needs:
- Compost: steady, gentle fertility and better soil structure.
- Worm castings: a mild boost that rarely burns, great for seedlings and containers.
- Fish emulsion: quick nitrogen, easier to dose than blood meal (still smelly).
- Alfalfa meal: a plant-based nitrogen source that also feeds soil life.
- Rock phosphate or soft phosphate: longer-term phosphorus, best guided by a soil test.
My rule of thumb: if the soil is compacted, lifeless, or dries like brick, start with organic matter before you start turning nutrient dials.
FAQ
Is blood meal good for tomatoes?
Only in small amounts and usually early, if your tomatoes are genuinely nitrogen-deficient (pale, slow, not just “small”). Too much blood meal can delay flowering and fruiting.
Is bone meal good for tomatoes?
It can be helpful at planting time if your soil test shows low phosphorus. It is not a guaranteed cure for blossom-end rot, which is usually tied to uneven watering, root stress, and calcium uptake.
How long does blood meal last in soil?
It is relatively fast-acting. Depending on temperature and soil biology, you’ll often see effects within days to a couple of weeks, with benefits tapering off over several weeks.
How long does bone meal take to work?
Bone meal breaks down more slowly. Expect weeks to months, and remember that soil pH influences how available that phosphorus becomes.
Will these burn plants?
They can if overapplied or placed in direct contact with roots. Mix them into soil, start with conservative rates, and water in well.
Bottom line
Blood meal is your fast nitrogen tool for leafy growth, best used sparingly and with a clear reason. Bone meal is your slower phosphorus and calcium tool, best used at planting time and ideally guided by a soil test and decent pH.
If you’re ever torn, choose the boring option that almost always helps: add compost, keep watering consistent, and let your soil biology do the heavy lifting. The fancy amendments work best when the basics are already in place.