When my first veggie garden flopped in a yard of stubborn clay, I spent a lot of time blaming my tomato varieties. Turns out, I should have been paying attention to who was living in the soil. The year I finally started seeing earthworm castings and little middens near my beds, everything changed. Water soaked in instead of puddling, seedlings pushed roots deeper, and my compost started disappearing from the surface like it had legs.
If you want earthworms that actually stick around and do the deep-soil work, your job is simple: make the top few inches of soil a safe, steady buffet, and stop doing the things that make worms pack their bags. Here is how I do it in real garden beds, no fancy gear required.
First, a quick worm reality check
Earthworms are helpful soil workers, but a couple of things are worth knowing up front:
- Not every yard has the same earthworms. Some regions have native species. Other places are dominated by introduced species, especially in many northern areas that were glaciated. In a typical home vegetable or flower garden, the goal is to support the earthworms that are already established in your local soil community, whatever their origin.
- Some places should not be “worm-boosted.” If you garden near or within sensitive natural areas, especially certain northern forests that evolved with few or no earthworms, avoid importing worms, compost, mulch, or soil from elsewhere. Let wild spaces stay wild.
- Worms follow moisture, food, and cover. If your beds offer those three, worms will often move in from nearby soil, paths, and lawn edges.
- But colonization is not automatic. If you are dealing with construction fill, severely compacted subsoil, or isolated raised beds on pavement, it can take longer for worms to show up. You can still improve the habitat, but patience matters.
- Buying worms is rarely necessary for outdoor beds. Composting worms (like red wigglers) prefer rich, contained environments and often struggle in open garden soil, especially in heat or cold. For beds, habitat beats purchasing.
What deep-dwelling worms need
When you picture the worms that really help with aeration and drainage, you are usually thinking of the ones that make deeper burrows and pull plant material down from the surface. To support that lifestyle, aim for these conditions:
- Moist, not soggy: consistently damp soil with air spaces
- Cooler soil surface: shaded by mulch or living plants
- Steady food supply: small, regular inputs of organic matter
- Low disturbance: fewer digging and rototilling events
- Near-neutral pH: not extremely acidic (most garden soils are fine)
If you like the “why,” here is the quick version: composting worms live in the surface litter layer, soil-dwelling worms cruise and mix the topsoil, and deep-burrowers connect the surface to deeper soil. Garden beds do best when you support the whole crew, not just one type.
Feed worms the way they eat
Earthworms are not chomping fresh lettuce like a cartoon. They mostly eat decaying plant material and the microbes growing on it. Your goal is to keep a gentle “composting layer” happening on and just under the surface.
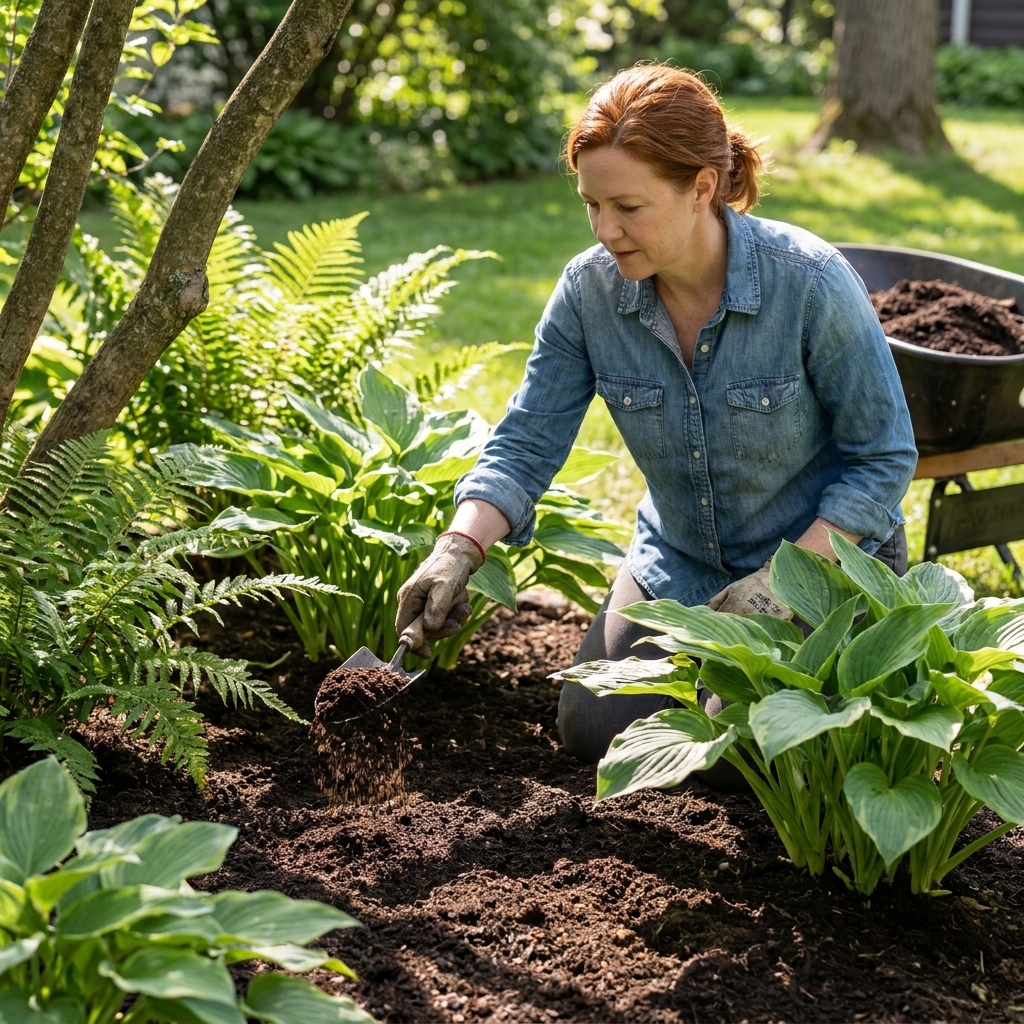
Top-dress with finished compost
This is my favorite low-effort move. Spread a thin layer of finished compost on beds one to three times a year. A typical range is about 1/4 to 1/2 inch in spring and another 1/4 to 1/2 inch in fall if you have it and your soil can use it. Worms will work it down over time, and your soil structure improves without you lifting a fork.
- Use compost that smells earthy, not sour.
- If it is chunky, that is fine. Worms love a mix of particle sizes.
- If you already have rich soil or you rely on compost-heavy fertility, go lighter and consider a soil test occasionally to avoid nutrient buildup.
Use leaf mold and shredded leaves
If there is one “worm magnet” material, it is decaying leaves. In autumn, I shred leaves with a mower and stash bags for spring mulch. Leaves break down slowly, hold moisture beautifully, and create the cool surface worms like.

Mulch with clean, varied organics
Mulch is both food and shelter. Good options include:
- Shredded leaves
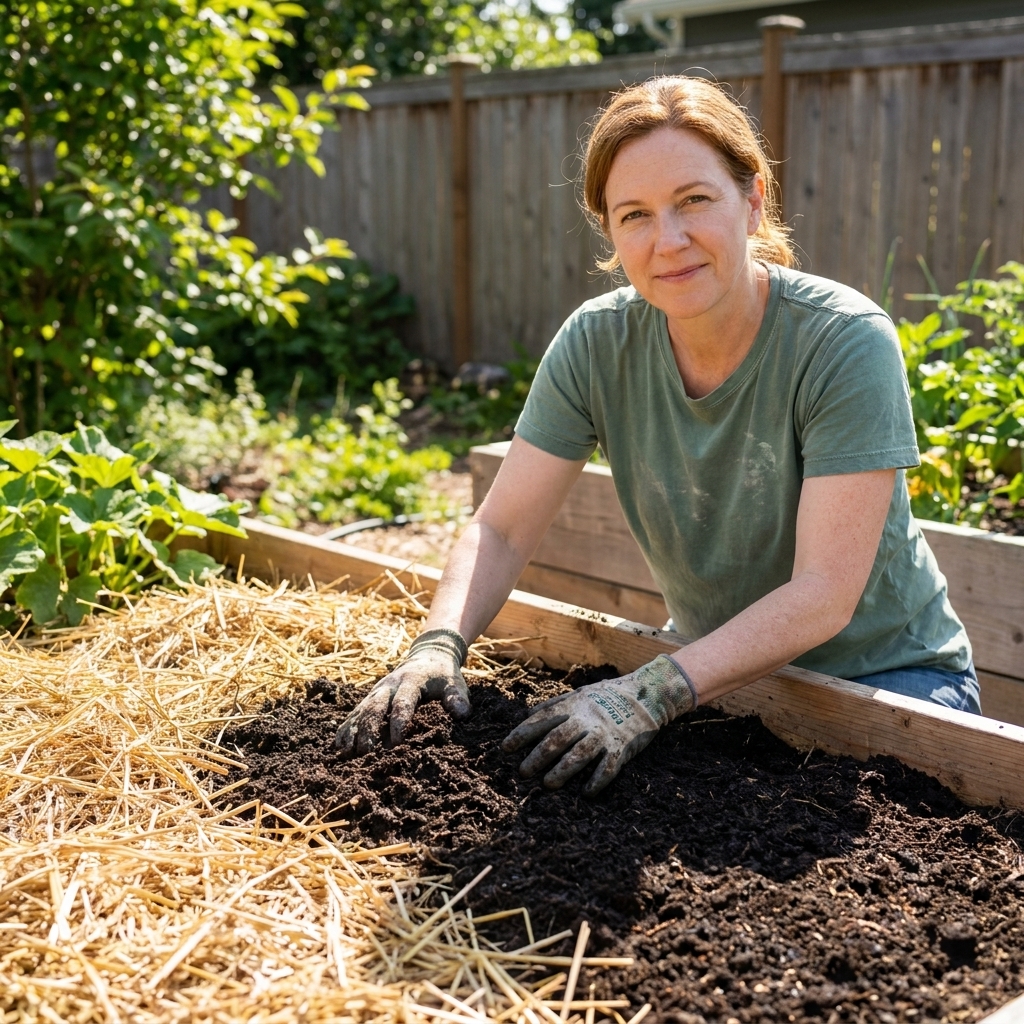
- Straw (seed-free if possible)
- Untreated grass clippings in thin layers (let them dry a bit first)
- Wood chips for paths and around perennials (keep chips off direct contact with tiny seedlings)
Tip: Worms respond better to “little and often” than to one huge dump that turns slimy. If you are using grass clippings, keep each layer thin enough that you can still see bits of the soil through it.
Skip raw meat, dairy, and oily foods outdoors
This is more about not inviting the wrong guests. Meat, dairy, and greasy scraps can attract pests and odors. Save those for a managed system if you use one, and keep garden-bed feeding plant-based.
Keep the surface worm-friendly
In my experience, worms leave garden beds for two main reasons: the surface gets too hot and dry, or the bed gets churned up repeatedly.
Mulch like you mean it
A bare soil surface is a worm desert. Aim for a mulch layer that is thick enough to shade the soil but not so thick it smothers seedlings.
- Established plants: 2 to 4 inches of shredded leaves or straw is usually great.
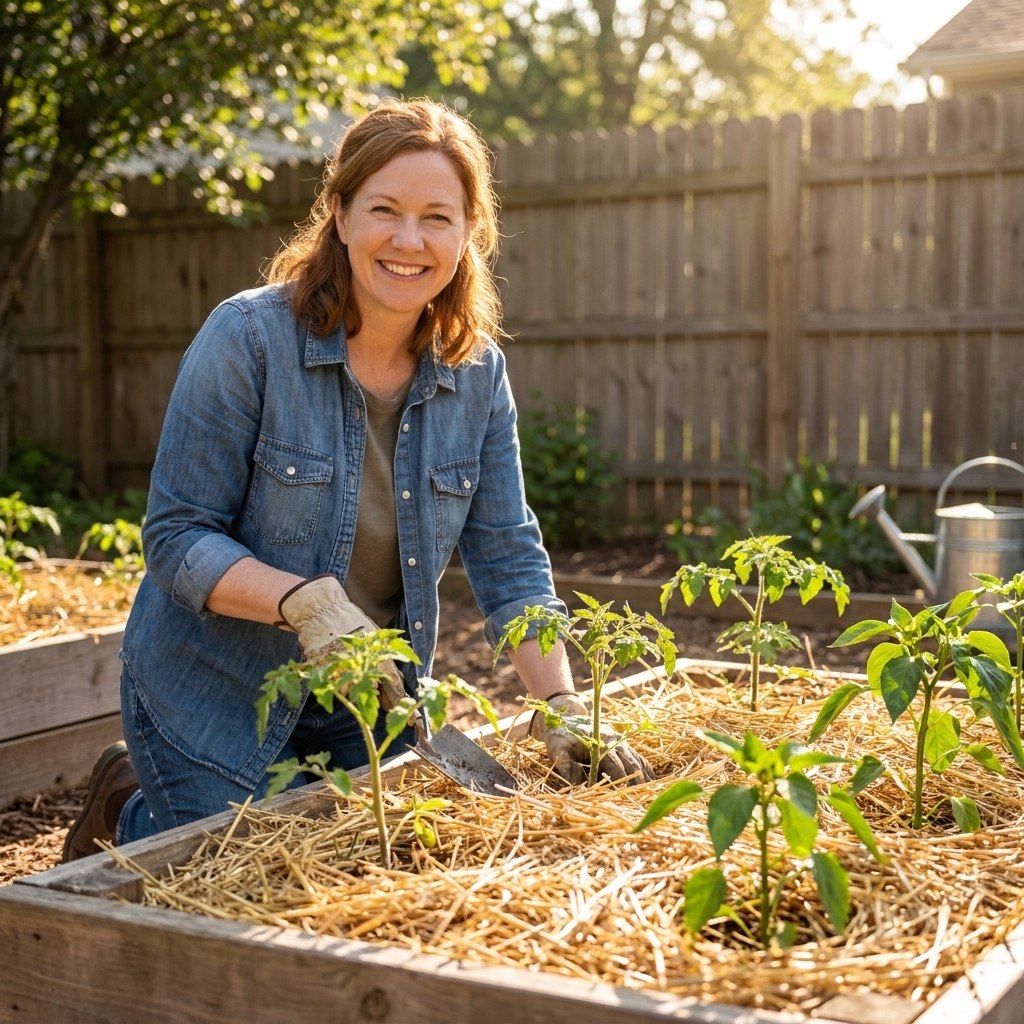
- New seedlings: about 1 inch, pulled back slightly from stems, then build thickness as plants grow.
Water deeply, then let the top breathe
Earthworms need moisture, but they also need oxygen. Frequent light watering encourages shallow roots and can leave the soil surface crusty. Instead:
- Water slowly and deeply so moisture reaches several inches down.
- Mulch right after watering to hold that moisture.
- If you can, water in the morning so the surface dries slightly by afternoon.
Reduce tilling and aggressive digging
I am not anti-shovel, but I am pro “disturb less.” Tilling repeatedly breaks up worm burrows and exposes worms and cocoons to drying and predators.
If you need to loosen compacted soil, try:
- Broadforking or garden-fork lifting: loosen and crack the soil without flipping layers
- Top-dressing compost and letting biology do the mixing
- Growing deep-rooted cover crops (more on that below)
Grow roots that pull worms down
Earthworms and plant roots are a dream team. Roots create channels, release sugars that feed microbes, and keep the underground world active.
Plant cover crops in empty spaces
If you have a bed that sits bare for months, worms tend to drift away. Cover crops keep living roots in the soil and add organic matter when cut down.
- Cool-season options: crimson clover, field peas, oats
- Warm-season options: buckwheat (fast and easy)
Cut cover crops at the base and leave the tops as mulch. Try not to yank roots out. Leaving roots in place is like leaving tiny worm highways behind.
Mix plant types
Even in a small garden, a mix of deep-rooted plants (tomatoes, okra, sunflowers) and fibrous-rooted plants (lettuce, grasses in cover crop mixes) creates a variety of root channels and residues. Diversity above ground tends to support diversity below ground, too.
Make your beds safer
Sometimes the best “worm strategy” is simply removing a few common stressors.
Be careful with pesticides and fertilizers
Many broad-spectrum pesticides can harm soil life directly or indirectly by reducing microbial food sources. And excessive use of salt-based synthetic fertilizers can make the soil environment harsher for worms over time.
If you do use synthetic fertilizer, follow label rates and water it in well to reduce concentrated salts near the surface. If your plants need a boost, gentler options include:
- Finished compost
- Compost tea made from finished compost (as a soil drench, not a miracle cure)
- Balanced organic fertilizers used sparingly and watered in well
Watch pH, but do not chase perfection
Most garden earthworms do best around near-neutral pH, but they tolerate a range. If your soil is very acidic, you might see fewer worms.
- If you suspect a pH issue, start with a basic soil test.
- If lime is recommended, apply it as directed and re-test later. Over-liming can cause its own problems.
Avoid compacting what you are improving
Worms can help with compaction, but they cannot fix what we keep re-packing. A few practical habits help a lot:
- Use defined paths and do not step in beds.
- In wet weather, stay off beds entirely if you can. Wet soil compacts easily.
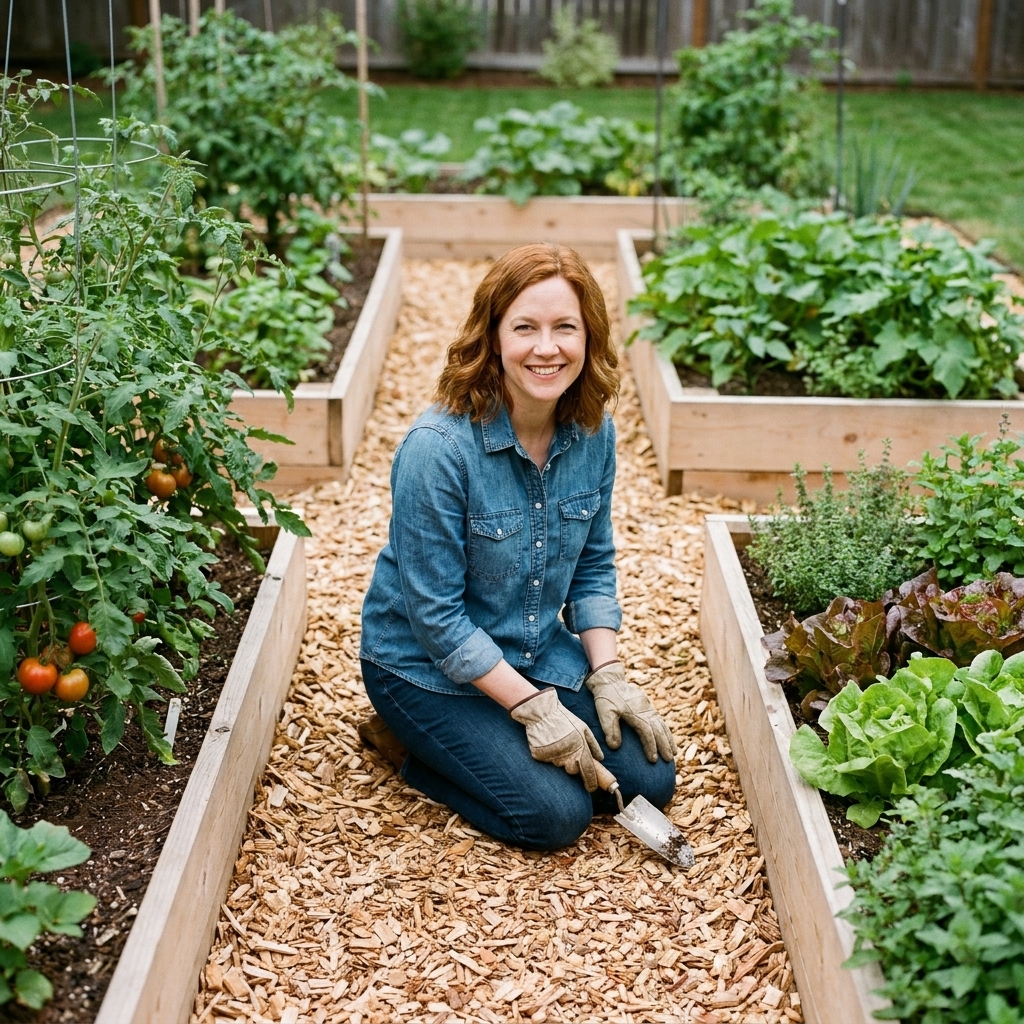
- Add a thick wood chip layer to paths to cushion foot traffic and slowly feed the edges of your beds.
Compost habits worms love
Since this is Compost Grove, we have to talk about the compost connection. Worms show up when your soil behaves like a slow, steady compost system.
Use compost as a steady top-dress
It is tempting to dump a mountain of compost once and call it done. Better results usually come from smaller applications repeated over time. That consistent input keeps worm populations stable instead of boom-and-bust.
Handle manure and “hot” materials safely
If you are using manure or very young compost, make sure it is well-aged or properly composted before spreading in beds. Overly fresh, high-nitrogen materials can heat up or create ammonia pockets that worms avoid.
For edible gardens, I keep it simple: use composted manure, and avoid spreading anything raw right up close to harvest. When in doubt, stick with finished compost.
Use almost-finished compost as mulch
If I have a compost batch that is mostly finished but still has recognizable leaf bits, I use it as a mulch layer around established plants. It settles in, stays moist, and worms move through it like a hallway.
Should you add worms?
Most of the time, no. If you improve habitat, worms often arrive on their own from surrounding soil. Purchasing worms for outdoor beds often leads to disappointment because:
- Composting worms (like red wigglers) prefer high-organic, shallow, contained environments.
- Deep-burrowing types are not typically sold for home garden “stocking” in a responsible, locally appropriate way.
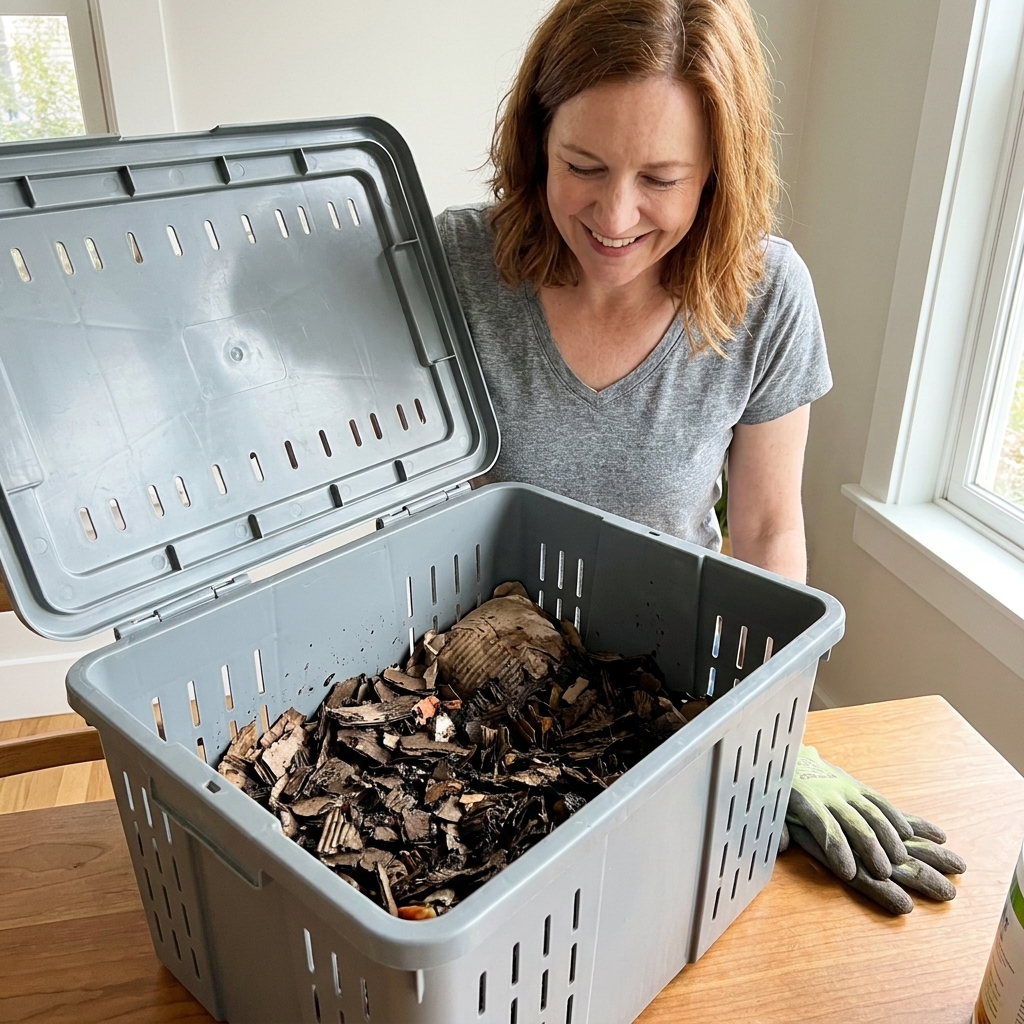
If you do decide to bring in worms for a specific purpose, the most reliable and low-risk route is to start a worm bin for kitchen scraps, then use the finished castings as a soil amendment. Let your outdoor beds recruit their own earthworms naturally.
Signs it is working
Earthworms are shy, but they leave clues. Look for:
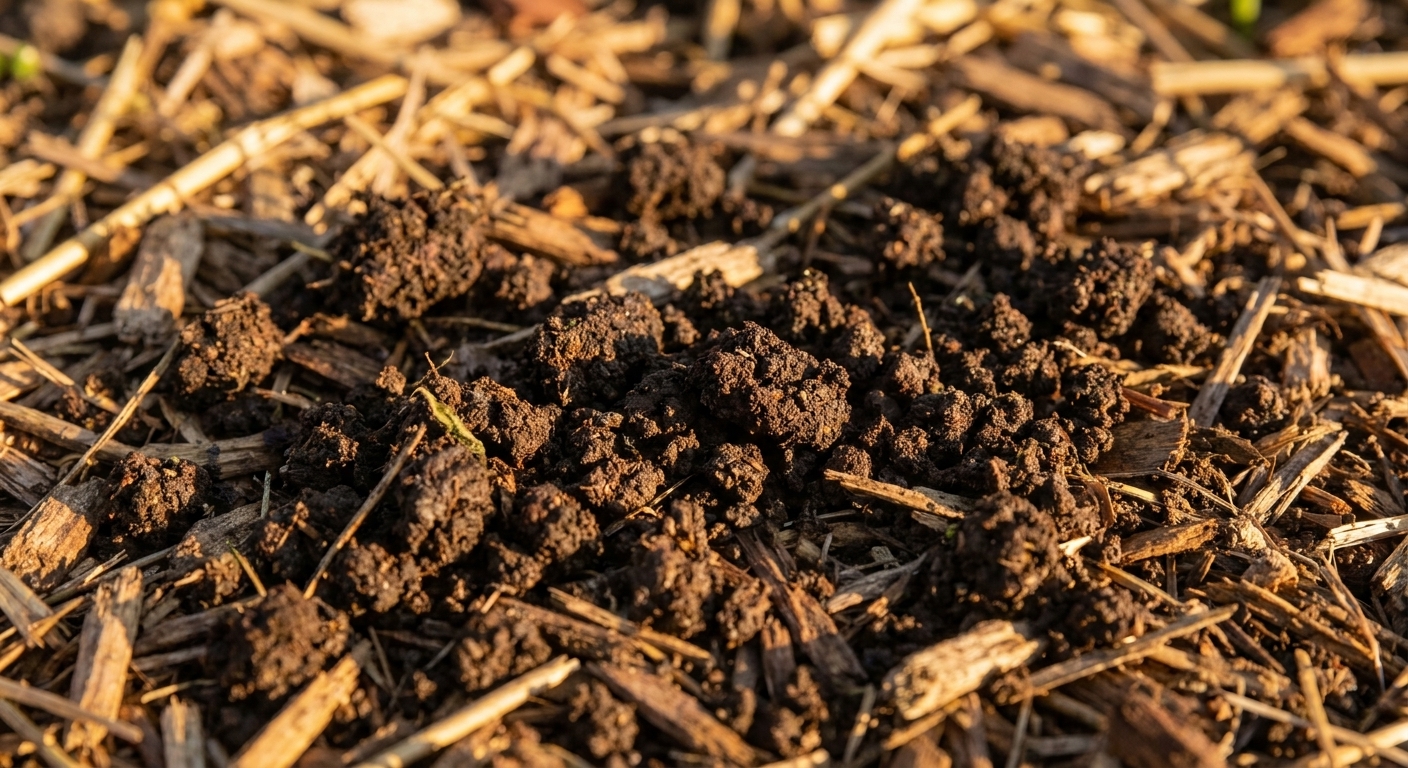
- Castings on the soil surface or under mulch, especially after rain
- Small holes and burrow openings that persist week to week
- Mulch that “melts” into the soil faster than you expect
- Improving crumb structure, less crusting, and better infiltration when you water
If you want a simple check, gently lift a patch of mulch and count what you see in the top few inches. Do it after a rain or after deep watering, and you will get a more honest picture.
Common problems and fixes
No worms, and the soil is a brick
- Fix: Start with mulch and compost on top, then loosen once with a garden fork or broadfork if you can.
- Bonus: Plant a cover crop or a deep-rooted “soil helper” like daikon radish in season.
Worms show up, then vanish in summer
- Fix: Increase mulch depth, water deeply, and add shade from living plants.
- Check: Drip irrigation under mulch is a worm favorite because it keeps moisture stable.
Soil stays soggy and smells off
- Fix: Pull back heavy, wet mulch layers, avoid overwatering, and add airy materials like shredded leaves.
- Consider: Creating drainage paths, raised beds, or adding coarse organic matter over time.
Ants, slugs, or gnats explode under mulch
- Fix: Switch mulch type (straw to leaves, or vice versa), keep mulch pulled back from plant crowns, and avoid thick mats of fresh grass clippings.
- Remember: Worm-friendly does not mean “anything goes.” Balance matters.
My simple routine
If you want a quick plan you can repeat every year, here is what works in my beds:
- Early spring: Top-dress 1/4 to 1/2 inch finished compost.
- Planting time: Mulch lightly around seedlings once soil warms.
- As plants grow: Build mulch to 2 to 4 inches, keep it off stems.
- Midseason: Add a thin refresh of shredded leaves or straw where bare spots appear.
- Fall: Chop spent plants at soil level, leave roots in place, and mulch with shredded leaves.
It is not flashy. It is just steady. And steady is exactly what worms, microbes, and your future harvest want.
Earthworm FAQ
Will coffee grounds attract earthworms?
In small amounts, yes. Grounds are a fine-textured organic material that breaks down quickly and feeds microbes. The key is moderation. Mix them into compost first, or sprinkle thinly under mulch so they do not form a dense layer that sheds water. Avoid thick layers, since heavy use can temporarily tie up nitrogen as they break down.
Do eggshells help worms?
Crushed eggshells can add a bit of calcium over time and may help buffer acidity in very small ways, but they are not a worm magnet. If you use them, rinse, dry, and crush well. They break down slowly.
Is it bad to turn my soil at all?
Not bad, just something to do thoughtfully. One initial loosening in compacted ground can help a lot. The bigger issue is repeated deep turning that destroys structure and burrows. After you get a bed established, top-dressing compost and mulching usually gives better long-term results.
How long does it take to see more worms?
If moisture and cover improve quickly, you might see more worms within a few weeks, especially after rains. Building a strong, stable population typically takes a season or two of consistent compost top-dressing and mulch.
What if summers are very hot?
Focus on keeping the soil surface cool. Mulch deeper, water early, and let plants shade the soil. In extreme heat, worms often retreat deeper. Your job is to make sure they can come back up safely when temperatures ease.