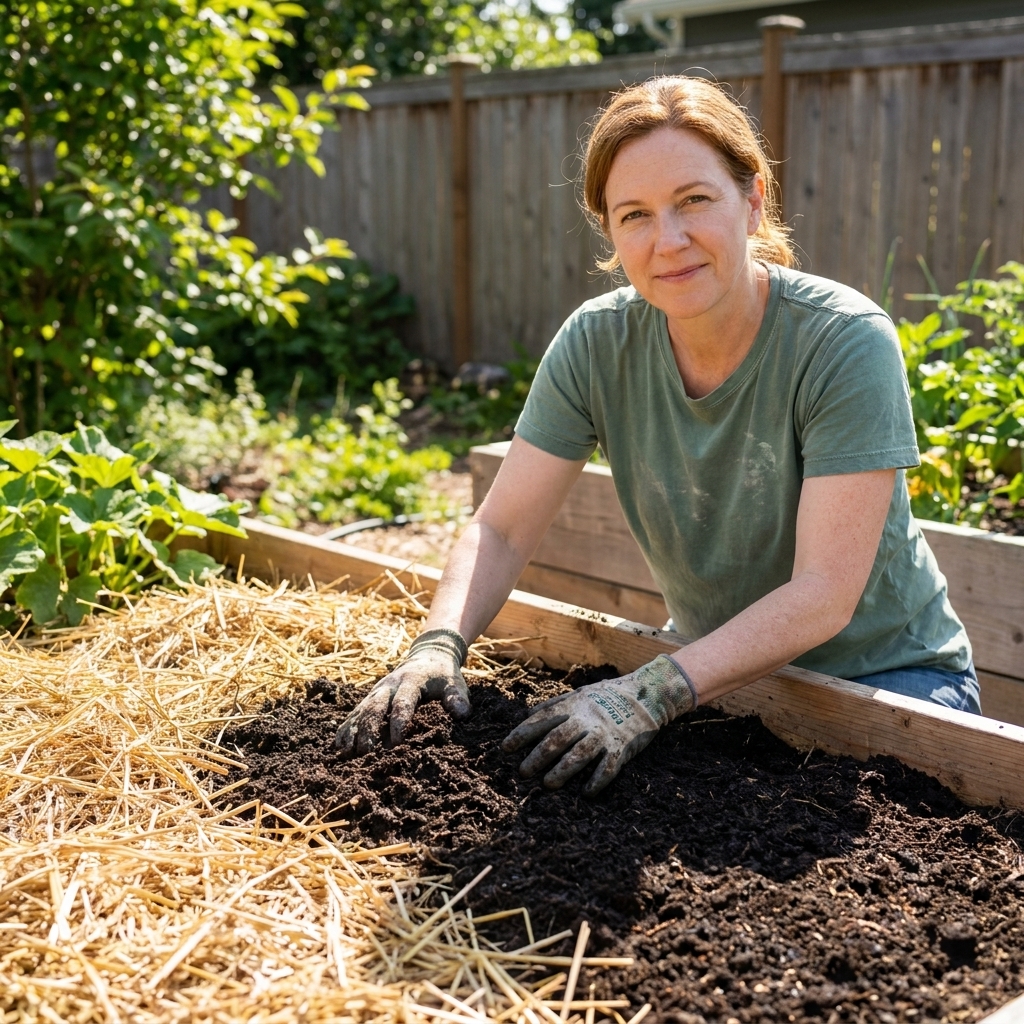
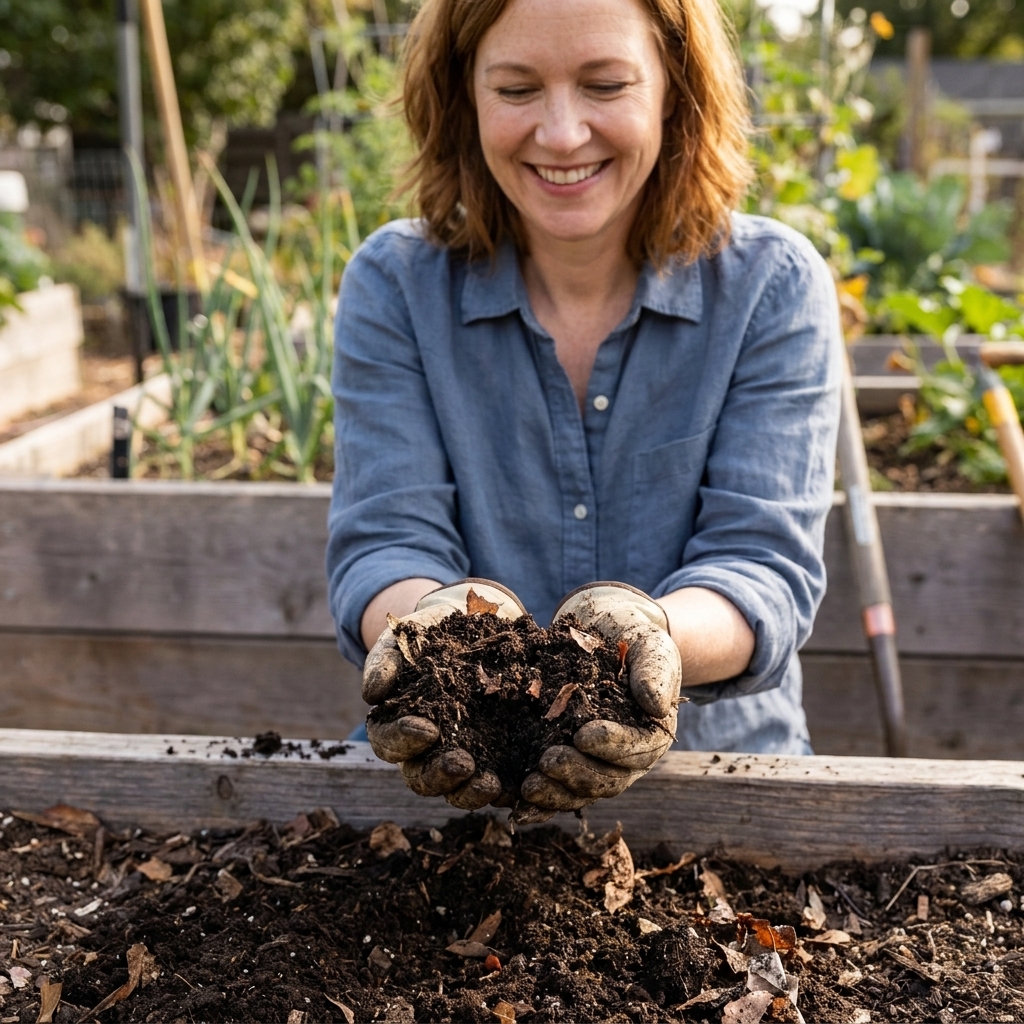
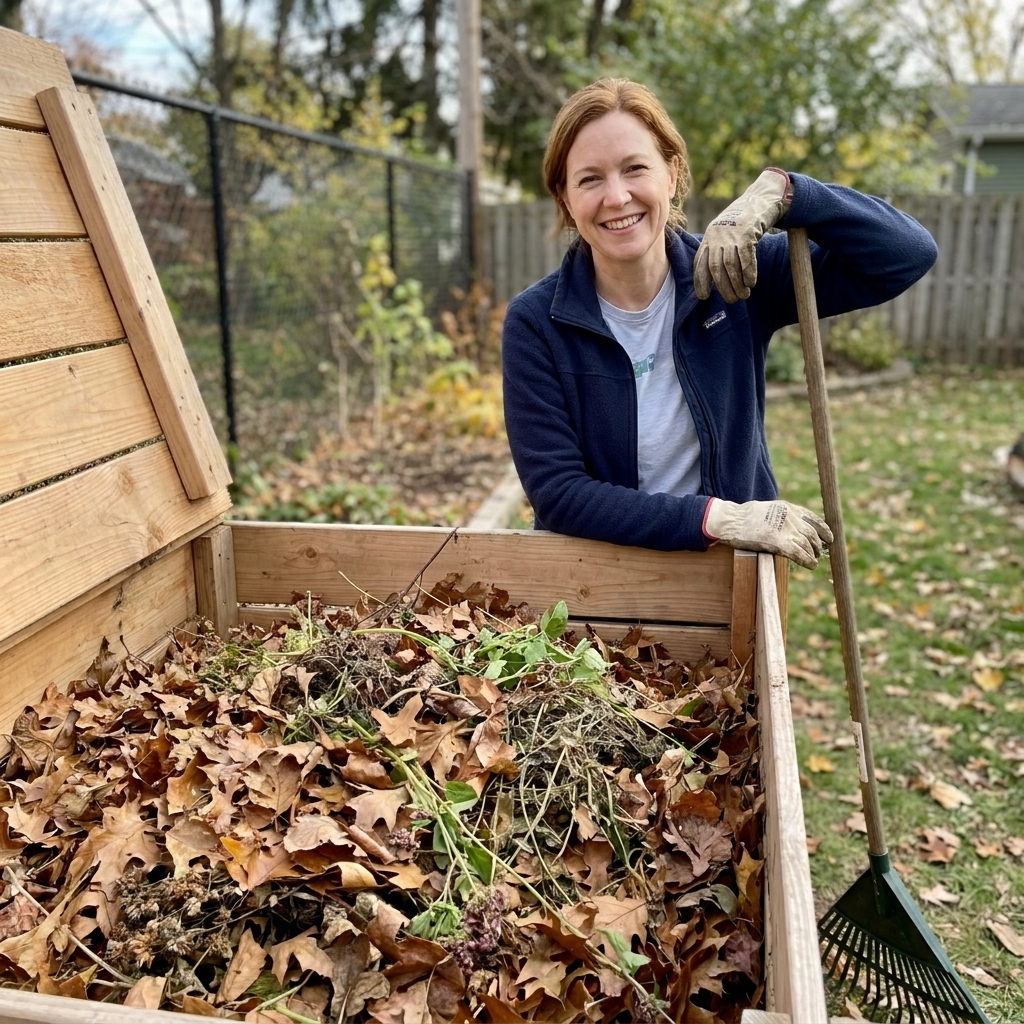
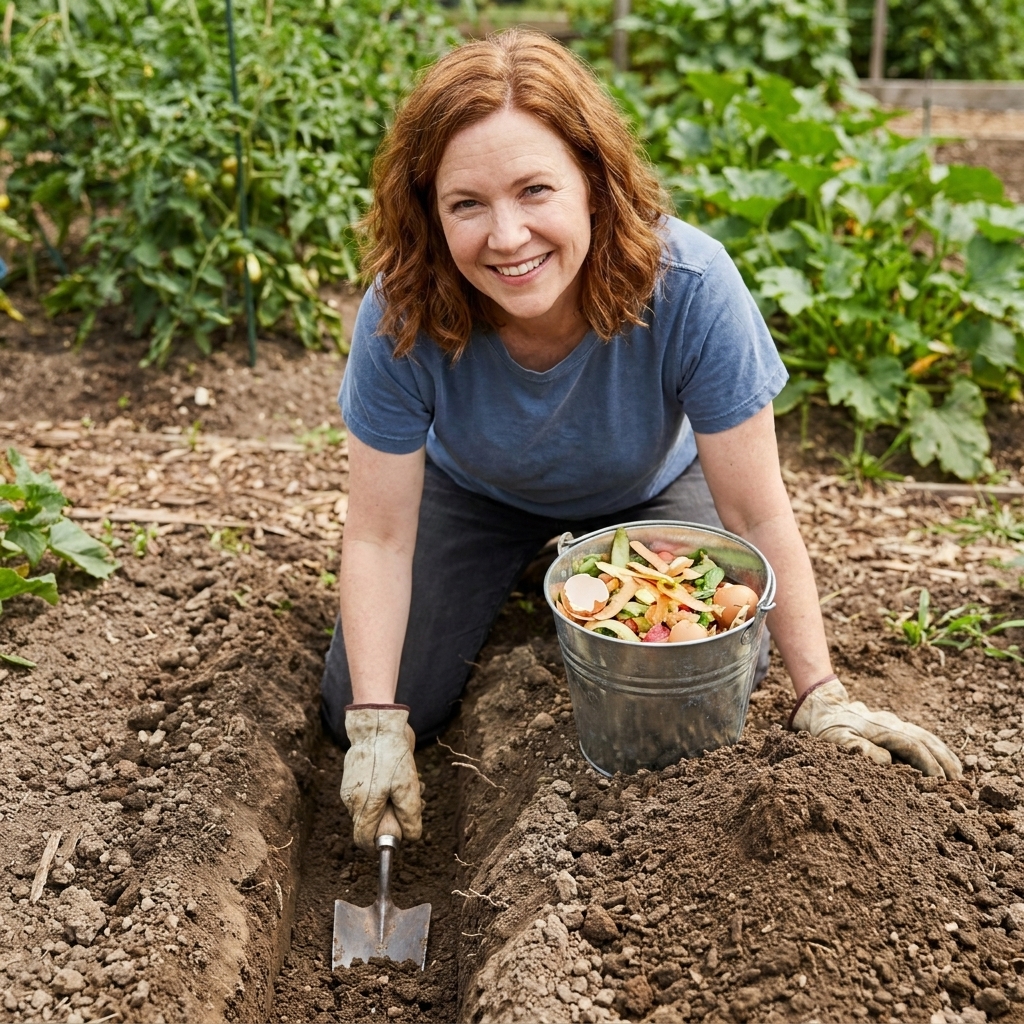
Twelve years ago, I was trying to grow vegetables in a yard that was basically a brick of clay. I kept buying bag after bag of “good” soil and still ended up with sad, stubborn plants. What finally moved the needle was not a fancy product. It was organic matter, added again and again, right where I needed it.
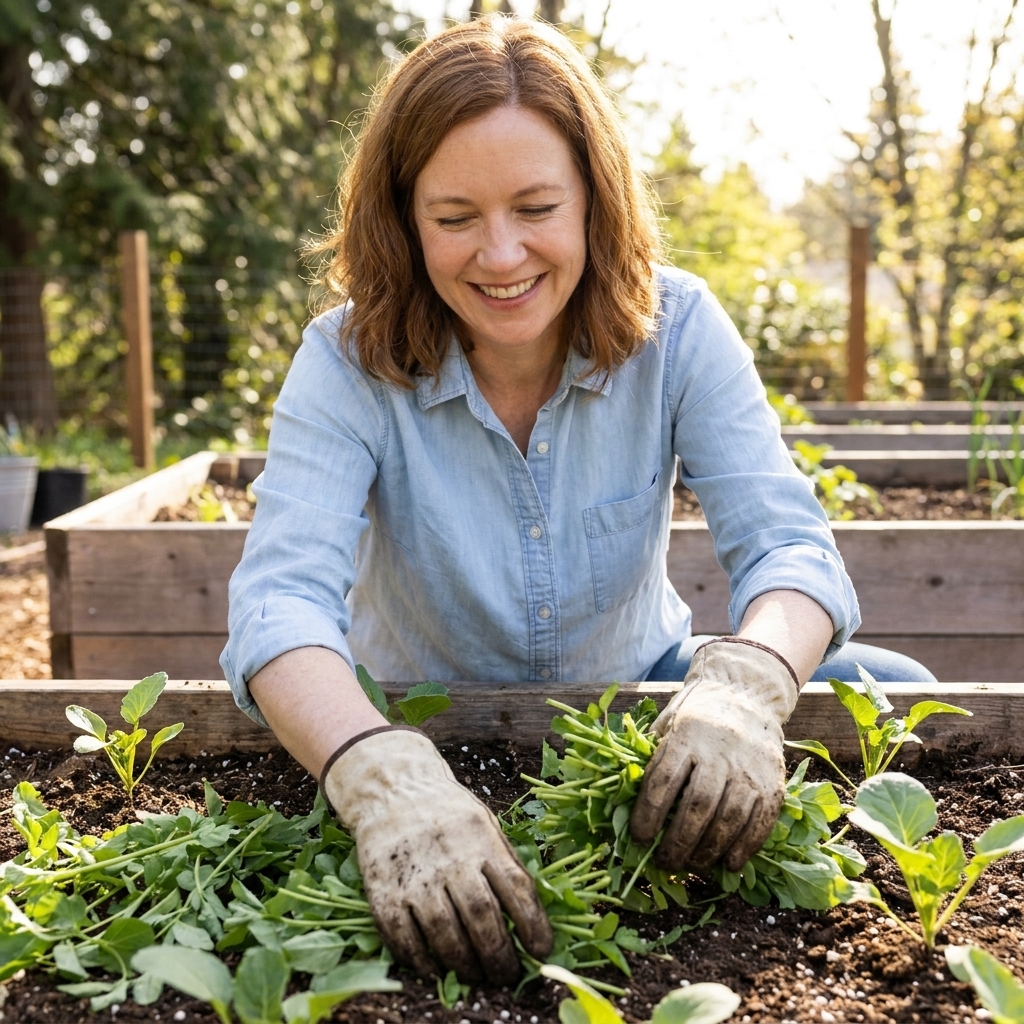
Chop-and-drop is one of the simplest ways to do that. You cut back a plant, then you leave the trimmings on the soil surface to break down. No hauling, no shredding required, and no “perfect compost” pressure. Just a steady, in-place drip of carbon, nutrients, and habitat for the life in your soil.
What chop-and-drop means
Chop-and-drop is exactly what it sounds like:
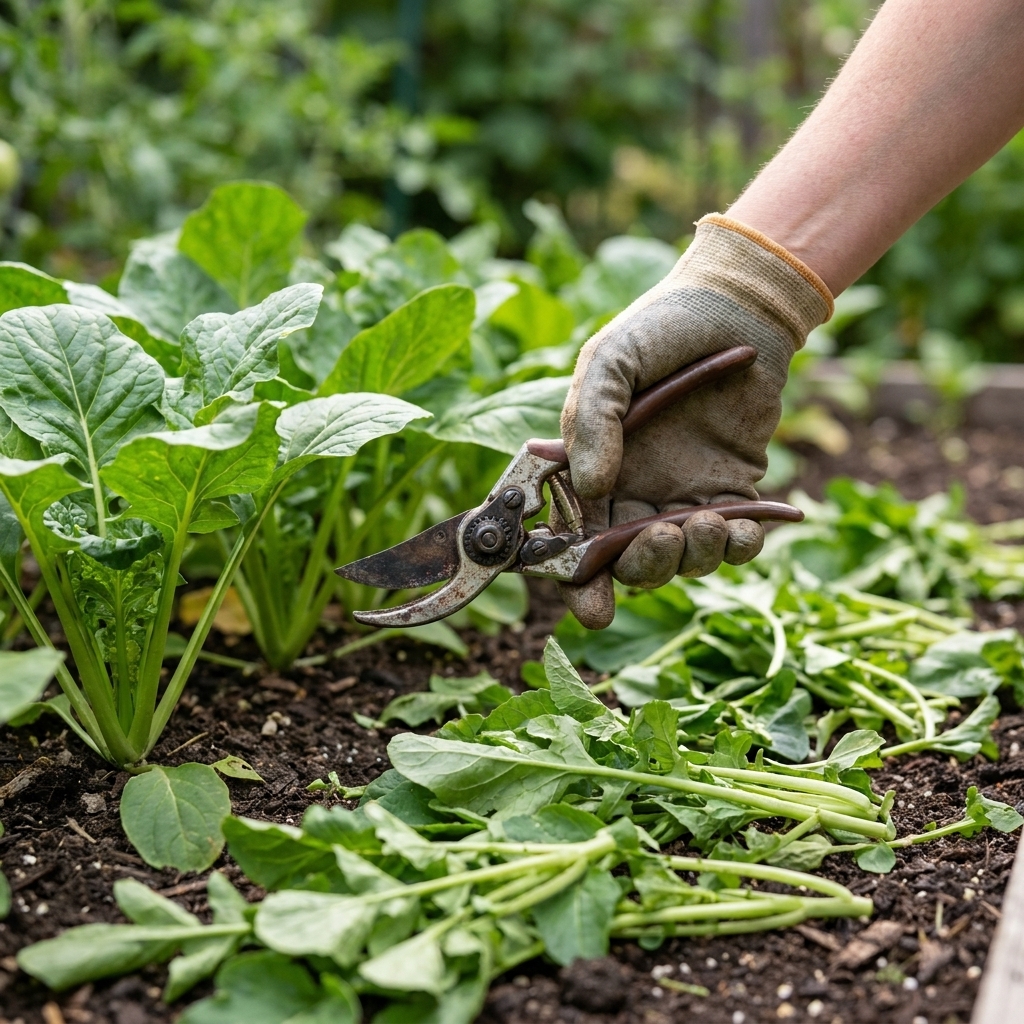
- Chop: Prune, cut back, or thin plants you are already growing.
- Drop: Lay those leaves and stems on the soil surface nearby.
The trimmings act like a living-garden version of mulch. Instead of exporting your plant material to a compost pile across the yard, you keep it where it grew. Over time, the pile shrinks down. Some of that plant carbon is released as it decomposes, and some is incorporated into the soil as organic matter through microbes, worms, and other decomposers.
This is a classic permaculture habit, but you do not need a full permaculture redesign to use it. You can do it in a single raised bed, a front-yard herb patch, or even large patio containers.
Why it builds organic matter
Organic matter is not just “stuff in the soil.” It is food, structure, and sponge all rolled into one. Chop-and-drop helps because it feeds the soil ecosystem in small, steady portions, right at the surface where a lot of decomposer action happens.
It copies natural ground cover
In a forest or meadow, plants are constantly dropping leaves and stems. Nobody rakes it up and carries it away. That layer becomes the protective blanket that keeps soil life humming along.
It protects the soil surface
A thin cover of plant material helps:
- Reduce evaporation and keep moisture more even.
- Buffer soil from heat and sudden temperature swings.
- Soften the impact of rain so you get less crusting and compaction.
- Slow weeds by shading the soil.
It feeds microbes and worms where they work
Bacteria and fungi colonize the trimmings, then predators and decomposers show up, and the whole food web gets moving. Earthworms often pull smaller pieces down as they feed, which is basically free movement of organic matter into the topsoil.
It keeps nutrients cycling on-site
Those leaves and stems contain nutrients the plant pulled up from the ground. When you drop them back onto the bed, you are returning a portion of that fertility to the same area, instead of exporting it to yard waste bags.
Where it works best
Great places to use it
- Under fruit trees and shrubs: Drop prunings under the drip line as a slow mulch feed.
- In vegetable beds: Use soft trimmings as a light mulch between plants.
- In flower borders: Cut-and-drop after deadheading or seasonal cutbacks.
- In pathways: Coarser stems can be used like rough mulch to suppress weeds.
- In containers: Small herb trimmings help reduce drying and add tiny amounts of organic matter over time.
Times I skip it
- When disease is active: If a plant is visibly diseased, I do not drop that material in place.
- When weeds have seeds: Seeded weeds go to a managed compost system, not onto the bed.
- When stems are too woody: Thick canes can take a long time to break down unless chopped small.
How to do chop-and-drop
You can keep this very simple. The goal is not perfection. The goal is consistent, soil-covering organic matter.
Step 1: Pick clean material
My basic rule: if I would happily put it in my compost pile, I will usually chop-and-drop it.
- Best choices: Green leaves, soft stems, spent annuals, herb trimmings, cover crop cuttings.
- Use with caution: Anything with pests attached, mildewed foliage, thorny canes, plants that root easily from cuttings.
- Avoid: Trimmings from sprayed lawns, roadside weeds, or anything you suspect was hit with persistent herbicides. The whole point is feeding your soil, not importing a problem.
Step 2: Chop smaller than you think
Smaller pieces break down faster and look tidier. For most garden trimmings, I aim for pieces in the 2 to 6 inch range. For tender beds and tight spaces, go closer to 2 inches. For paths or under shrubs, you can leave pieces a bit larger.
Step 3: Spread a loose layer
Drop it like mulch, not like a blanket. Think a loose, airy layer around 1 to 2 inches thick.
- Keep a small gap around tender seedling stems.
- Also keep material off the crowns of perennials and the base of shrubs to avoid constant dampness and rot.
- Avoid piling thick, wet mats of greens in one spot.
Step 4: Add a pinch of browns when needed
If your drop is very green and juicy, balance it with a light sprinkle of dry leaves, straw, or shredded paper on top. This helps prevent slimy patches and invites fungal breakdown.
Step 5: Reapply as it shrinks
This is the part people forget. Chop-and-drop is not “one and done.” It is a habit. Every pruning day becomes a soil-building day.
Good plants for chop-and-drop
Legumes (peas, beans, clover)
After harvest, I love cutting legumes at the base and leaving roots in the soil. The top growth can be dropped as mulch. The roots and nodules can contribute to nitrogen cycling as they break down, but how much the next crop actually gets depends on the legume, the timing, and how decomposition plays out in your conditions. I treat it as a helpful bonus, not a full fertilizer plan.
Comfrey and fast growers
Comfrey is a classic chop-and-drop plant because it regrows quickly and the leaves break down fast. People often call it a “nutrient accumulator.” Whether or not you love that label, the practical takeaway is the same: it is a lot of leafy biomass you can cut and use as mulch around hungry plants like tomatoes, squash, and fruit trees.
Tomato and pepper trimmings
Healthy tomato suckers and pepper trimmings can be dropped lightly, but I keep the layer thin. If blight or viral issues are in play, those trimmings do not stay in the bed.
Herbs
Basil, cilantro, parsley, oregano, and mint trimmings are perfect. Just be careful with runners and anything that re-roots easily. Mint can re-root if it stays moist.
Ornamental perennials
Soft cutbacks are great. For tougher stems, I snip them smaller or use them in a rough path mulch where slow breakdown is fine.
Pests and disease cautions
Chop-and-drop is low effort, but it is not “no thinking required.” A few guardrails keep it from becoming a problem.
Do not spread disease on purpose
If you are seeing obvious disease, especially anything that spreads quickly or overwinters on debris, do not drop it around the same plants. Options I use instead:
- Send it to municipal yard waste if available.
- Hot compost it only if you run a managed pile that reliably gets and stays hot enough to break down problem material.
- Bag and dispose of it when the risk is high.
Watch for hitchhiking pests
Aphid-covered tips, squash vine borer-infested stems, and heavily bugged foliage are not my favorite chop-and-drop candidates. If I drop them, it is usually far from the main crop area, and only if I am confident predators are already active and the plant is not a pest nursery.
Do not build slug hotels
In damp climates, thick layers of fresh greens can invite slugs. Use thinner layers, chop smaller, and consider topping with a drier brown mulch.
Chop-and-drop vs compost
In my garden, they are partners, not competitors.
- Chop-and-drop is best for: Quick returns, keeping soil covered, reducing work, feeding beds little by little.
- Composting is best for: Kitchen scraps, seedy weeds (with hot composting), messy material you do not want visible, making a finished amendment you can move where needed.
If you are overwhelmed, start with chop-and-drop for garden trimmings and compost your kitchen scraps. That one change alone can seriously cut down how much you throw away.
A seasonal routine
Spring
- Chop back overwintered cover crops before they set seed.
- Drop early herb trimmings around perennials.
- Keep mulch layers light near new seedlings.
Summer
- Drop tomato suckers and leafy prunings if they are healthy.
- Use chop-and-drop to keep beds shaded during heat.
- Refresh thin spots after each harvest.
Fall
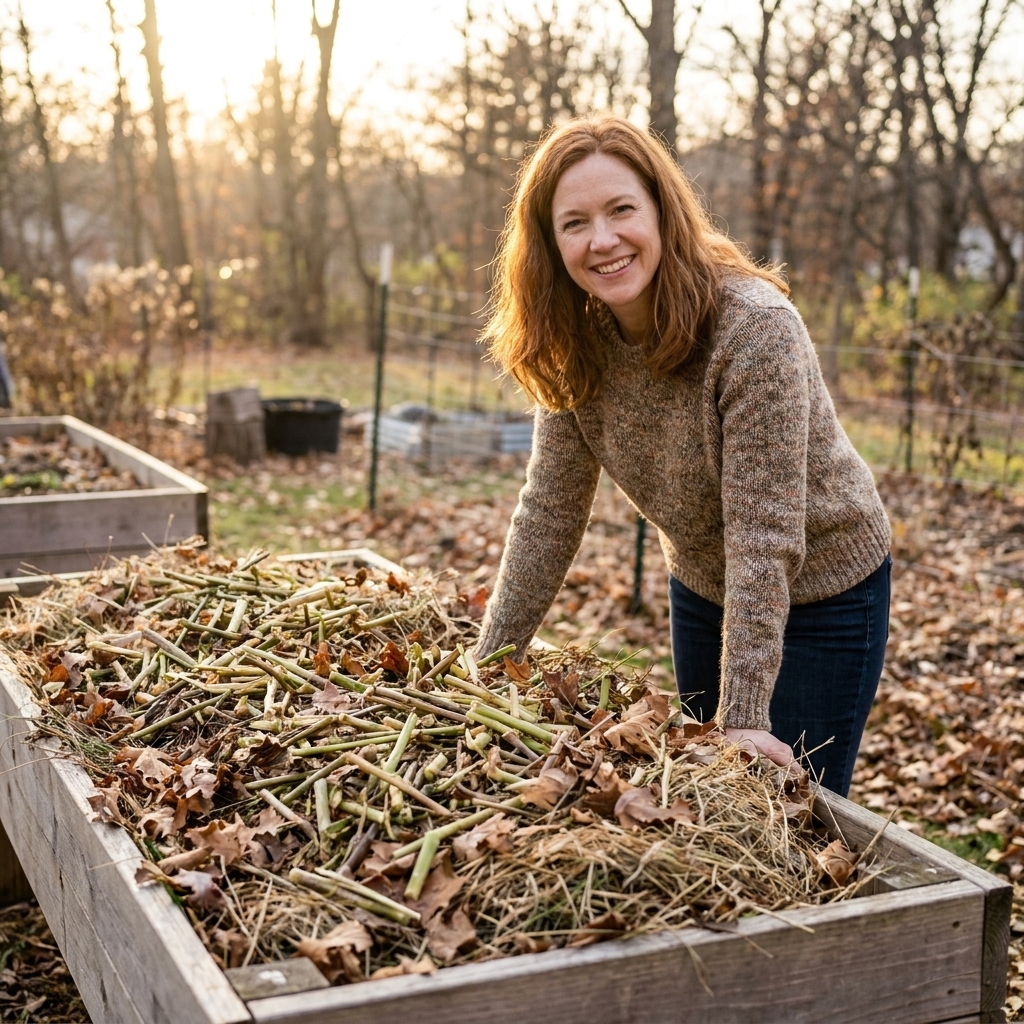
- Chop spent annuals and drop them as a winter blanket.
- Layer leaves over chop-and-drop material for a balanced breakdown.
Winter
- In mild climates, keep adding small amounts whenever you prune.
- In cold climates, let it sit as cover and feed the soil life when temperatures rise.
Quick FAQ
Will chop-and-drop attract rodents?
It can, but it is much less attractive than food scraps. Avoid dropping fruit, thick kitchen waste, or anything oily. Keep plant layers loose and do not create dense piles right next to a shed or foundation.
Does it steal nitrogen from the soil?
A thick layer of dry, woody material can temporarily tie up nitrogen right at the surface as it breaks down. If you are dropping mostly green material, it usually decomposes without issues. If you are using lots of browns, keep the layer thinner around heavy-feeding crops, or add a little finished compost nearby.
How long does it take to break down?
Soft greens can disappear in a couple of weeks in warm weather. Tougher stems can take months. Chopping smaller, mixing greens and browns, and keeping the bed evenly moist speeds things up.
Can I do this in a tidy front yard?
Yes. Chop smaller and tuck the trimmings under existing mulch, under shrubs, or beneath taller plants. It reads like “mulched bed,” not “yard debris,” especially if you keep it neat and even.
The takeaway
If you have ever felt like composting is one more chore on an already long garden to-do list, chop-and-drop is your gentle shortcut. You are still composting, you are just doing it right where the plants are, one pruning at a time.
Start small: next time you trim herbs, deadhead flowers, or pull a spent plant, chop it up and lay it down. Come back in a couple weeks and look closely. That is the moment you start seeing your garden turn into its own little soil factory.