The first time I tried biochar, I treated it like a fancy compost add-in. I sprinkled it around, watered, and waited for magic. What I got instead was a whole lot of “meh.” It turned out I skipped the step that makes biochar worth the effort: activation (also called charging). Once I started pre-loading biochar with nutrients and microbes before it hit my beds, I finally saw what all the fuss was about.
Biochar is not a fertilizer. Think of it as a long-lasting soil upgrade that creates tiny, long-lived parking spaces for water, nutrients, and microbes. Done right, it can make soil more resilient for the long haul, especially in sandy beds that dry out fast or clay that turns into a brick in July.
What biochar is (and what it is not)
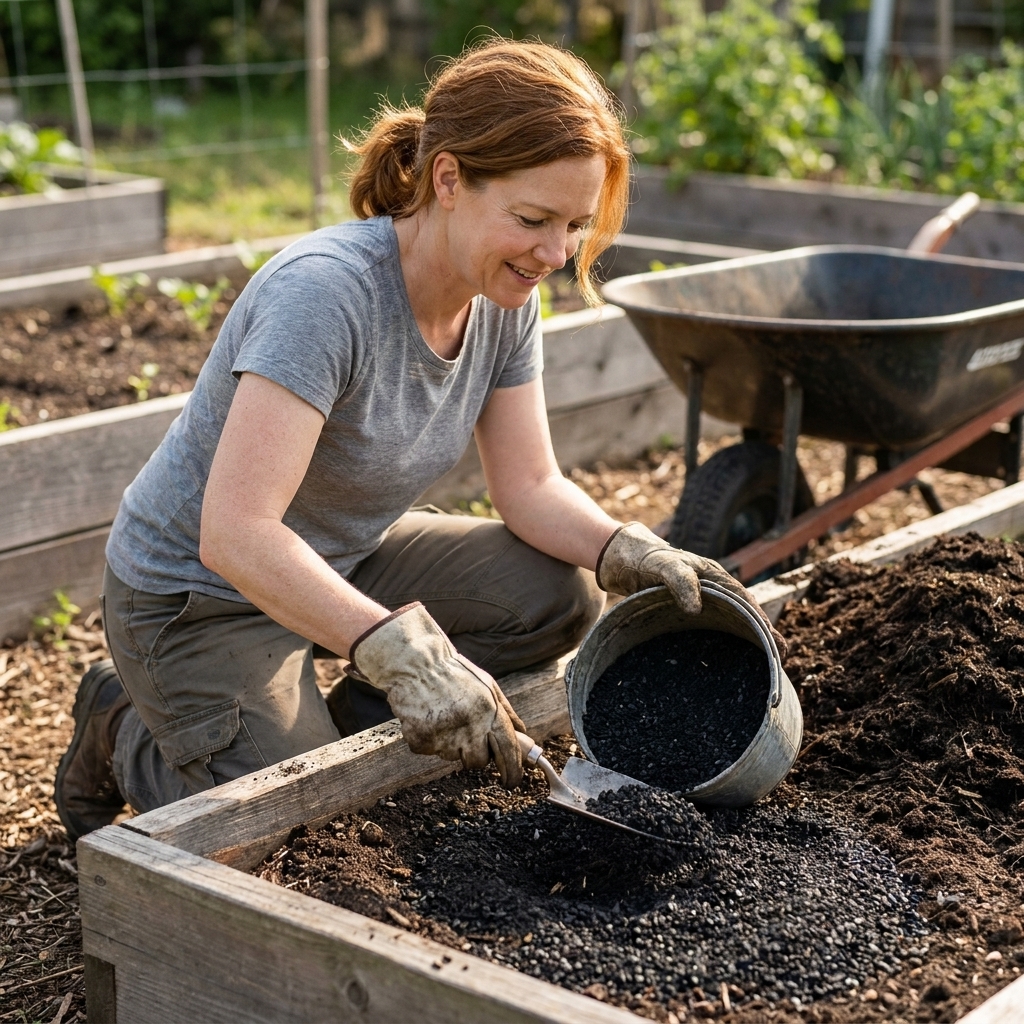
Biochar is charcoal made from plant material (wood, nutshells, crop waste) heated in low-oxygen conditions. That process creates a stable, carbon-rich material full of microscopic pores.
In the garden, those pores act like a long-term habitat for soil life and a storage bank for water and nutrients. The key word is stable. Good biochar breaks down very slowly, but it is not literally permanent. Its surfaces can change over time as it oxidizes, gets coated by microbes, and interacts with minerals in your soil.
Biochar vs. charcoal vs. ash
- Biochar: Intended for soil. Usually low-ash, porous, and processed for horticultural use.
- Lump charcoal: Sometimes usable if it is pure wood charcoal with no additives, but quality and ash content vary.
- BBQ briquettes: Avoid. They can contain binders, fillers, and ignition additives.
- Wood ash: Not biochar. Ash is mostly minerals and can spike pH quickly.
What biochar actually does in soil
- Improves water management: Often helps soil hold moisture while still draining well, especially in sandy soils or potting mixes. In heavy clay, results depend on particle size, rate, and how much organic matter you already have.
- Reduces nutrient loss: Can help hold onto nutrients and reduce leaching, but the effect varies by biochar type, soil type, and the nutrient (for example, nitrate behaves differently than ammonium).
- Creates microbial real estate: The pores become shelter for bacteria and fungi, especially when biochar is charged first.
- Supports long-term soil structure: Helps build a crumbly, stable feel over time when paired with organic matter.
What it does not do: replace compost, fix poor drainage by itself, or feed plants directly like fertilizer.
Why activation matters
Fresh biochar is like a brand-new sponge and a brand-new pantry shelf all at once. If you put it into soil uncharged, it can temporarily soak up available nutrients and tie them up in its pores and surfaces. Those nutrients are not permanently lost, but your plants can act hungry while the biochar loads up.
This is usually most noticeable in low-fertility soils, when you apply a high rate, or when the biochar is very fresh and “thirsty.”
Activated biochar is simply biochar that has been pre-soaked with nutrients and inoculated with microbes before you apply it. Once it is charged, it enters the soil ready to share, not steal.
If you only remember one thing: biochar is a long-term container. Compost, worm castings, manure, and liquid feeds are what you put inside that container first.
How to choose biochar
You do not need the most expensive bag on the shelf, but you do want clean, consistent material.
Look for
- Clean feedstock: Hardwood, orchard prunings, nutshells, or crop waste from reputable sources.
- Made for soil use: Products marketed for gardening often have more consistent sizing and fewer contaminants.
- Minimal ash content: High-ash char can push pH up and behave more like ash than char.
- Good particle size: A mix of small granules and some slightly larger pieces is great. Very fine powder is messy, easier to breathe in, and can act differently in soil than chunkier char.
Quality and contaminants
If you can, buy from a supplier that can tell you the feedstock source and confirm it was not made from treated or painted wood. For garden products, it is also a plus if the company can provide basic testing information for heavy metals and PAHs (polycyclic aromatic hydrocarbons). You do not need to turn this into a research project, but a little transparency goes a long way.
A quick safety note
Biochar dust is irritating. When handling dry char, wear a dust mask, dampen it lightly, and work on a calm day.
How to activate biochar
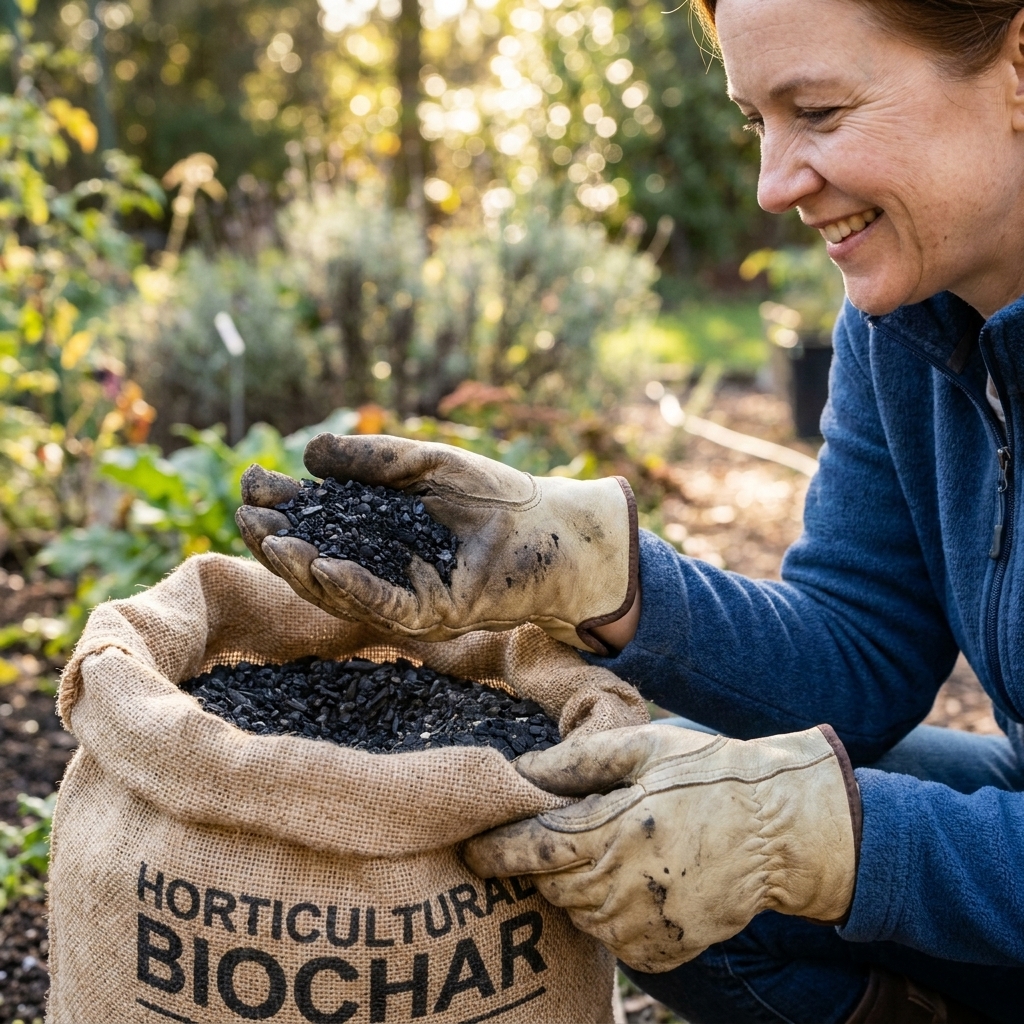
My goal is always the same: pre-load the pores with nutrients and microbes using materials I already have. Pick one method, or combine them.
Method 1: Compost charge
This is the easiest set-it-and-forget-it approach.
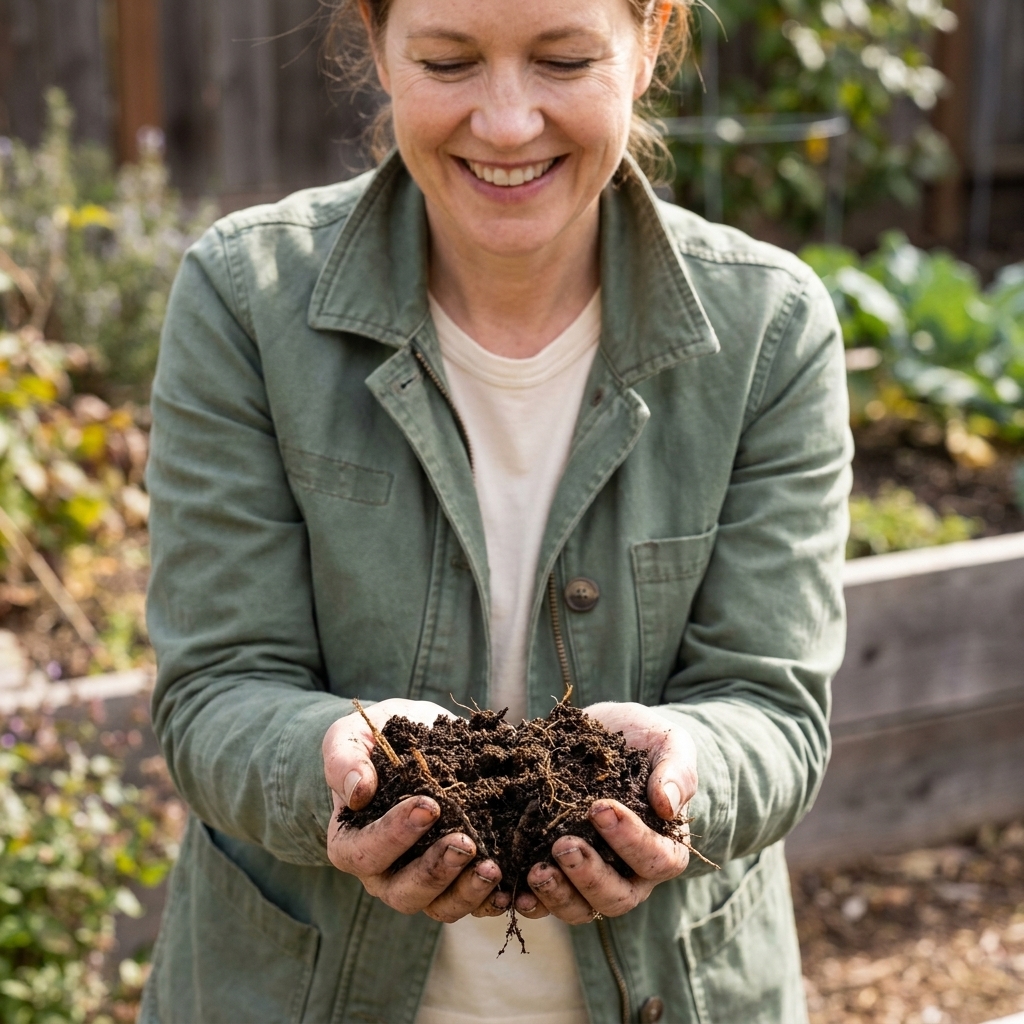
- Mix biochar into finished compost or very mature compost at roughly 1 part biochar to 3 to 5 parts compost.
- Moisten the mix until it feels like a wrung-out sponge.
- Let it sit 1 to 2 weeks, turning once or twice if you remember.
This creates a biochar that is loaded with nutrients, microbes, and that good earthy smell you want in your beds.
Method 2: Tea soak
- Put biochar in a bucket.
- Cover with aerated compost tea, worm casting tea, or a diluted fish and seaweed mix.
- Soak 24 to 72 hours, stir occasionally.
- Drain and apply. Any leftover liquid can be watered into the same bed.
This is great when you want to top-dress quickly before planting.
Method 3: Urine charge
Yes, it works. Urine is a strong nitrogen source and biochar grabs onto that nitrogen beautifully.
- In a lidded bucket, mix 1 part urine to 10 parts water.
- Soak biochar for a few days.
- Drain, then mix with compost or soil before using so it is not concentrated in one spot.
Be sensible here. Only use urine from a healthy person, keep the bucket covered outdoors, and apply it to soil, not foliage. I avoid using it right before harvesting leafy greens, and I skip it entirely if local guidance or regulations discourage it.
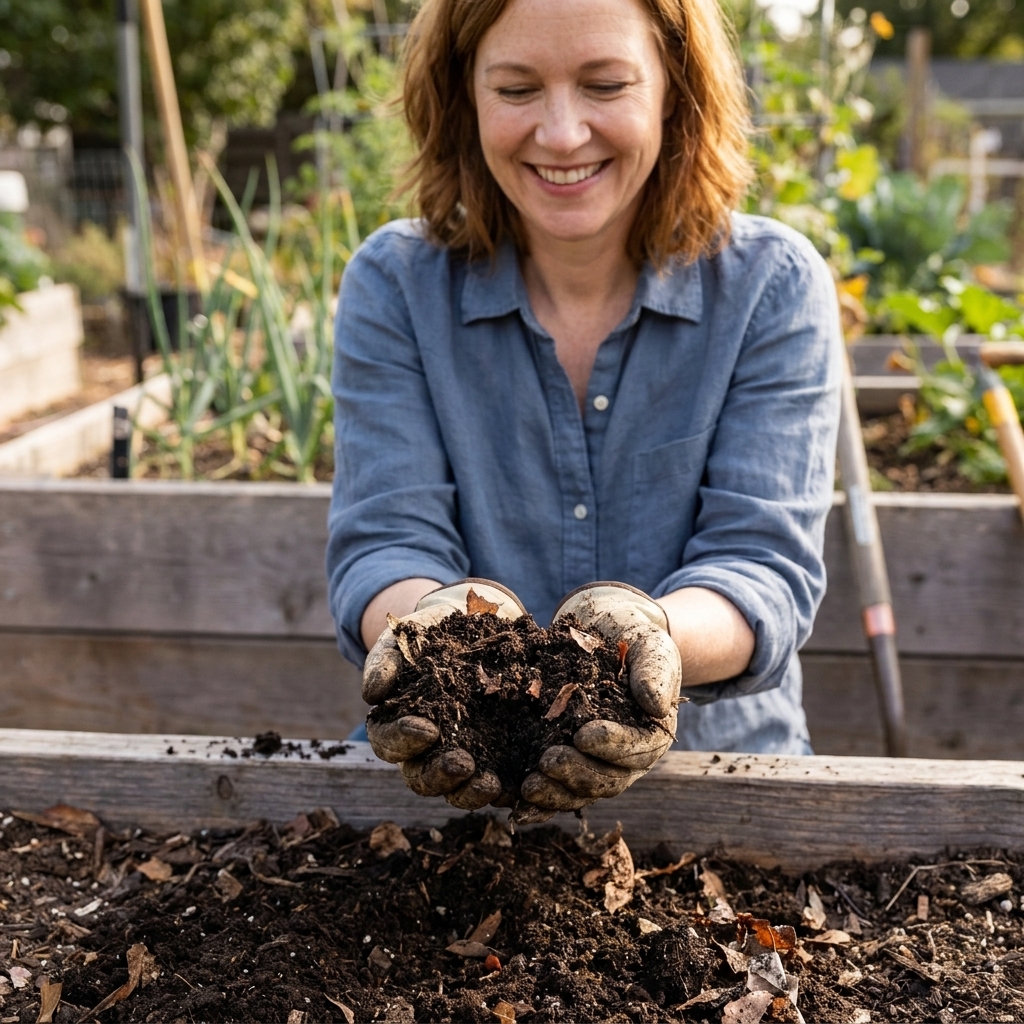
Method 4: In the compost pile
If you hot compost, biochar is a fantastic add-in.
- Sprinkle biochar in thin layers as you build the pile.
- Aim for 5 to 10% of pile volume.
- Keep moisture in the wrung-out sponge range and manage the pile the way you normally do.
By the time your compost is finished, your biochar is charged too.
How much to use
For gardens, more is not always better. I like biochar best as a steady, moderate addition over time.
Good starting rates
- Raised beds and in-ground beds: Start around 2 to 5% by volume in the top 6 inches, then build toward 5 to 10% over multiple seasons if your soil likes it.
- Practical shortcut: About a 1/4 inch layer of activated biochar blend spread over a bed, then mixed into the top few inches. You can repeat later rather than going thick all at once.
- Potting mixes and containers: Start at 5% of the total mix. Containers magnify mistakes, so go lighter at first.
If you are working with extremely sandy soil, you can often edge higher. If you have high pH soil already, stay on the lower end and choose a low-ash biochar.
How to apply it
For new beds
- Activate first. Use one of the charging methods above.
- Spread evenly. Scatter over the bed like you would compost.
- Mix into the top layer. Incorporate into the top 4 to 6 inches with a rake, broadfork, or trowel.
- Finish with compost. A thin compost top-dress helps keep biology thriving.
- Water in. This settles char into soil pores and reduces dust.
For established beds
If you are a no-till gardener, you can still use biochar.
- Blend activated biochar with compost.
- Top-dress 1/2 inch to 1 inch total.
- Let worms and weather do the mixing, or lightly scratch it into the surface with a hand rake.
For lawns, shrubs, and perennials
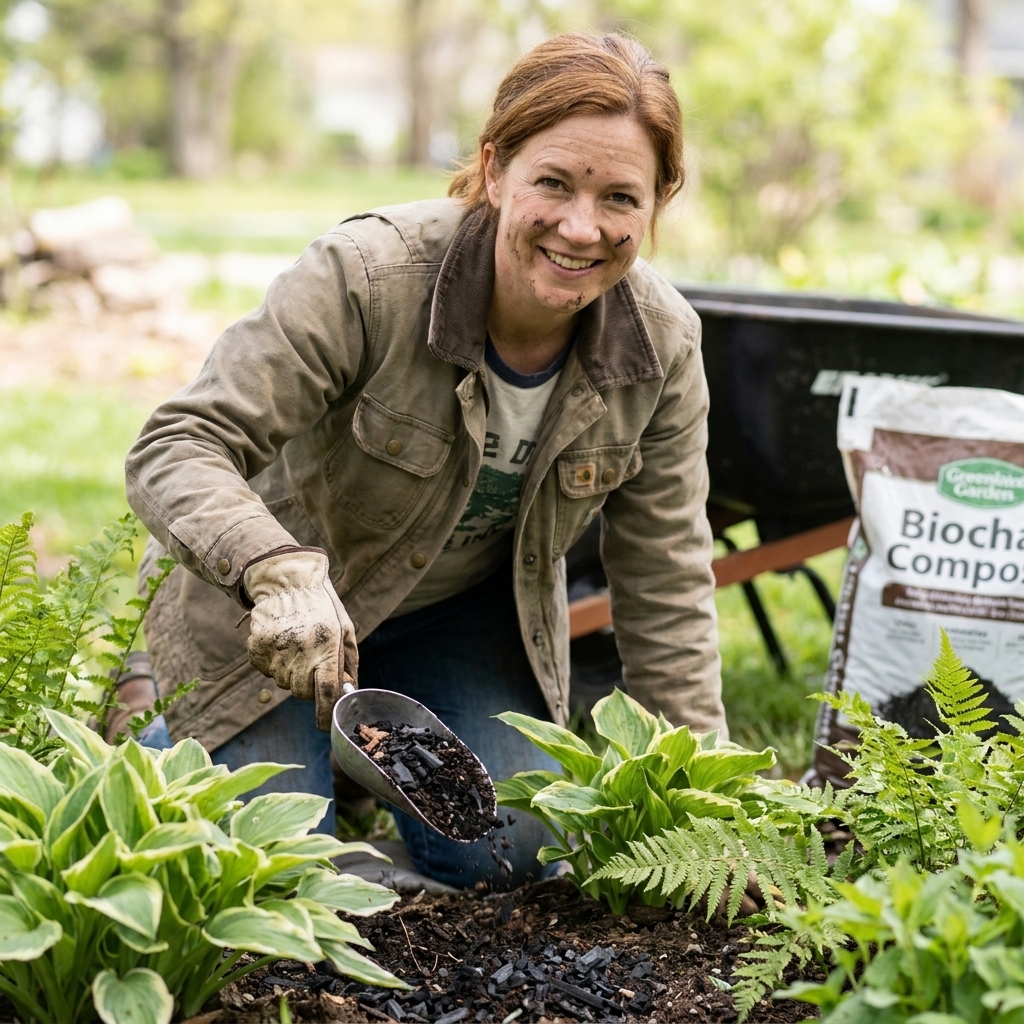
- Top-dress: Apply a thin layer of activated biochar mixed with compost around the drip line.
- Planting holes: Mix activated biochar into the backfill soil rather than dumping it in a clump.
Where it shines
Best uses
- Sandy soil: Helps hold moisture and nutrients that otherwise wash through.
- Raised beds: Beds dry faster than native soil, and biochar can smooth out moisture swings.
- Compost-poor gardens: When you cannot make enough compost, biochar helps your amendments go further by holding onto them longer.
- Heavy feeders: Tomatoes, peppers, squash, brassicas. Not because biochar feeds them, but because it helps keep their nutrients available.
Common letdowns
- Expecting instant growth boosts: Biochar is a soil builder first, not a quick fertilizer.
- Using it uncharged: This is the big one.
- Trying to fix drainage alone: Combine biochar with compost, leaf mold, and better soil structure practices.
Compost, manure, and fertilizers
Biochar plays best when it is part of a larger soil-building routine.
Pair it with compost
Compost brings the nutrients and biology. Biochar provides structure and storage. Together, they act like a slow, steady improvement you can feel season after season.
Pair it with manure
Aged manure is a strong charger for biochar. Avoid mixing biochar into fresh manure that is still hot or very high in ammonia unless you are composting the blend first.
Pair it with gentle fertilizers
Fish emulsion, kelp, alfalfa meal, and balanced organic blends all work well. Biochar can help keep those nutrients from disappearing after the next rain.
Biochar and pH
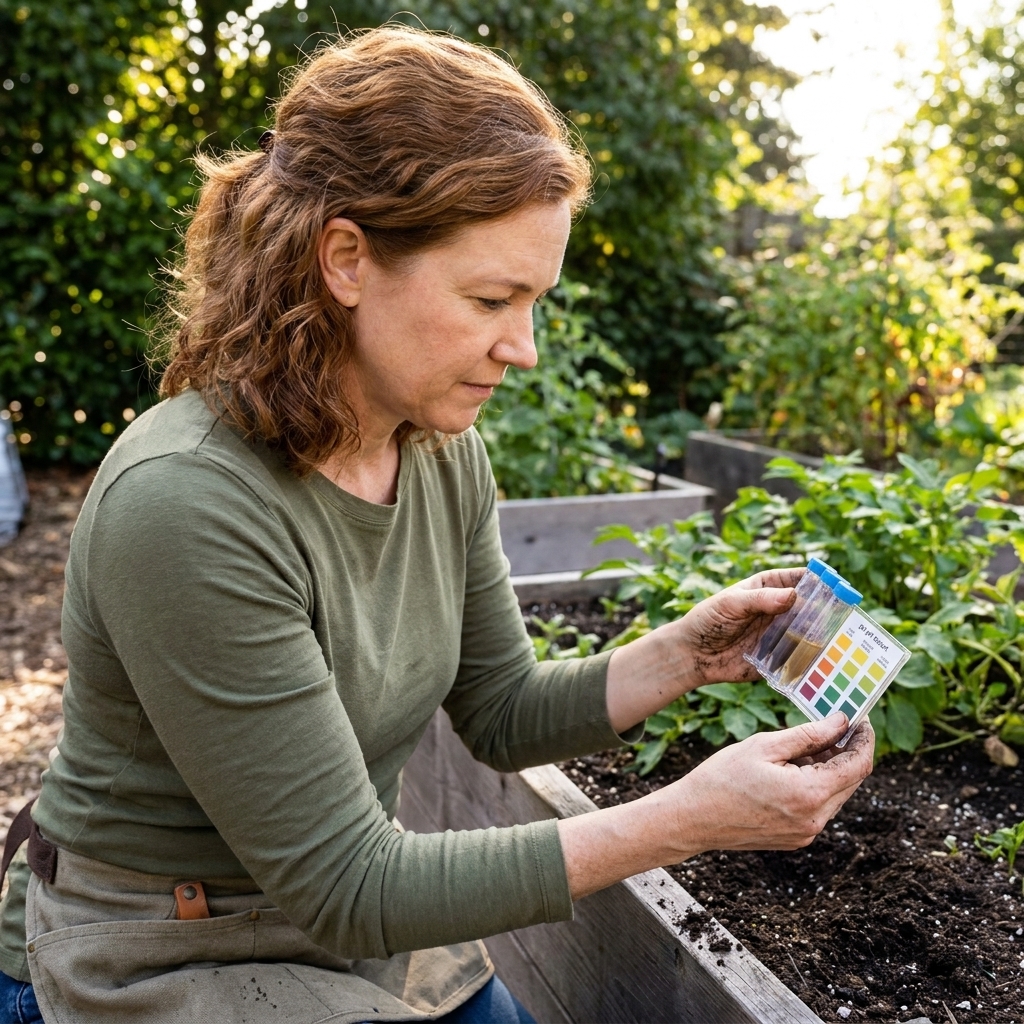
Some biochars are alkaline, especially high-ash products. Others are closer to neutral, depending on feedstock and how it was made. That can be helpful in acidic soils, and a problem in already alkaline regions.
Quick guidance
- If your soil is acidic: Biochar may be a gentle help, but do not treat it like lime.
- If your soil is neutral: Use moderate rates, activated, and you are usually fine.
- If your soil is alkaline: Choose low-ash biochar and keep rates low. Lean harder on compost, leaf mold, and mulch.
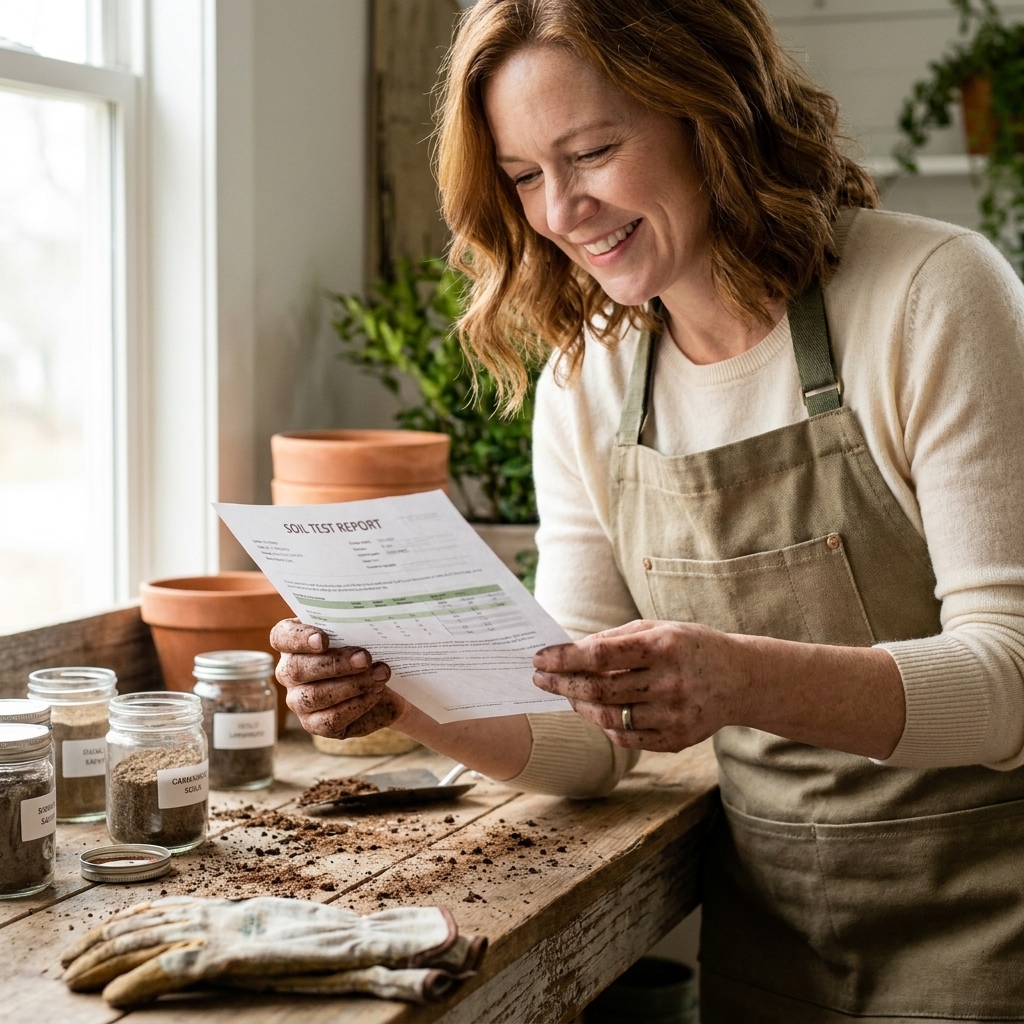
If you have not tested your soil in a while, a basic soil test is one of the most budget-friendly tools in gardening.
Timing
- Fall: My favorite time. You can top-dress, water it in, and let winter biology do some of the work.
- Spring: Great if it is already activated. Mix it in before planting or blend into compost for top-dressing.
- During the season: Use as a compost blend around heavy feeders, then water in.
What to expect
Biochar is a long game, which is exactly why it is worth doing right.
- Sooner: Moisture buffering can show up within weeks, especially in raised beds and containers.
- Over a season: Nutrient swings often calm down a bit, particularly if you feed with compost and gentle fertilizers.
- Over years: Soil structure and overall resilience tend to improve gradually as organic matter and soil life build around the biochar.
Mistakes I see
- Applying dry, dusty biochar on a windy day: Dampen it first. Your lungs will thank you.
- Using too much too fast: Start modestly. You can always add more next season.
- Putting it in a planting hole as a pure layer: Always mix with soil and compost to avoid weird moisture and nutrient pockets.
- Skipping mulch: Biochar helps, but mulch still matters.
- Buying the wrong “charcoal”: Briquettes are not garden inputs.
Biochar in containers
Containers are where biochar can be surprisingly useful because pots dry out quickly and nutrients leach with frequent watering.
How I use it
- Charge biochar in worm casting tea or compost tea first.
- Mix into potting mix at 5% by volume for a first try.
- Watch moisture. Pots may stay damp a bit longer, which is great unless you are already overwatering.
For seedlings, I go even lighter. Seedling mixes do not need a lot of long-term structure.
FAQ
Can I make biochar at home?
You can, but home production has real safety and smoke concerns, plus quality can be inconsistent. If you do it, use a method designed for clean burns and fully extinguish and cool the char before handling. For most gardeners, buying a clean horticultural product is simpler and more predictable.
How long does biochar last in soil?
High-quality biochar is very stable. In garden terms, it is a long-term amendment that can stick around for many years. It will age and change, but it does not disappear quickly.
Will biochar attract pests?
Biochar itself does not attract pests. What can attract pests is mixing it with food scraps without composting, or leaving nutrient-rich teas open and smelly. Keep charging buckets covered and use finished compost.
Is biochar safe for vegetable gardens?
When it is clean, additive-free, and activated, biochar is widely used in edible gardens. The bigger concern is product quality. Stick with reputable sources and avoid unknown char made from treated wood.
Do I still need compost if I use biochar?
Yes. Compost is your steady nutrient and biology input. Biochar is the structure and storage that helps those inputs work better.
A simple first batch
If you want the most beginner-friendly way to start, here is my go-to:
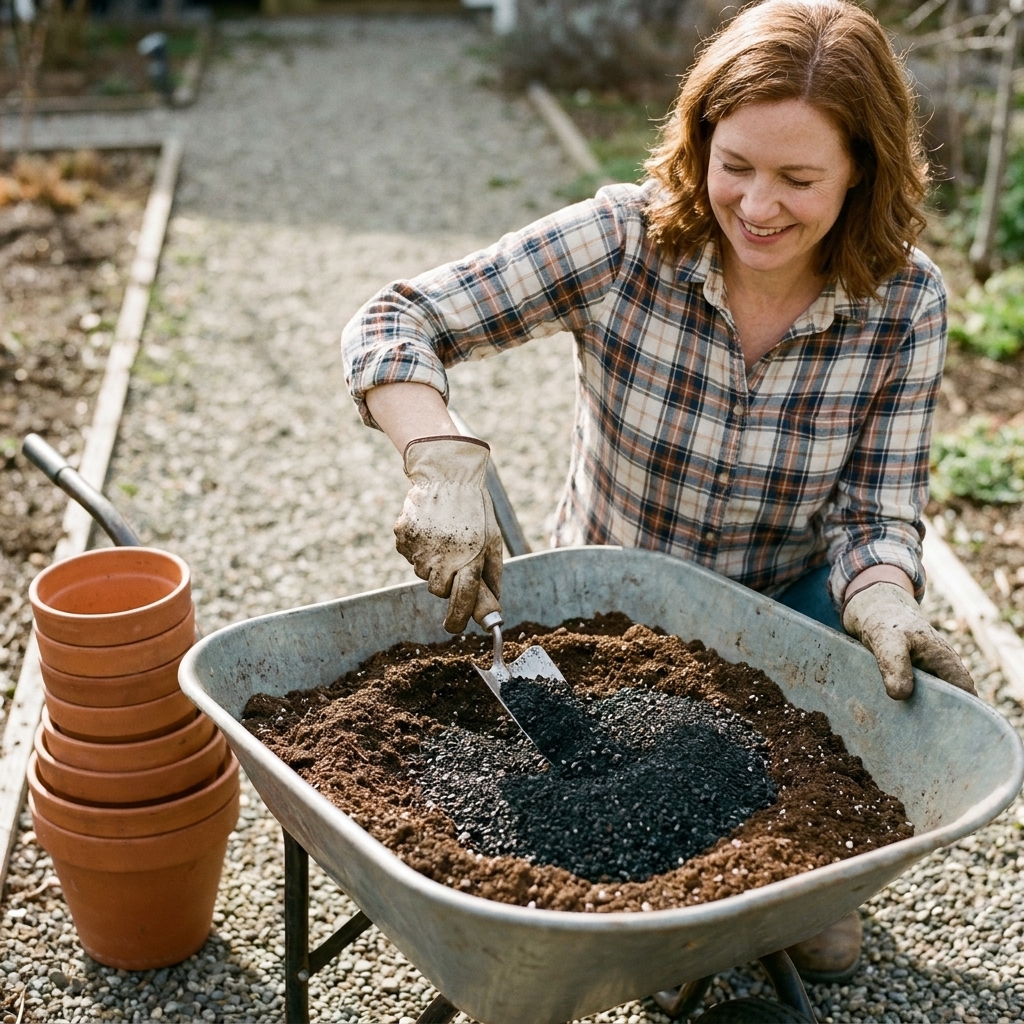
- Mix 1 gallon of biochar with 4 gallons of finished compost in a tote or wheelbarrow.
- Moisten to wrung-out-sponge damp.
- Let it sit for 7 to 14 days.
- Spread it over one bed and lightly rake in, or top-dress if you garden no-till.
Keep notes. The best wins often show up as fewer drought-stress days, steadier growth, and soil that gets easier to work every season.